I have come to realize that brows aren’t easy to do yourself and are much more intricate than most people think. They are more of an art than the rest of your makeup routine and can either RUIN the rest of your make up or accentuate it. As much as I THINK I can do them without my makeup artist Kaitlin … she says I can’t!!!! It takes a lot of practice and a lot of patience to master the perfect brow but in reality, it only takes a few simple steps. I am ALWAYS getting asked about my brows, how to do them, and what to use, so I thought I would FINALLY give you a step by step tutorial (with Kaitlin’s help of course) … SO, if you want the perfect brows … follow these 4 simple steps …
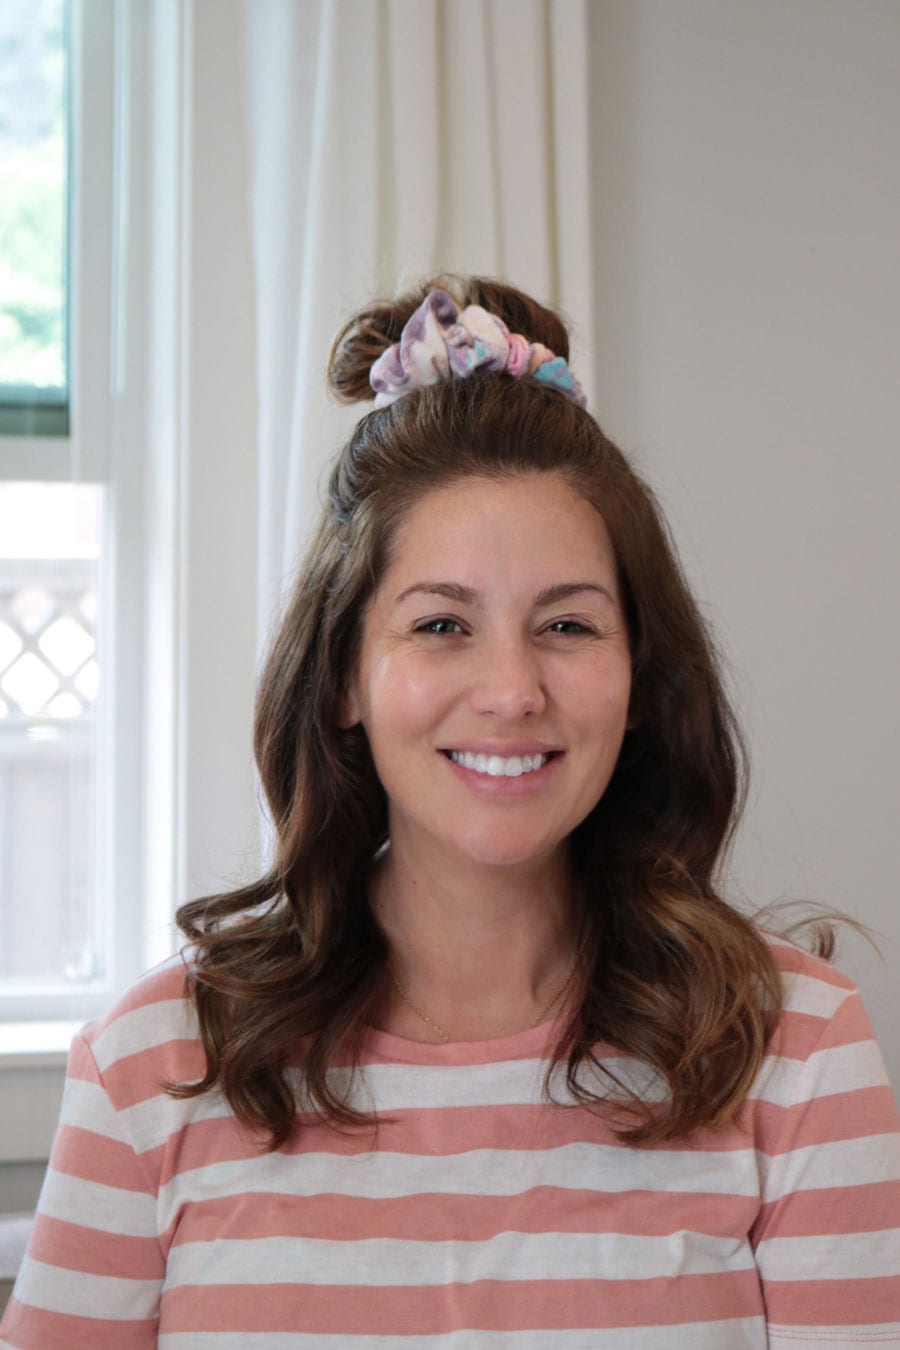
Step 1: Brush those babies out – investing in a brow brush like this one here is a must … you will be using it A LOT!!! Make sure it has a spoolie on one end and an angled brush on the other. I brush up and out so I can see exactly what I’m workin’ with. You need to know where the hairs are sitting so you can even them out.
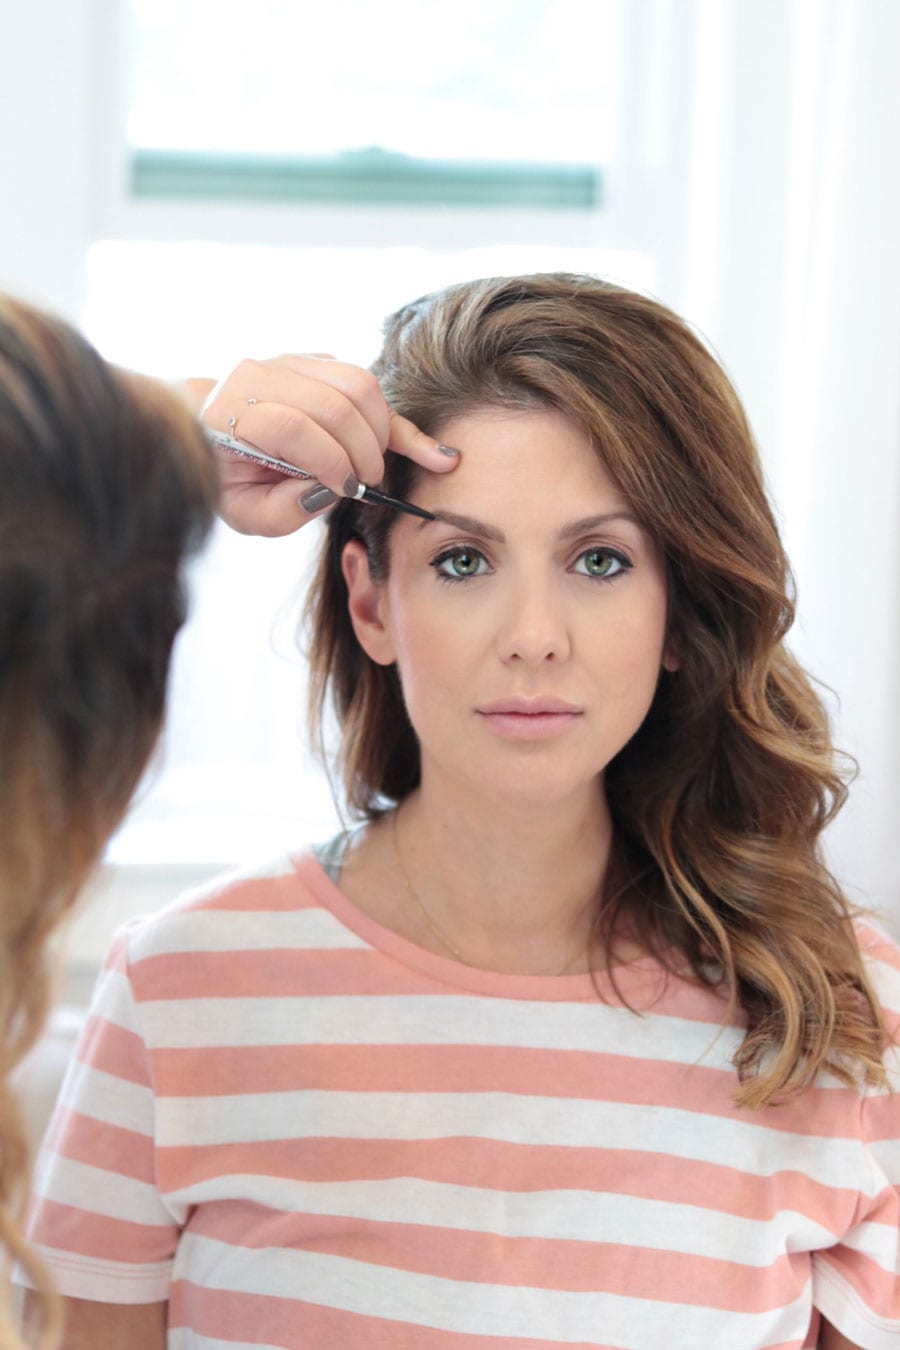
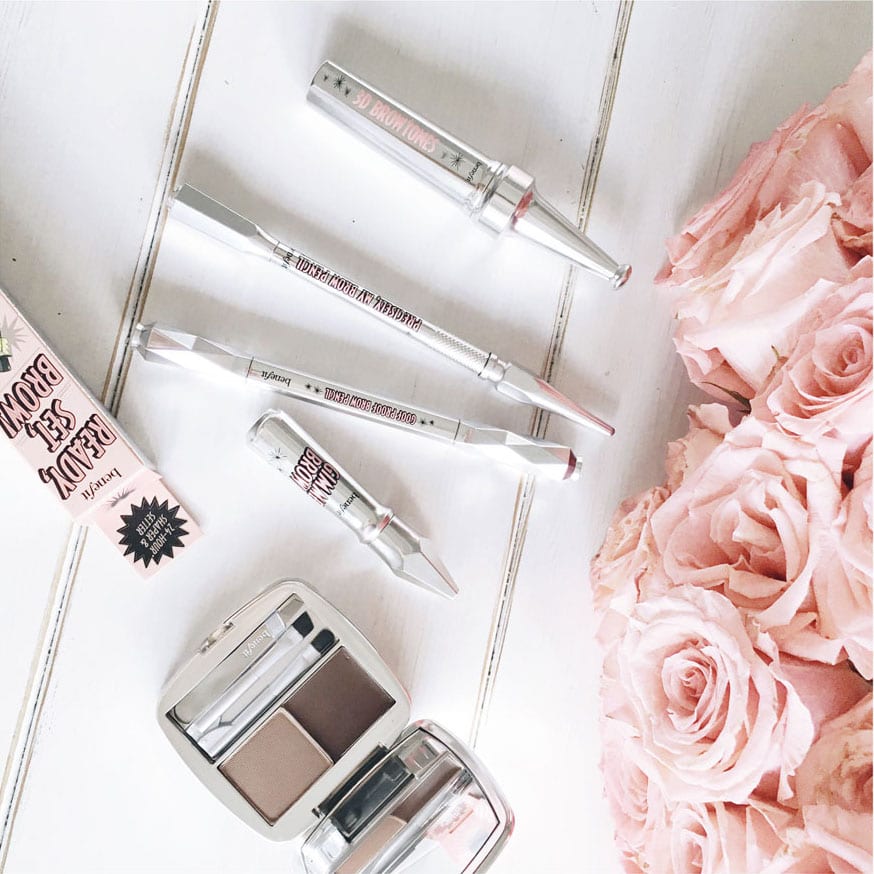
Step 2: I’ve been really into pencils lately, right now I’m using “precisely, my brow pencil” by Benefit, BUT I switch it up frequently, and often times I use multiple products and layer them. Take your pencil, make sure the tip is sharp/pointed. Make small strokes that mimic the growth and angle of your natural hairs. I like to start at the bottom of the “head” of the brow and work my way out. I draw a soft guide line from the centre of the head of the brow, along the bottom edge. This helps me see where the drawn on hairs should start. Continue making small upward strokes and start to angle them outwards as you get to the middle and outer corner of your brow. Repeat on other brow.
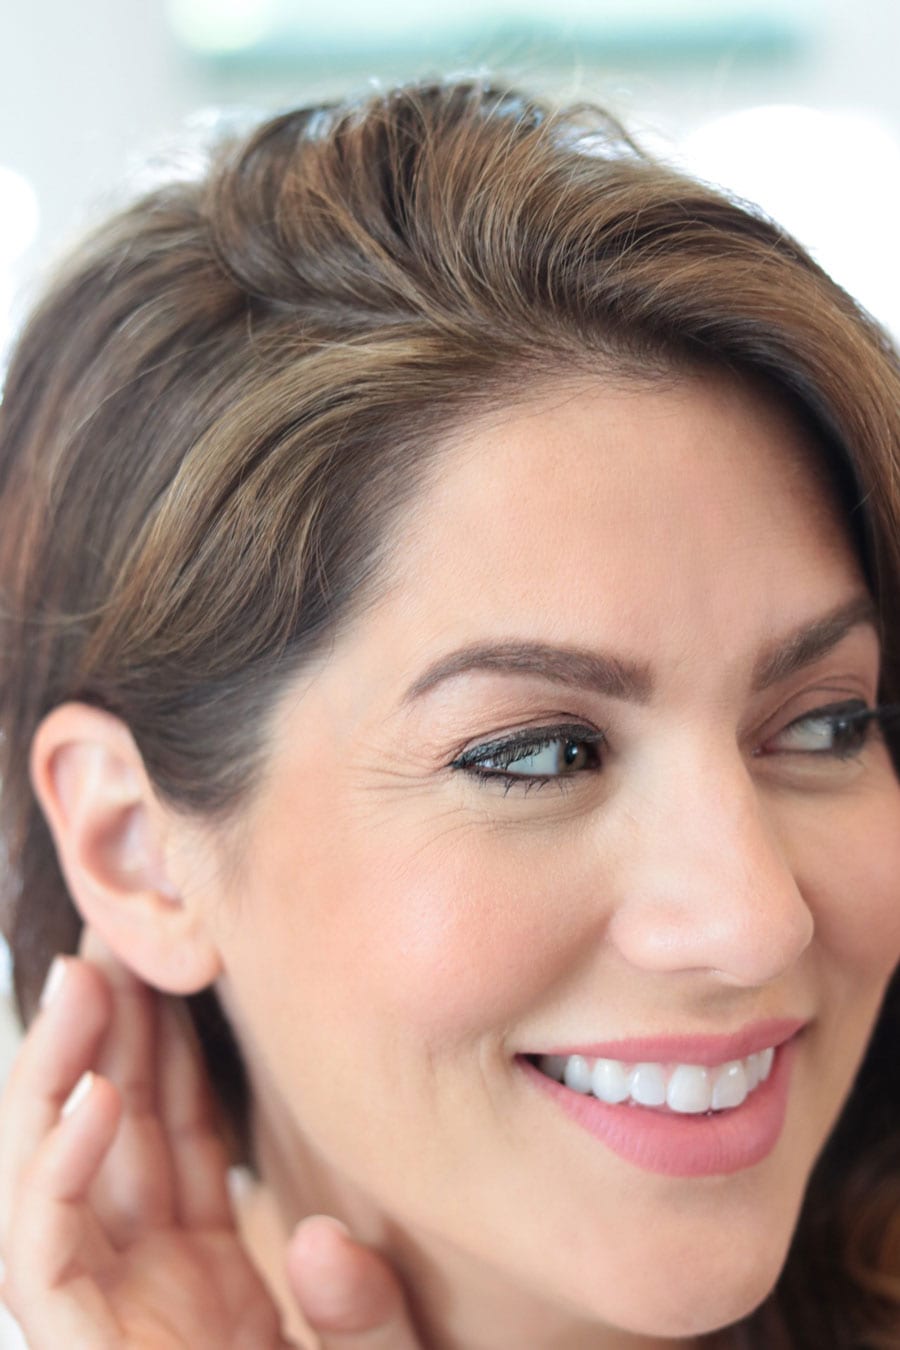
Step 3: Brush your brows again, I always do this to soften the lines I’ve just made, this makes for a more natural looking brow, and the spoolie bristles help break up the lines and “fuses” the makeup and the real hairs. OR you can brush on Benefit gimme brow-volumizing eyebrow gel to give you a fuller-looking brow if your hairs are more sparse.
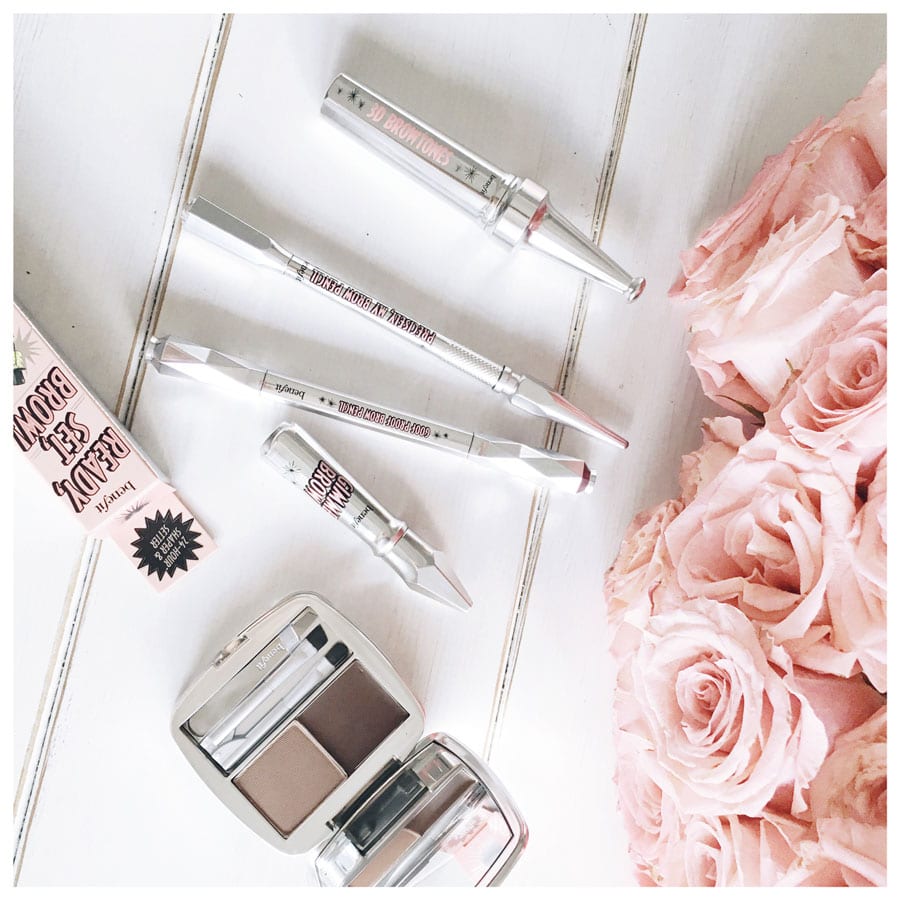
Step 4: At this point you can either add pomade or brow powder for a more defined look, or you can simply apply a brow gel like “ready, set, BROW!” or wax to keep them in place. If you’re going for a bold defined brow, use Benefit ka-BROW eyebrow cream-gel and dip the fine edged angle brush into the gel colour and repeat step 2. If you want them even more defined than this … layer 3D BROWtones from Benefit on top of that and then use the gel to keep them in place.
I prefer when the brows are slightly lighter/softer at the “head” and gradually get darker and more defined towards the “tail.” This is just a preference and by no means a rule! If you’re using a brow powder, I tend to prefer a stiffer bristles angle brush with coarse hairs. I find this type of brush picks up the product better and applies the powder in a more natural way. At the end I still brush out the brows with a clean spoolie!
*Tip* If you don’t have a clear brow gel, you can always spray a touch of hair spray onto your spoolie and brush it through to keep those brows on fleek!!
Head to my Instagram today for an exciting contest!!! If you need any other brow tips … let me know in the comments below!!!
xo
Jilly

How much does Benefit pay you to do these ads?
Glad to hear you are loving the new Benefit products!
Hi Jilian, I live in Australia and just got Foxtel so naturally I’ve been watching your show love it or list and absolutely am obsessed! i love your witty personality and style and of course your interior design skills! while watching your show last night i thought i might google you and voila i found your blog! i was so excited as it is amazing! just wanted to say i love what you do and hope to one day get the courage to begin my own interior design blog/design website. p.s. congrats on the new baby boy!