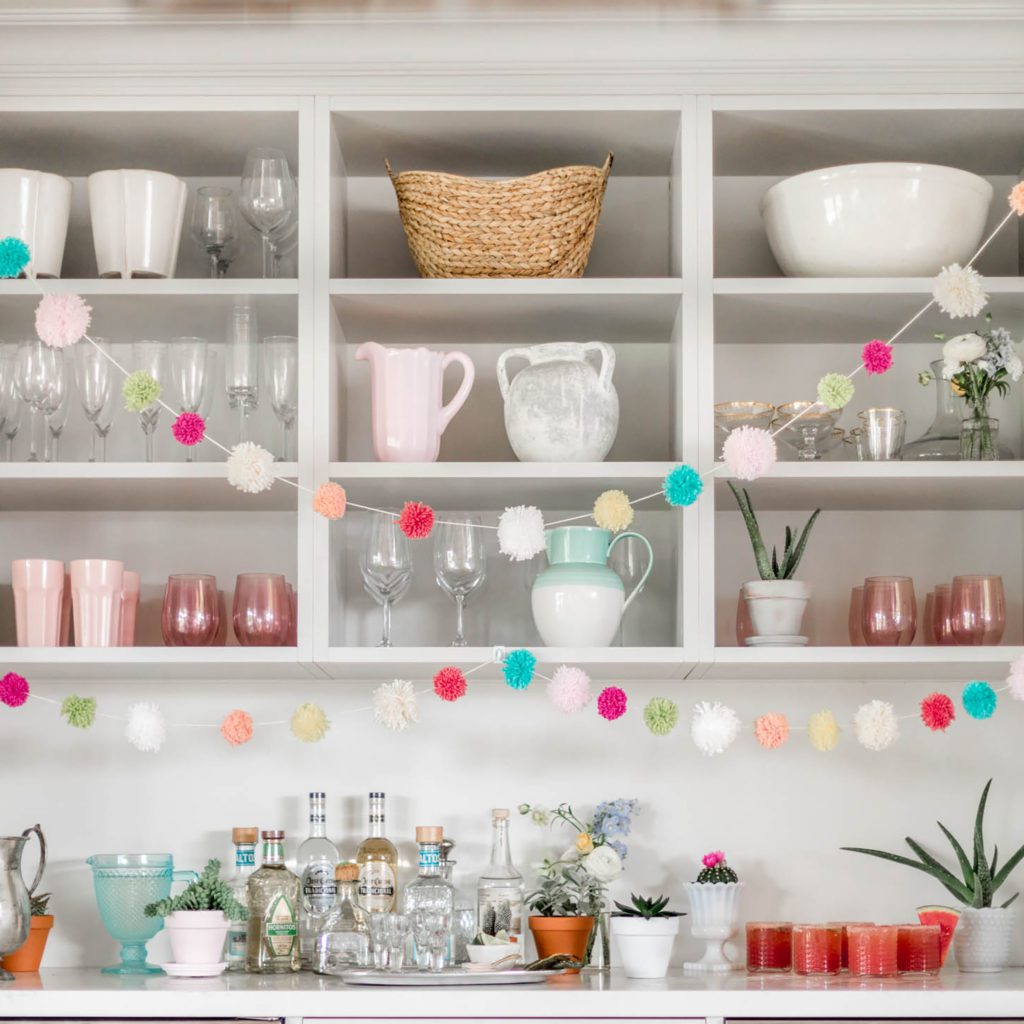
We’re back with ANOTHER Cinco De Mayo DIY!! If you missed yesterday’s Watermelon Piñata DIY make sure to check it out here! Today we’re sharing a festive pom pom garland that you can hang above your tablescape or tequila bar to really SPICE your Cinco De Mayo party up!! This is another really simple DIY and the perfect excuse for a girls crafting wine night!
Easton, our Intern, spearheaded this DIY project for us and we’re so happy with how it all turned out! We had a few pom poms leftover so rather than making another garland, we actually used the loose pom poms as decor (alternating with succulents and cacti) on each of the plates on our table and it worked perfectly with our tablescape!


Materials Needed:
- Yarn (we used a mix of bright colours but you can use any colours you want!)
- Cardboard
- 1 needle
- Scissors


Instructions
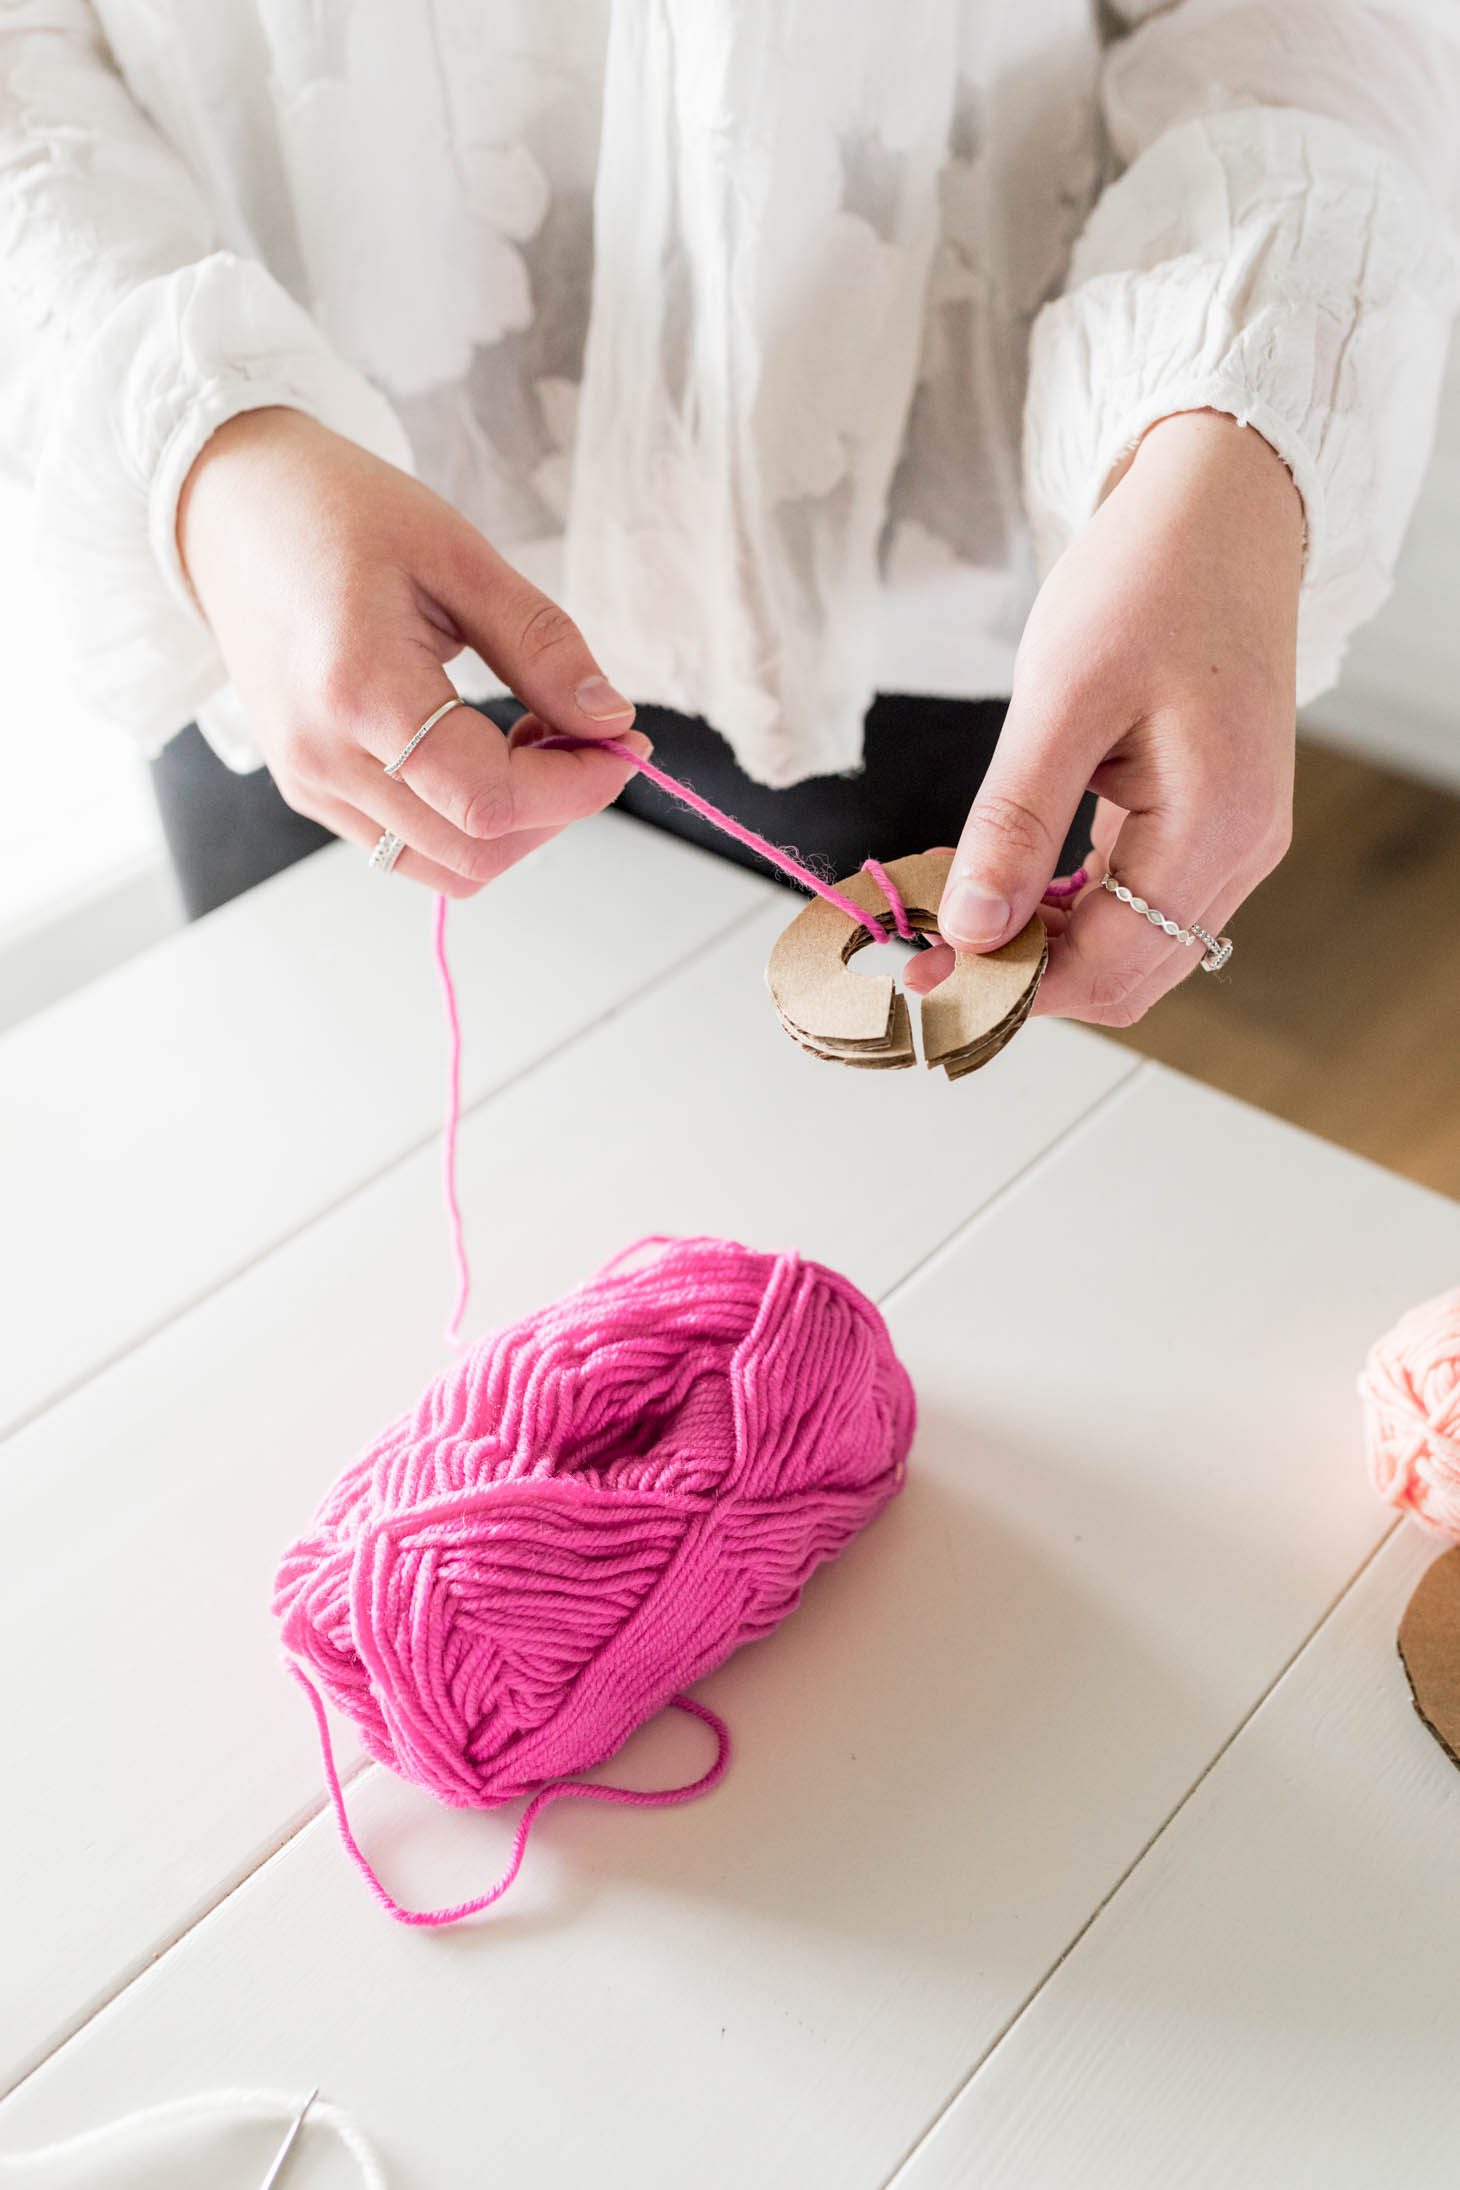
- Make your pom pom template! Cut 2 equal sized donut shapes out of cardboard with an open slit (about one cm wide) you want them to be the size of your desired pompom. We used 2 different sizes, small and large. Pro Tip: The larger you make your template the larger the pompom will be and vice versa!
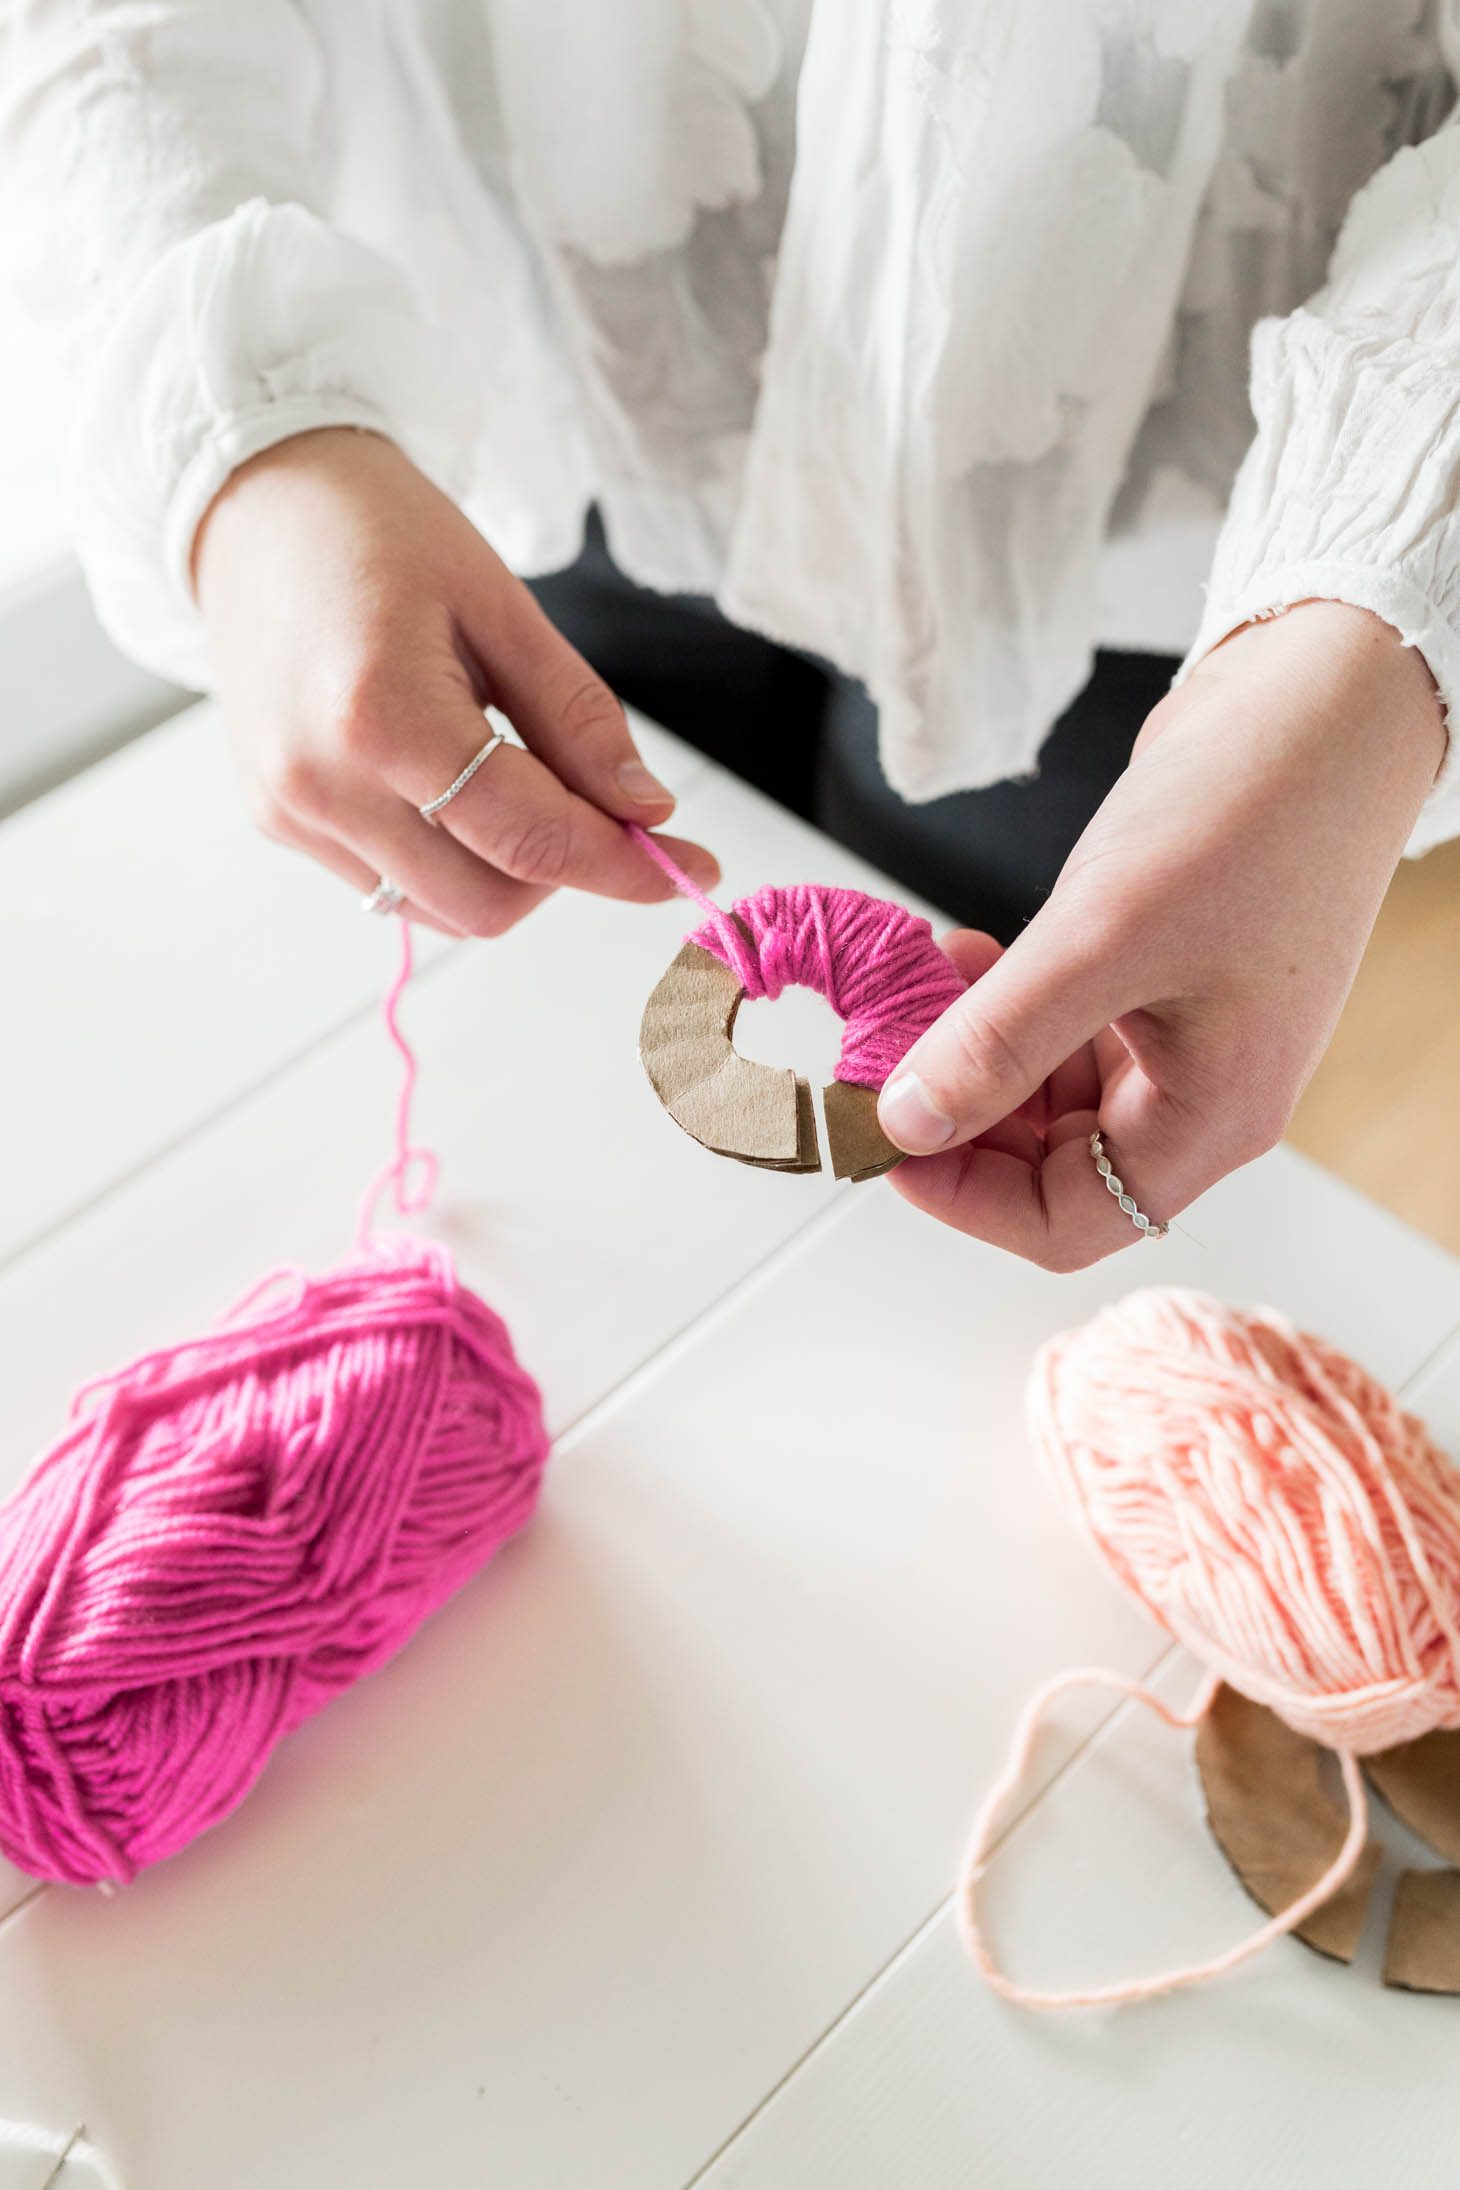
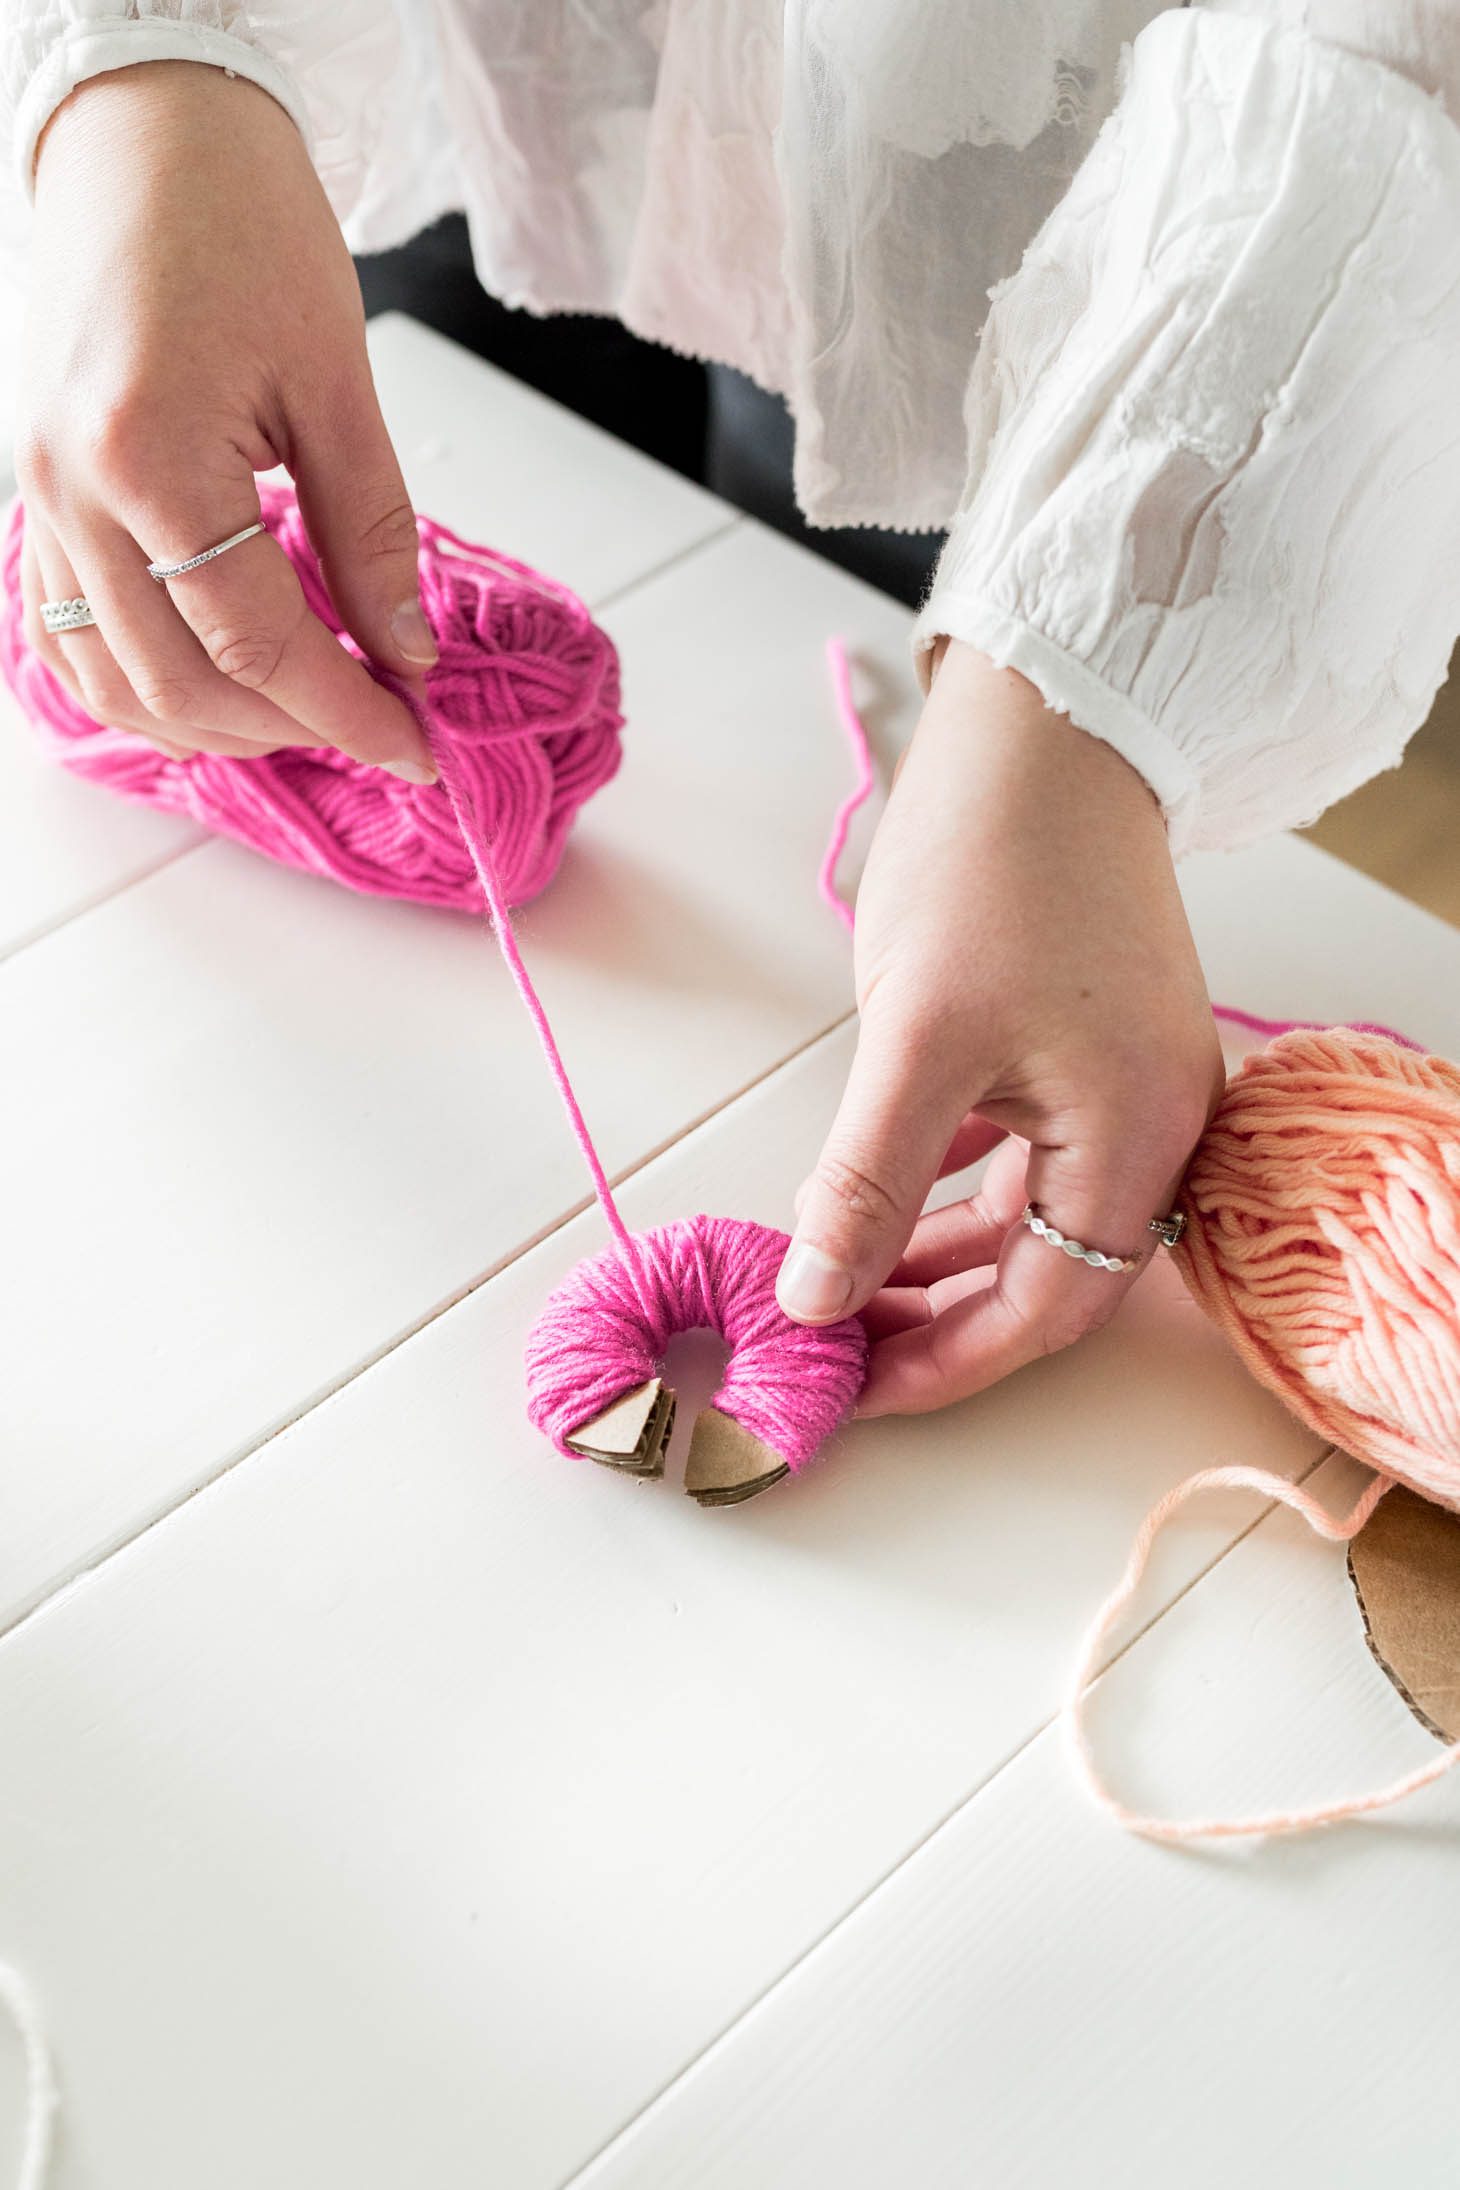
- After you have your two templates, stack them together and wrap your chosen yarn around it. Pro Tip: The more you wrap the yarn around the template, the fuller your pom pom will be.
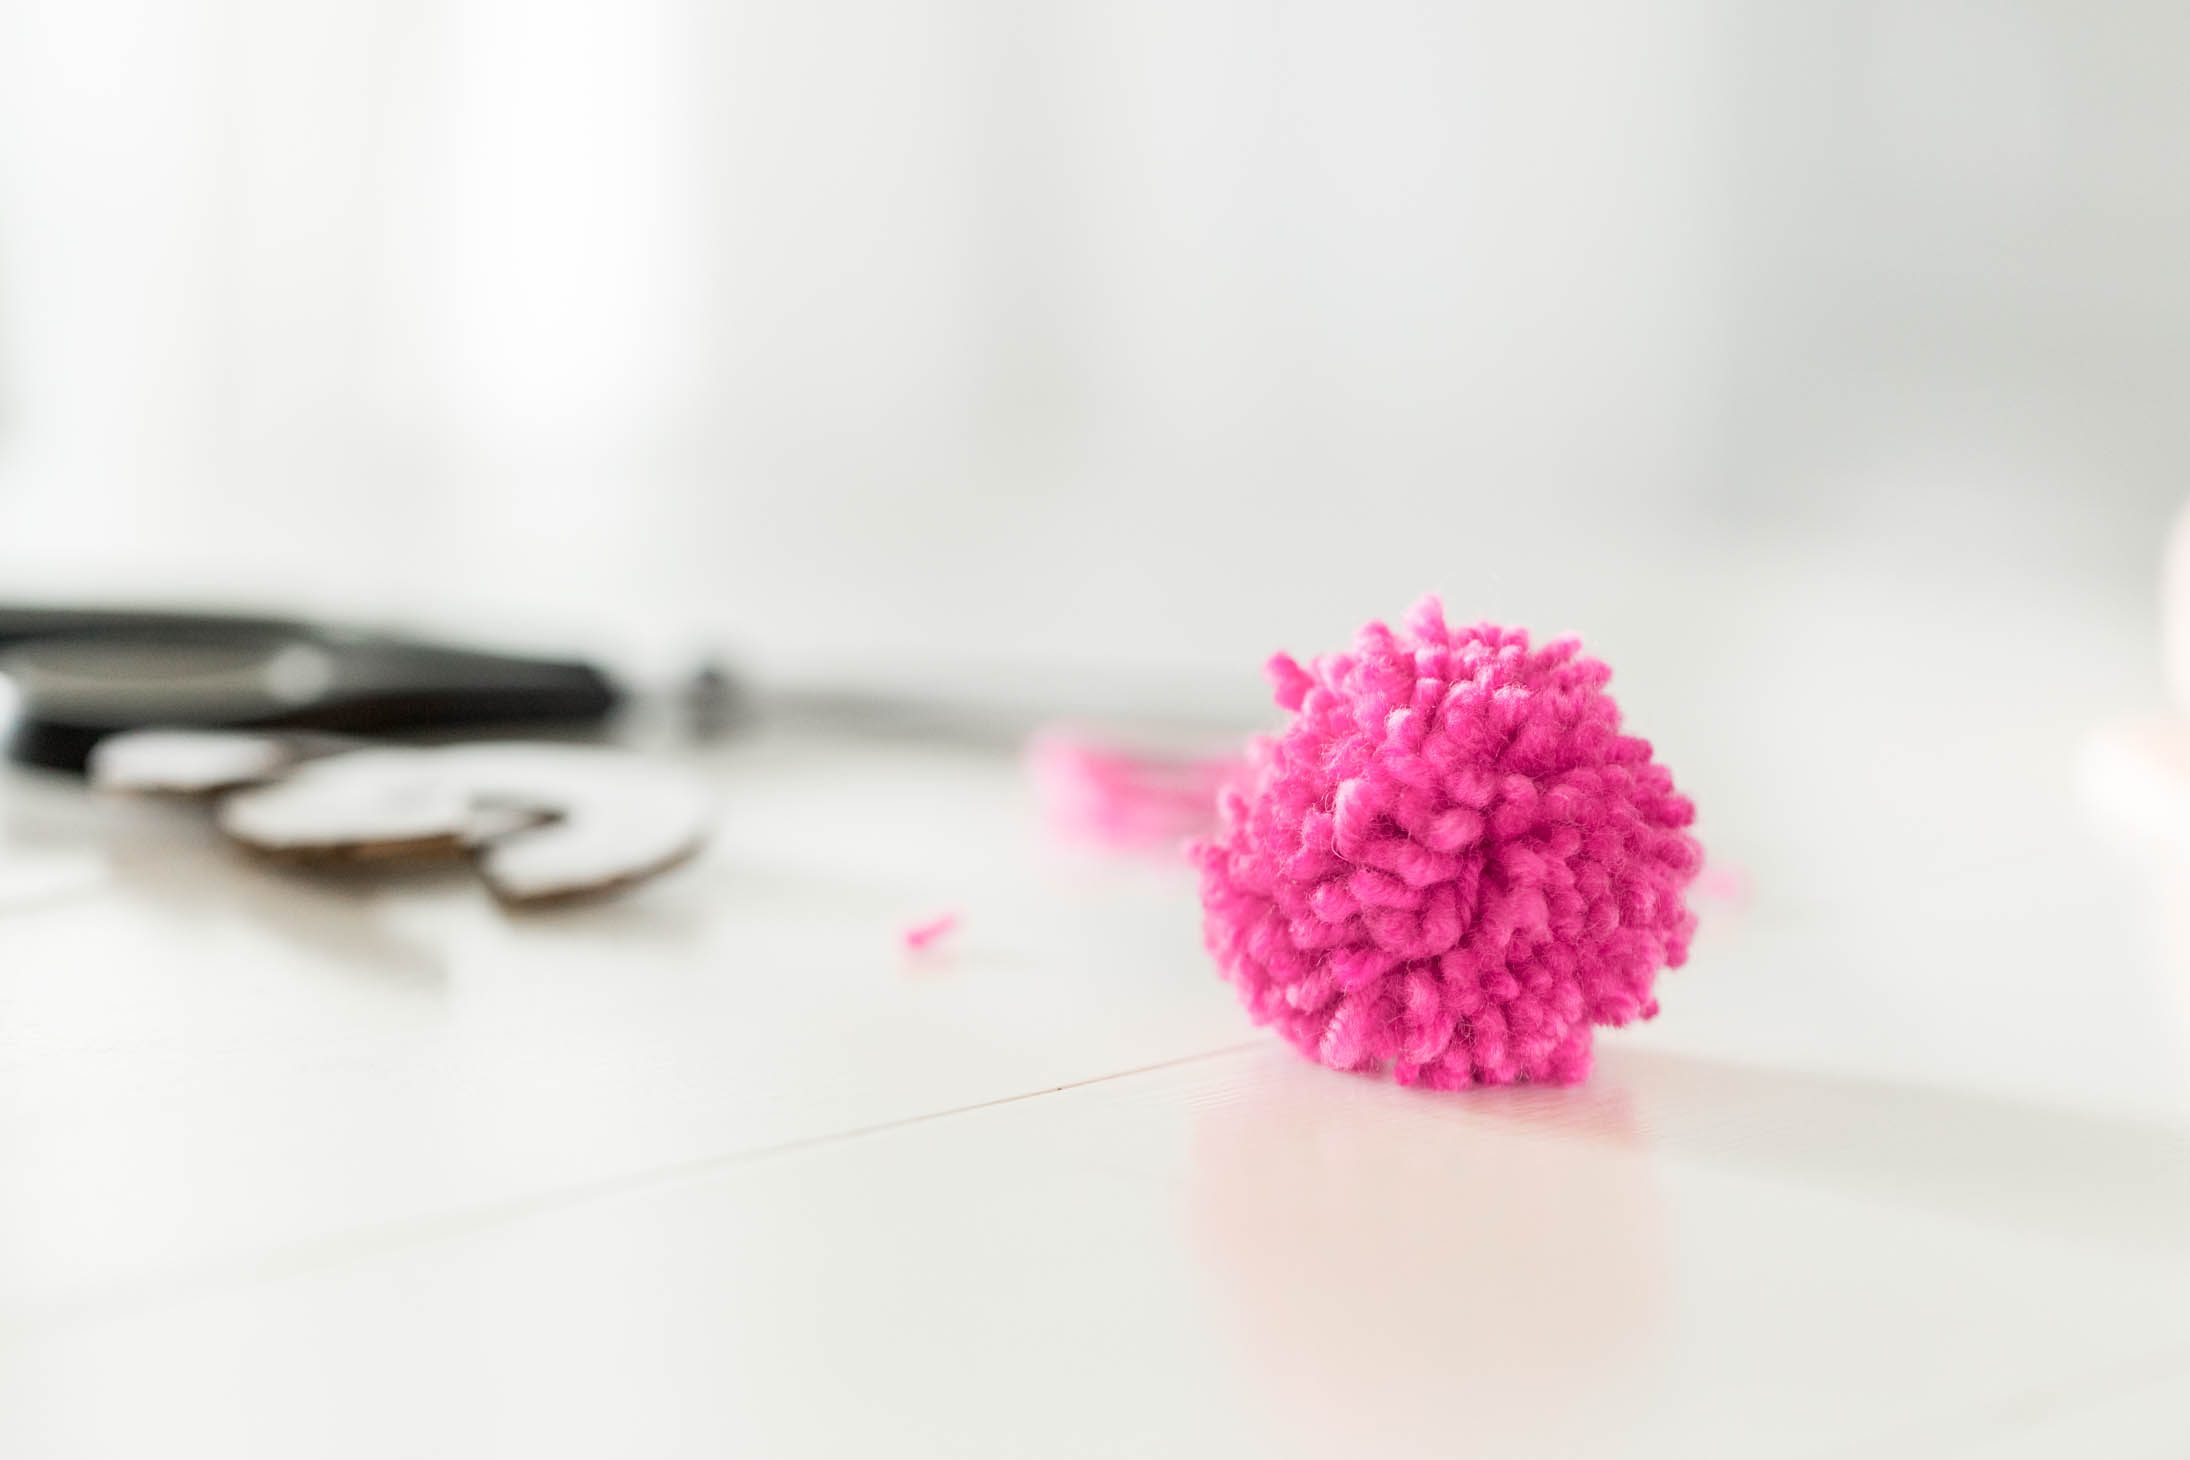
- After you have reached your desired thickness, cut the end of the string, leaving a small tail. Take your scissors and carefully cut the yarn around the circumference of the template.
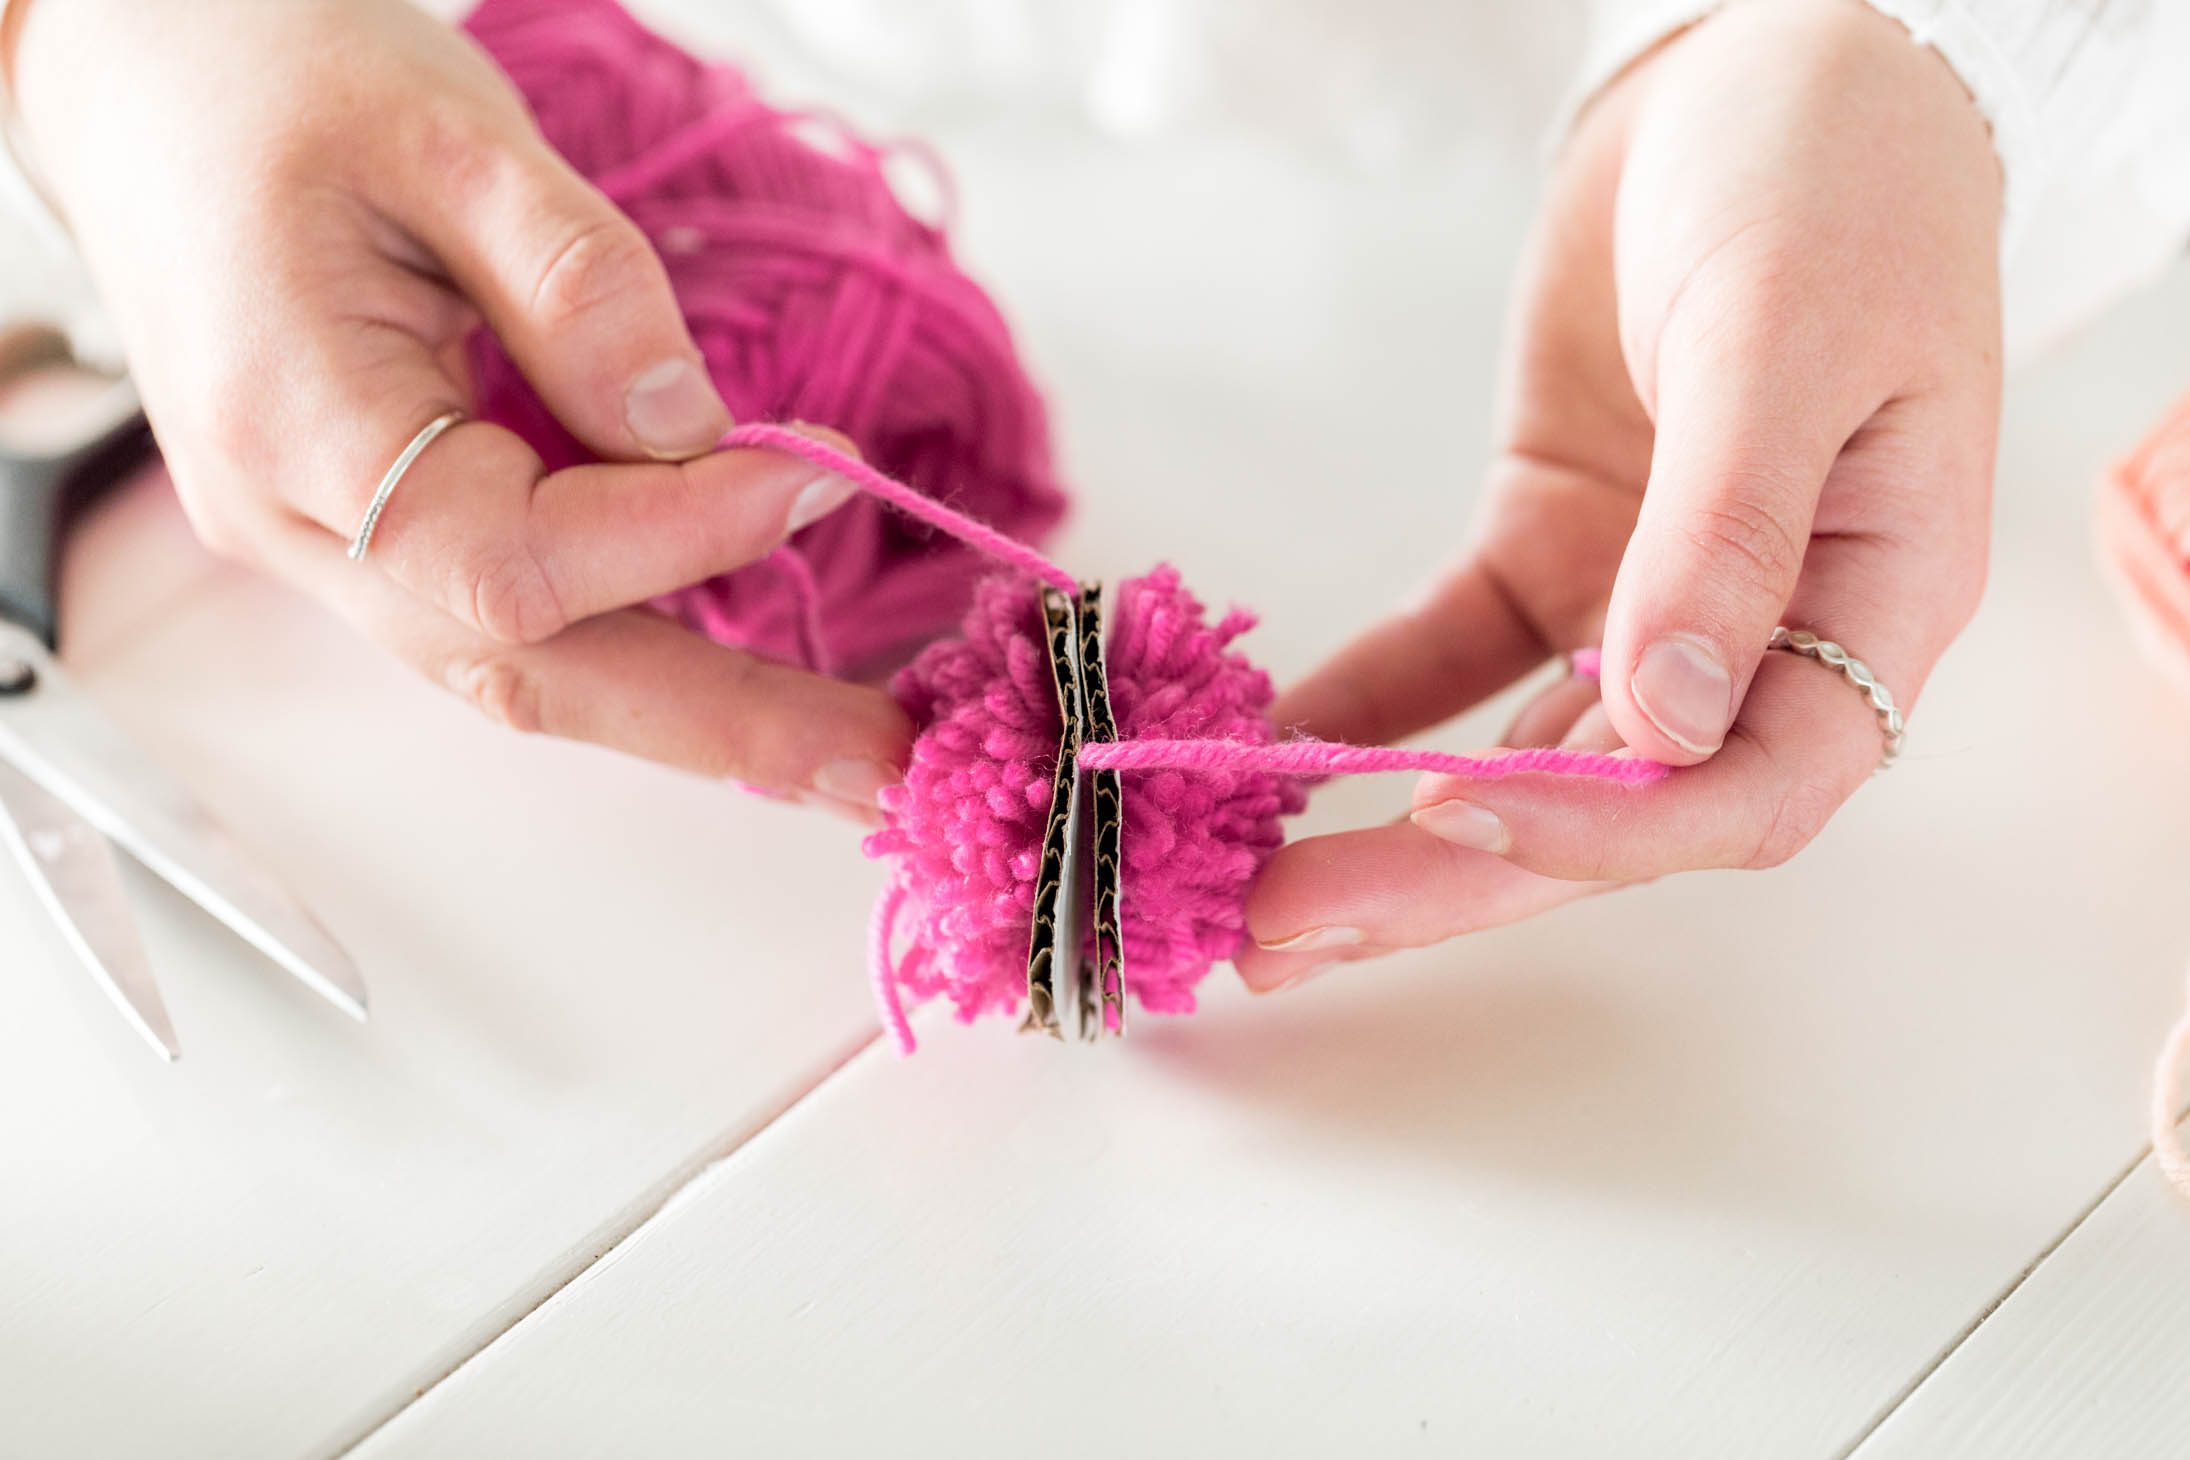
- Take another piece of yarn and wrap this between the two pieces of cardboard to gather all the yarn and tie this tightly. You can now pull this out of the cardboard and see your pom pom! Pro Tip: Don’t worry if your pom pom looks a little crazy at first – just trim the edges until it’s nice and round! Continue to do this until you have the desired amount of pom poms to create your garland.
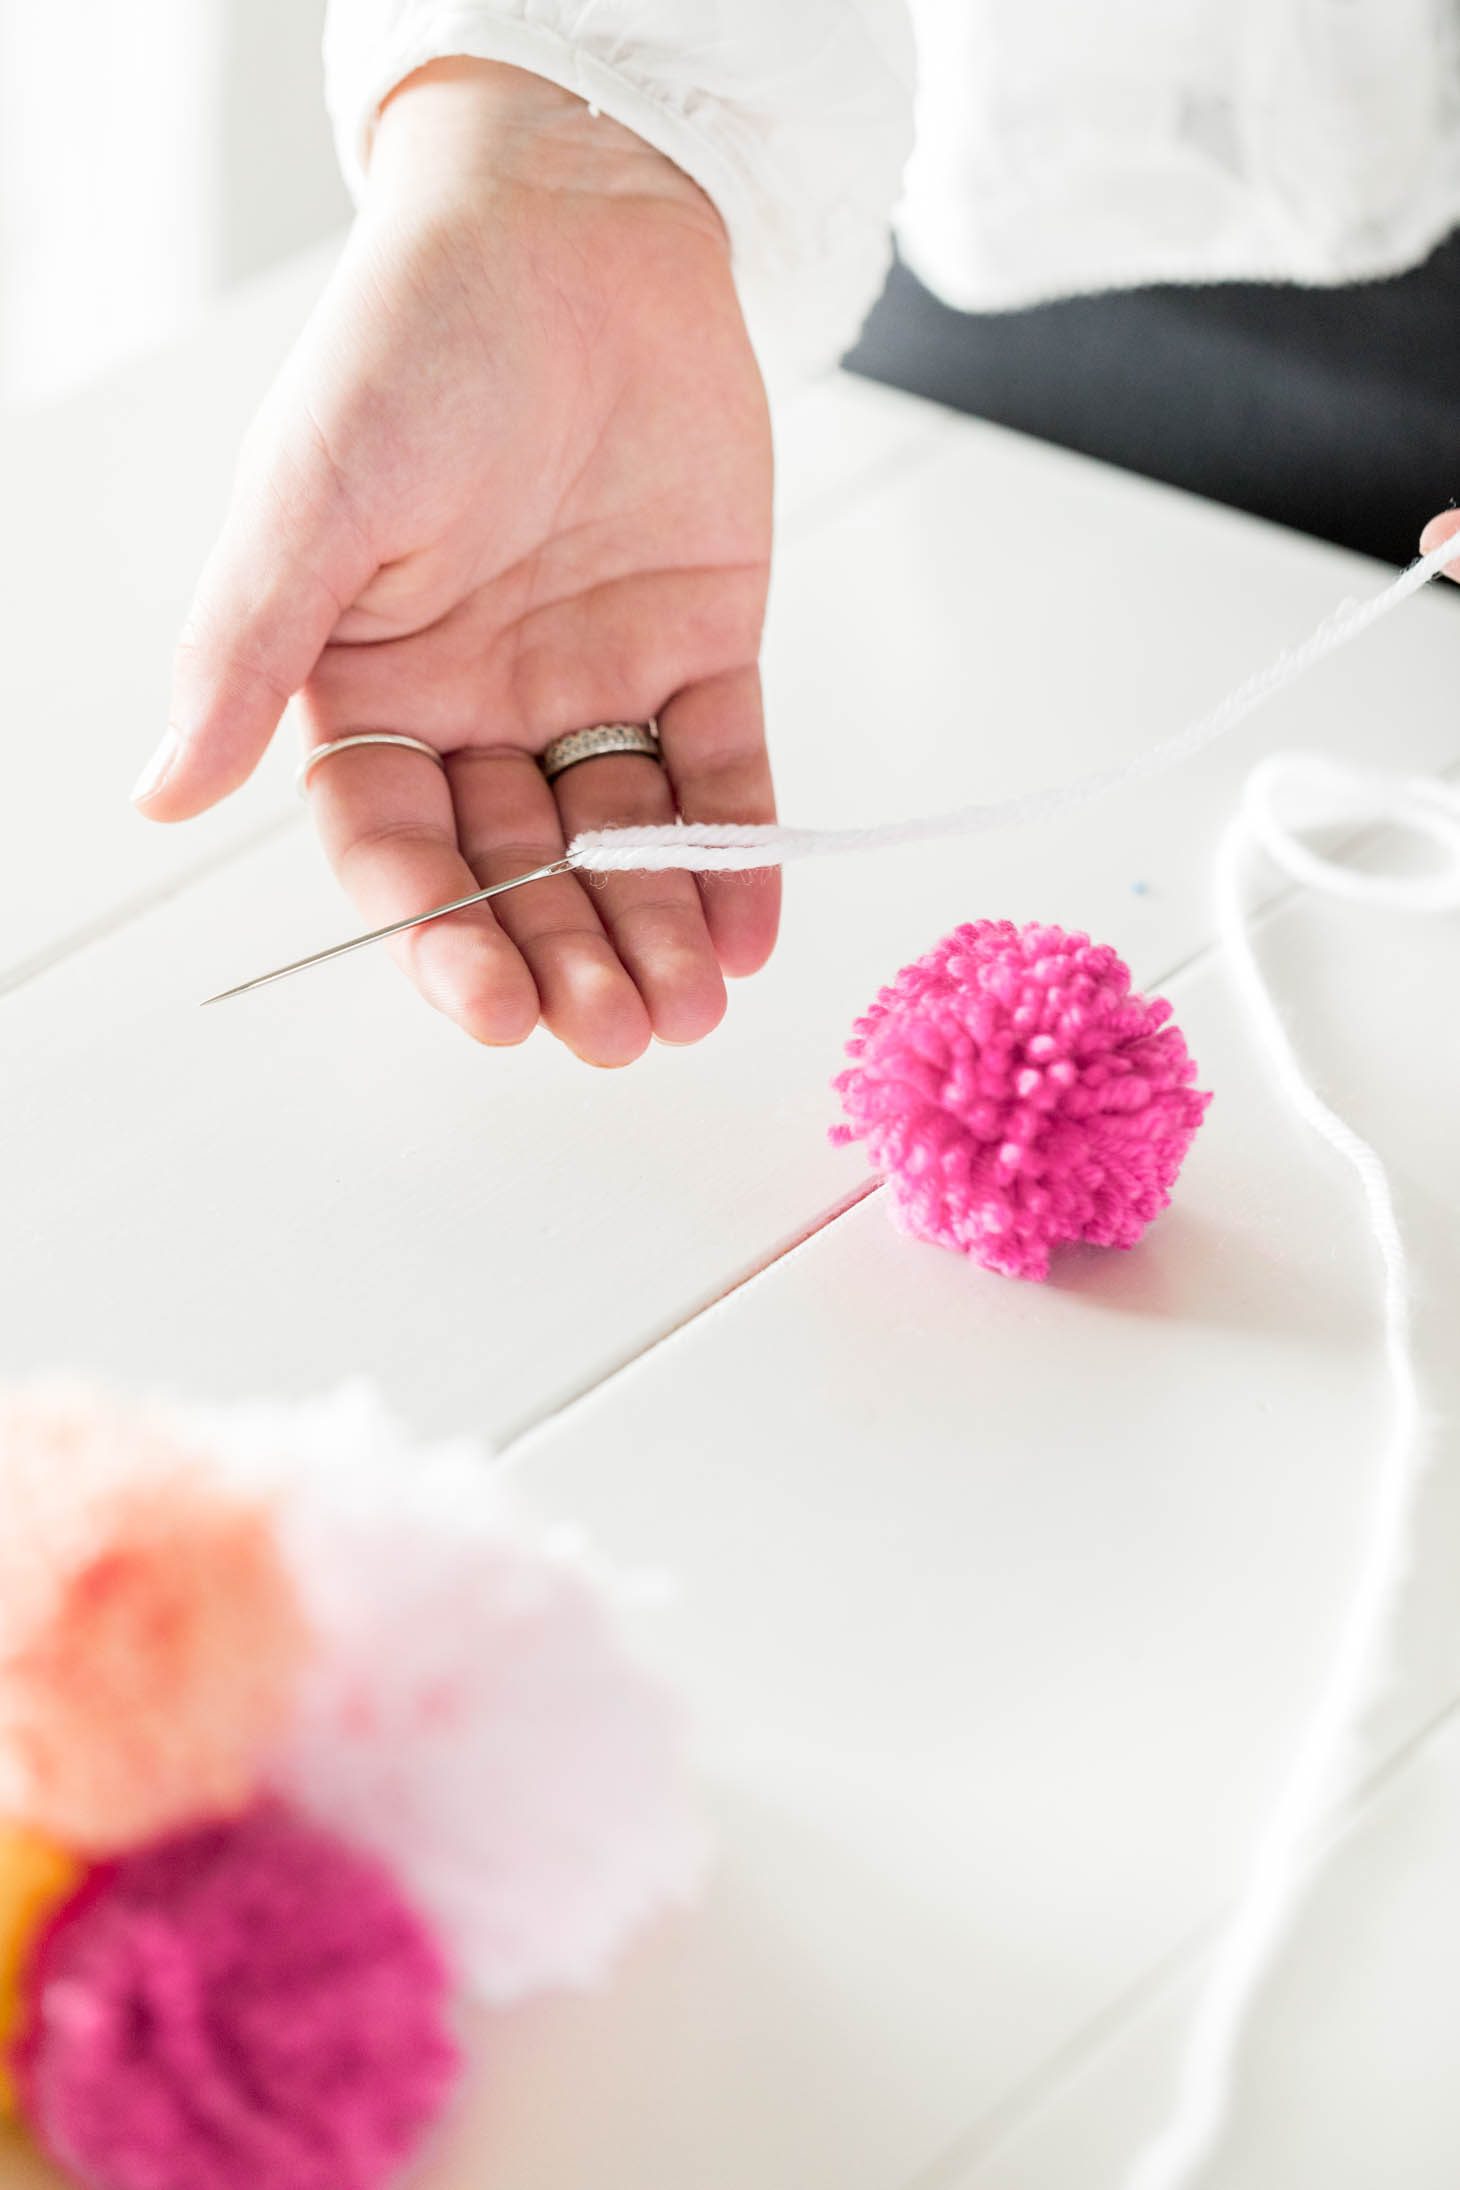
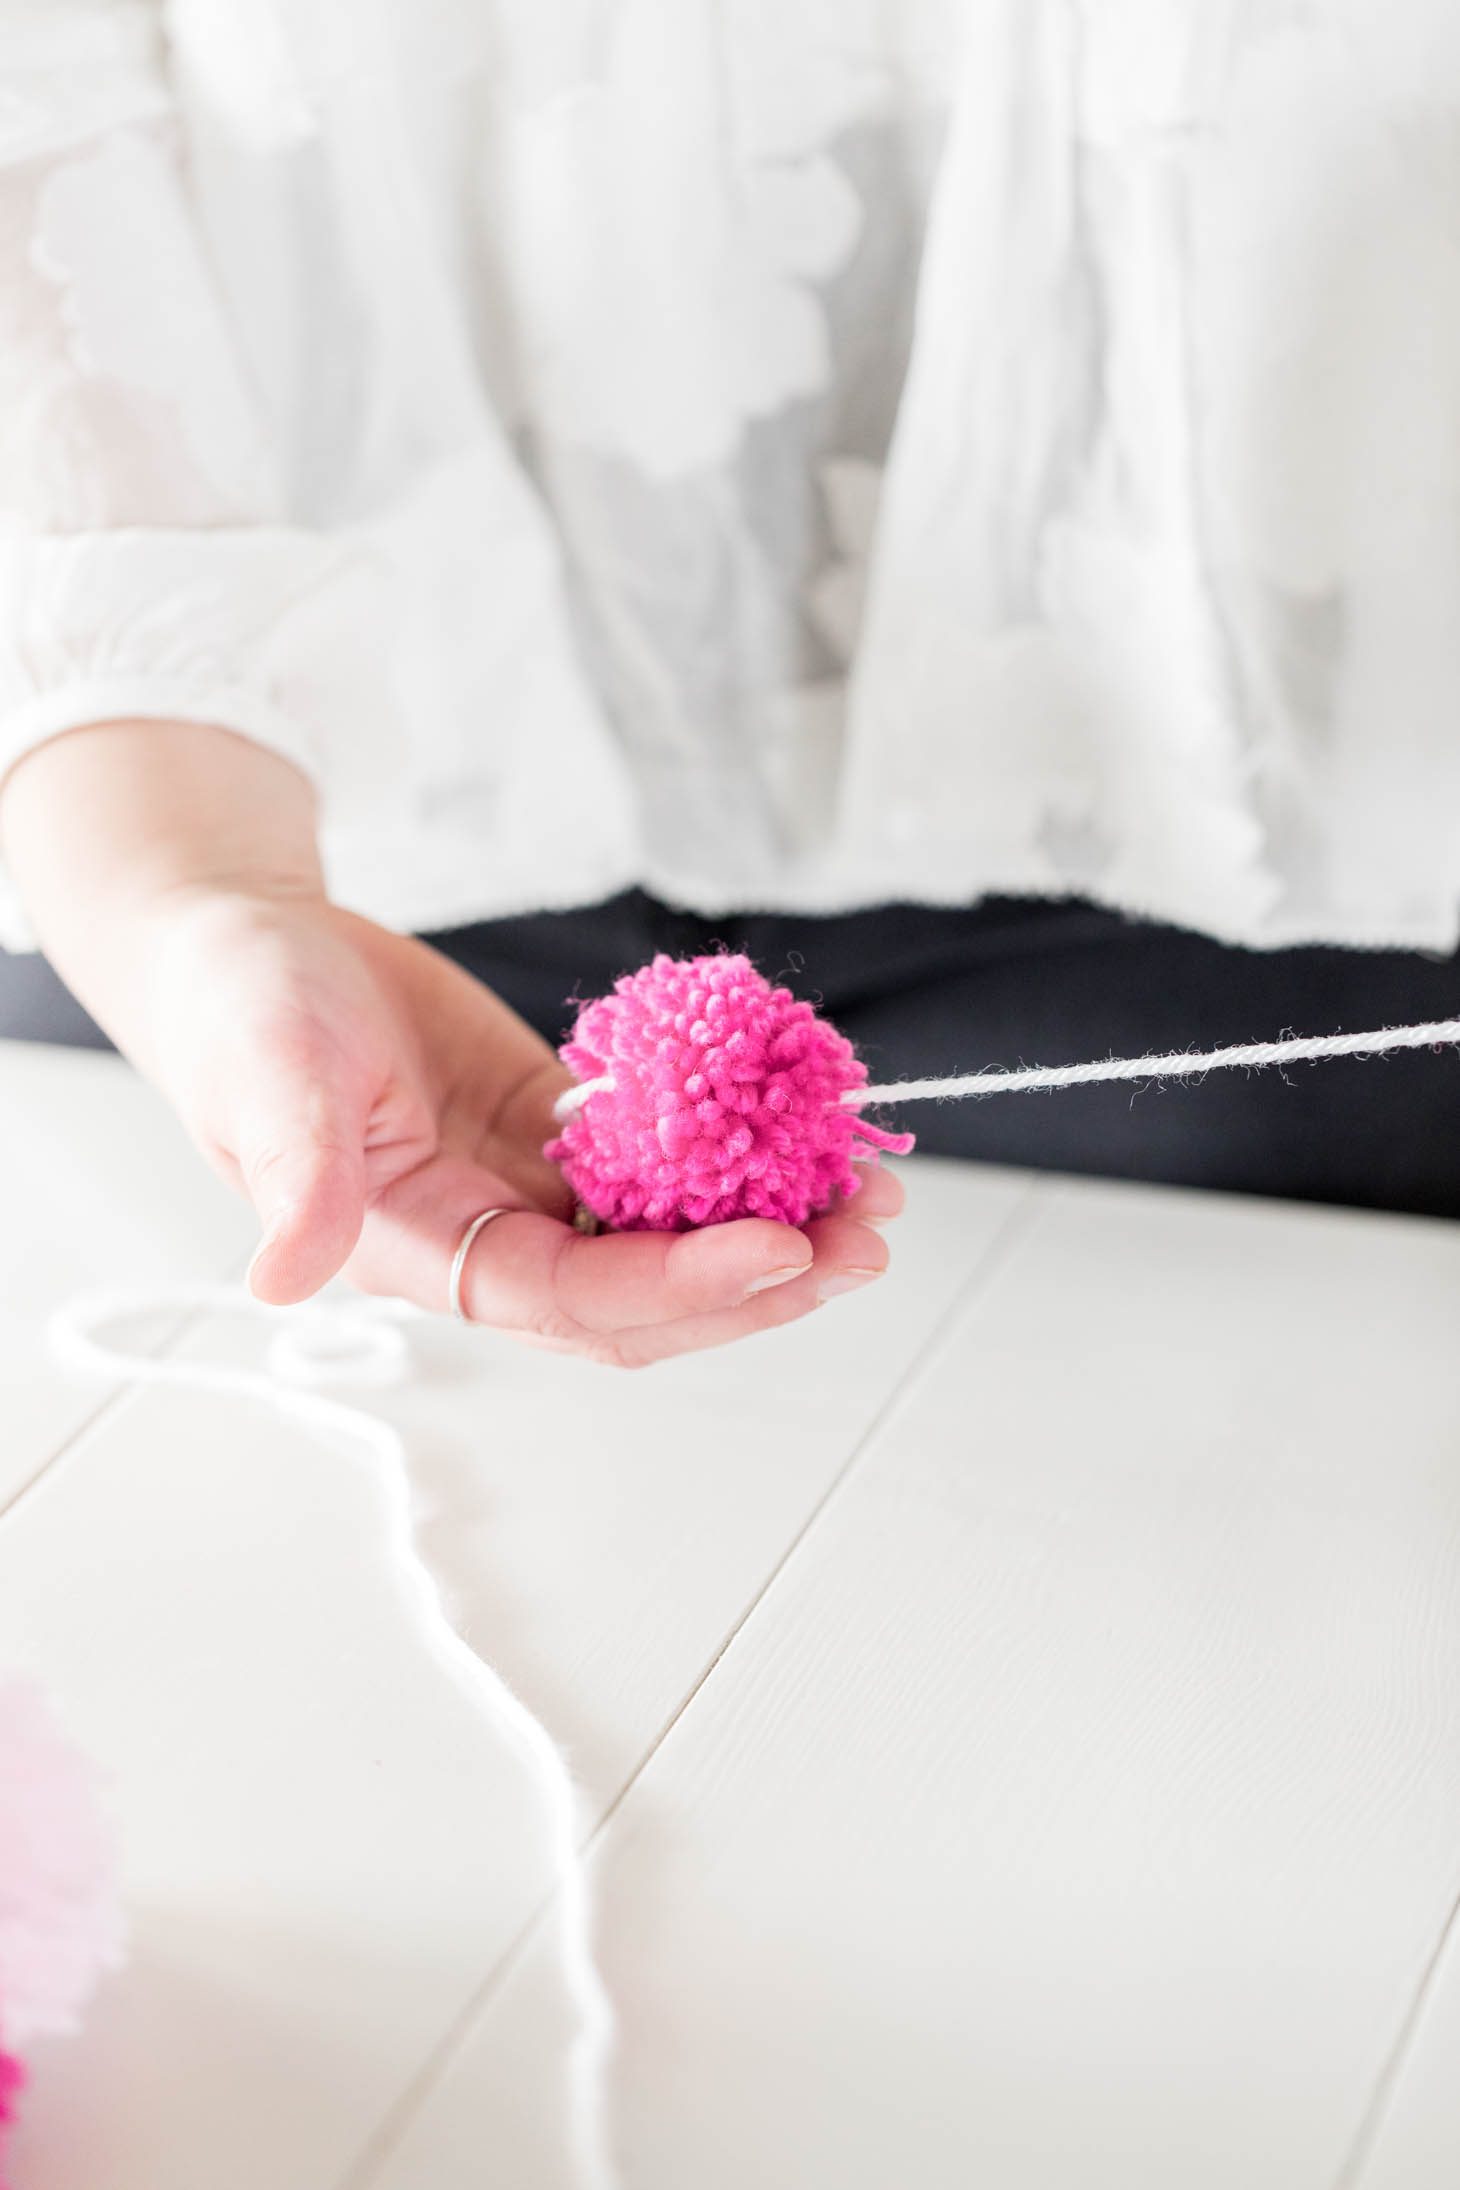
- To create the garland take your needle and thread yarn through it, poke the needle and yarn through the middle of each pompom, continue to add on each pom pom depending on how long you want your garland. Hang your garland and celebrate!!!!






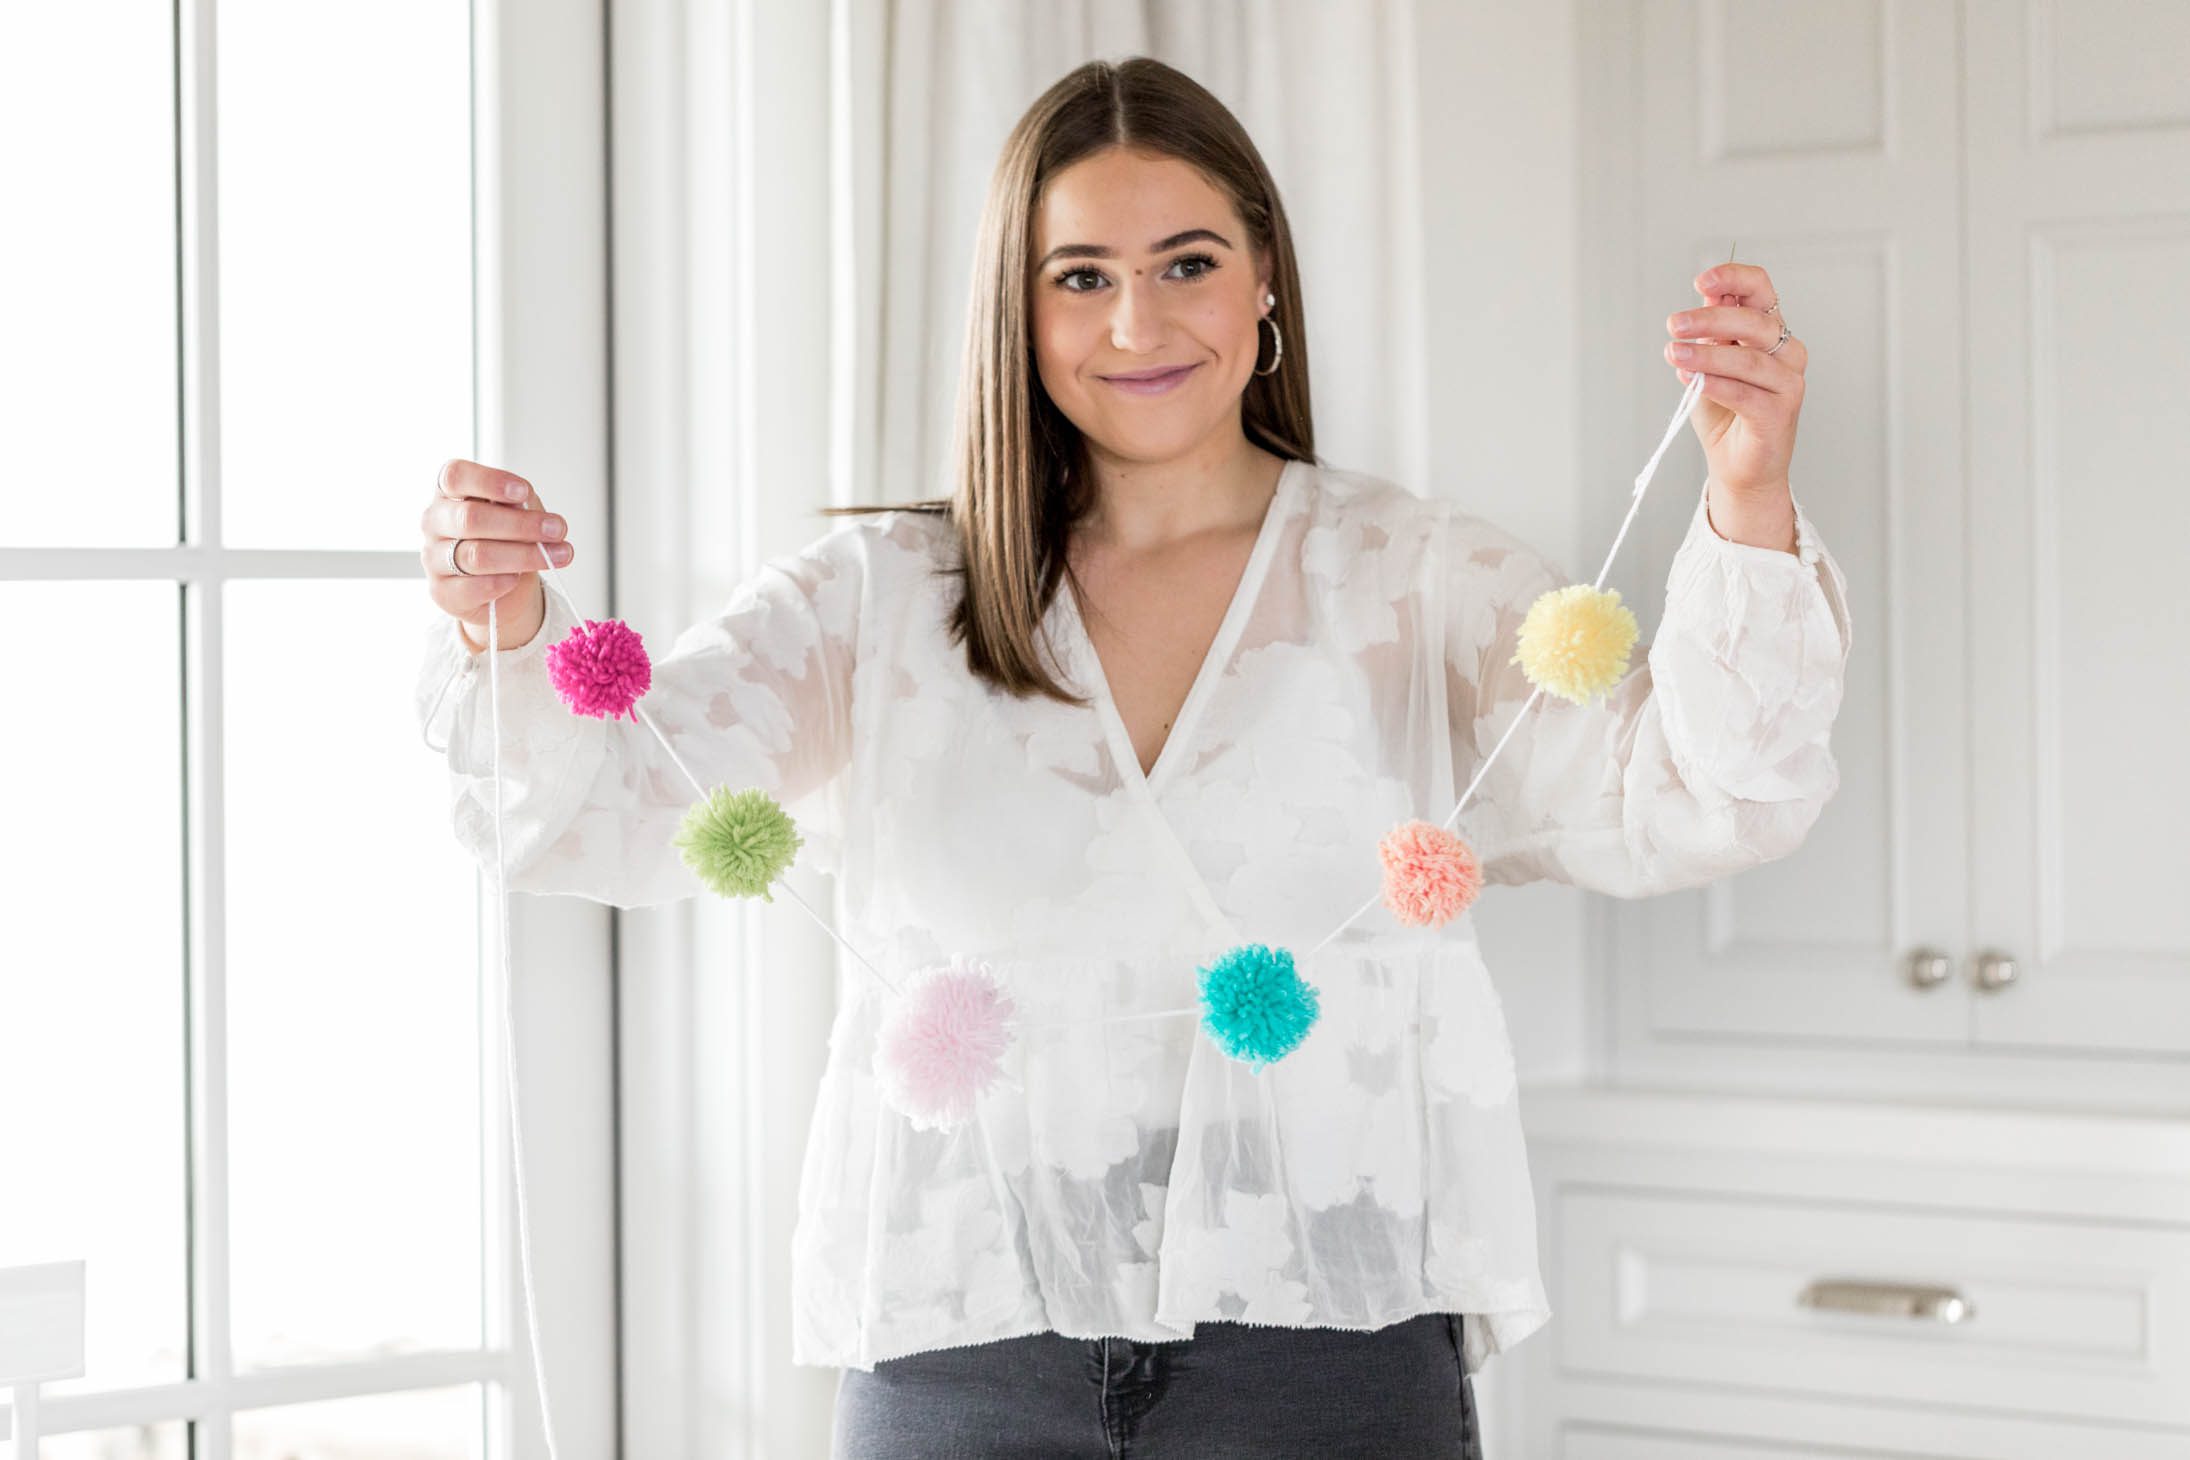
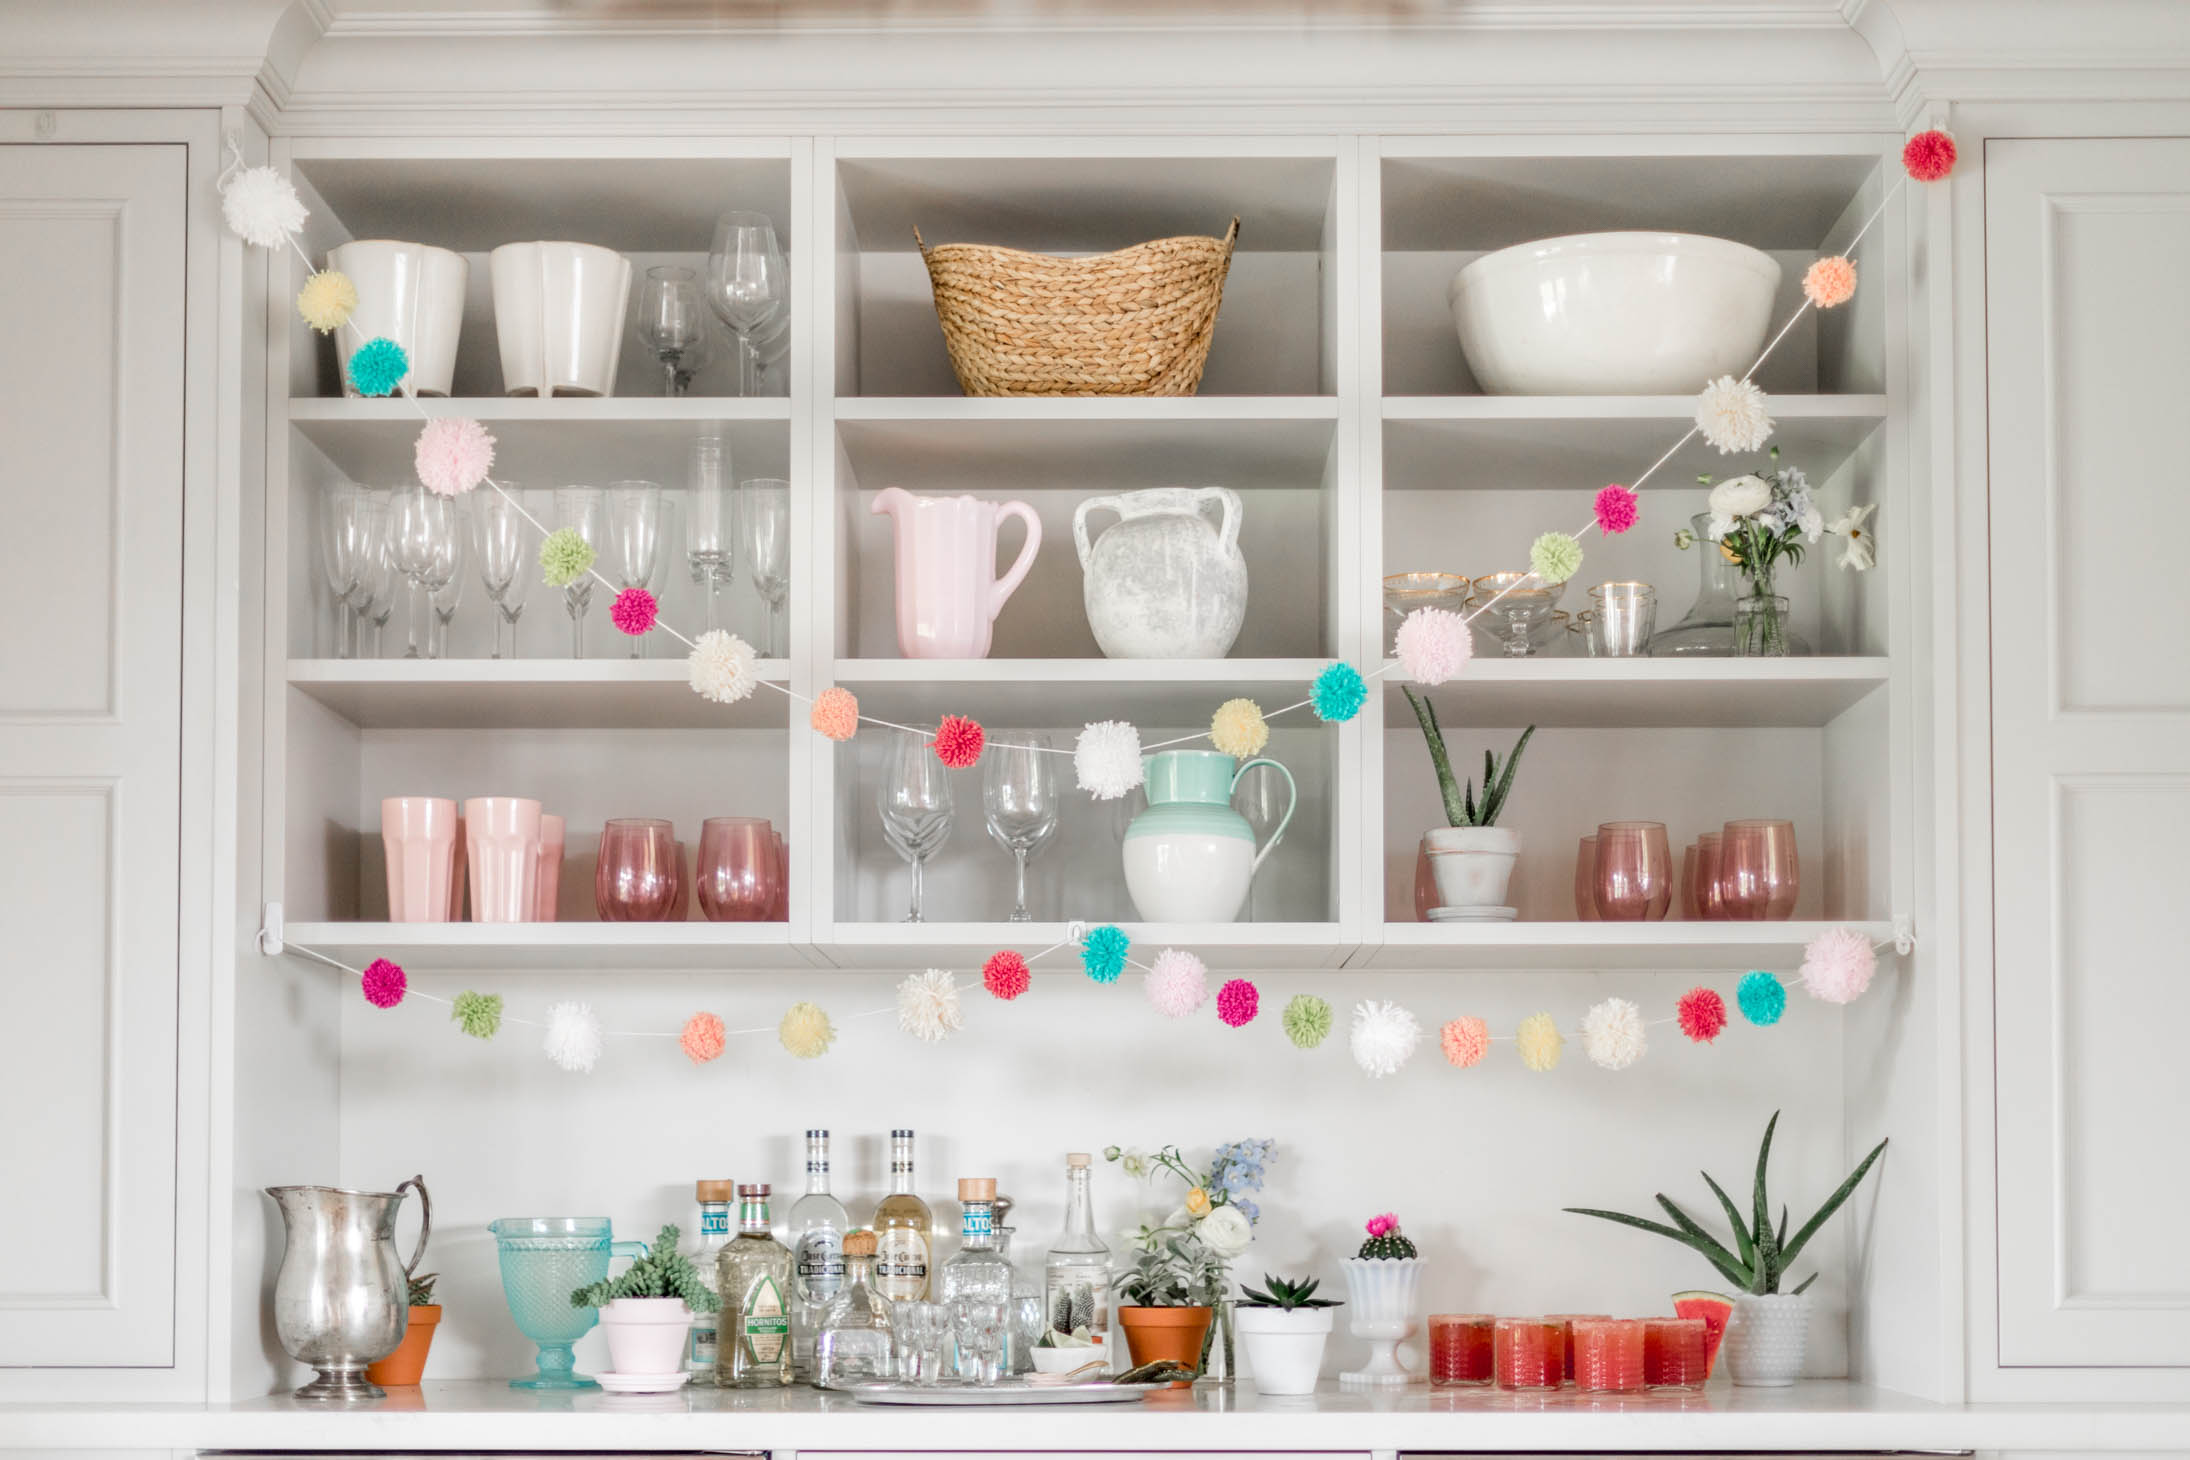
There you have it!! Will you be hosting a Cinco De Mayo party this year??
xo
Jilly




Love this project – thank you! Also love Easton’s white top – source pls
Okay, this project is adorable! Definitely going to try this for above my sons crib! Great work Easton!