I’ve been planning to write this blog post for quite some time now! I recently received an email from a girl named Julia (copied it below) and it pushed me to share all of my knowledge and tips (thank you Julia)!! Some of the most common questions I get relating to this topic are: “What camera do you use?” “How do you edit your photos?” “How do you always get the perfect candid shot?” I’m always flattered when I’m asked these questions because I know that I’m not perfect at photography yet and I still have so much that I want to learn!!! But I’m working on it, and until then I’m sharing with you what I DO know … follow my 8 easy steps so that you can achieve a great candid shot wherever you are!!!
From: Julia
Message: I would love Jillian to do a post about how to get all the perfect candid shots she gets for her blog. For example, on her recent trip to Tofino with friends…is she always travelling with a photographer? Does she have a certain camera and it just takes great photos no matter who is behind the lens? Is it all in the retouching? Would love some tips and tricks on capturing the moments through such fabulous photos!
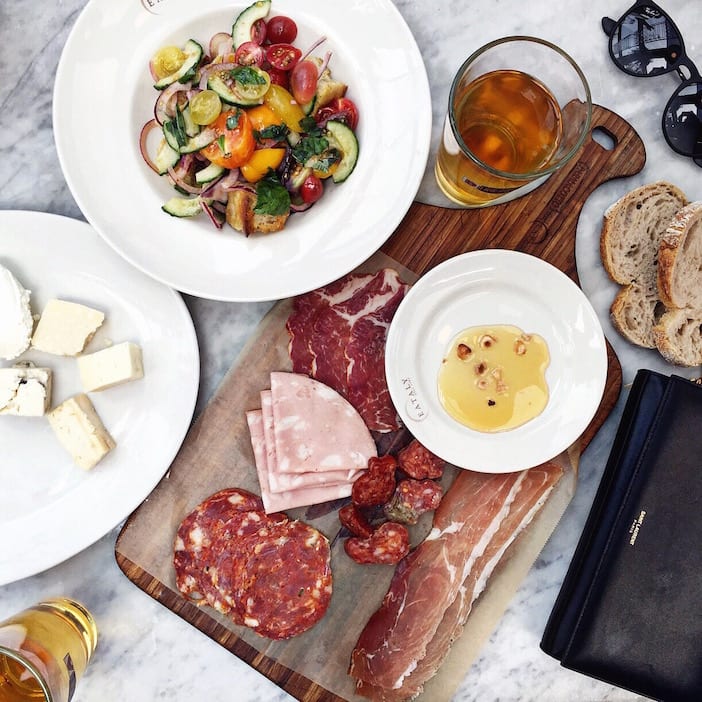
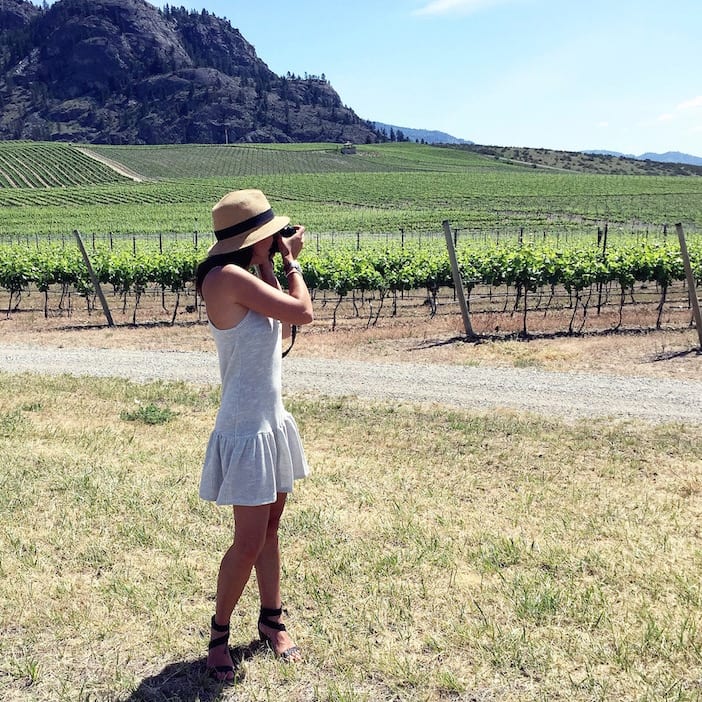
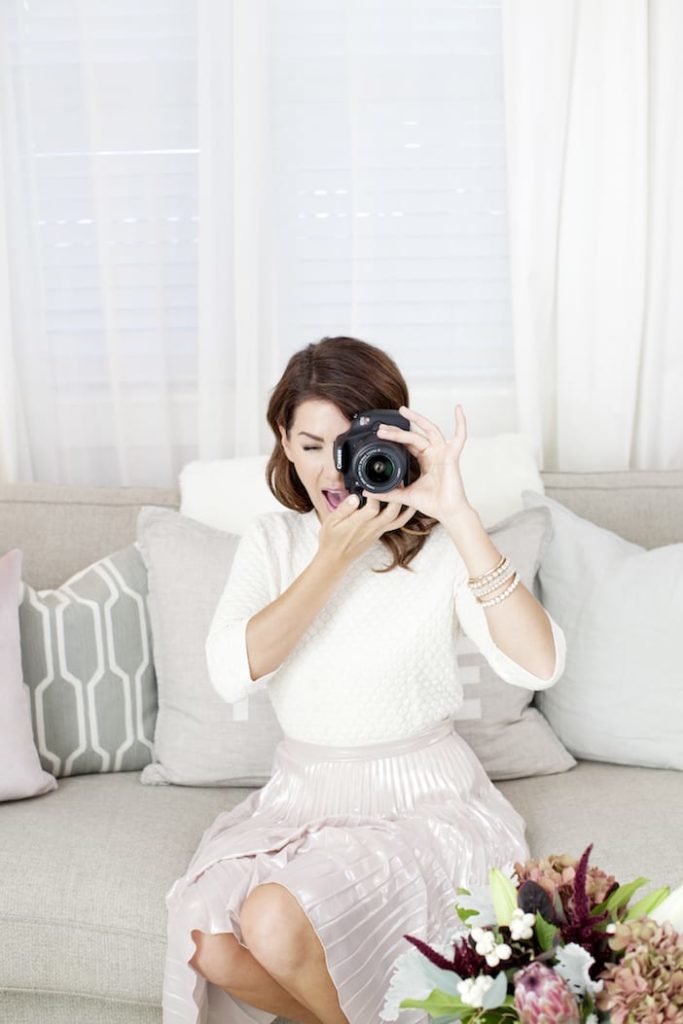
1. Travelling Solo | When I’m traveling alone I rely on city shots, selfies, food shots & decor shots … If I think I look REALLY fine that day, I ask a stranger and hope for the best LOL!!! I don’t have a tri-pod and I haven’t mastered a self-timer so outfit shots are tricky. If you ARE good at either of these, then go for it!!!
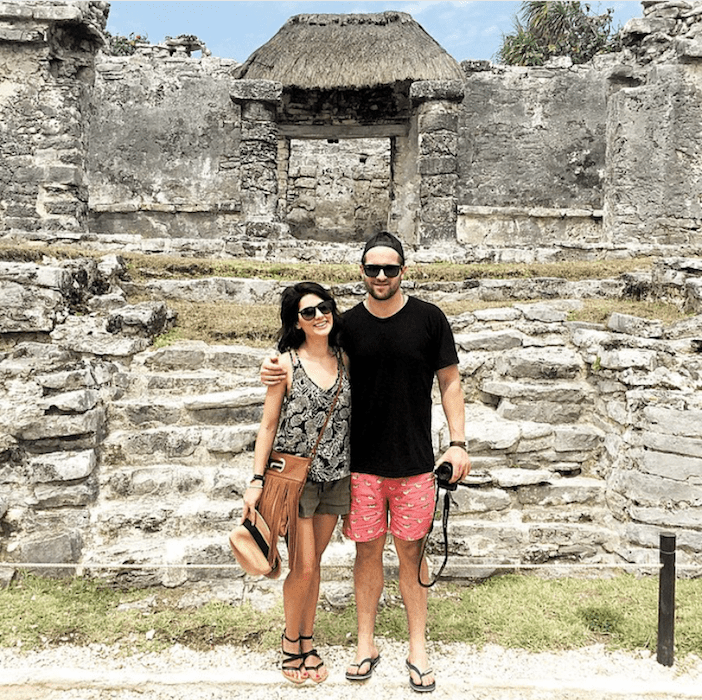
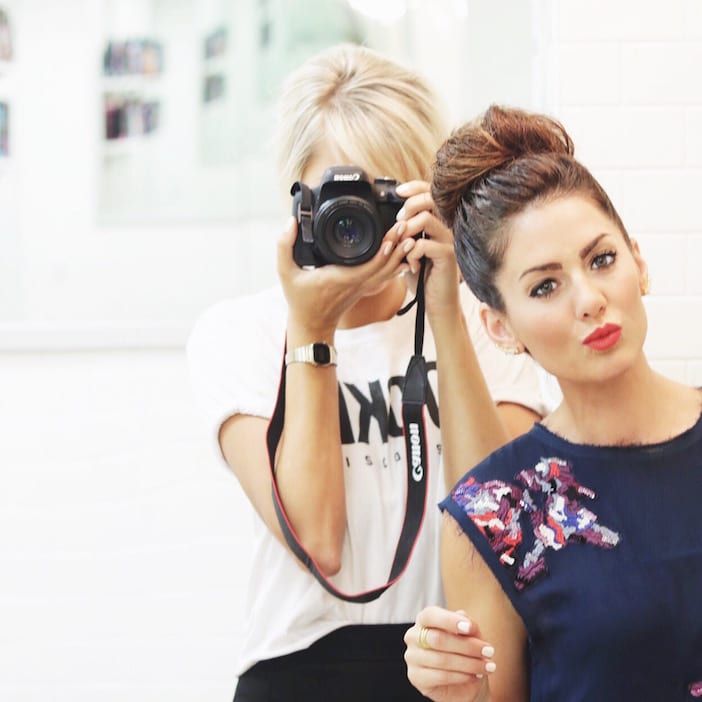
2. Travelling With Someone | Usually whoever I am travelling with, either Justin, Todd, Kaitlin, Shay, a girlfriend, one of my amazing cousins or Mom and Dad … whoever I am with is who is snapping the pics. They have ALL gotten VERY used to “can you take my picture” … I am already certain they are VERY over it lol. If they’re not very camera savvy, I get the shot set up for them and adjust the settings on the camera to make sure I get the shot that I want. Before we’re done, I breeze through the pictures to make sure that there’s at least ONE good one!!!
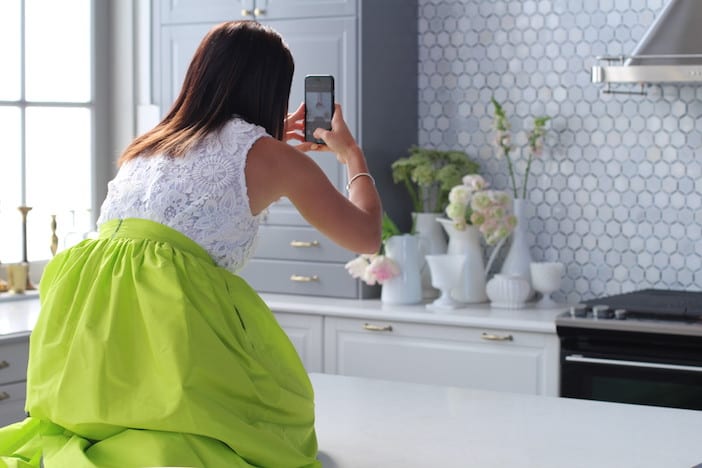
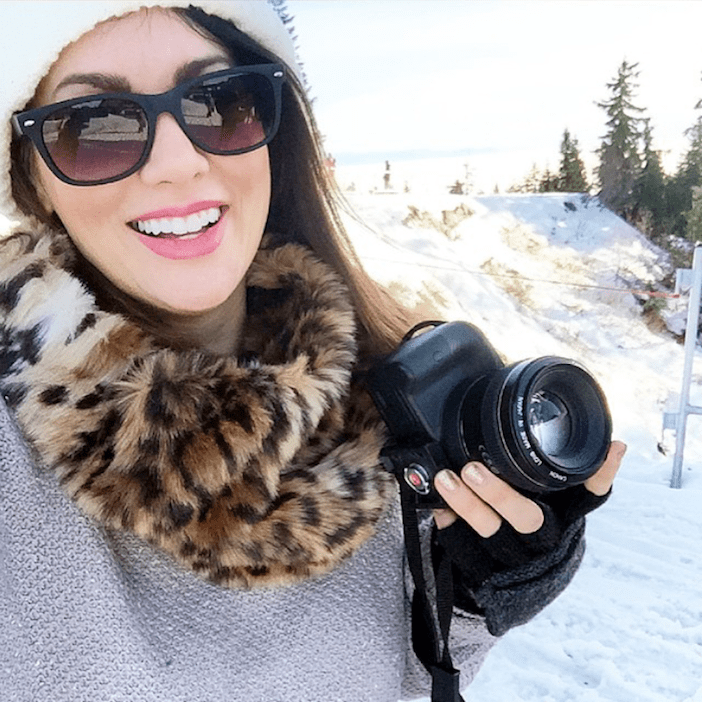
3. What To Use | Depending on the shot I’m getting, I either use my iPhone or my Canon Rebel t6i with wifi. I recently purchased the one with wifi so that I could snap pics and upload them to my phone on the fly. I absolutely LOVE this feature but it’s definitely not necessary if you’re just starting out. It’s more important to buy a better lens … my fav is my 50mm lens!
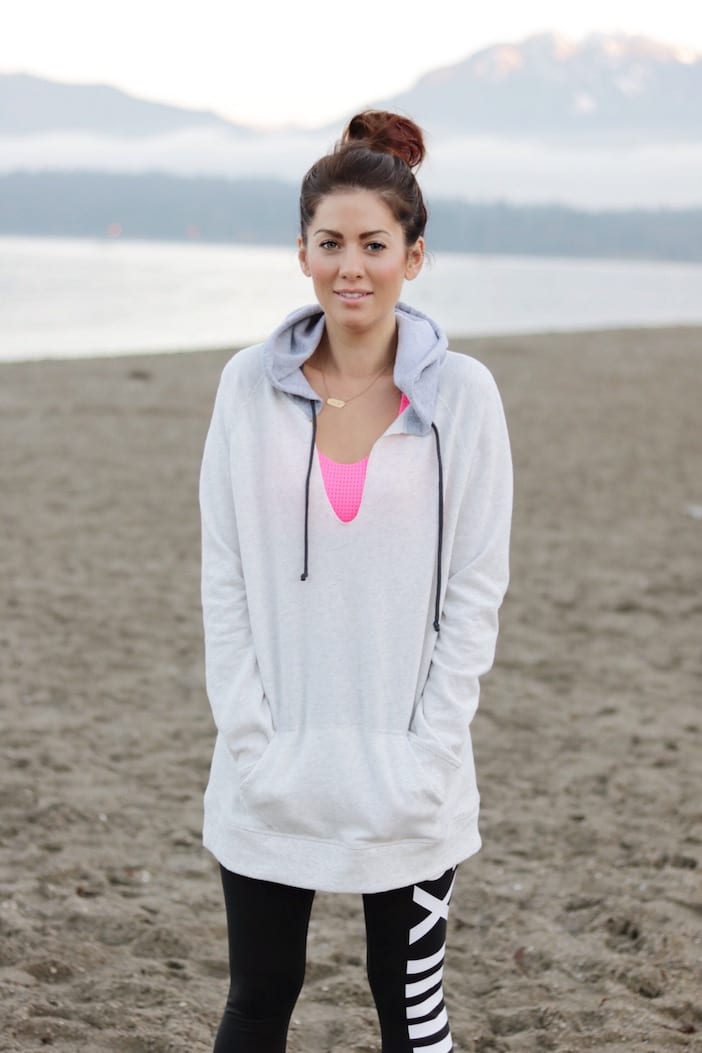
4. Timing | Lighting lighting lighting. If you are just starting out, INDIRECT sunlight is your best friend. Early morning or pre-dusk is the best time of day to get the perfect shot. The photo above was taken JUST as the sun was coming up!! In the dead of day with over head sun is the WORST time of day for photos!!! If this is the time you are taking the picture, try to go under a tree, against a wall or in the shade for nice rich colors and minimal shadows.
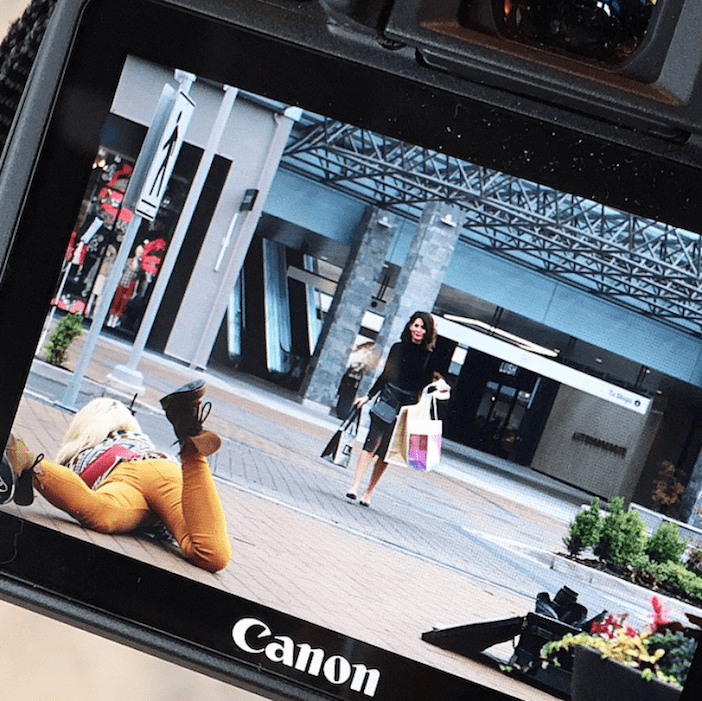
5. Getting The Shot | Always take more pictures than you think you should. Try different angles. Climb on tables, lay on the ground … do whatever it takes to get the perfect shot!! And take LOTS so that you can go through and pick your favourite one. There’s always something I wish I had moved or tried differently once the shoot is over … so doing this will minimize that!
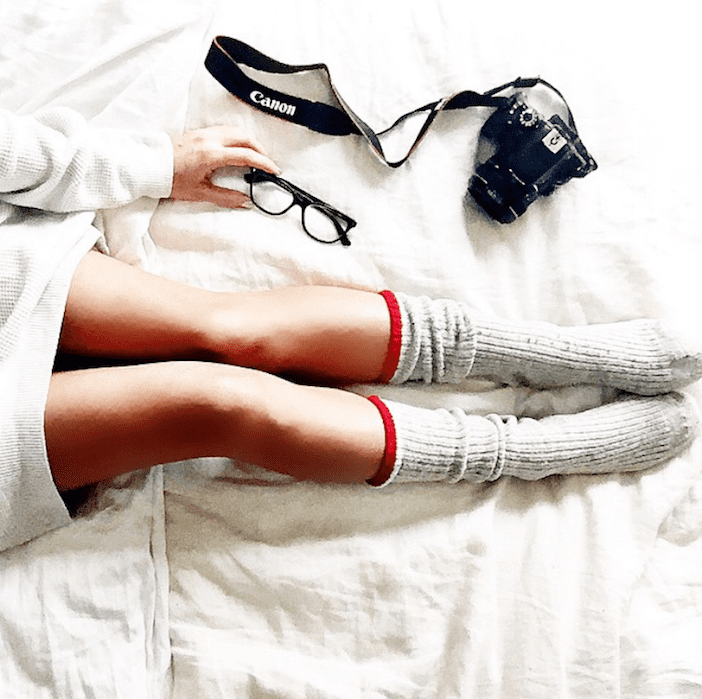
6. Indoor Shots | Natural lighting is best indoors. Turn off ALL the lights and play with the natural lighting in your home. Try opening all the blinds, taking your shot by the window, do whatever you can to minimize incandescent light. The lights ON will only cause shadows and a yellow tinge … you don’t want that, trust me!!!!
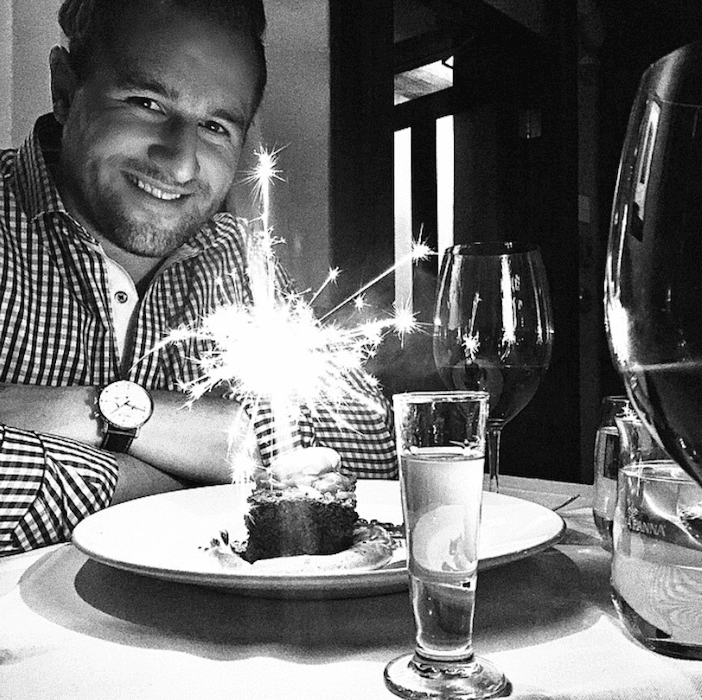
7. Pictures At Night | Try to avoid these at all cost. If that means you want the perfect “food” shot, yes, you will have to save extra to set it up in the morning!!! Otherwise, if you are taking photo’s at night I suggest using a black and white filter.

8. Editing | Don’t over edit your photo’s with too many filters. I usually go through about 3-6 filters before I post, but I play around with the intensity on each. The photo editing tools that I use are PicTapGo and Facetune. I use both on most of my photos. But I don’t use Facetune in the normal way (like to make your lips bigger) instead, I use it to highlight details of a flower, whiten my dirty sheets or iron a wrinkle out of a shirt. I also use Facetune for the white border that I have on all of my pictures.
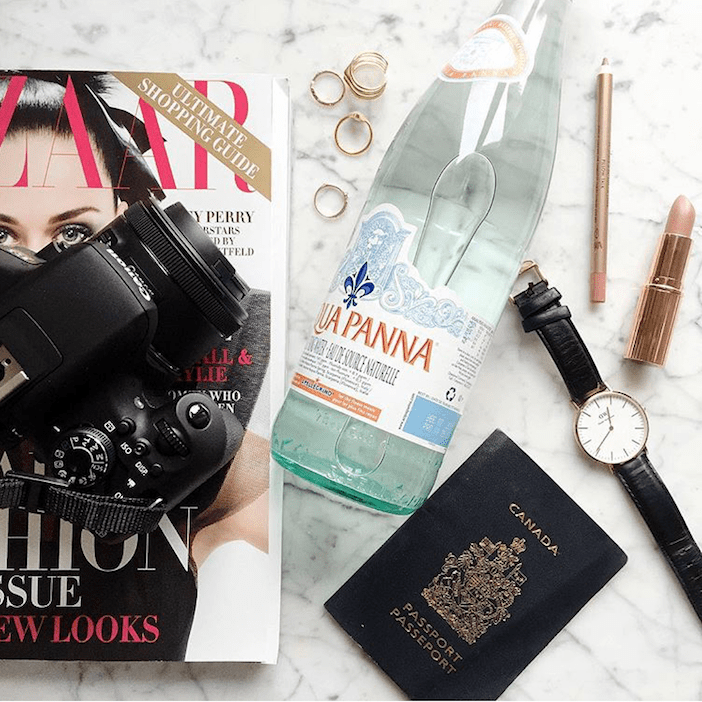
Last but not least … if you still feel like you can’t do this yourself … here’s a list of photographers that I use:
Janis Nicolay – Interiors
Kristin Sarna – Lifestyle
Karolina Turek – Headshots
Sharla Pike – Lifestyle
And if I STILL haven’t answered your questions … let me know in the comments below!!
xo
Jilly


Do you mind sharing which exact model of the Canon Rebel you use? I am looking at upgrading my camera 🙂 Love the tutorial on how you shoot your photos, they always look so gorgeous, thanks for the tips!
Sorry!!! I added it in to the blog …. I use a Canon Rebel T1 6!!!
Jillian had mentioned T1 6, but I’m thinking she meant T6i, I have the Canon Rebel T4i which is 3+ yrs old.
WOOPS!!!!! Thank you Karla, you are right! That’s what I meant 🙂
A couple quick tips for shooting indoors at night – change your setting on your DLSR to “tungsten” lighting rather than sunlight – this helps remove any yellow! Avoid flash at all costs, but if you MUST use your flash then you can turn down the intensity of it on your DSLR which makes a big difference. Loved seeing the behind the scenes Jill, great post.
Victoria,
Do all cameras have the “tungsten” setting on them? I just bought a Sony A6000, and I’m not as familiar with it as I was my Nikon. Thanks, in advance!
I’m fairly certain all DSLR cameras have this – I personally use a Cannon, I bet you could find a youtube video that would walk you through how to change the setting on your Sony A6000 🙂 Good luck!
Great, thanks for your response- I will resort to youtube 🙂
Great tips! You always look so cute in your photos! 🙂
Hey Jill! Thanks for sharing with us! Your pictures are always beautiful! Which filters do you use? And do you use them on FaceTune and PicTapGo before posting to IG or use the standard ones on Instagram? Thanks so much!
I use facetune filters and then pictapgo!!! I don’t use the instaagram filters ever …. only SOMETIMES the sharpness!!
What filters do you use in PicTapGo and Facetune?
I love the air filter on PicTapGo, it’s light and fresh! I mainly use the whitening function on FaceTune! XO
I am also looking at buying a new camera and am having trouble finding a good balance between the lens and megapixels. Some nicer cameras that have a good lens only have 16-20 megapixels, which doesn’t seem like a lot. Does that matter? Do you know how many your camera has?
It doesn’t hurt that you’re a totally photogenic doll, either! 😉 Thanks for the great tips!
I was so glad to hear that the 50mm lens is your favorite! I’ve heard that from many people. I have been using the 2 lenses that came with my camera, they’ve both been awesome but I had a windy day tripod accident recently while shooting in self-timer mode (no photographer right now) and my favorite lens broke BUT I know the 50mm will be better and it arrives early next week. Yay! Loved all your tips here, I learned a lot of new things that will help me as I experiment with photography on both my old iPhone (it’s a 4, ya it’s bad! lol) and my Canon T4i. 🙂 Thanks Jillian for sharing! ~Karla
These are great tips! Thank you!
Thank you for sharing! This is definitely something I struggle with as I work in the evenings when the kids are asleep and it’s so dark ! But great motivation to learn how to use my DSLR better . Thank you 🙂
can you give some tip on how to style food, clothes, etc
Love Love Love these practical tips! But LOVE YOUUUUU the most! You are a breath of fresh air!
Thanks for posting those great tips Jill! I’d love to hear if you have any tips on posing. You always look so natural. I tend to look very stiff and contrived. I would love to know your secrets.
Hi Jill, Thanks for the useful tips! Quick question – which 50mm lens do you use? 1.4? 1.8? Looking to buy one soon but not sure on which to buy… thanks!
1.8!!! But ask at the camera store which one is right for you 🙂 XO
Ahh yes can you please share this? I’m wondering the same thing as well!!!
Hi Jilly, always LOVE your pictures! We’re looking to do our kitchen back splash and the one pictured in this blog would fit our style perfectly!!! Any chance you remember where it’s from or where we can get similar? We live in Ottawa, Canada. Thanks in advance! Ps, I’m super girl crushing on you!!!! I’m a dietitian and vet tech and always promoted plant based meals to help my patients manage their cholesterol, weight, blood pressure, etc – but I’ve always thought I should do more of it myself…. and now thanks to YOU, I’m actually starting. XO
Hi Jillian! Do you mind sharing the exact 50mm lens you use?? Someone else asked below but I don’t think it was answered. Thanks!!
How to get a good exposure in front of the window while also getting good exposure through the window?
How do you make your pics look so nice, white, and fresh? I know you said to open your blinds, but you don’t have any shadows in your shots?
Thanks of much!
CL
Thanks for taking the time to explain things in such great detail in a way that is easy to understand.
Which border do you use in Facetune to get the white around all of your photos on Instagram. I have tried but it doesn’t turn out like yours with the white border around the whole picture.
Thank you!! Your insta feed is gorgeous!
I use the “Plain W” border under Frames in Facetune!! xoxo