I never realized or understood the importance of colour correcting until I met my makeup artist Kaitlin Hargreaves. On set, she’s constantly correcting my under eye circles when the call time is EARLY or I’m just tired and not looking my best. Not to mention my red marks and blemishes when my skin isn’t perfectly clear. There are SO many ways to colour correct and so many different products out there to help you do it that it can be overwhelming. So I’ve asked Kaitlin to share with me–and you–the most important steps and best products to use for each step.
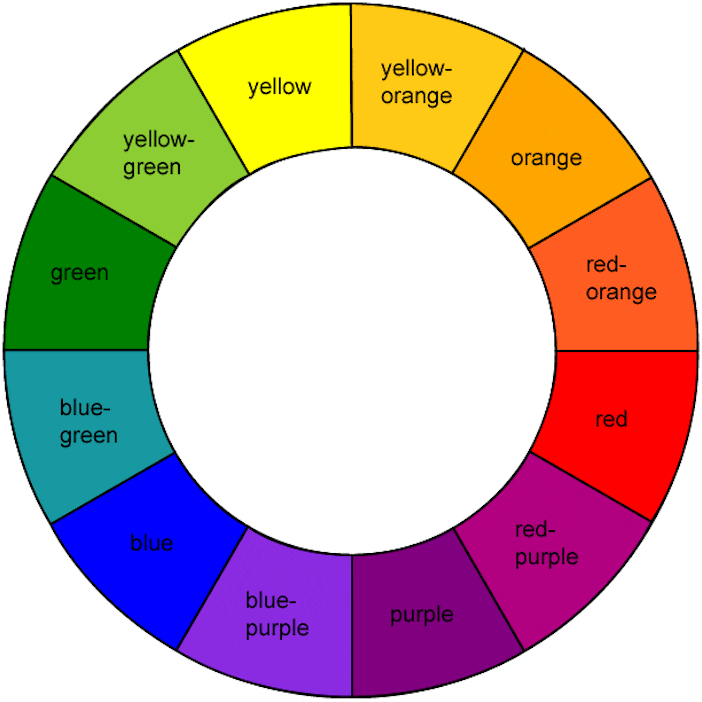
All color correcting is, is simple color theory! So to break it down, first take a look at your skin and locate the problem. Remember that not all of us will be the exact same, so what works for your bestie or your sister may not work for you!
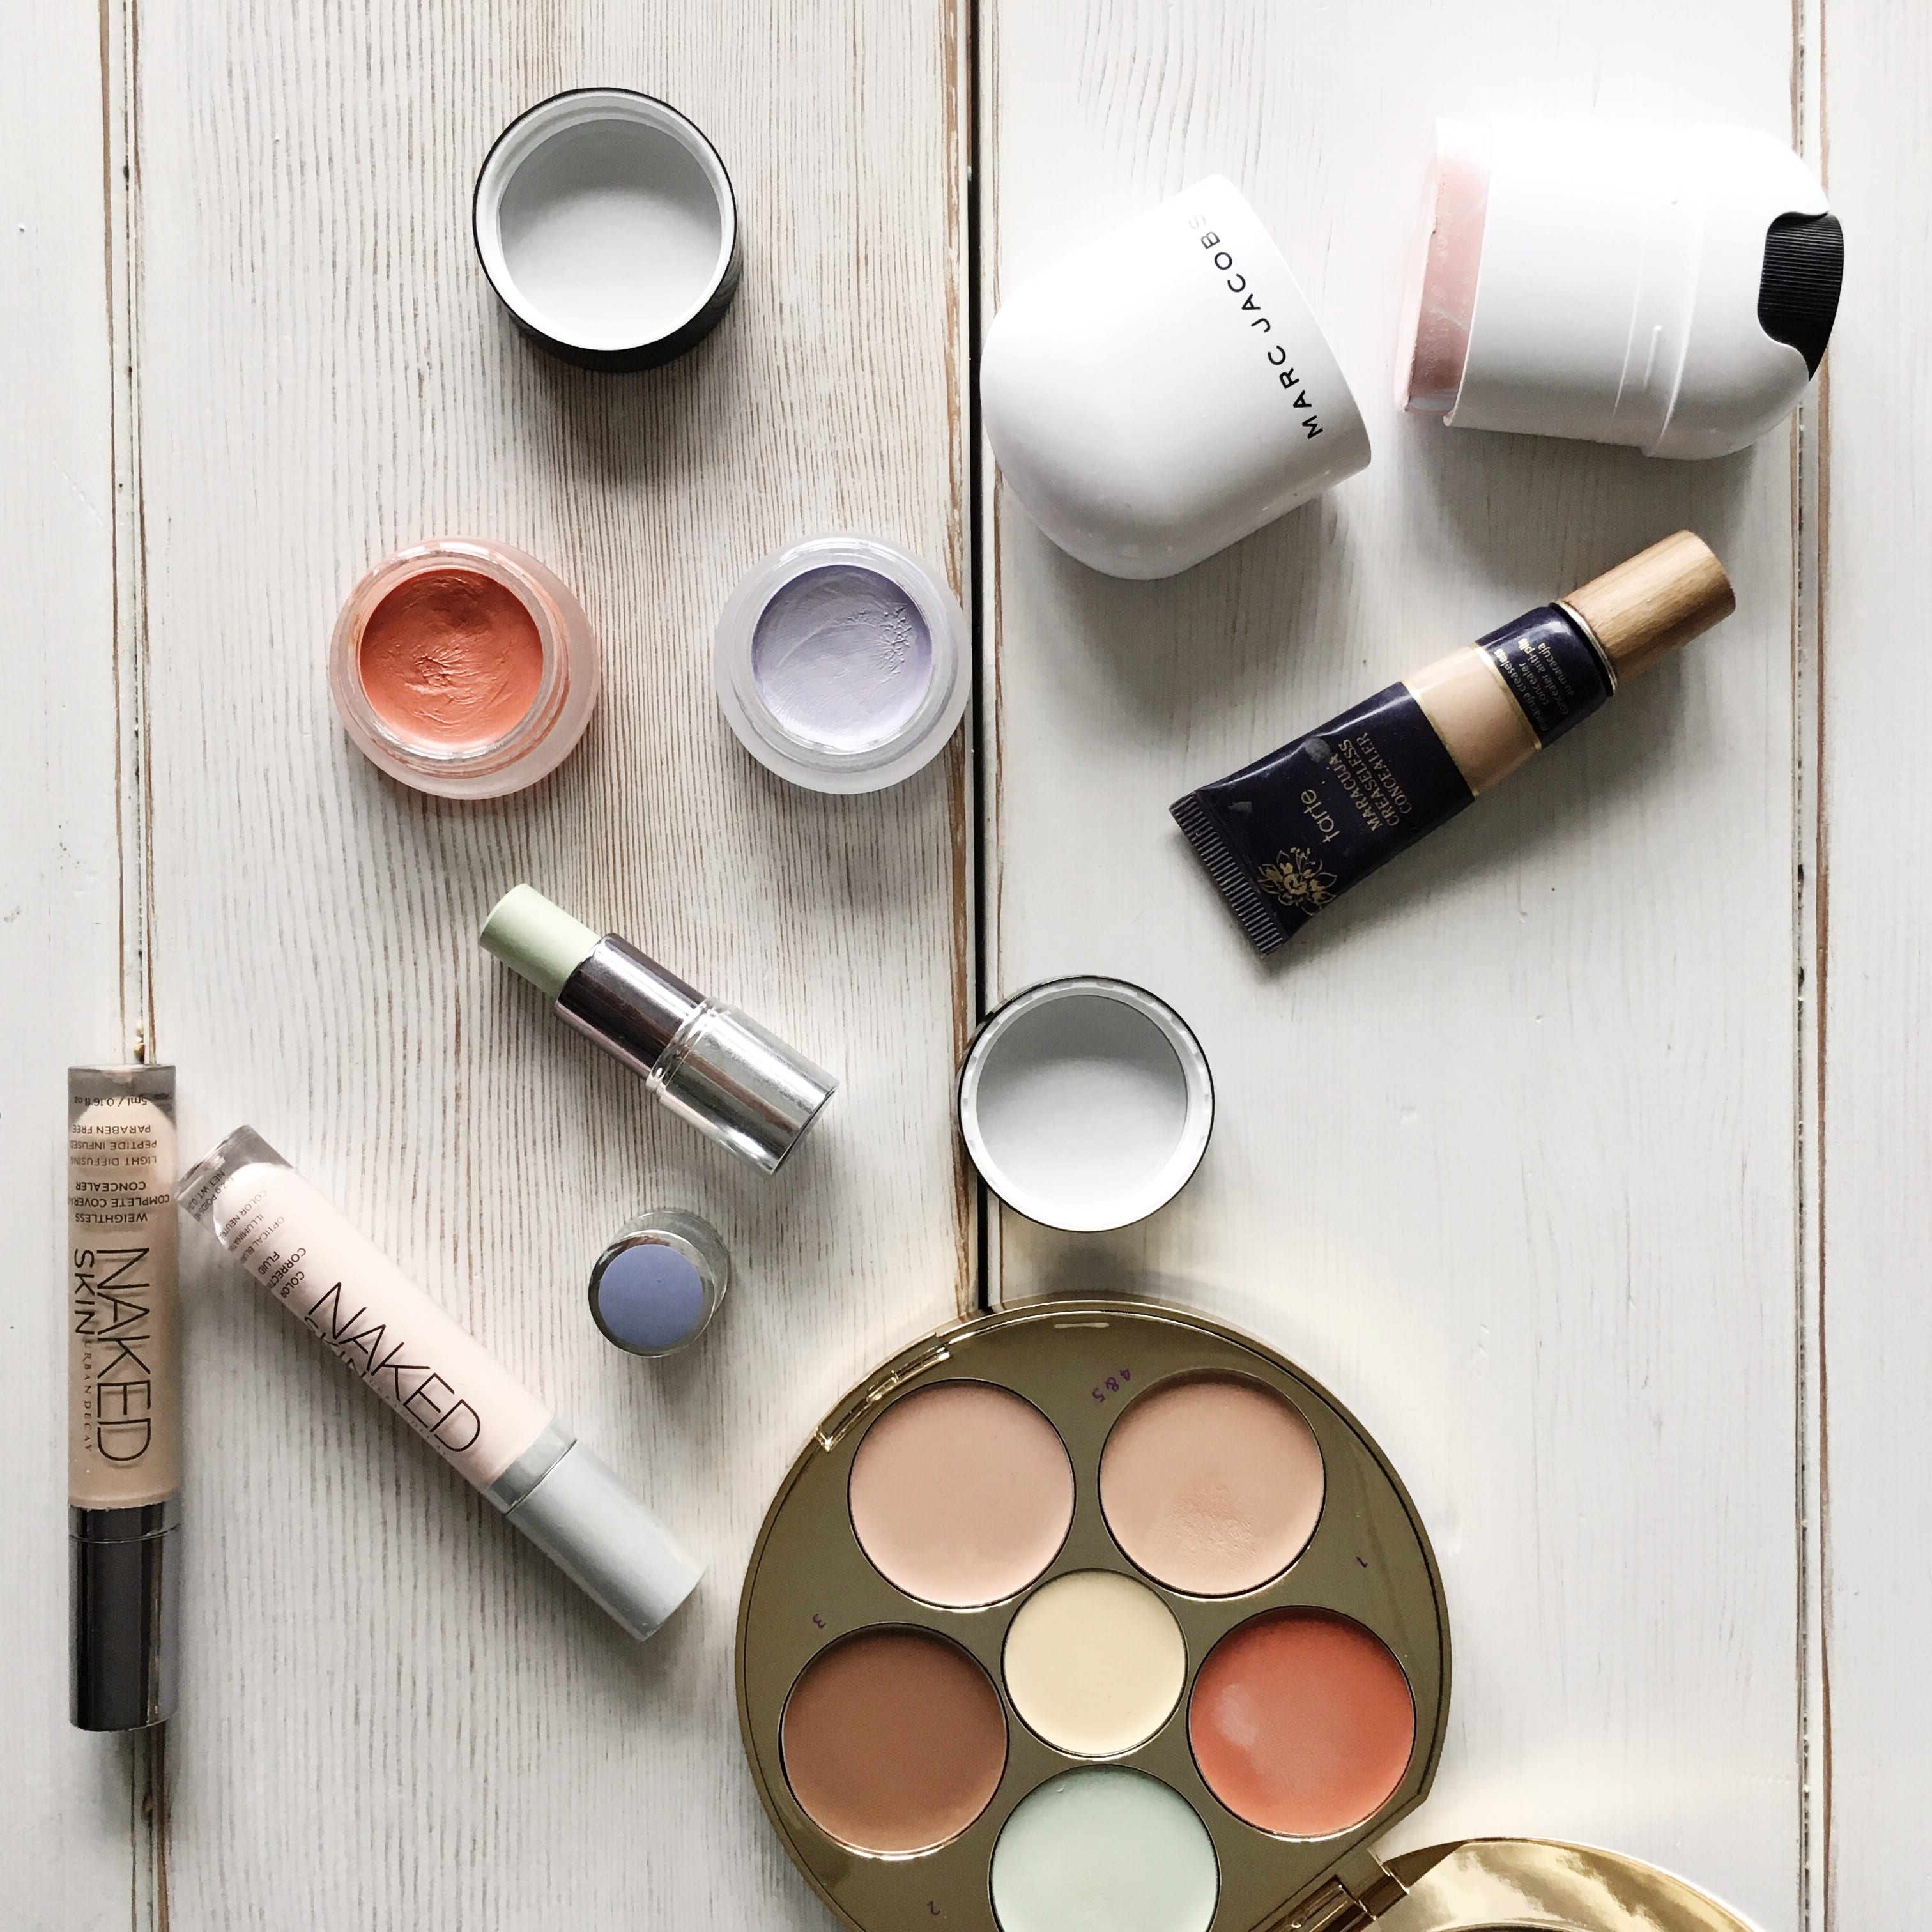
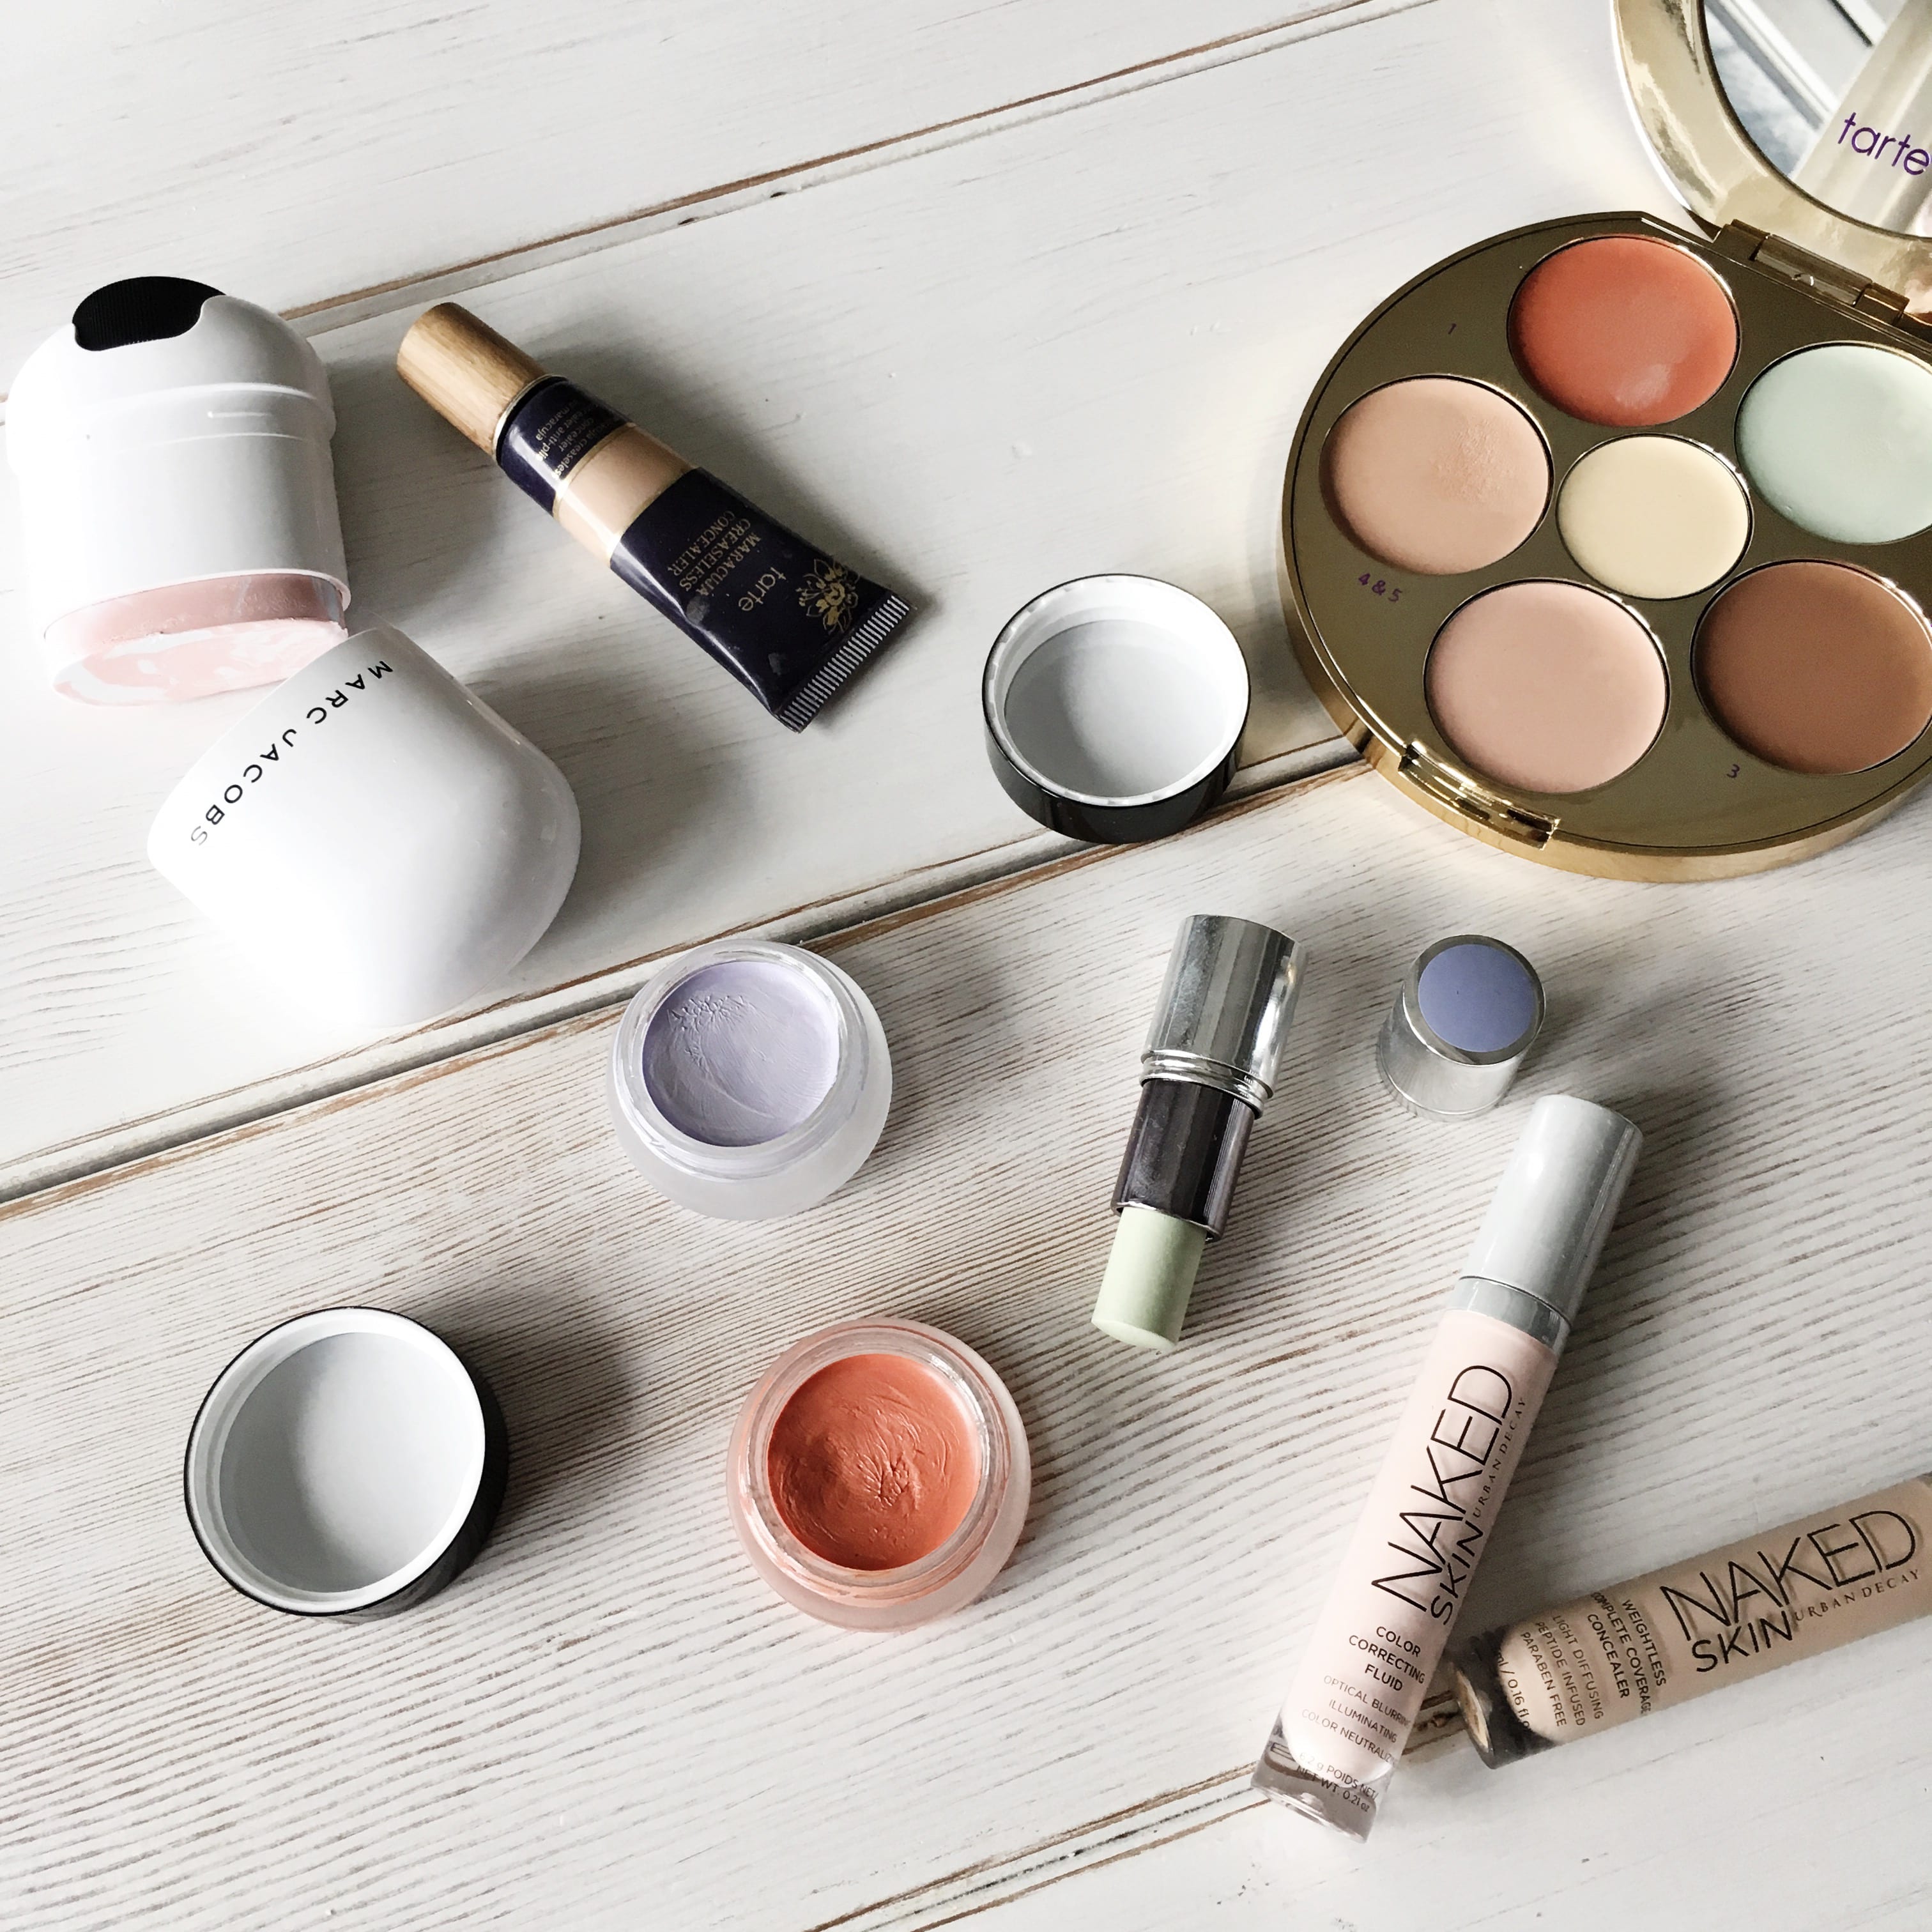
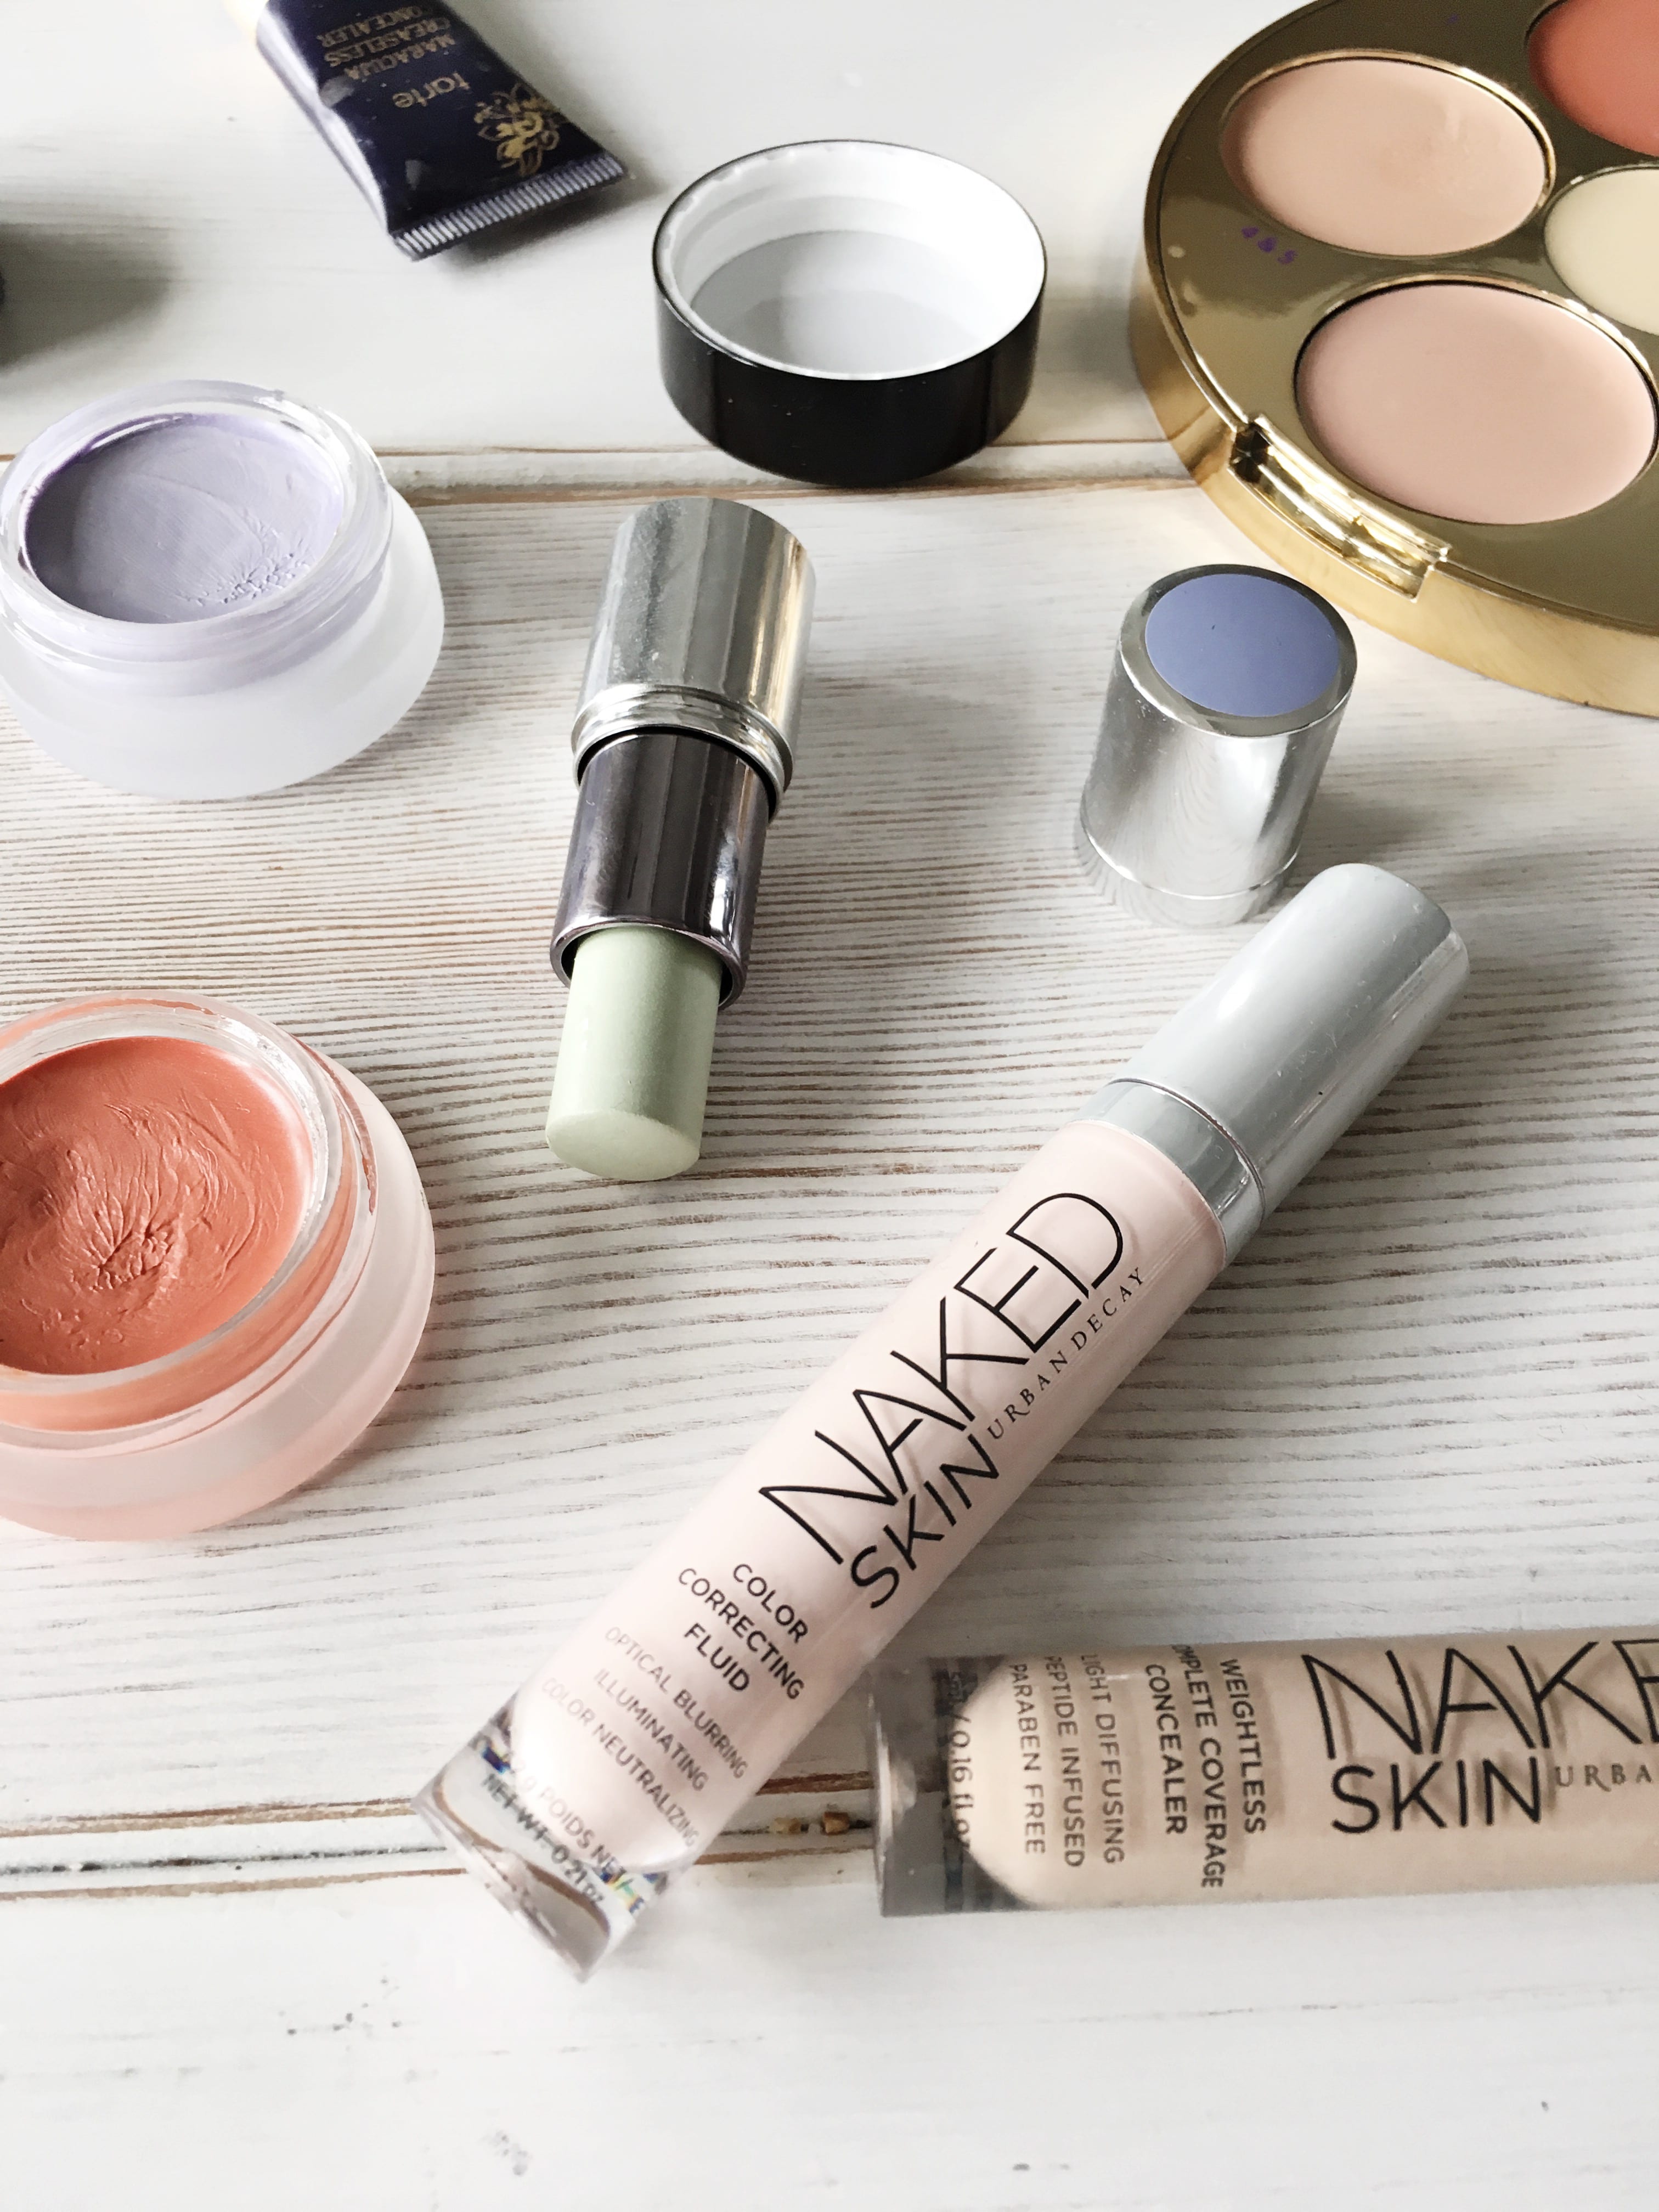
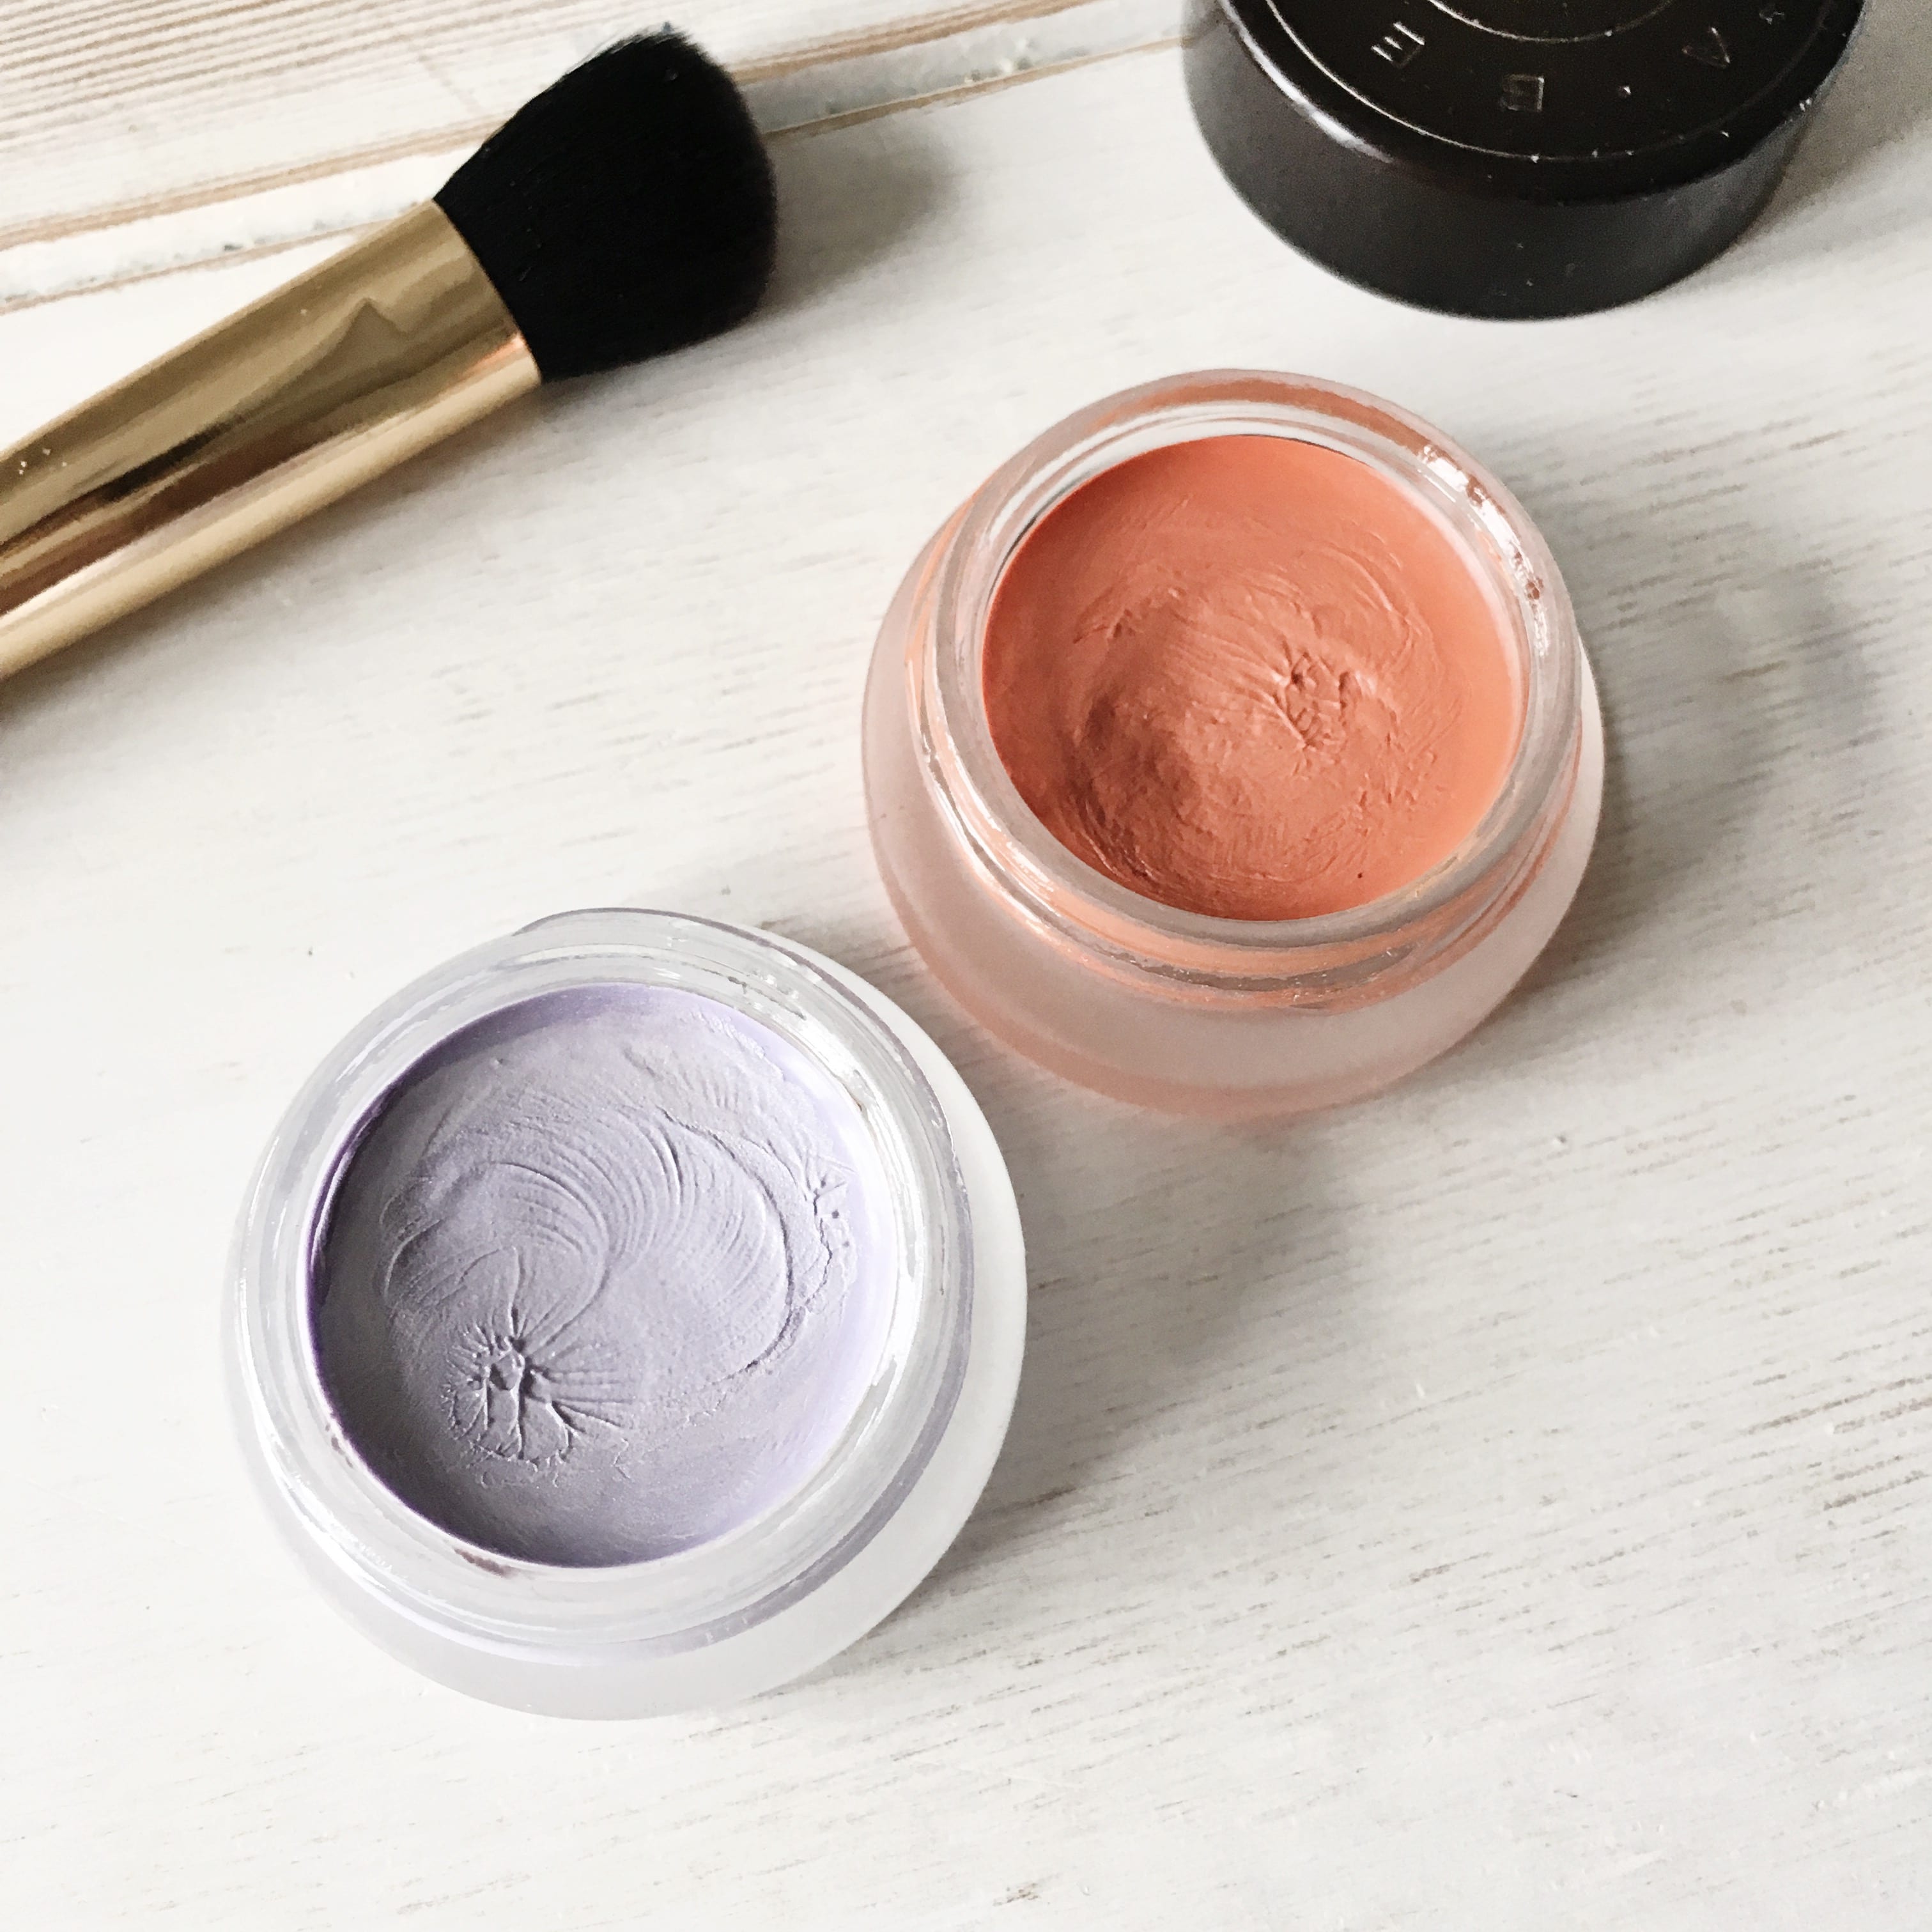
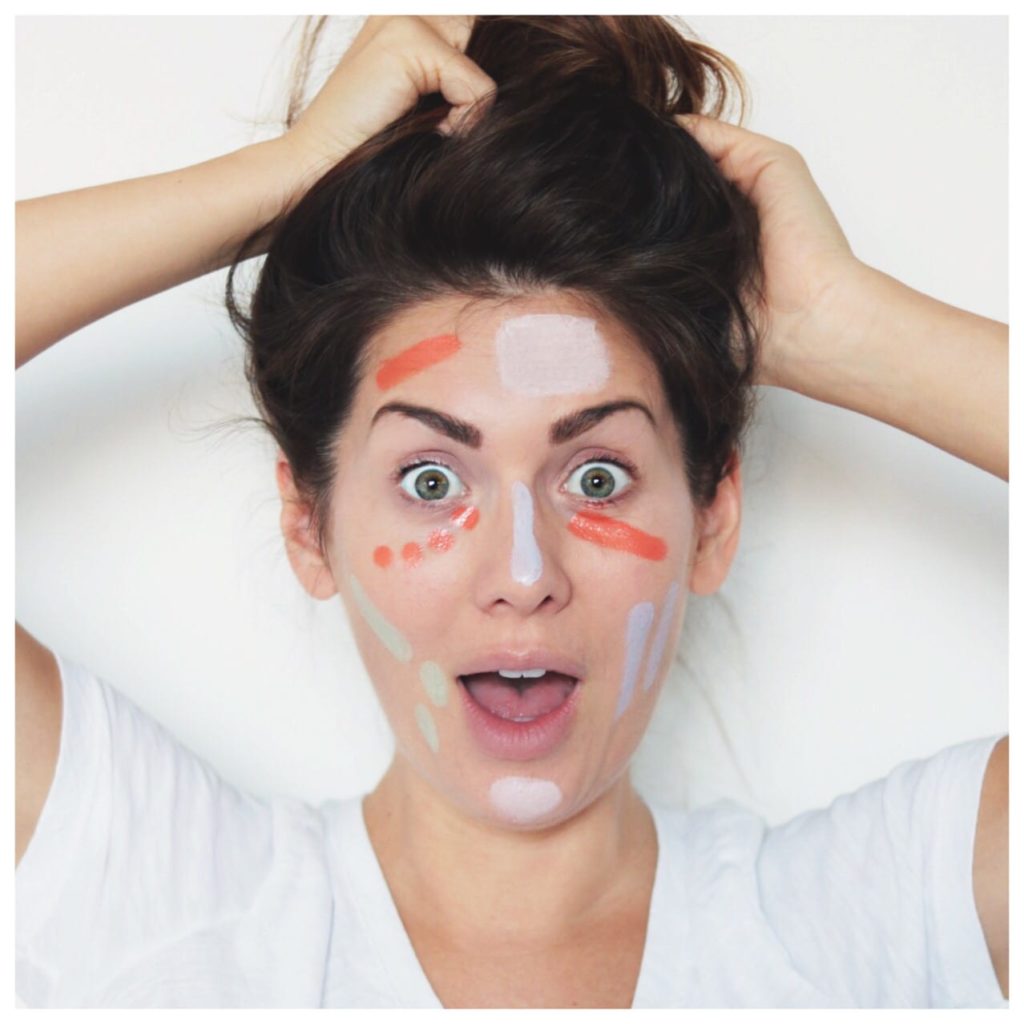
Dark under eye circles are usually the most common complaint. If this is your issue… you are not alone! Having said that, dark circles are different then under eye bags!!!! Many people confuse the two. Dark circles are bluish purple shadows under your eyes, while under eye bags are puffy swollen lower lids and typically aren’t dark at all, but actually appear lighter. So, take a closer look and really try and decipher what you have going on and then pick the colour that works best for you.
Orange: If you have really blue under eyes, you want to look at the opposite color on that color wheel – so go with a more orange corrector to neutralize that blue. This also works for a darker skin tone.
Yellow: If your under eye’s are more purple – try a yellow corrector. This also helps allover mild redness
Peach: For fair skin – try peach. This also cancels dark circles and dark spots for light/fair skin tones.
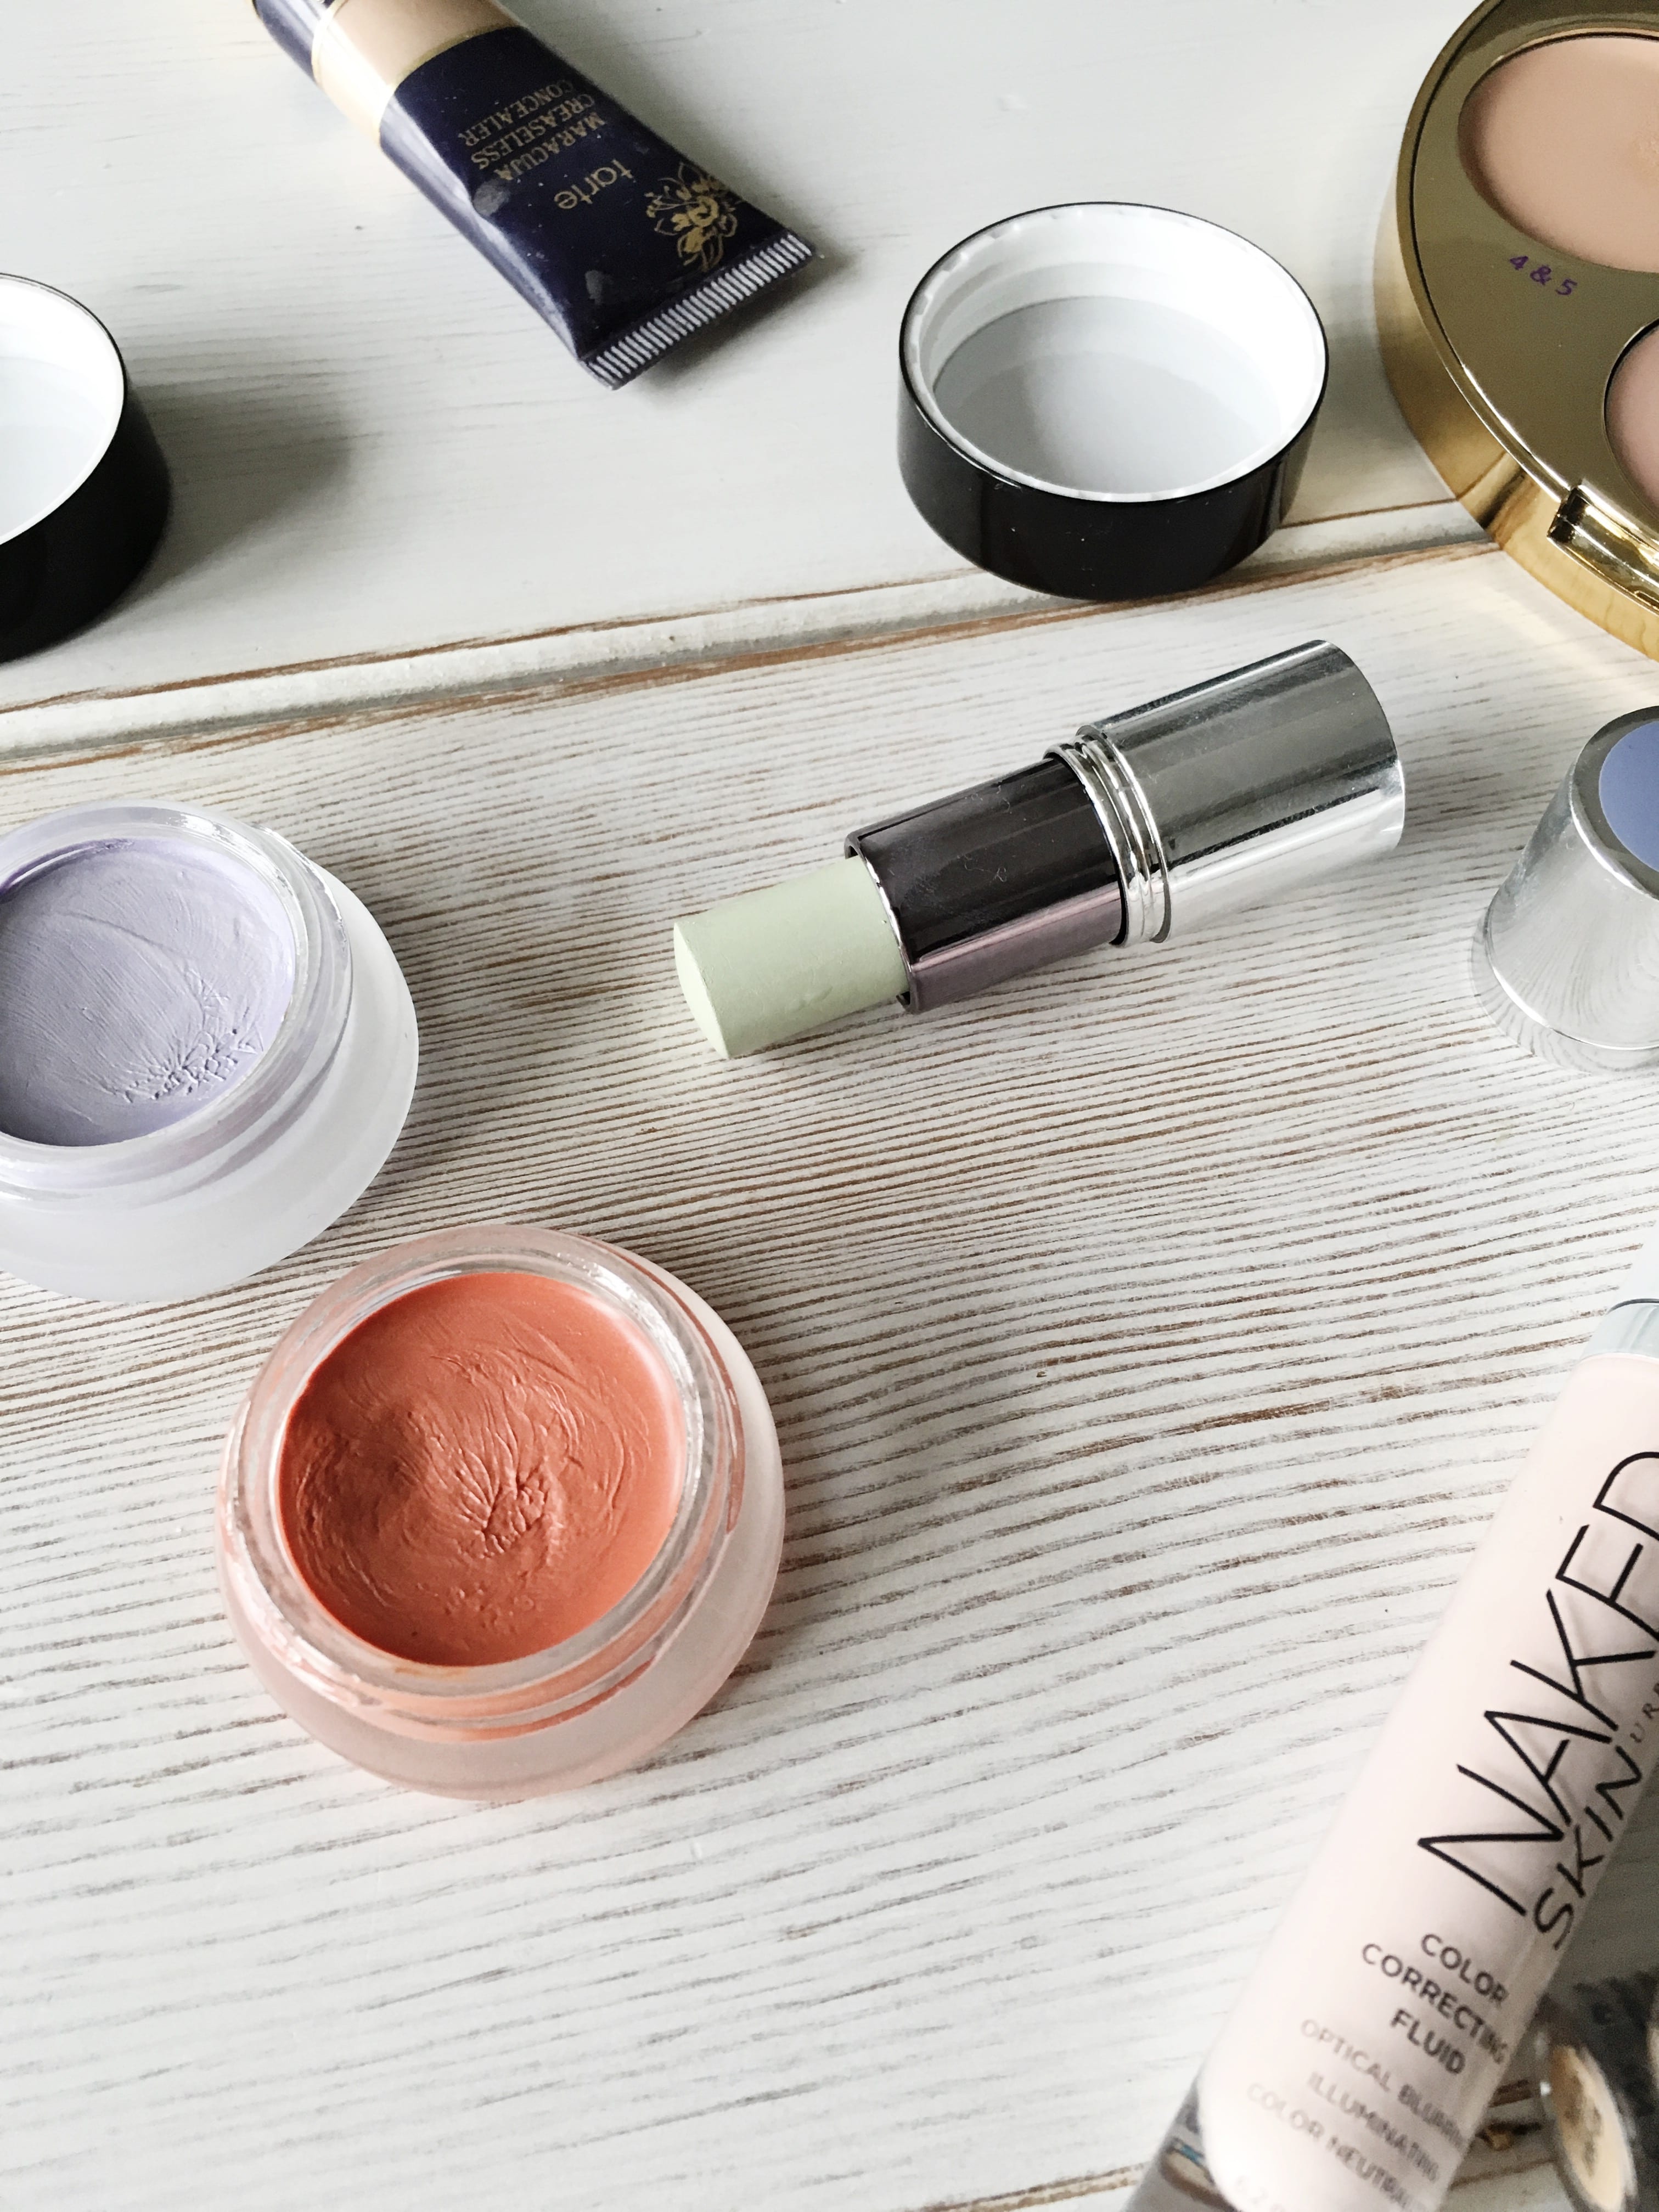
Green: The same color theory goes for the rest of the face … Those pesky blemishes that show up at the worst possible time!! Knock those babies back with a green corrector. Green also works for Rosacea, sunburns, or broken capillaries.
Lavender: This colour will brighten up areas that appear dull or sallow.
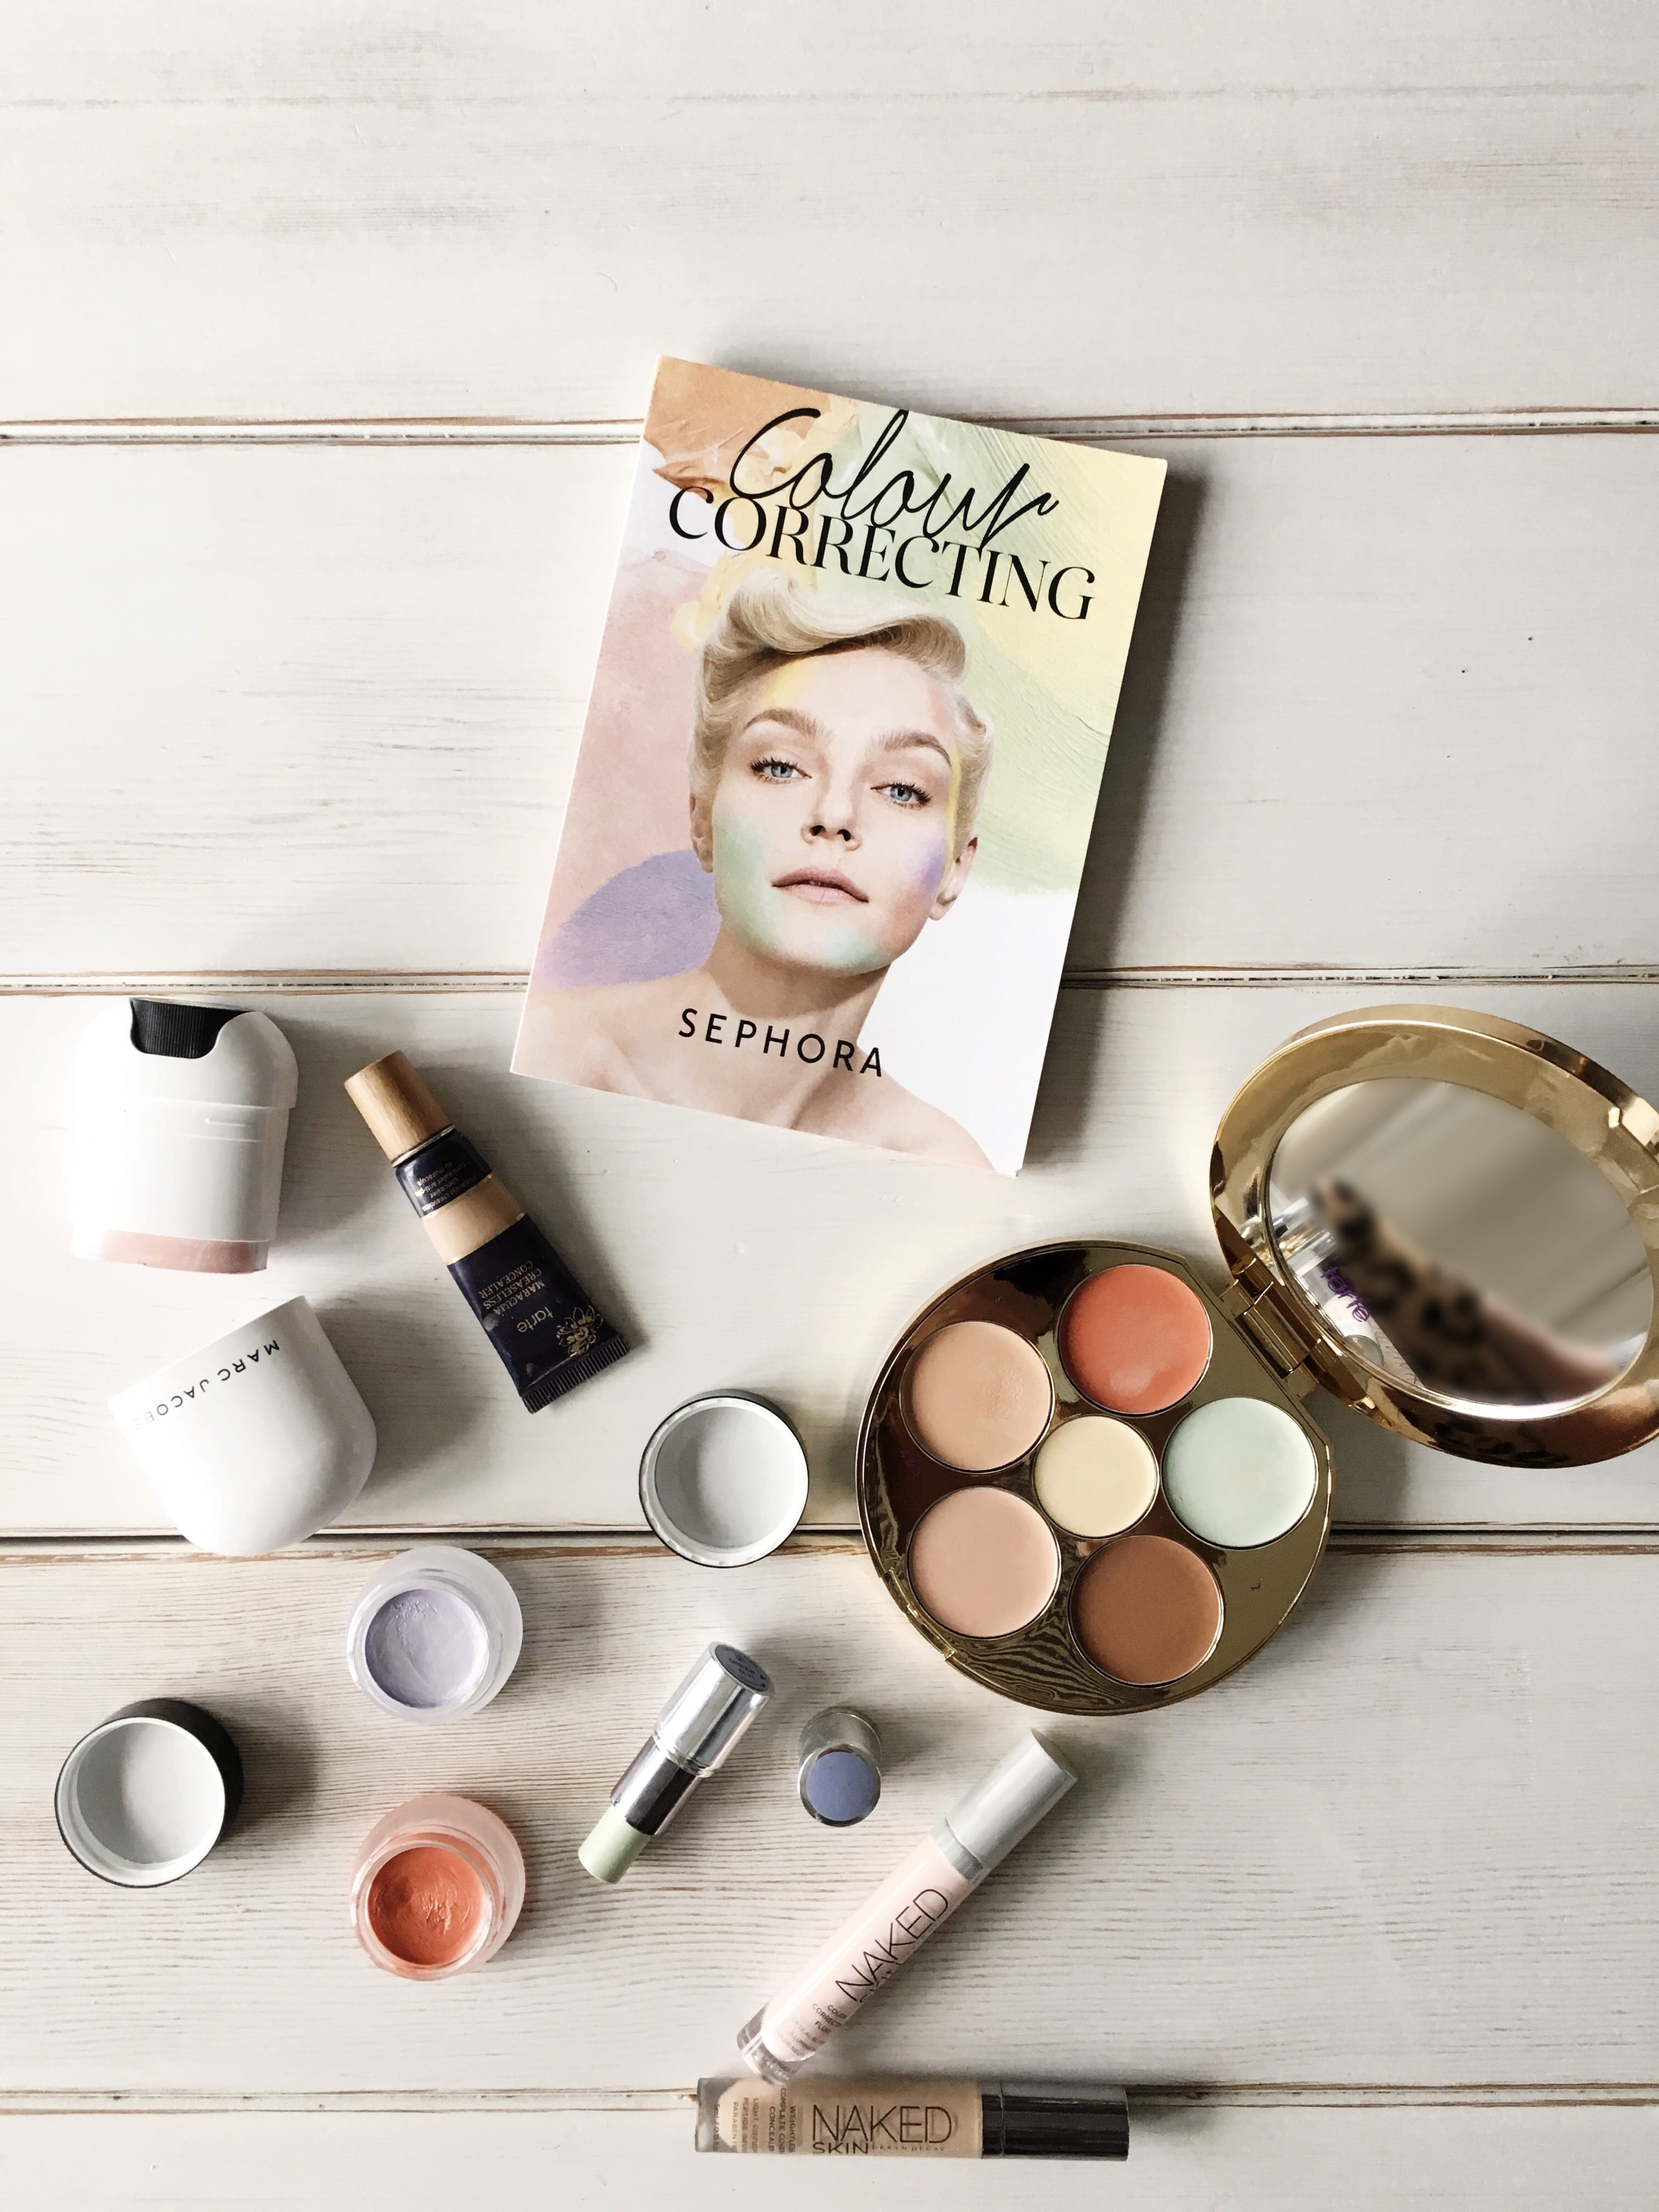
Green Stick | Orange Pot | Lavender Pot | Naked Correcting Fluid | Naked Skin Concealer | Colour Correcting Wheel | Tarte Creamless Concealer
Now that you’ve corrected the problem, you can go in with your foundation and concealer as normal. Doing this color correcting step will keep your skin looking smooth and not layered with a ton of makeup!! *Reminder* Only color correct the exact areas you wish to neutralize. Do not bring the corrector out past the problem area. Tap and press your concealer over top of the corrected areas, do not wipe and rub. This will ensure your corrector doesn’t move and will give you the most flawless look! I picked up everything above from Sephora and the little booklet helped me pick and choose what colours to use where and why … check it out online here!!!
Good luck my little beauties!!
xo
Jilly & Kaitlin
Thank you Sephora for sponsoring this post. All comments and opinions are my own.



Love! I do orange under my eyes everyday!
Primer first, then colour corrector then concealer? Or do I have that backwards.. What came first? The primer or the concealer? ?