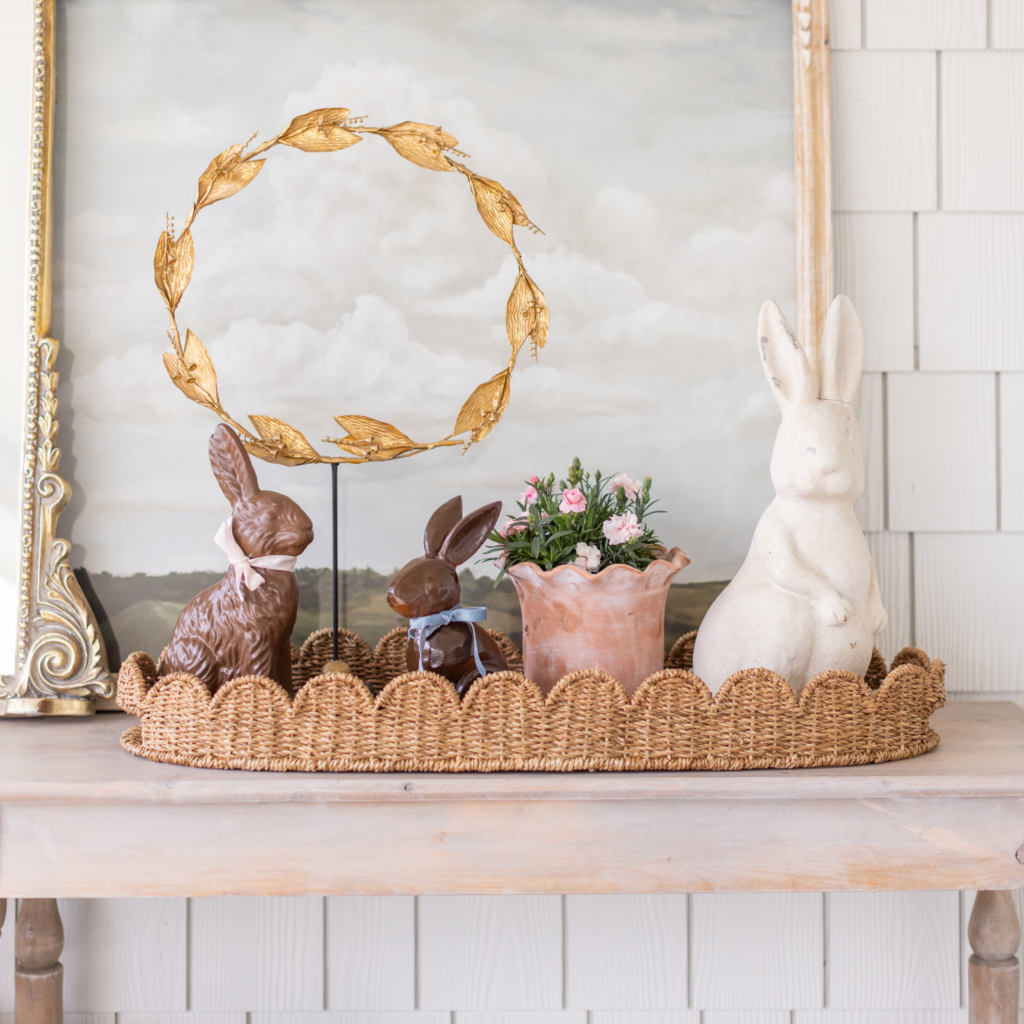
Well, folks, the sun is shining, the birds are chirping and Mini Eggs are back on a grocery store shelf near you! That’s right, Easter is almost upon us! Celebrations and decorating are two of my favourite things, so today, we’re making DIY Chocolate Bunny Decor for Easter!
Easter is a holiday we celebrate every year—I have so many fond memories of me running around collecting easter eggs with Tori, Sam and Steph growing up in Peace River—and I love making special memories for Annie, Leo and their cousins!!
Nothing says Easter like a chocolate bunny, so here’s how to make your own! This craft was inspired by this reel that I saw on Instagram… I thought it was SO genius. Let’s get right into it!
What You’ll Need
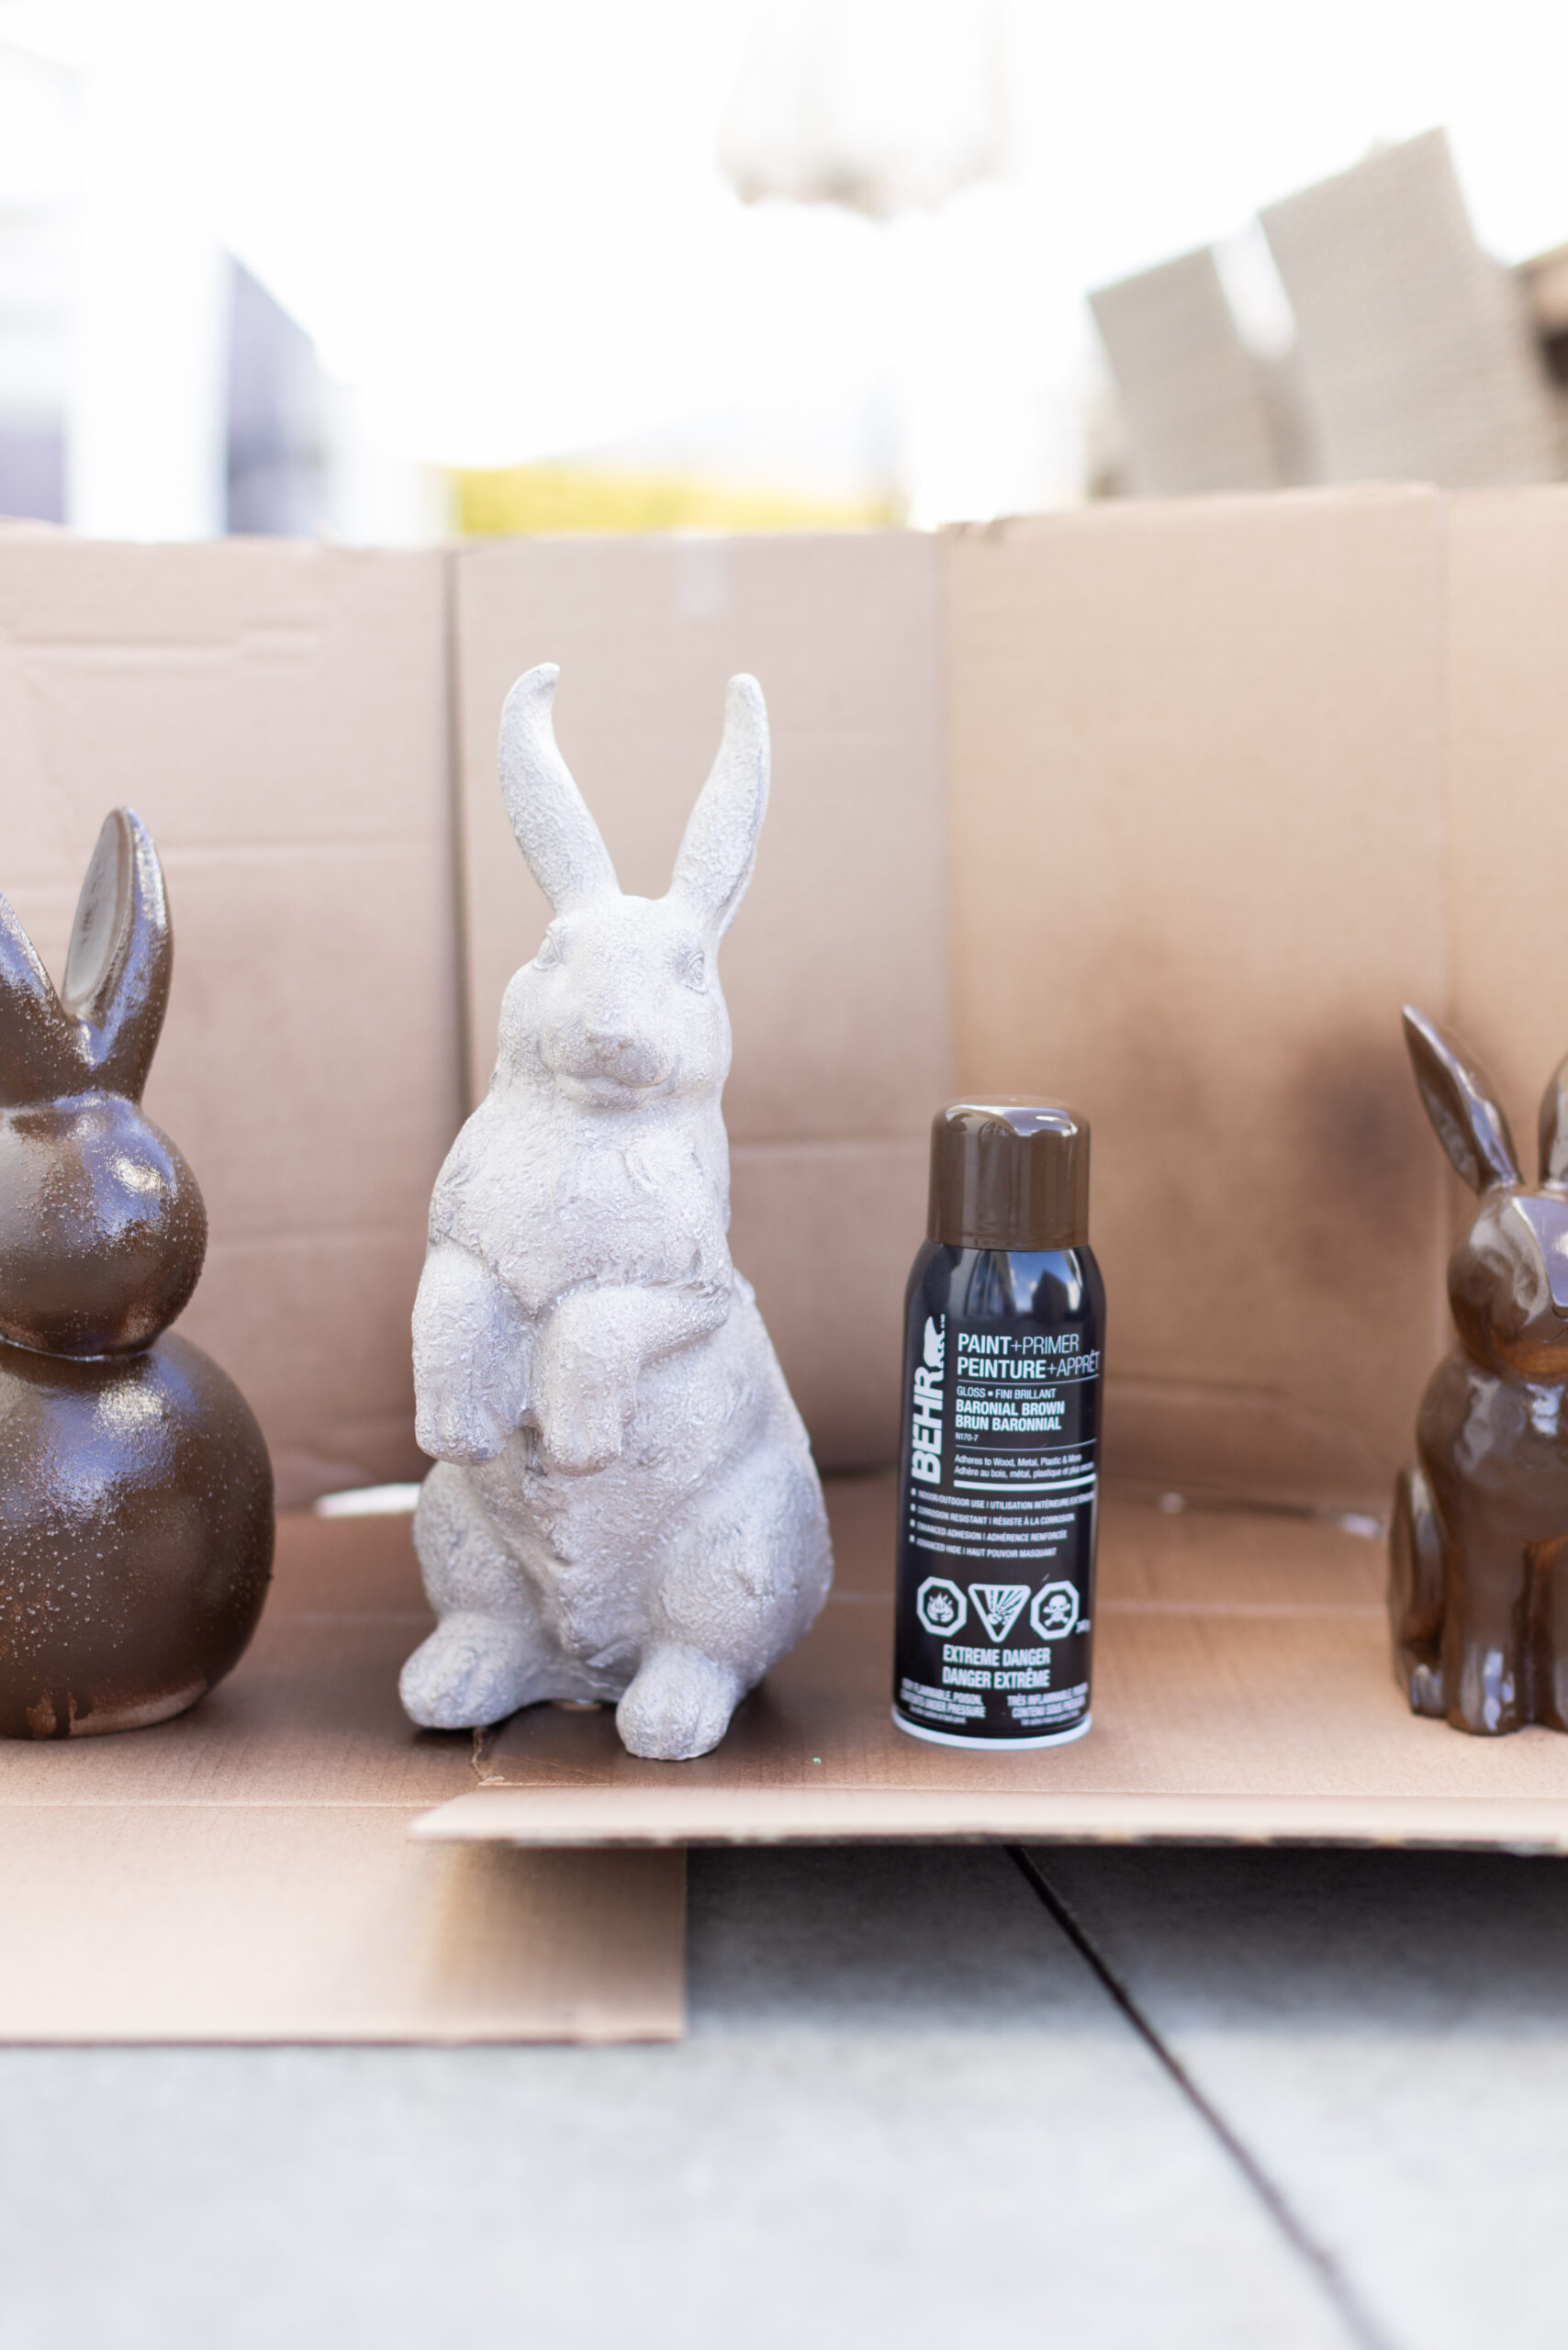
- A bunny (find this at your local home decor store, dollar store, or even thrift store!) I would recommend using a wooden bunny, but ceramic works as well!
- Brown glossy spray paint
- Ribbon
Directions
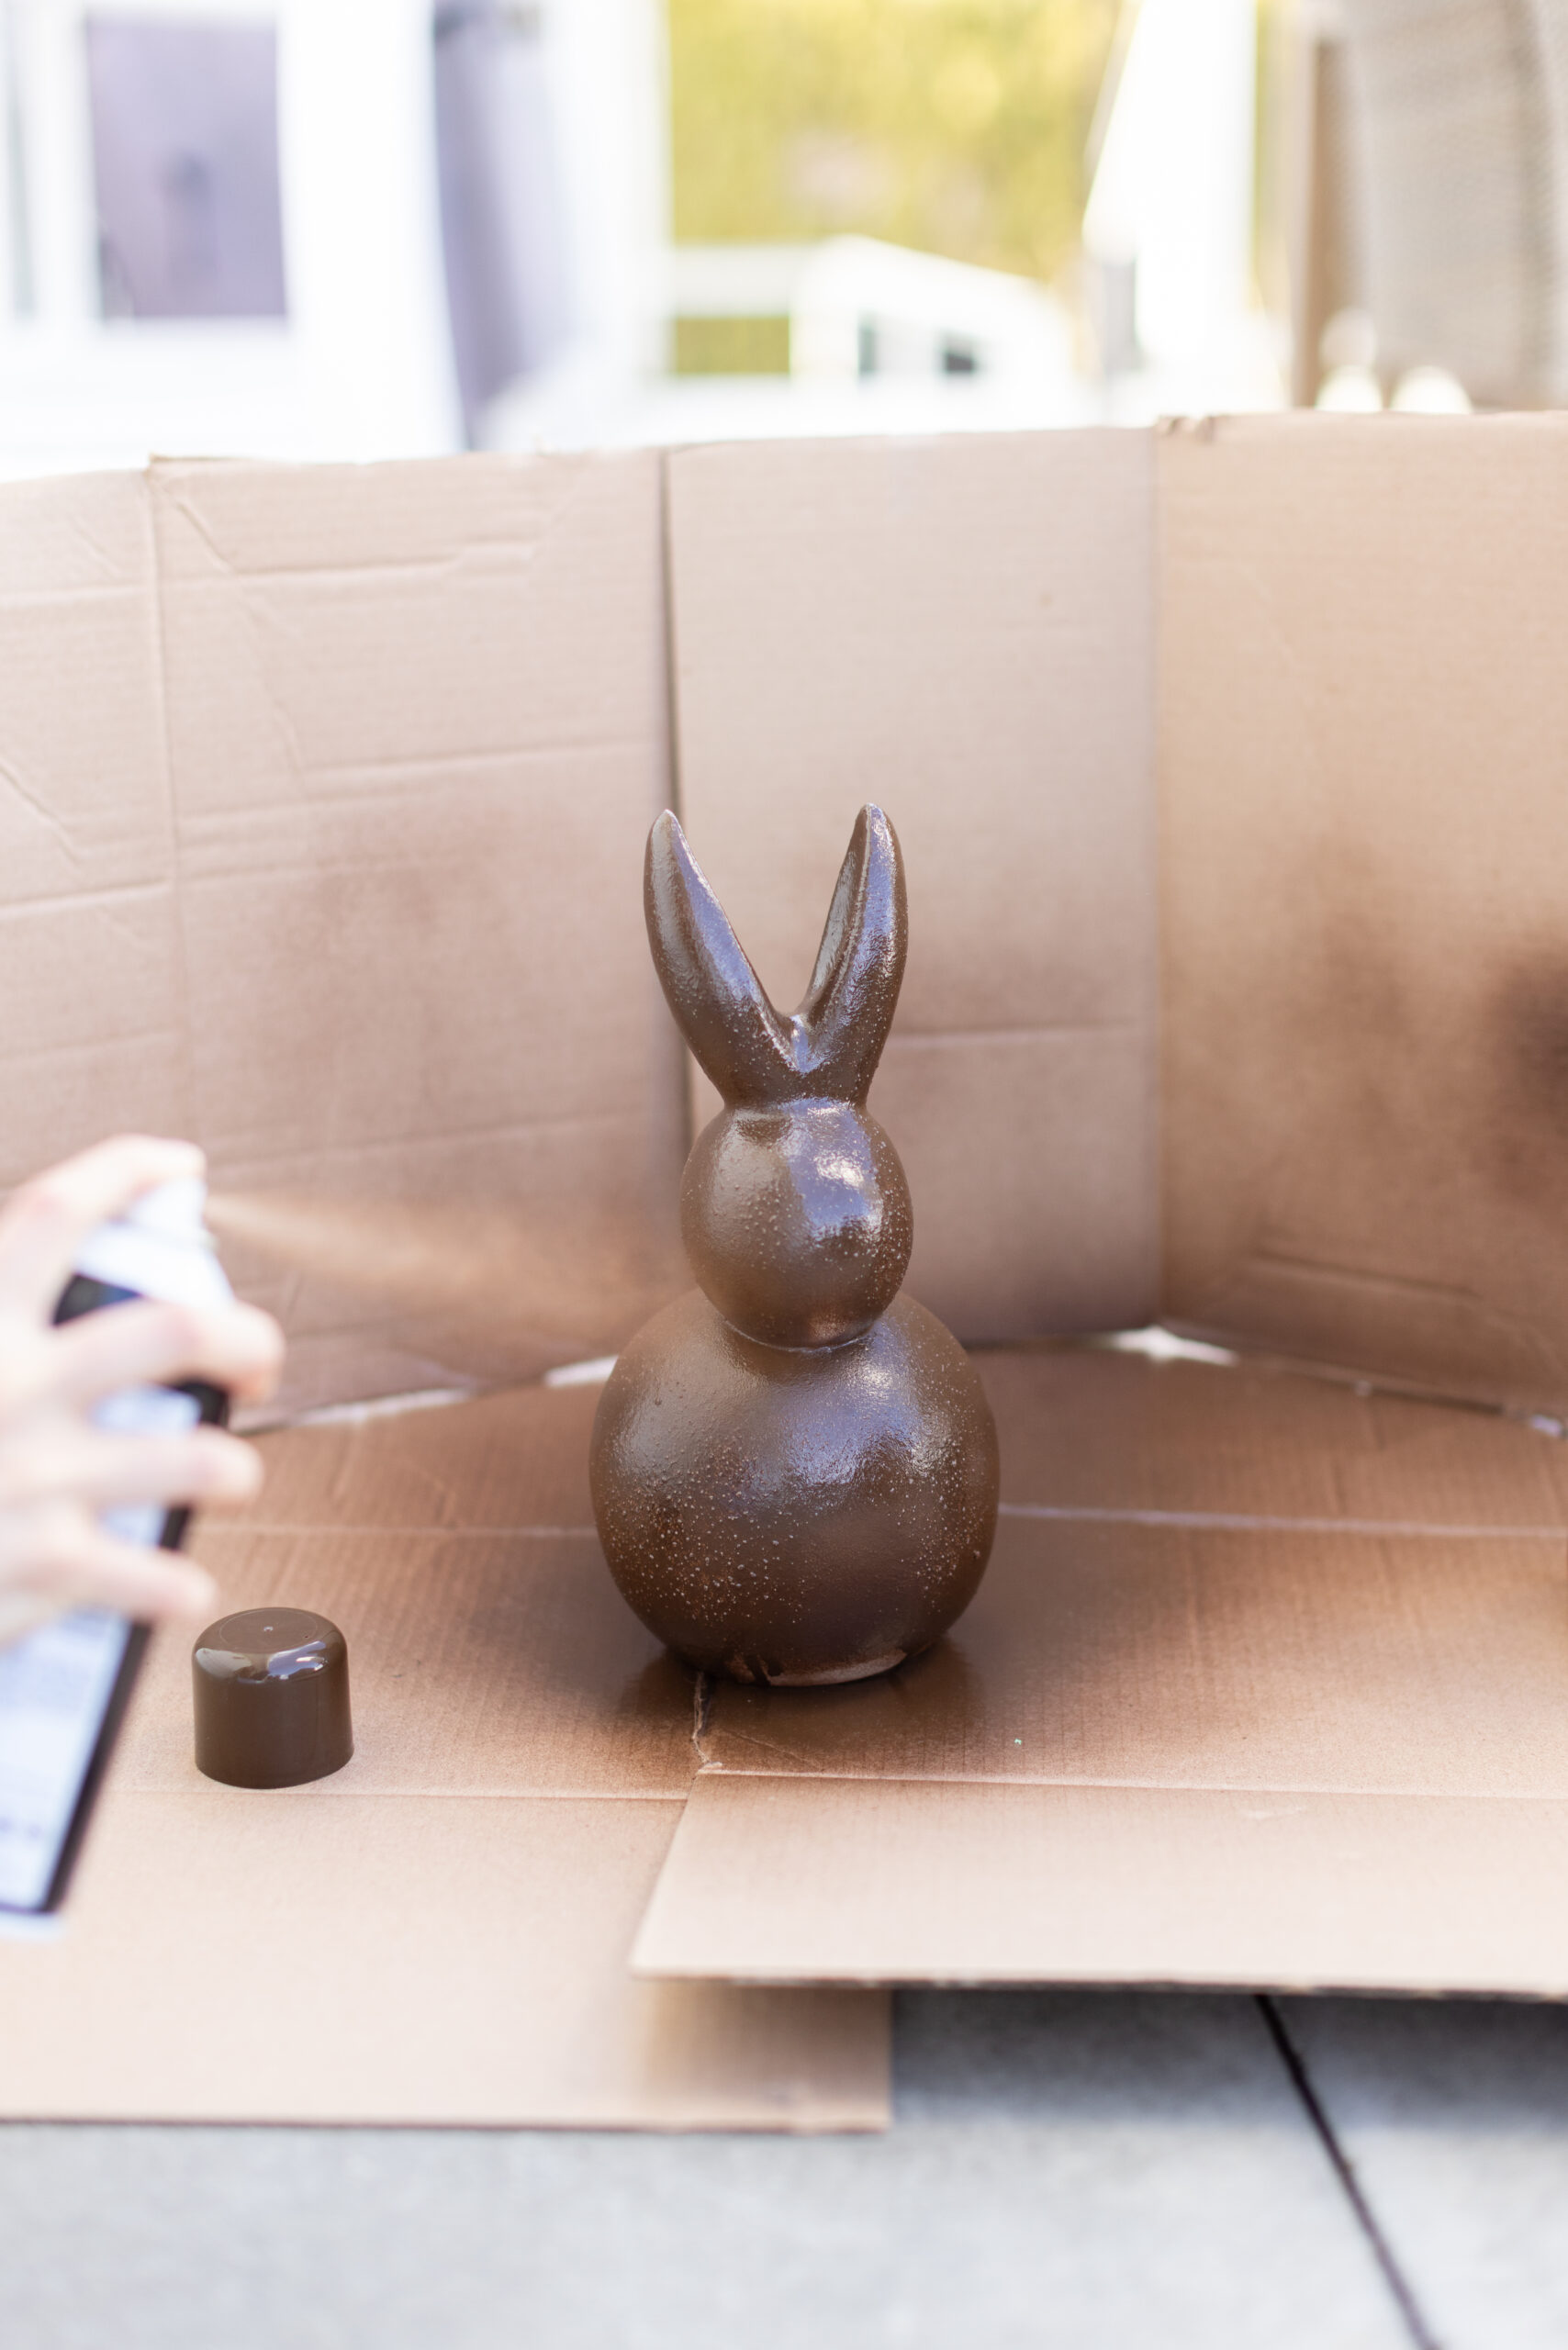
- Set up your bunny on a piece of cardboard or newspaper and spray with an even coat of paint.
- Let the paint dry for 2-3 hours and then touch up any areas that need more paint.
- Once fully dry, tie a little ribbon around its neck and VOILA!
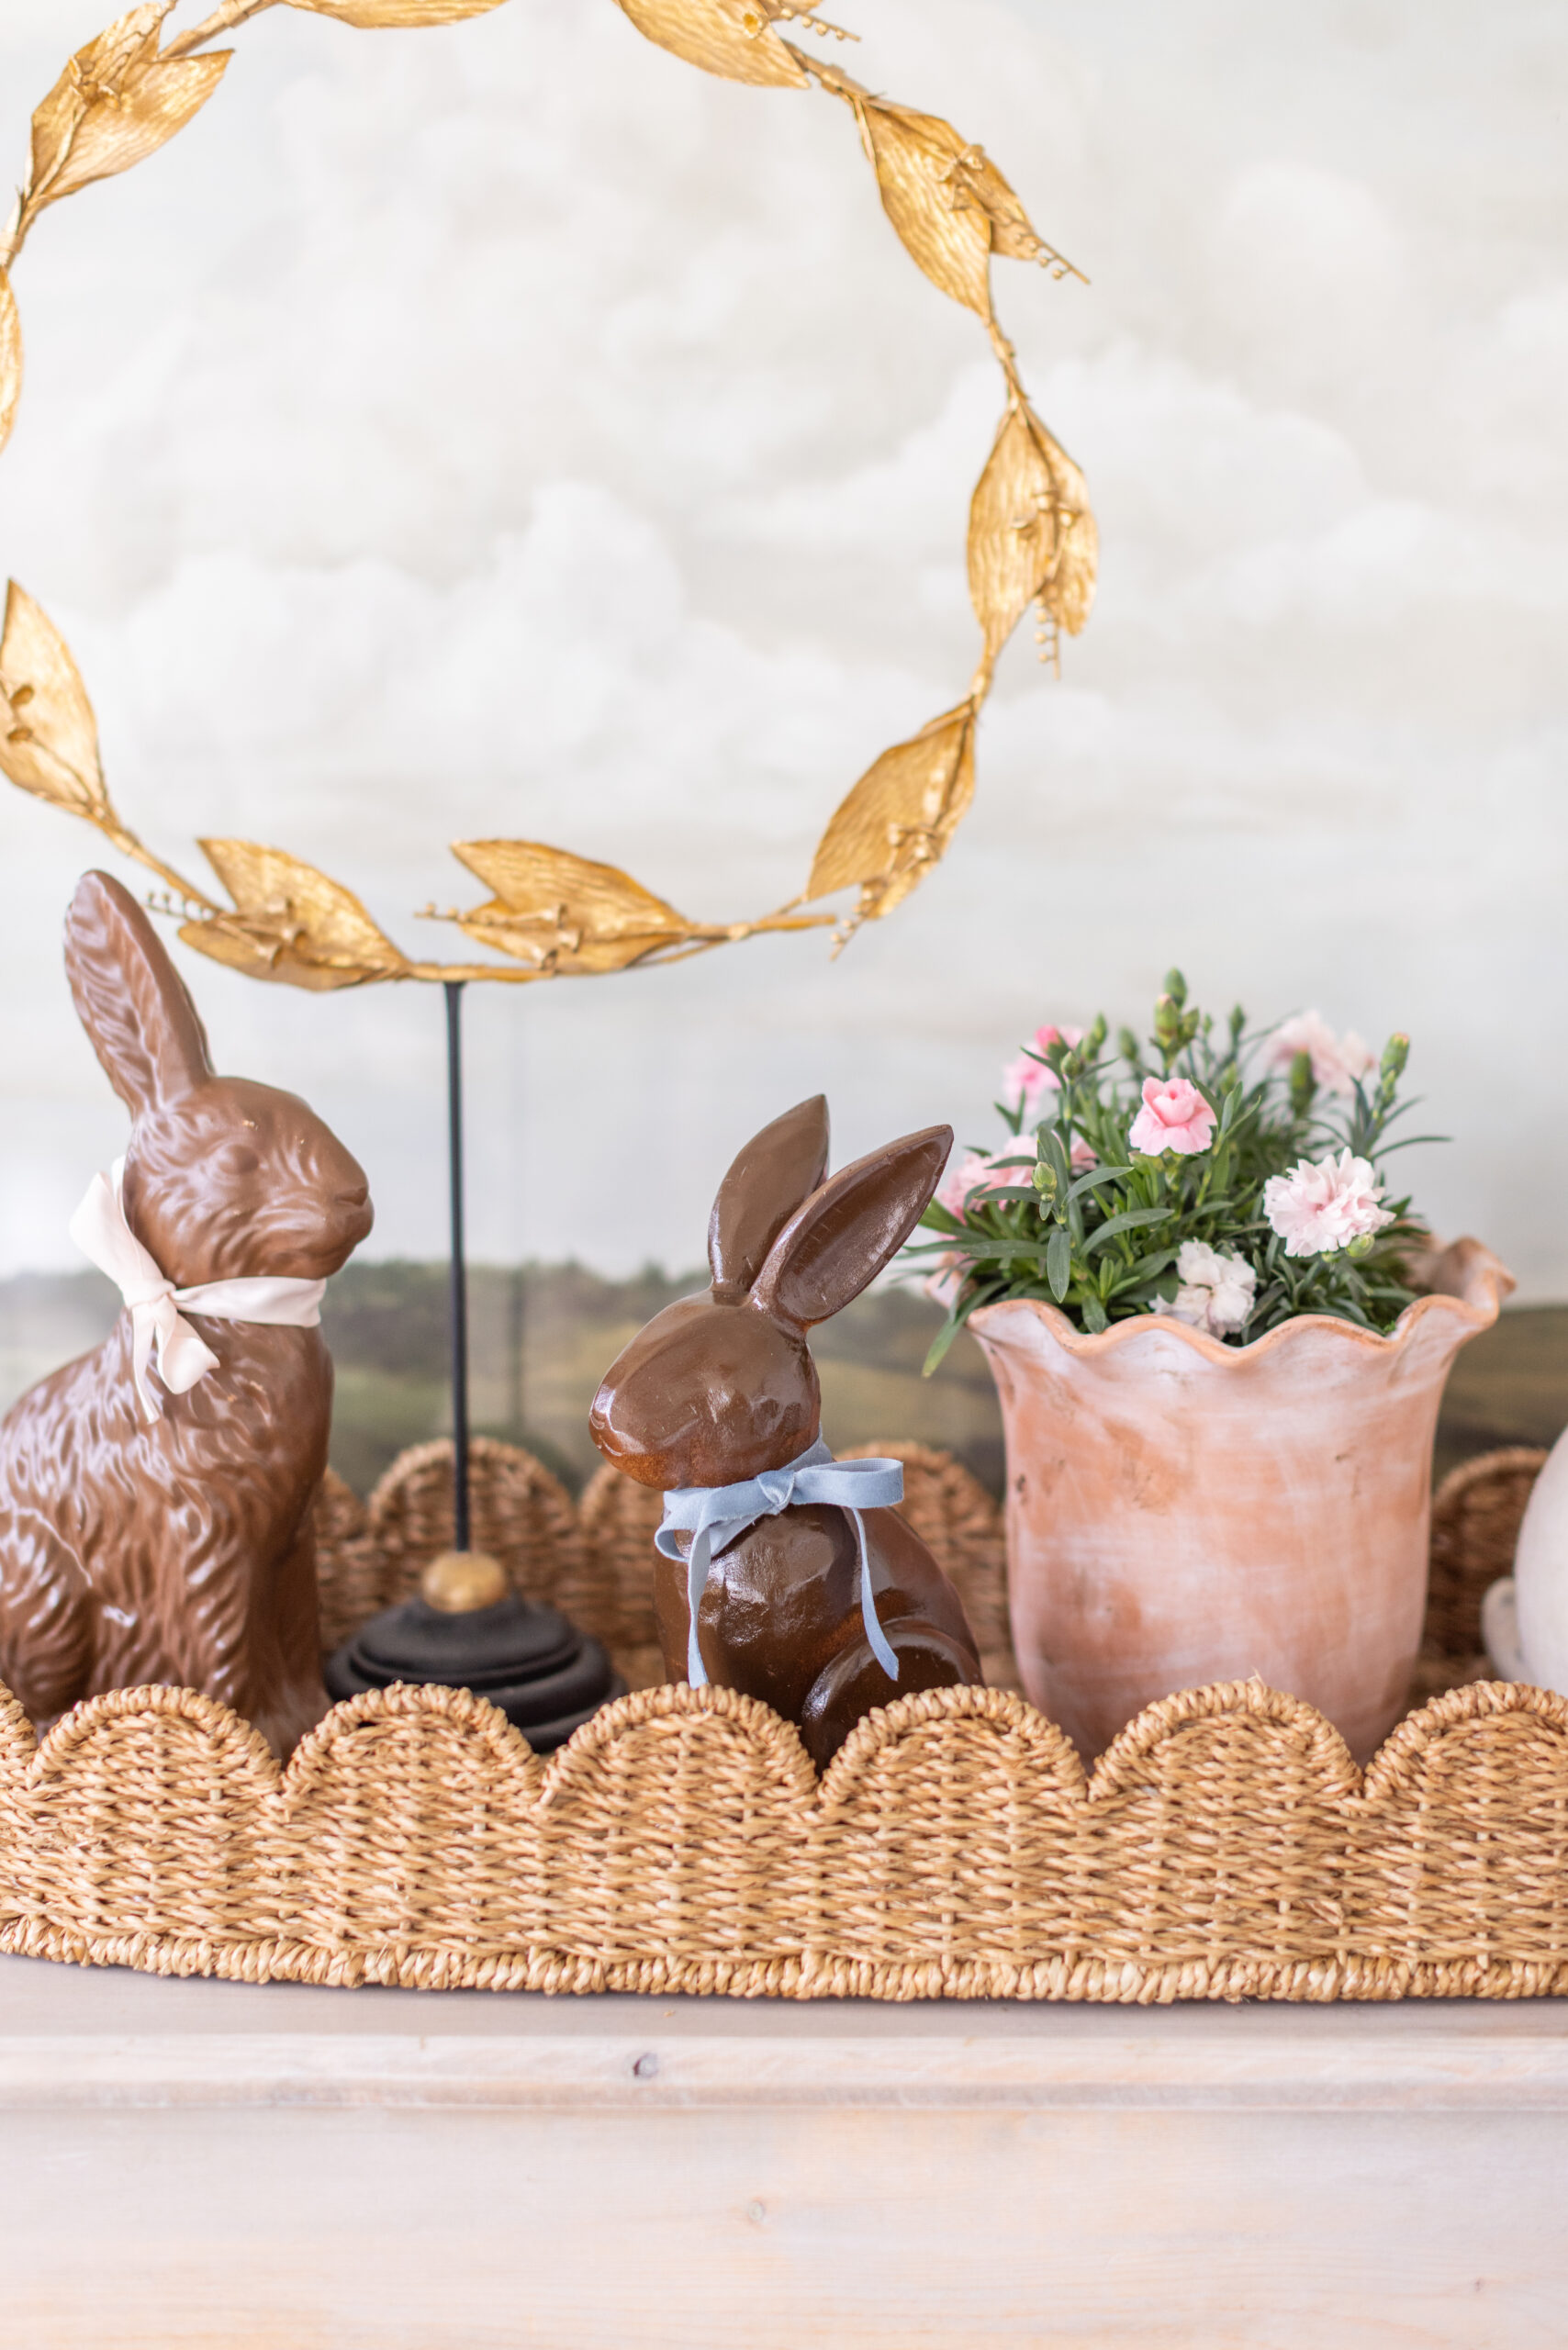
This has to be one of the easiest (and cutest) Easter DIYs I’ve done in a long time!
Don’t forget to share photos with me if you end up making this adorable DIY, I want to see all of your creations!! Happy Easter!
xo,
Jilly
