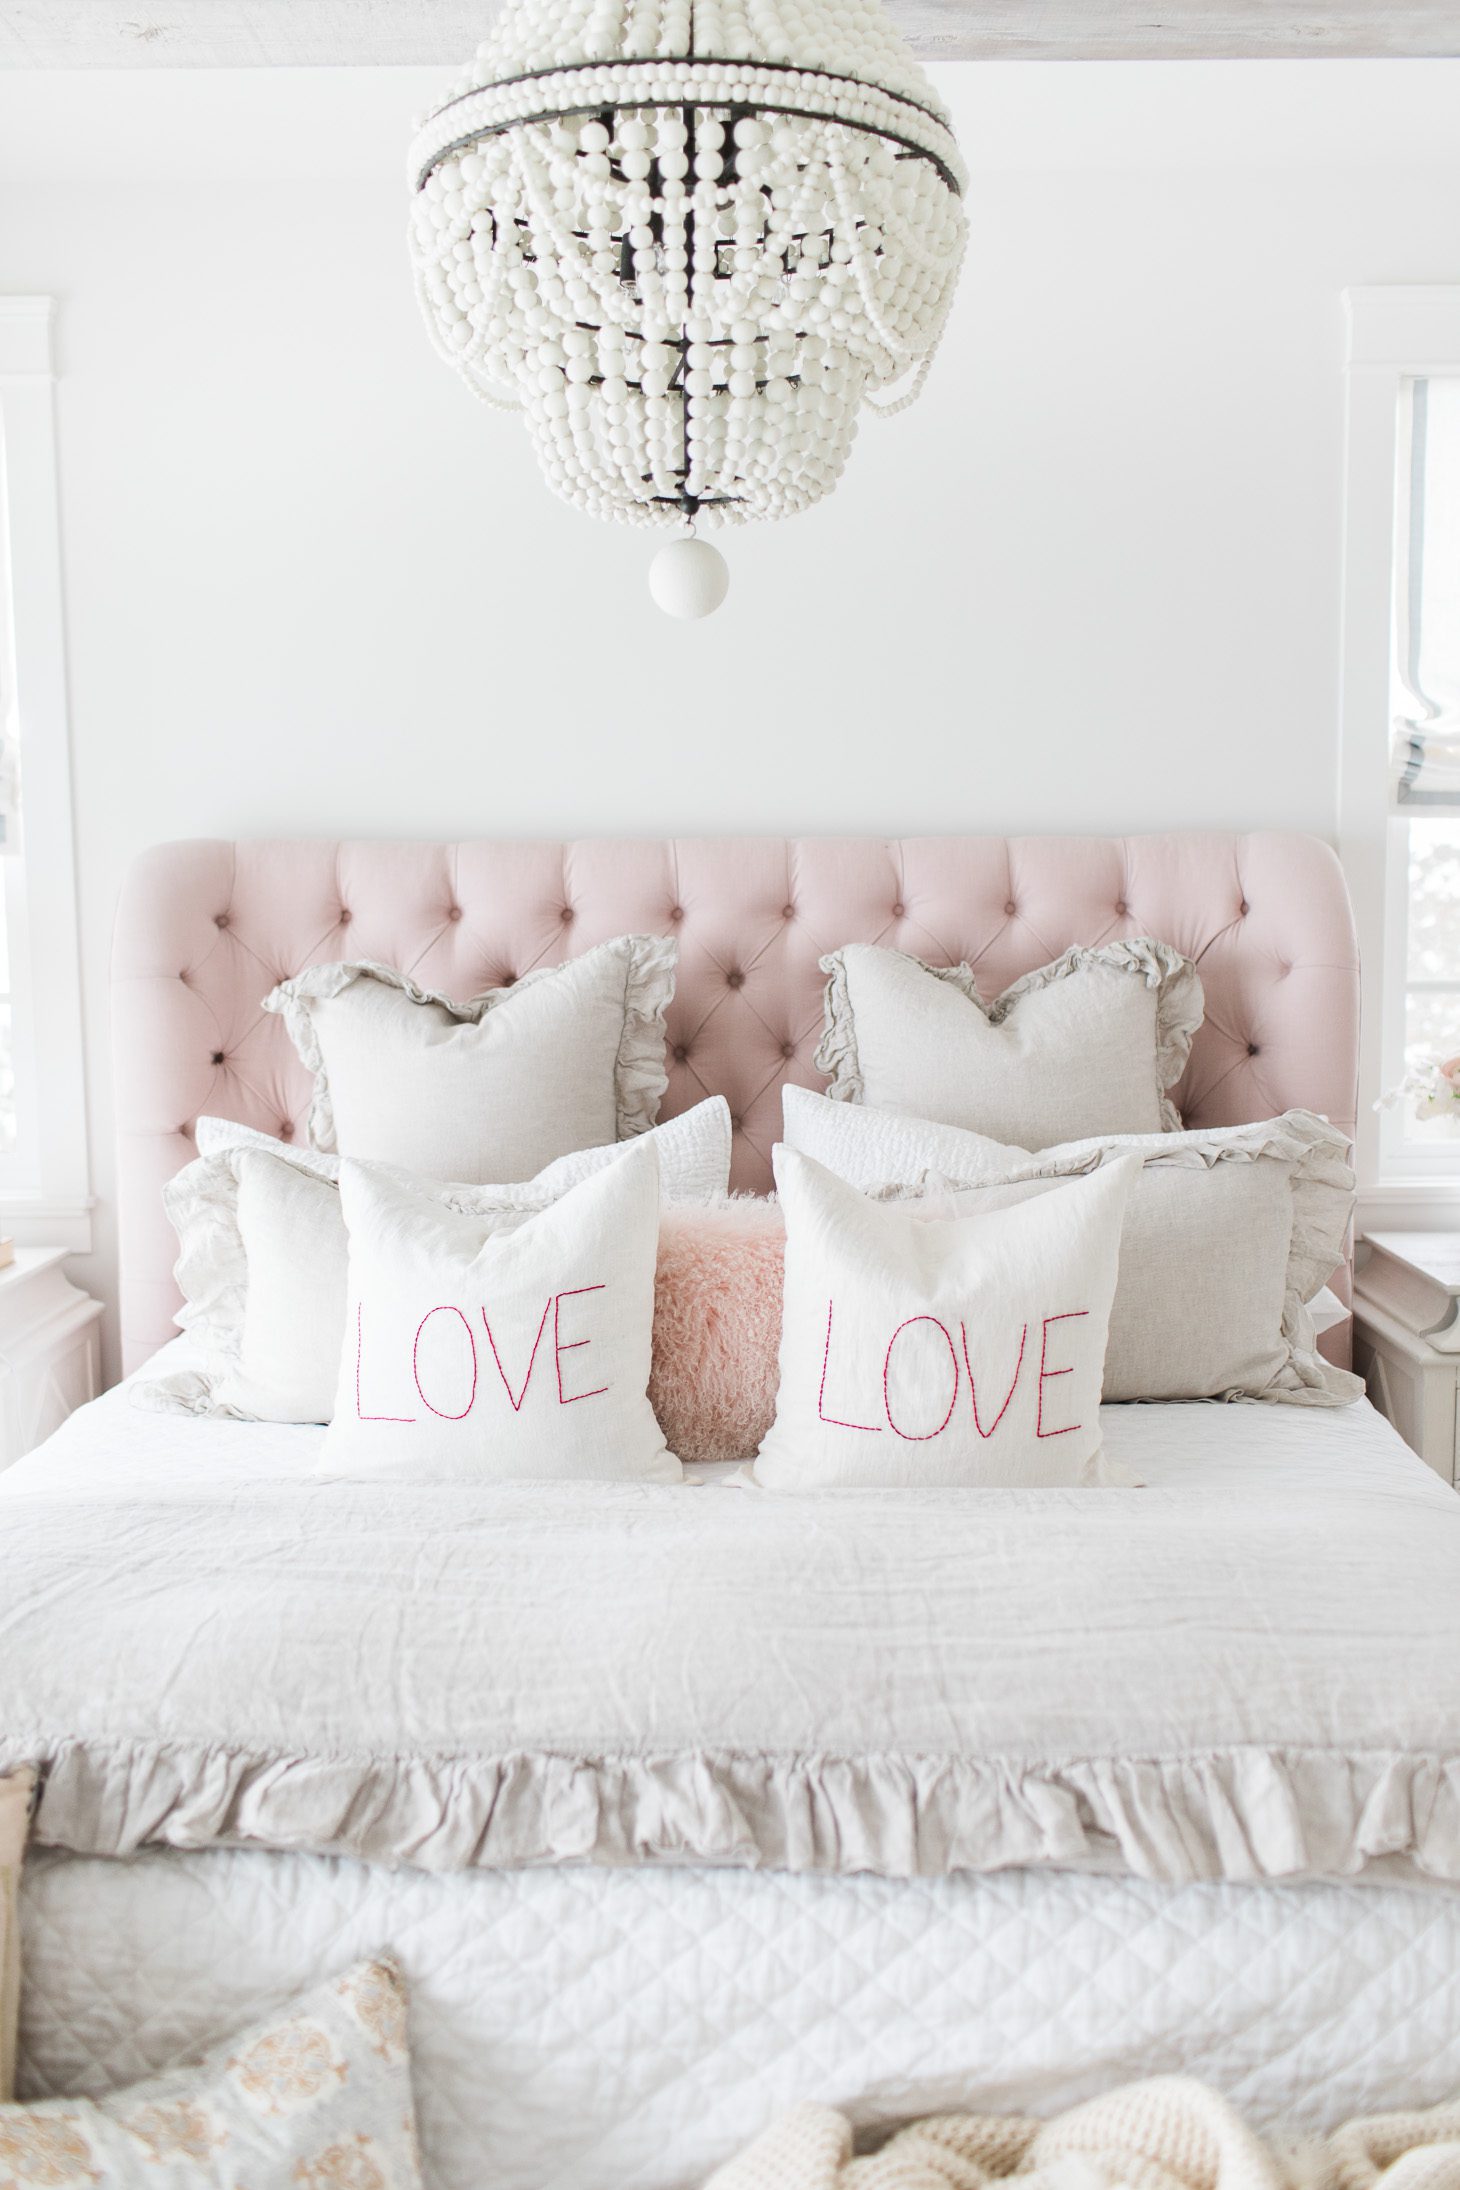
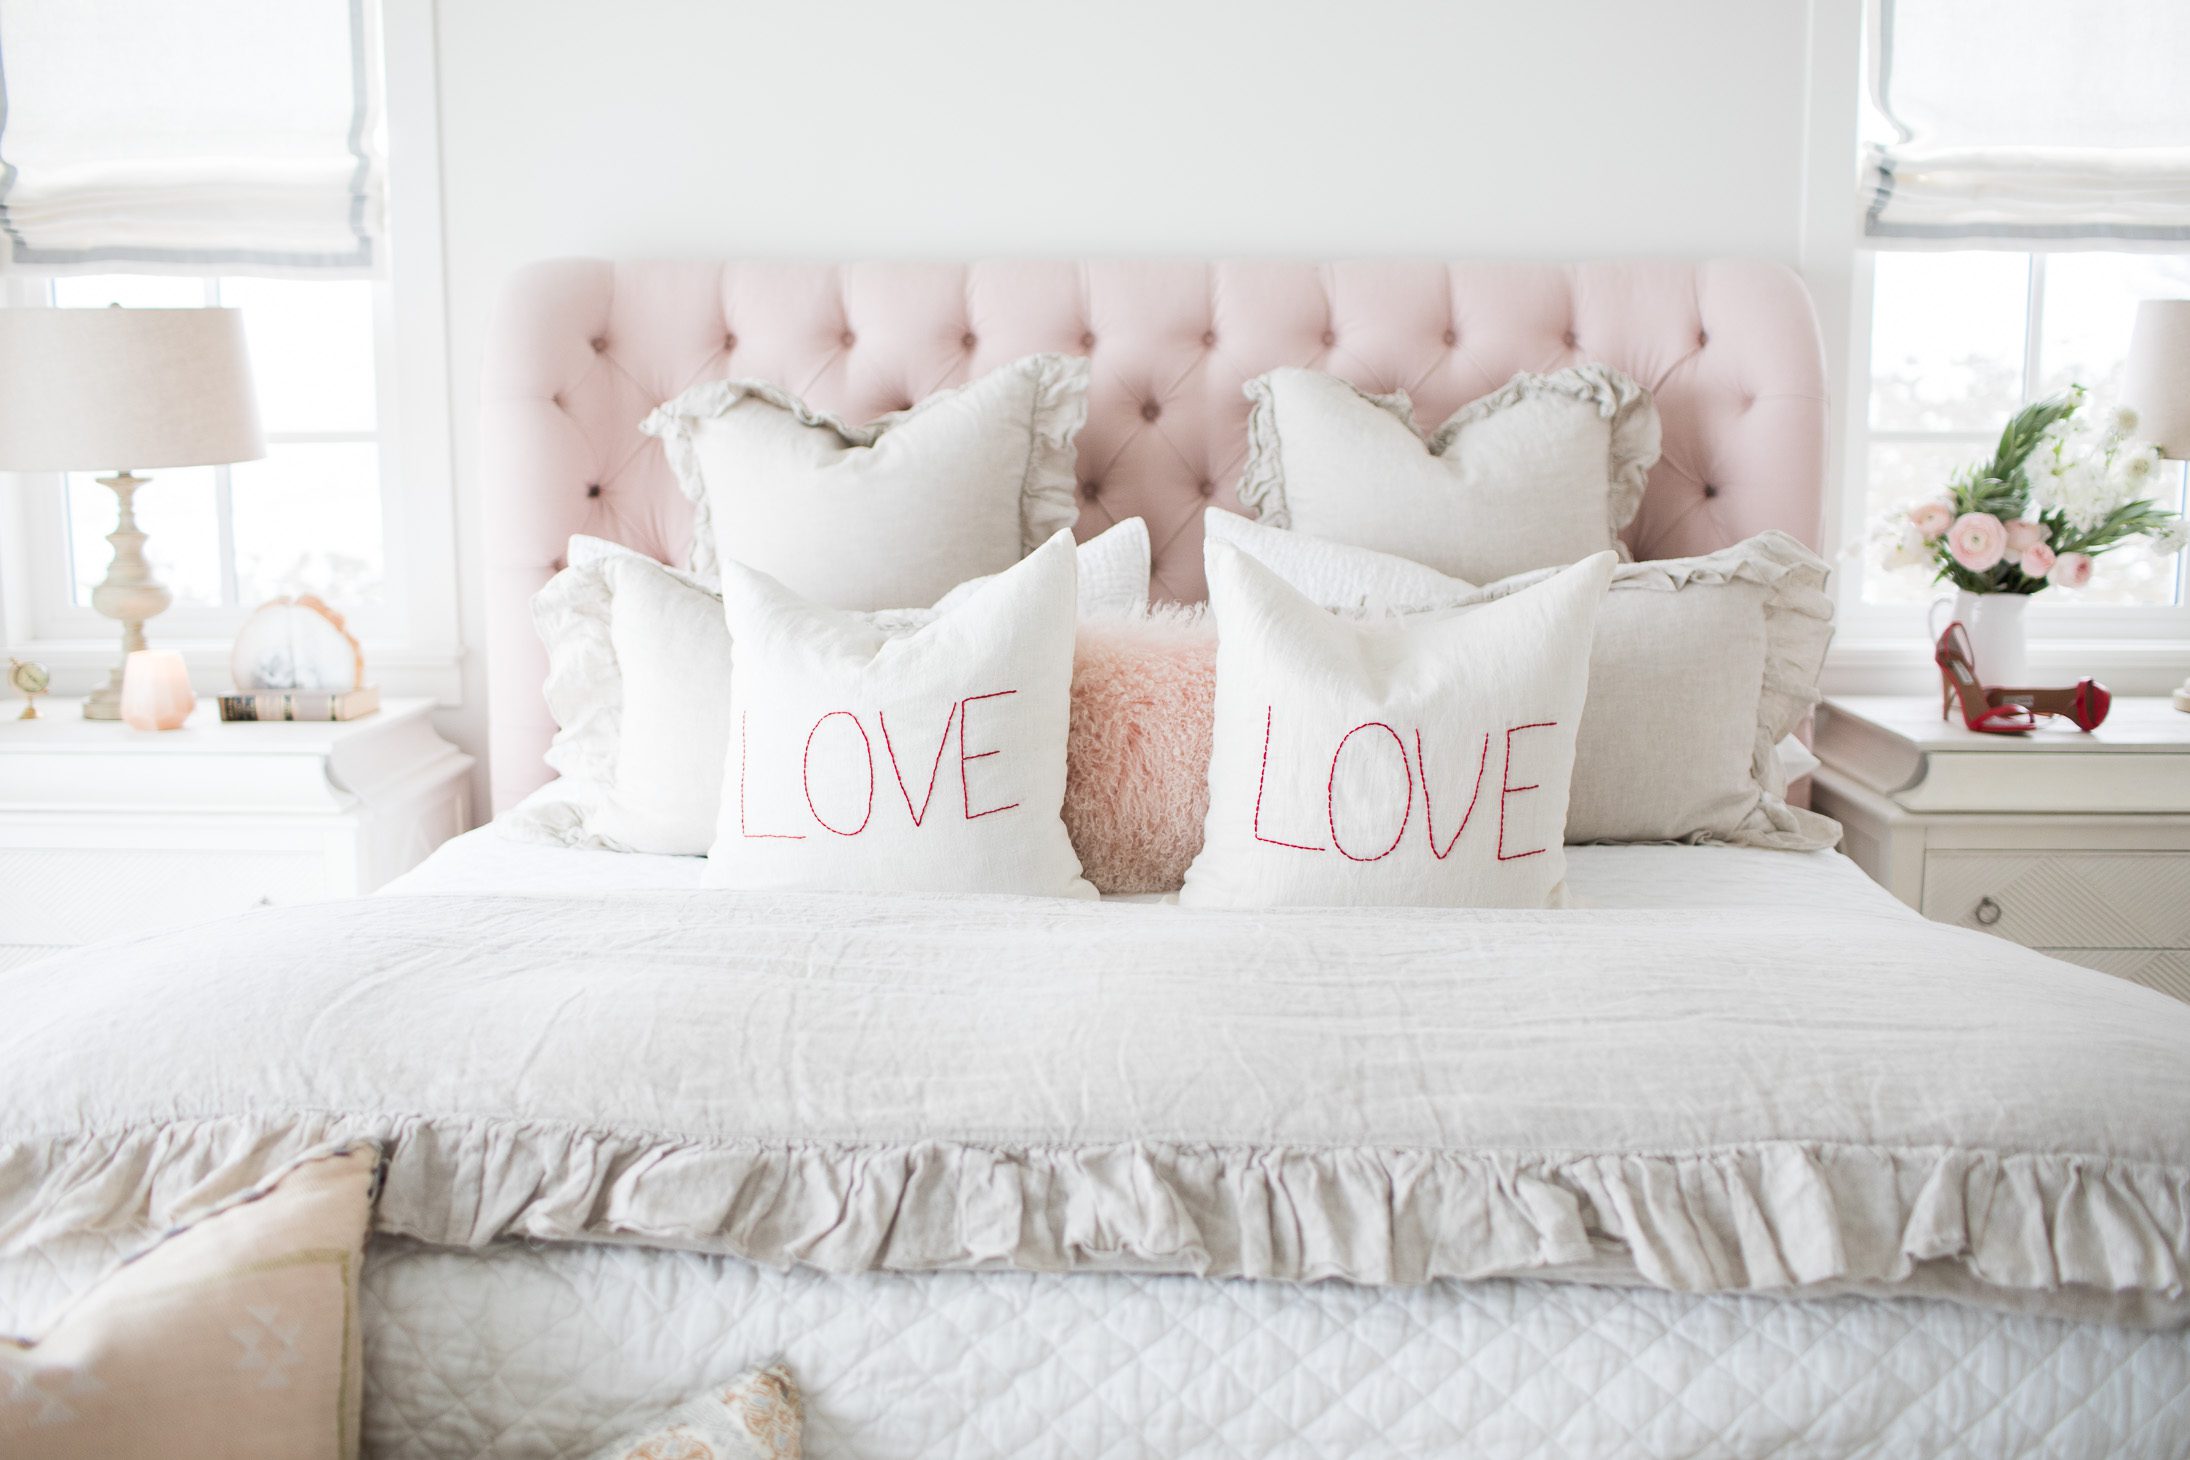
We are throwing it back today to the CUTEST Valentine’s Day DIY from a few years ago. Not only does this DIY make for the perfect Valentine’s Day decor, but it’s so timeless that you could easily keep it styled in your home all year long. This easy DIY stitched love pillow is a great way to spruce up an otherwise old plain pillow and chances are you probably have a slip laying around the house that would be perfect for this, and if you don’t, you can always snag one for next to nothing on Etsy or at IKEA!
There’s something to be said about putting your phone down and stitching something!! It’s pretty therapeutic! This took Mackenzie (our previous photographer!) a total of 1.5 hours to do and ended up costing around $30. The price for this DIY will more than likely change based on what supplies you already have laying around your home, if you’re a crafty person it’ll probably end up being even cheaper for you!! I love this DIY for a couple of reasons … I friggin LOVE pillows and it’s a fraction of the price (and JUST as adorable) as some of the more expensive pillows out there, some cutesy pillows like this can run between $200 – $300 bucks!!
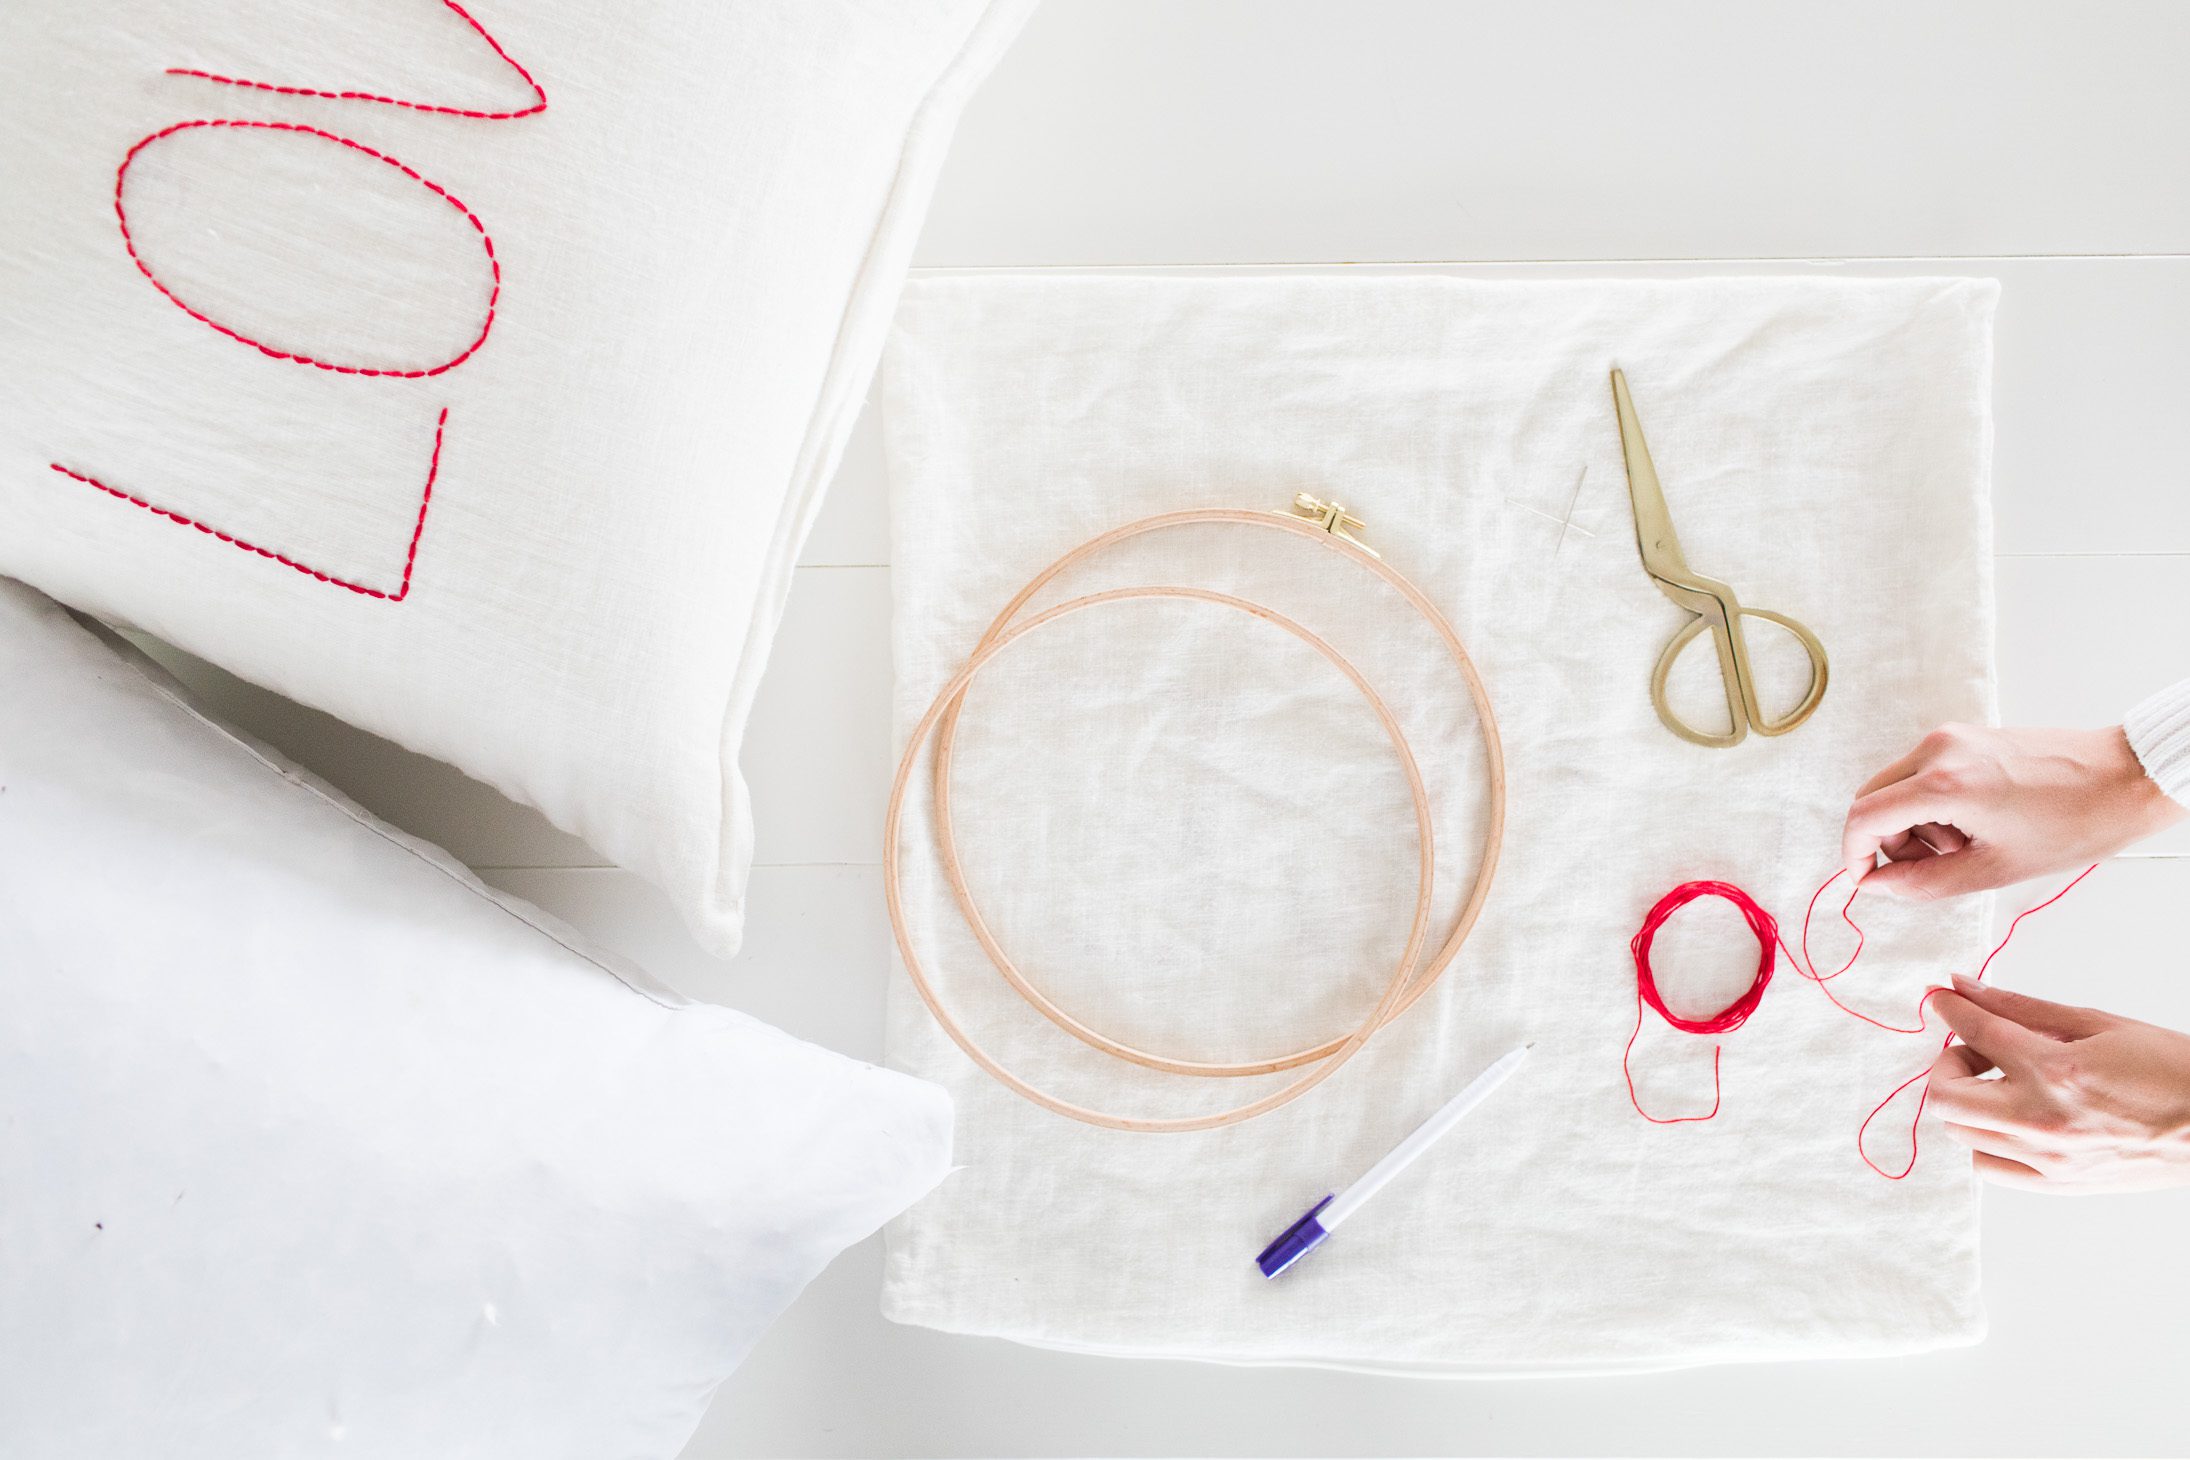
What You’ll Need
- Plain white or off-white pillow slip (I used a few old IKEA ones that I had laying around the house)
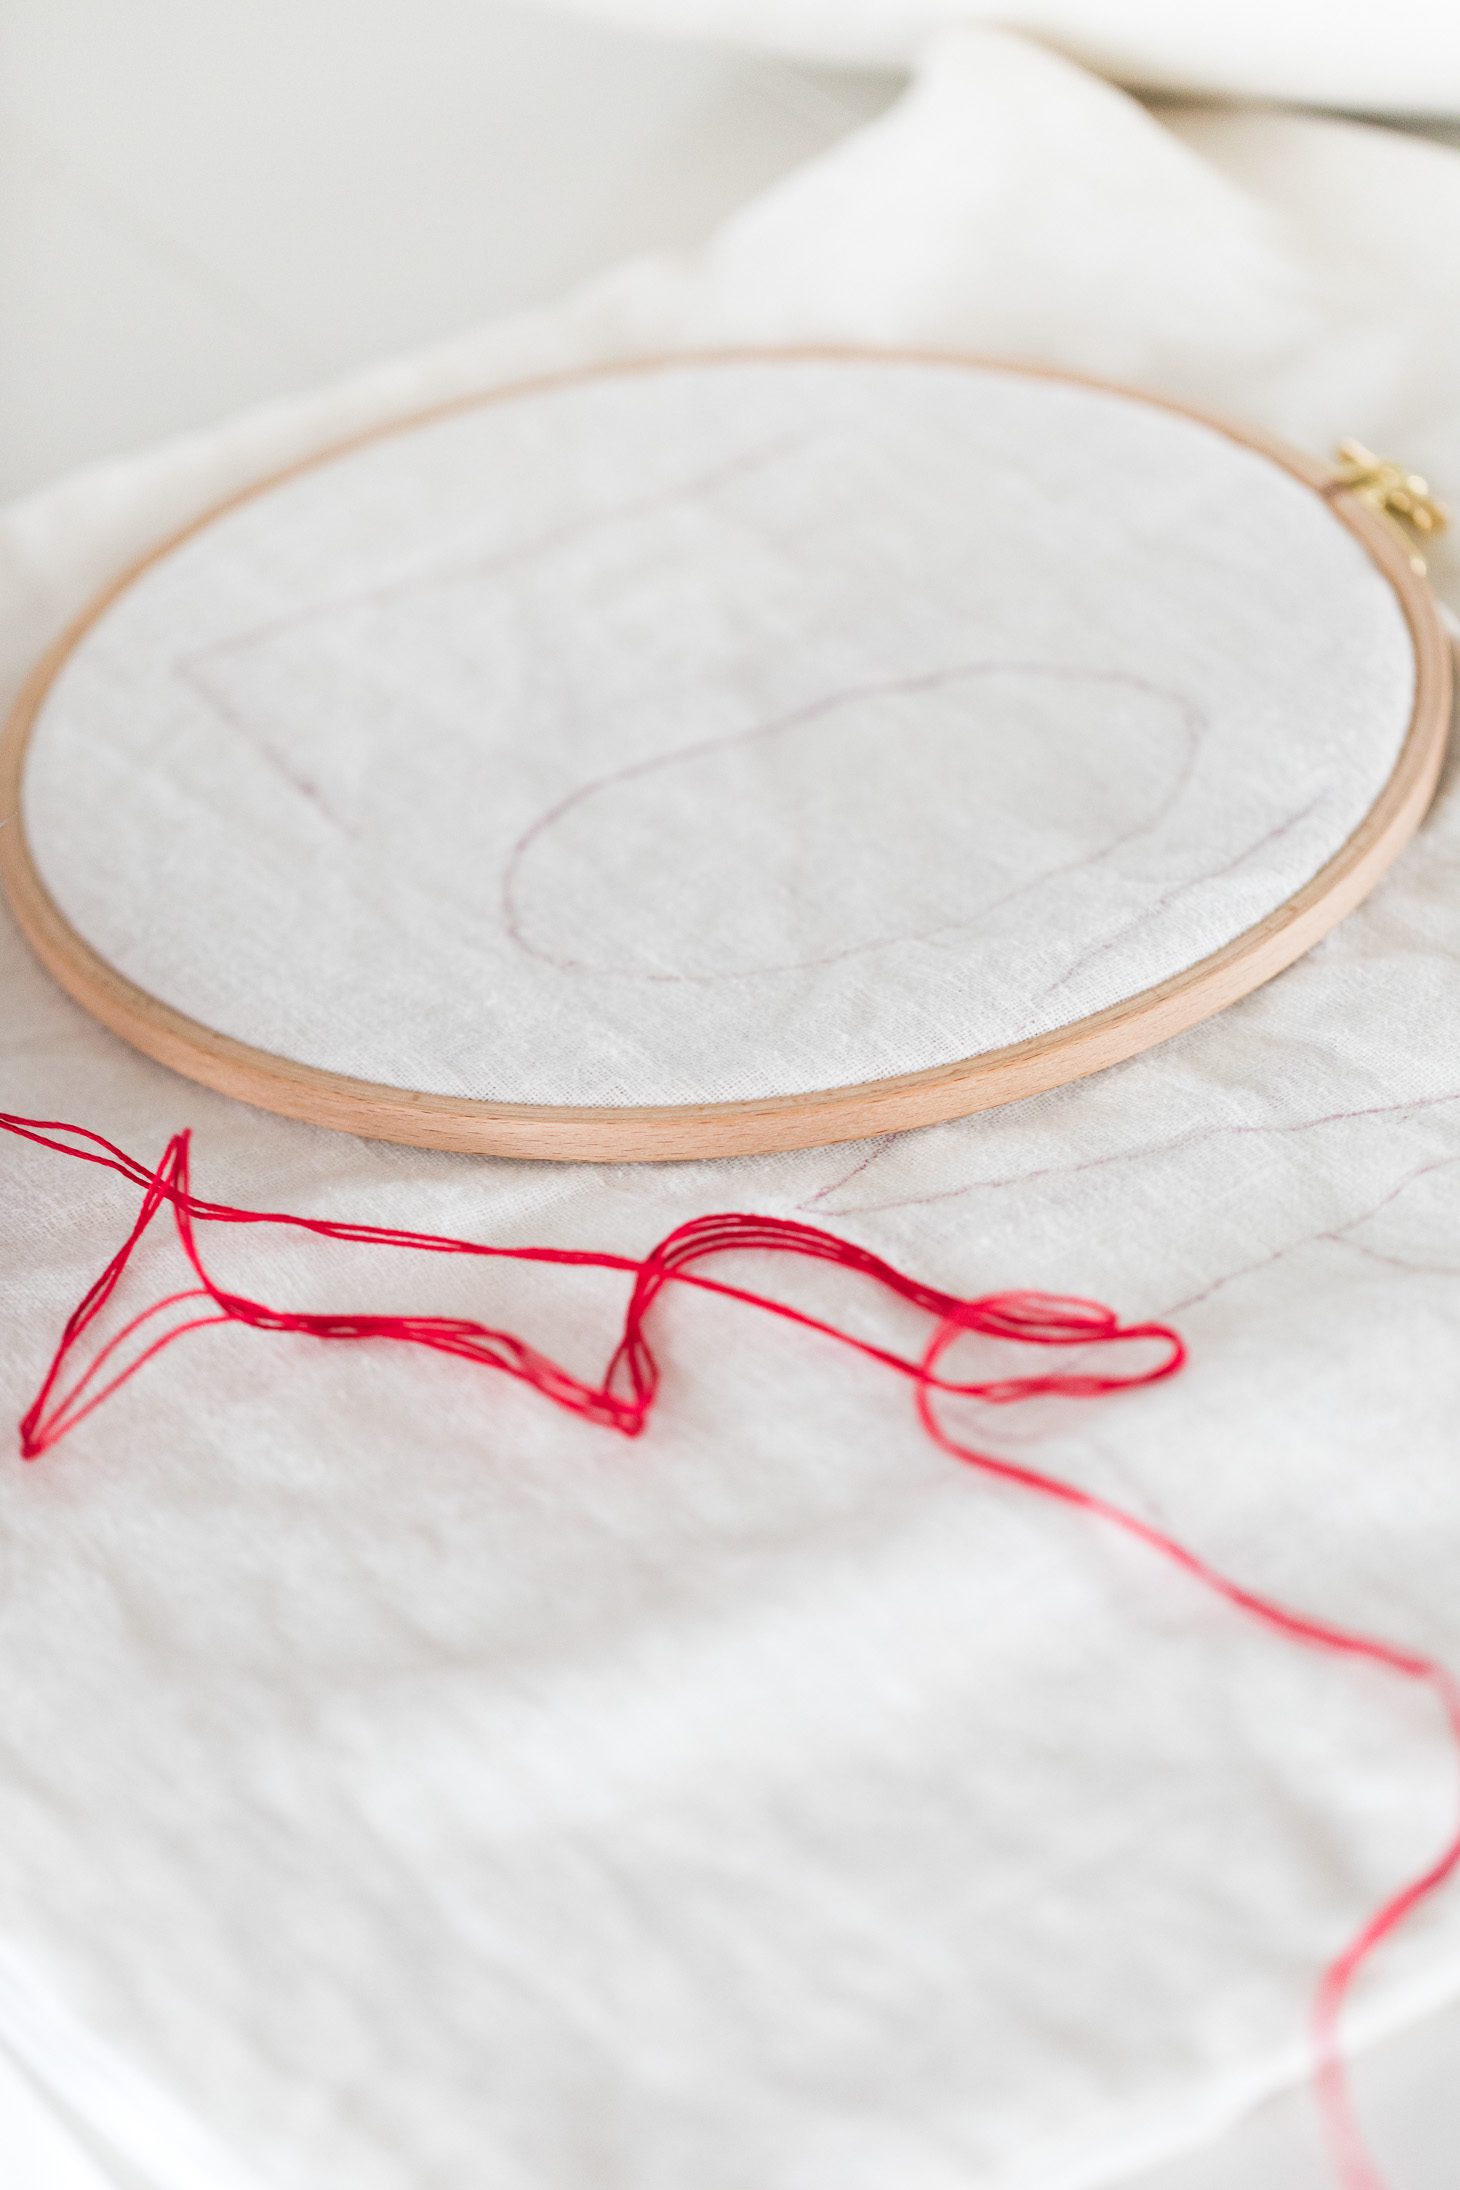
- Embroidery hoop (optional – but helps keep the fabric tight when you’re stitching)
- Red embroidery thread (or colour of choice!)
- Scissors
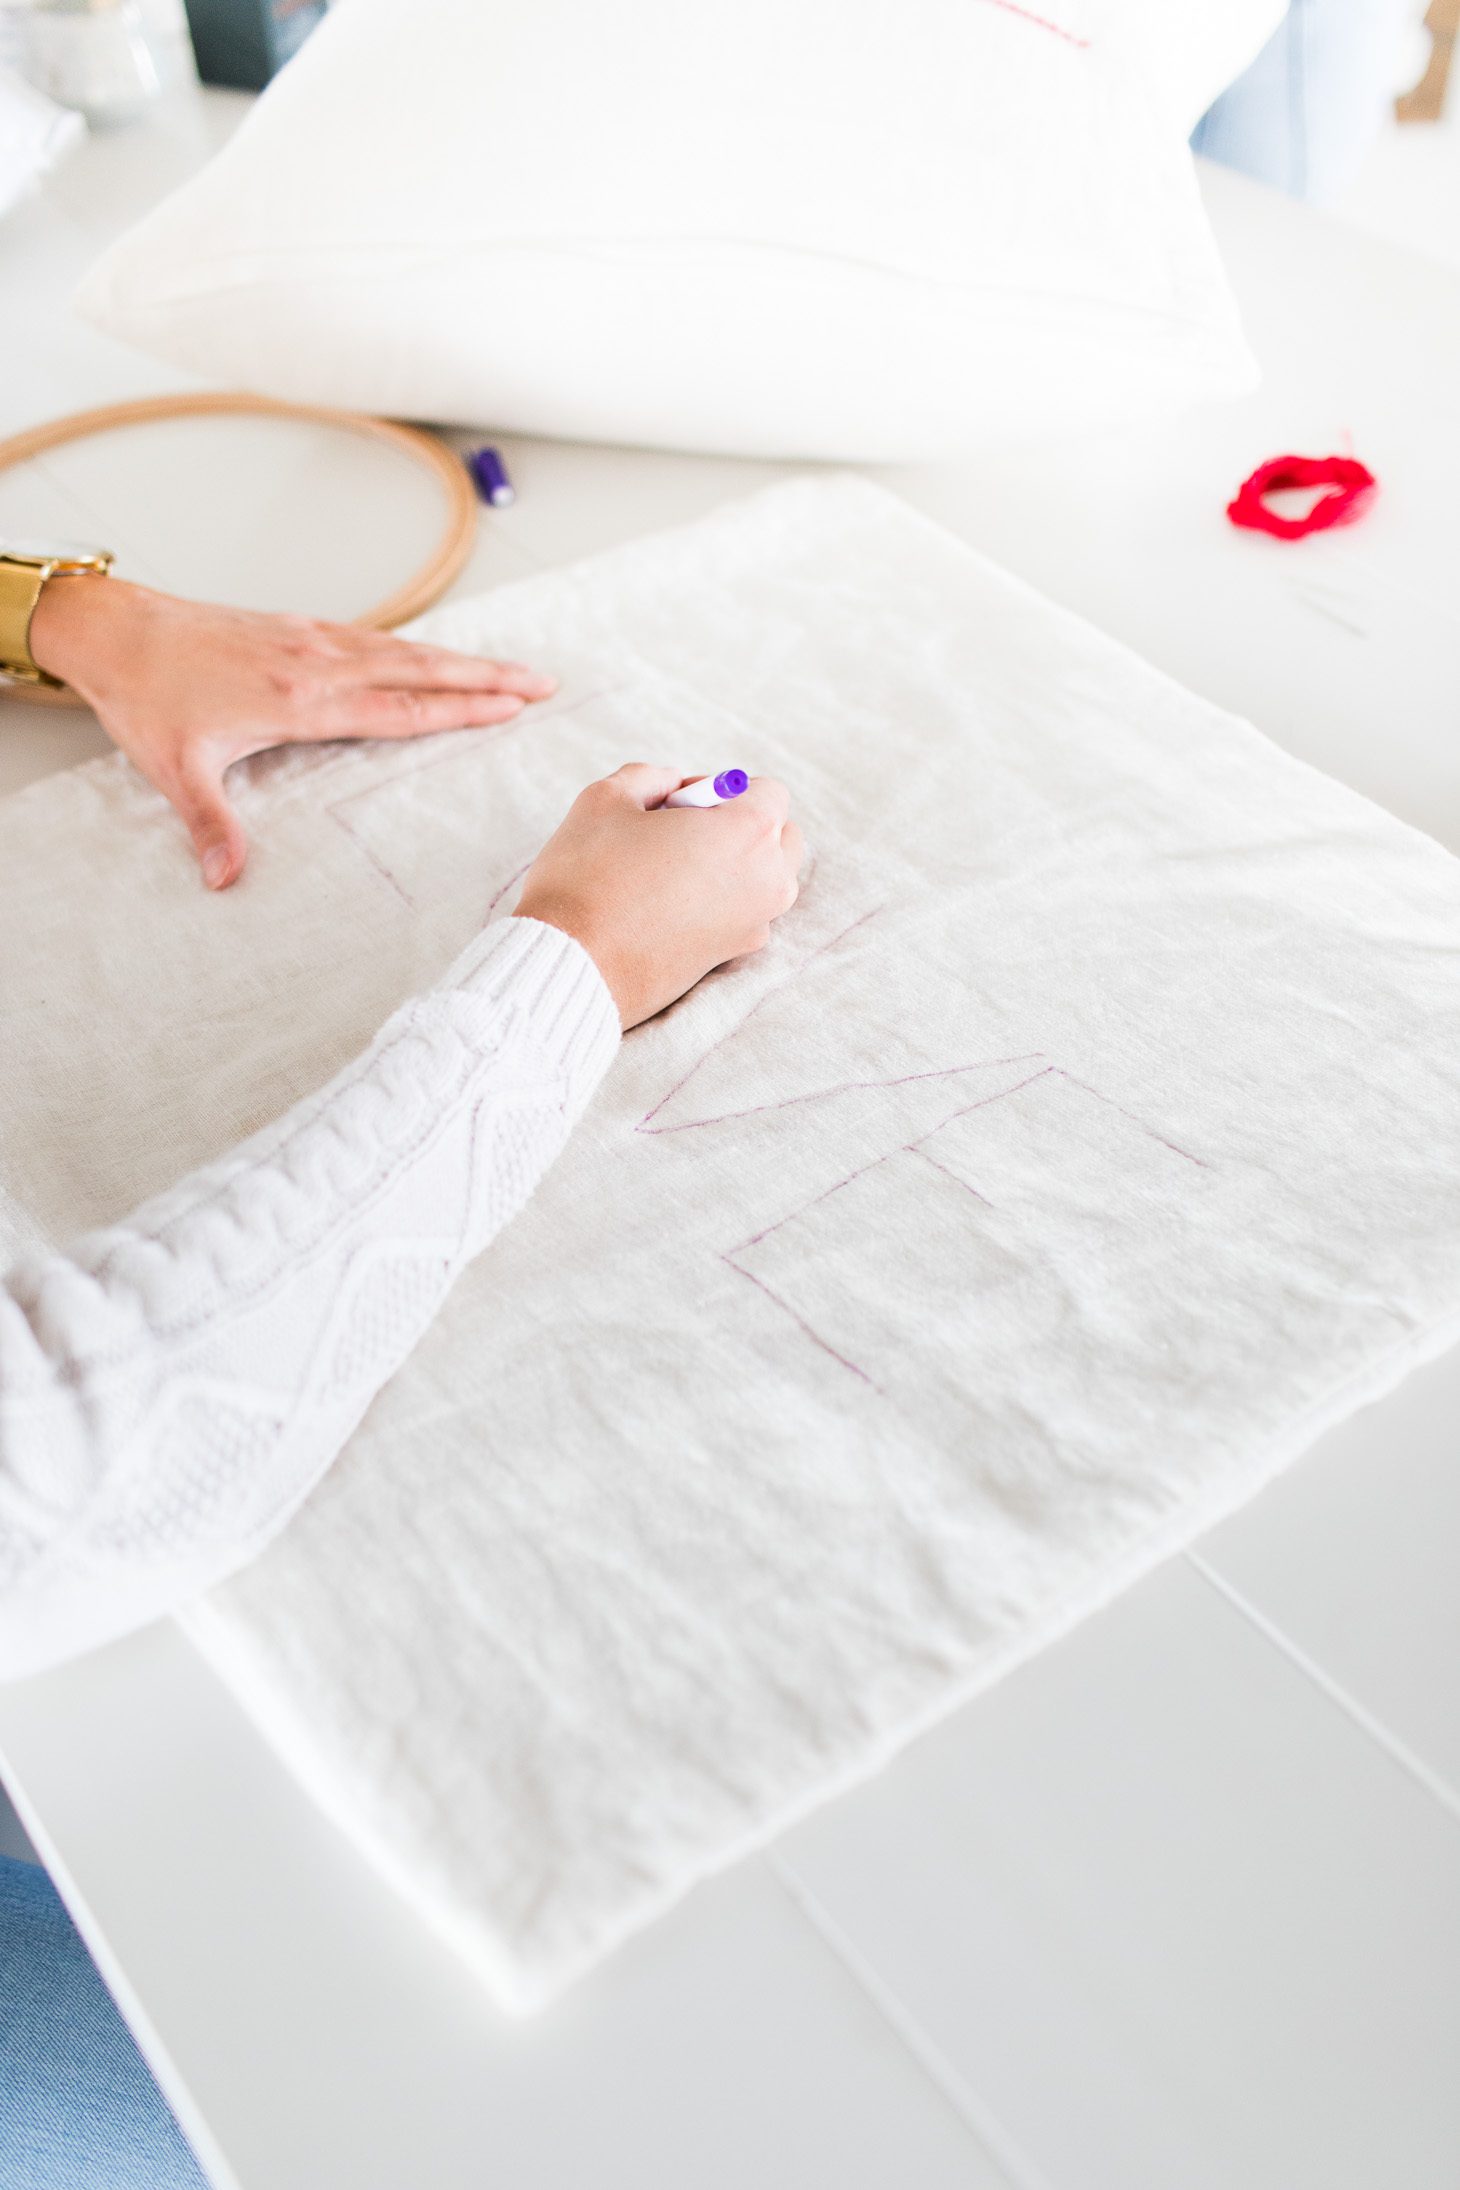
- Fast-fade fabric pen or pencil (I used Unique’s Fast-Fade fabric pen)
- 1 embroidery needle
Directions
- Start by sketching out your letters. I did this freehand but you can use a stencil if preferred. I’d recommend doing this with a pillow inserted as it will give you an idea of what it will look like once completed. To ensure it was symmetrical, I drew a straight line where the bottom of the letters would be and sketched from there.
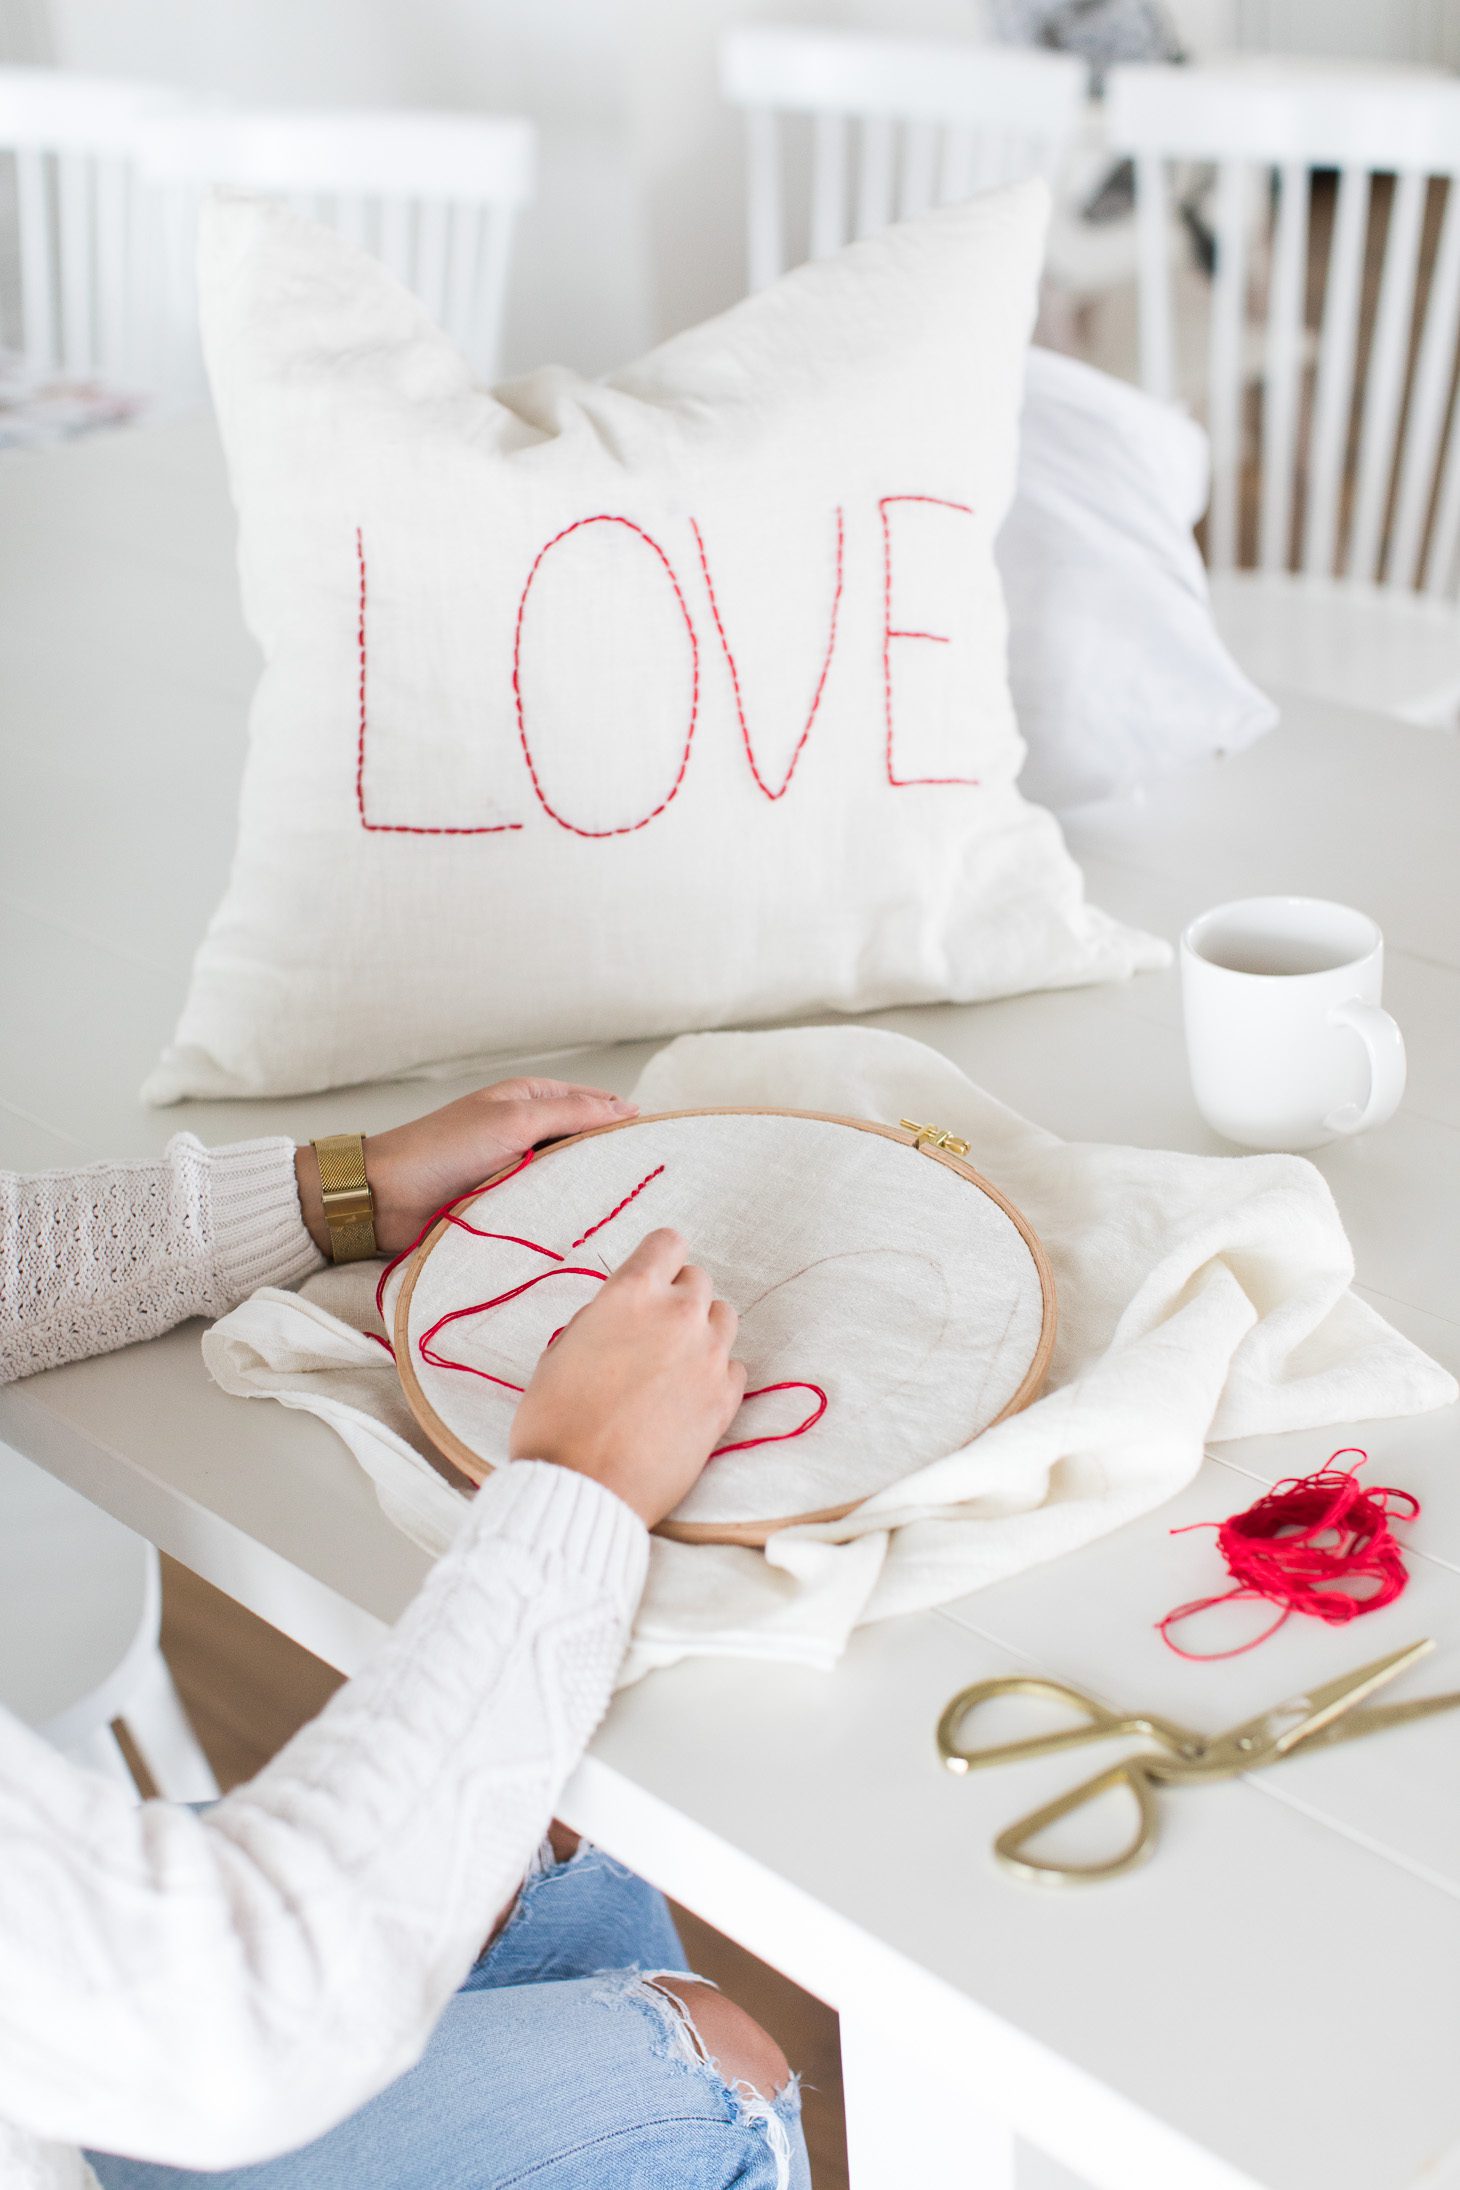
- If you are using an embroidery hoop, place the first two letters within the hoop and secure.
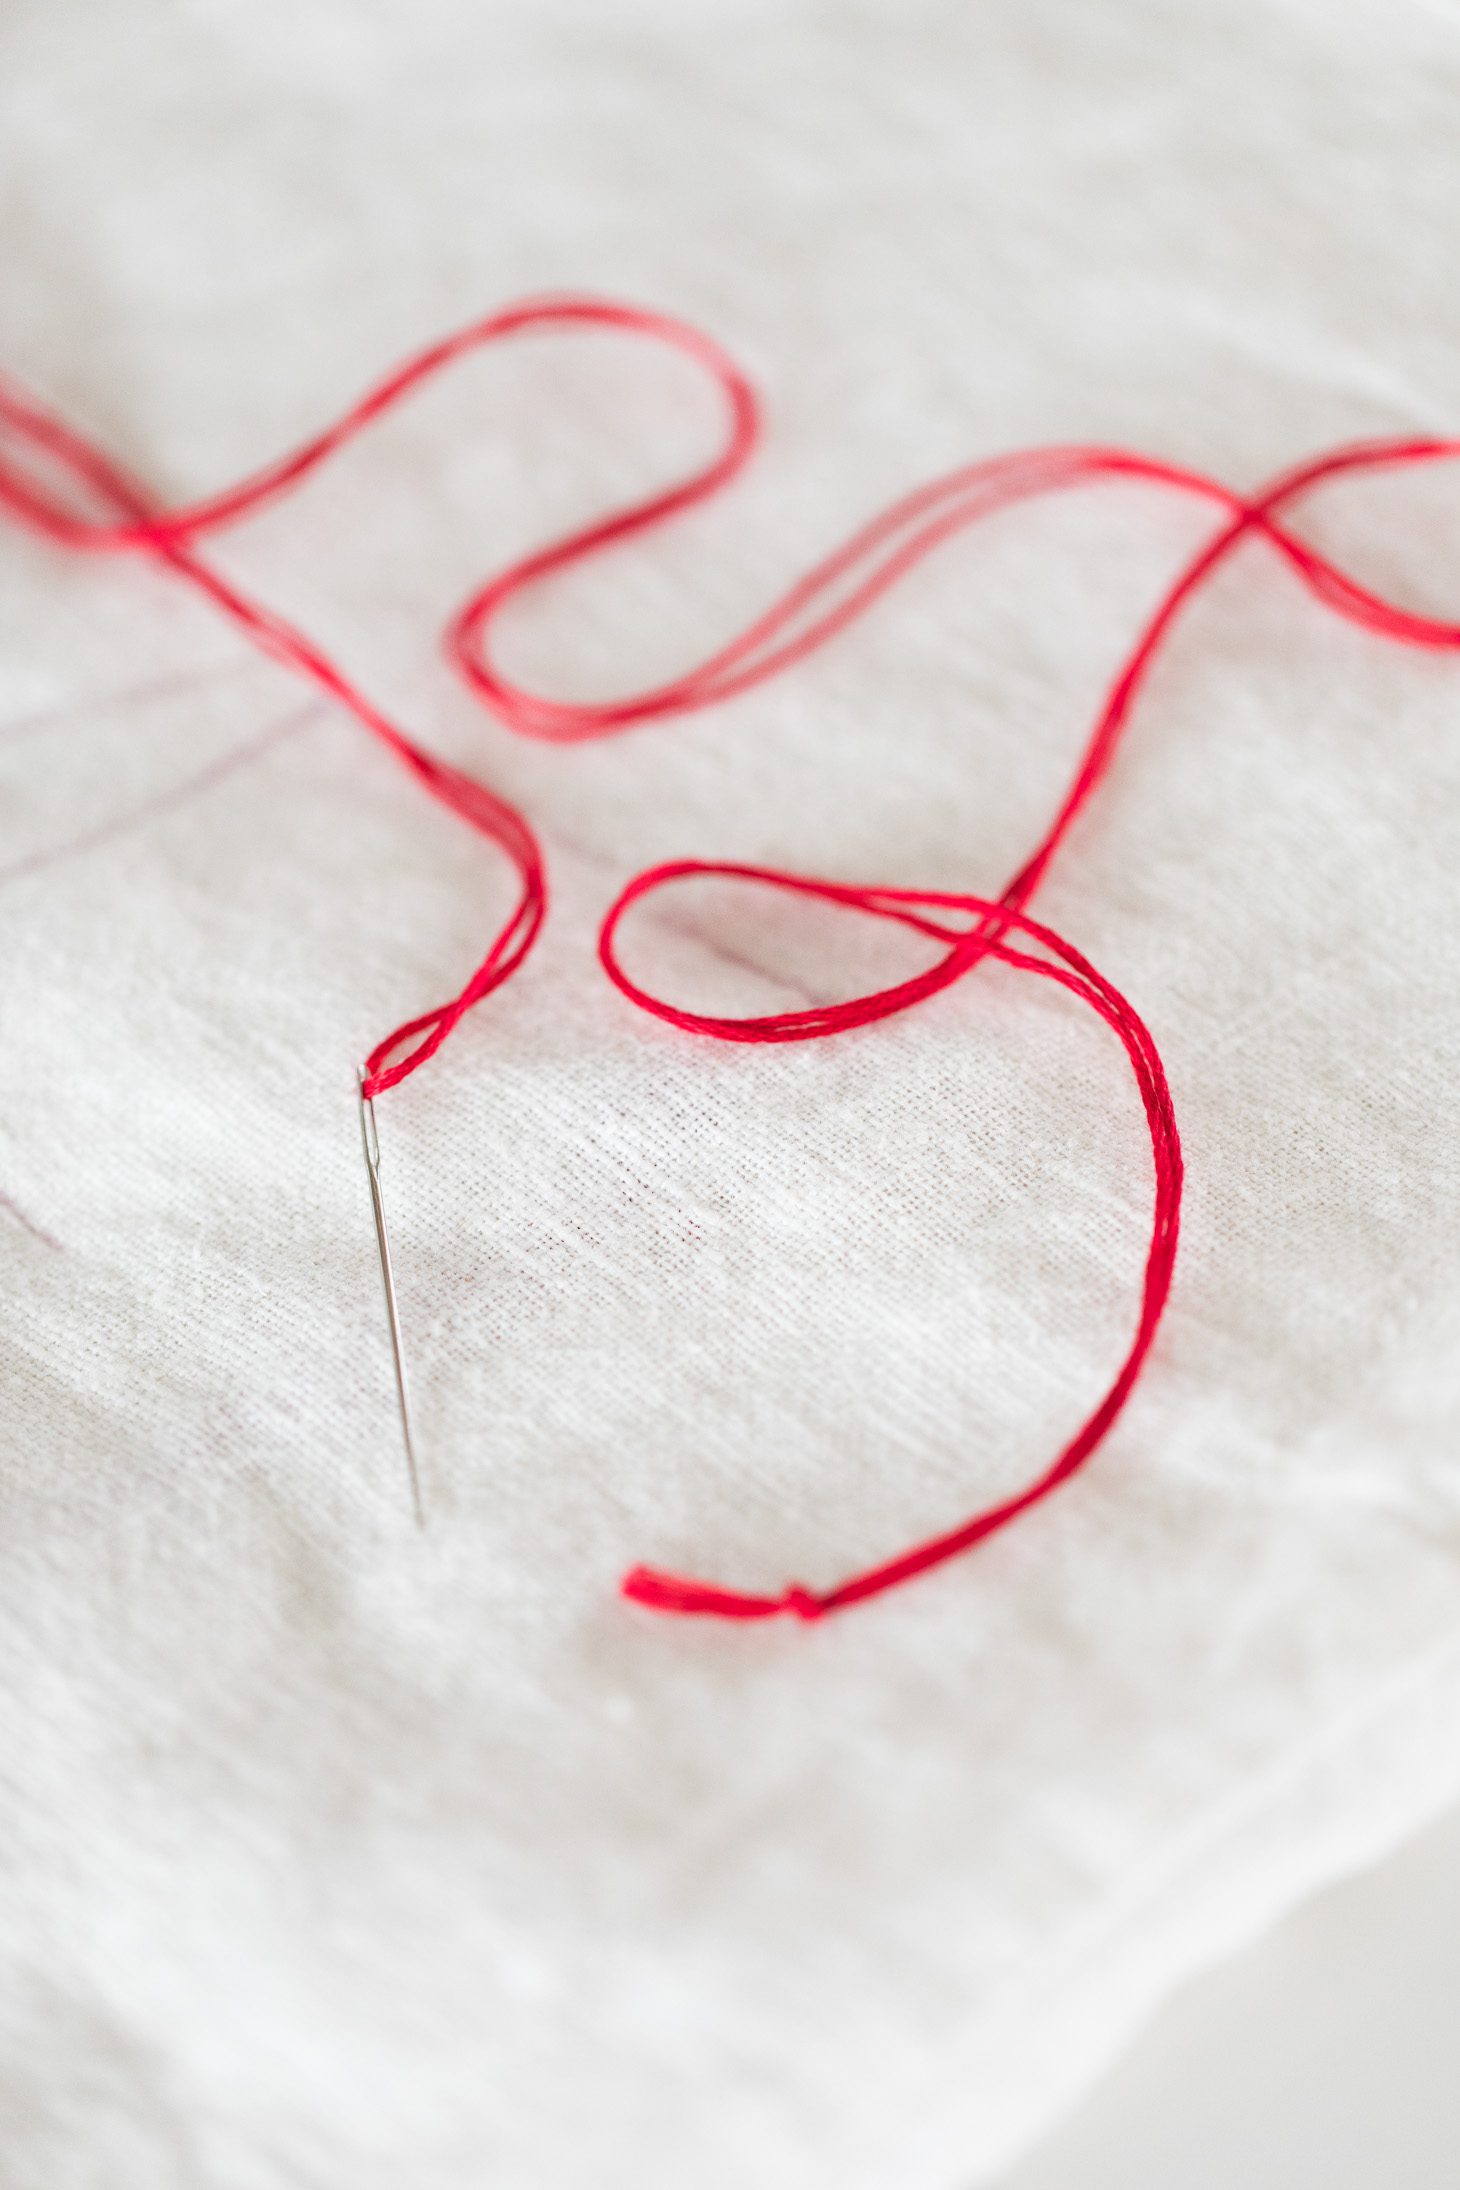
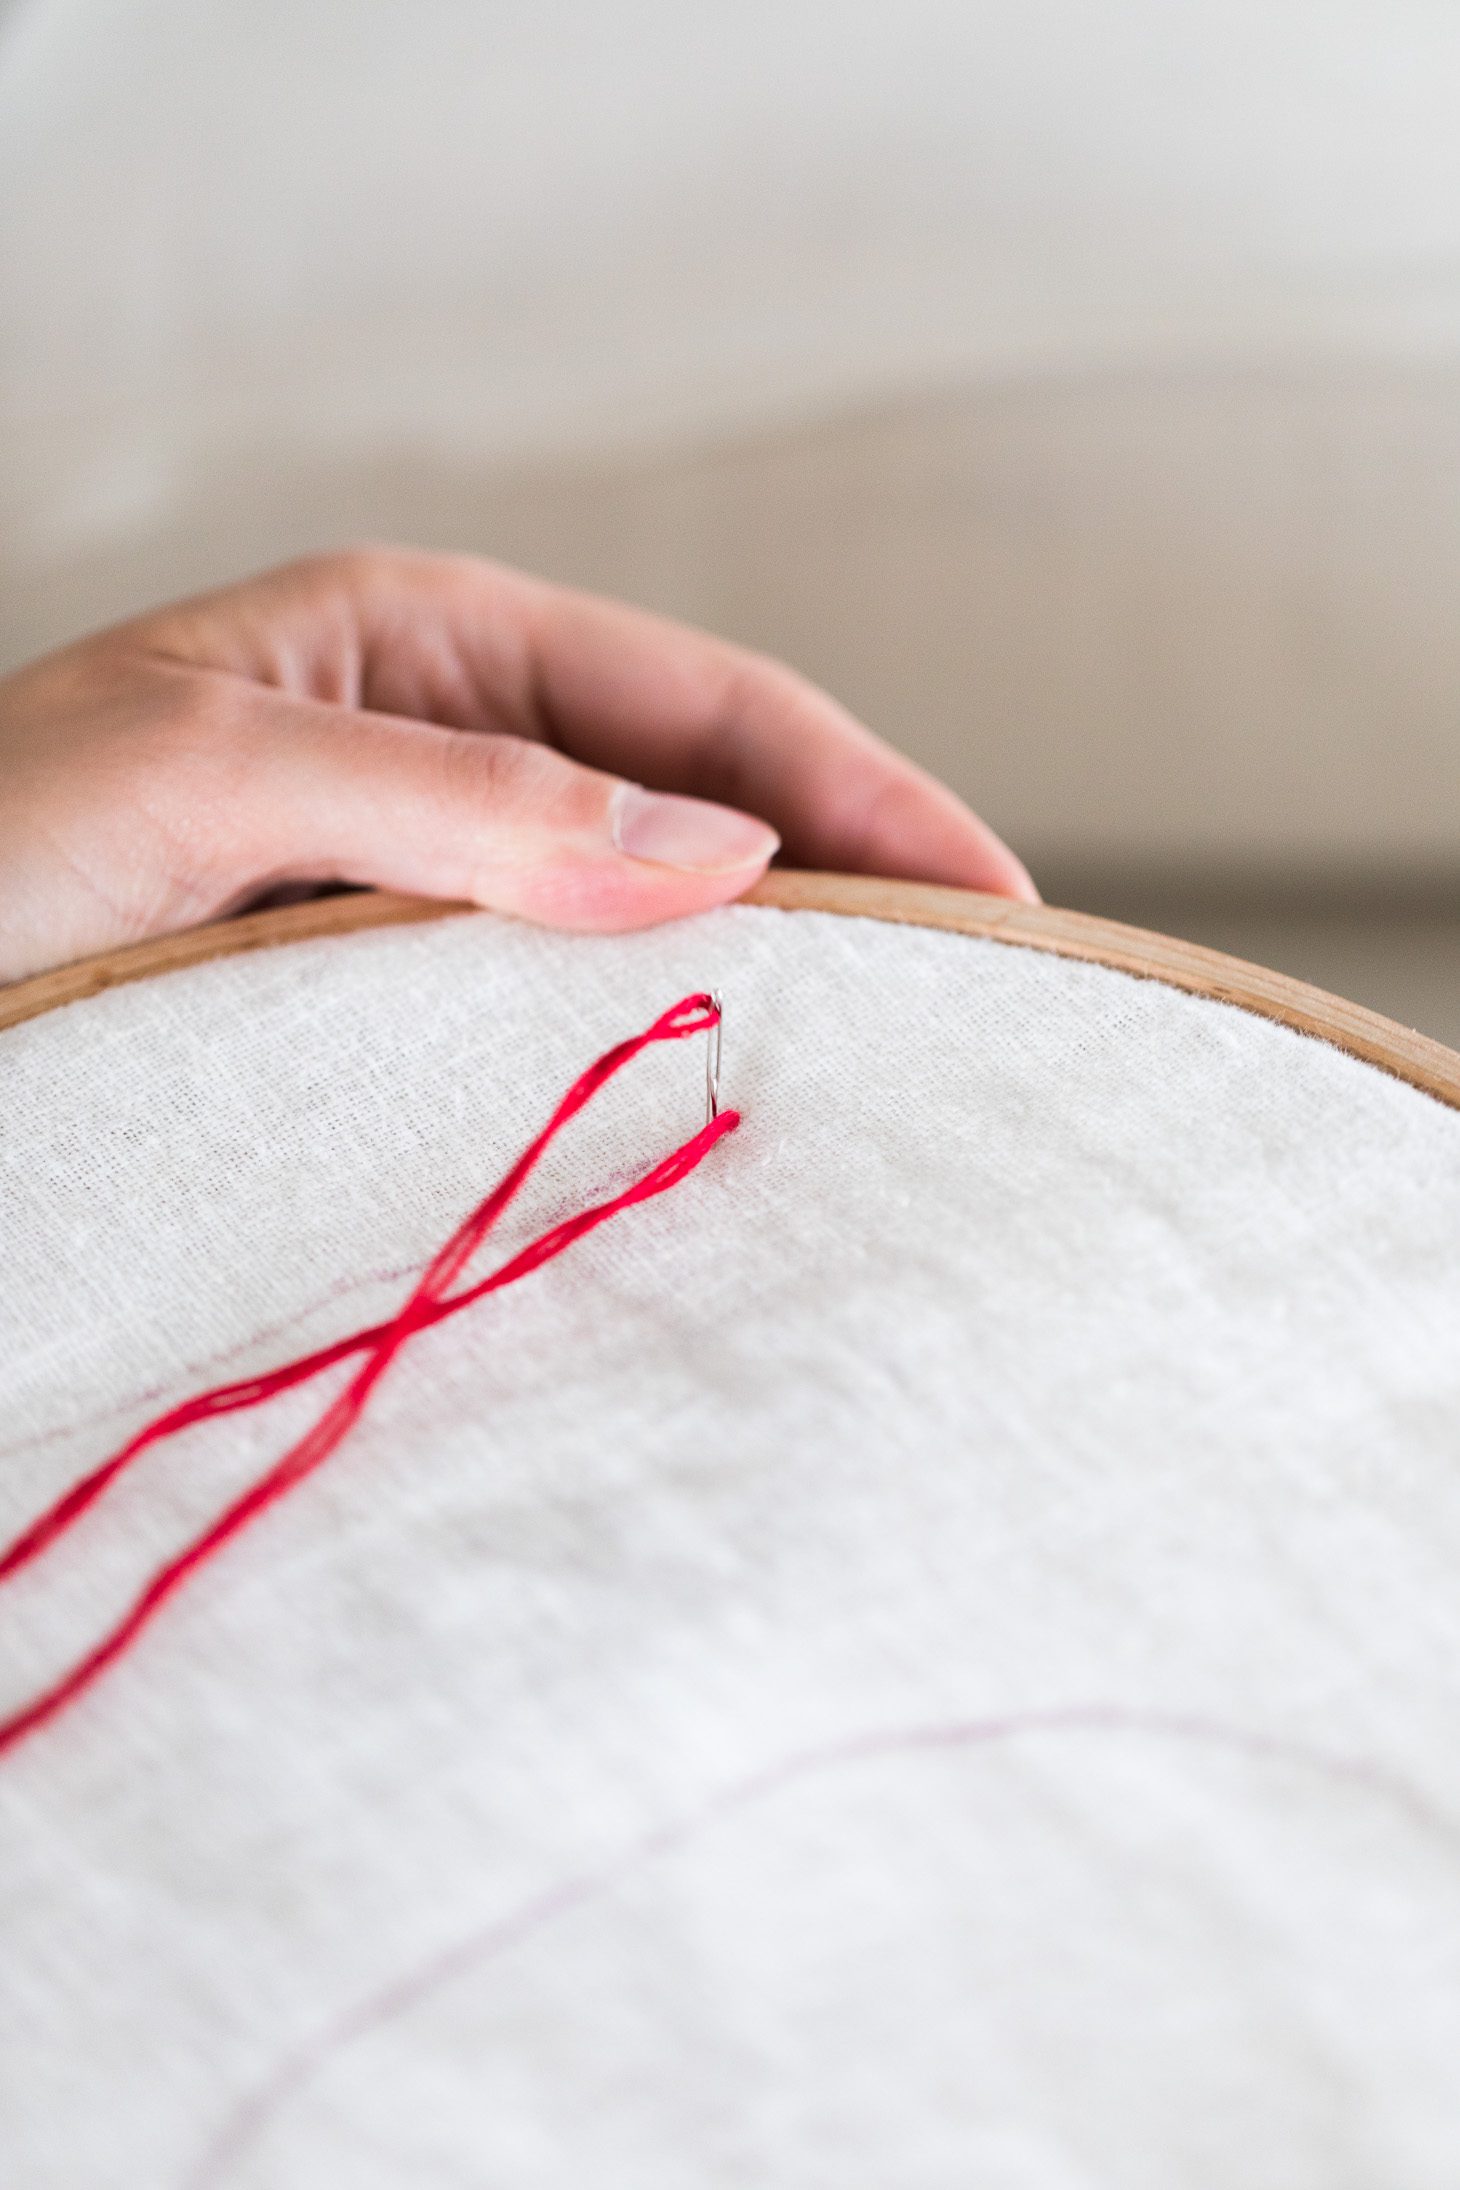
- Using about 4 feet of thread, thread your needle and line up the ends of the thread. Tie a knot to secure the end.
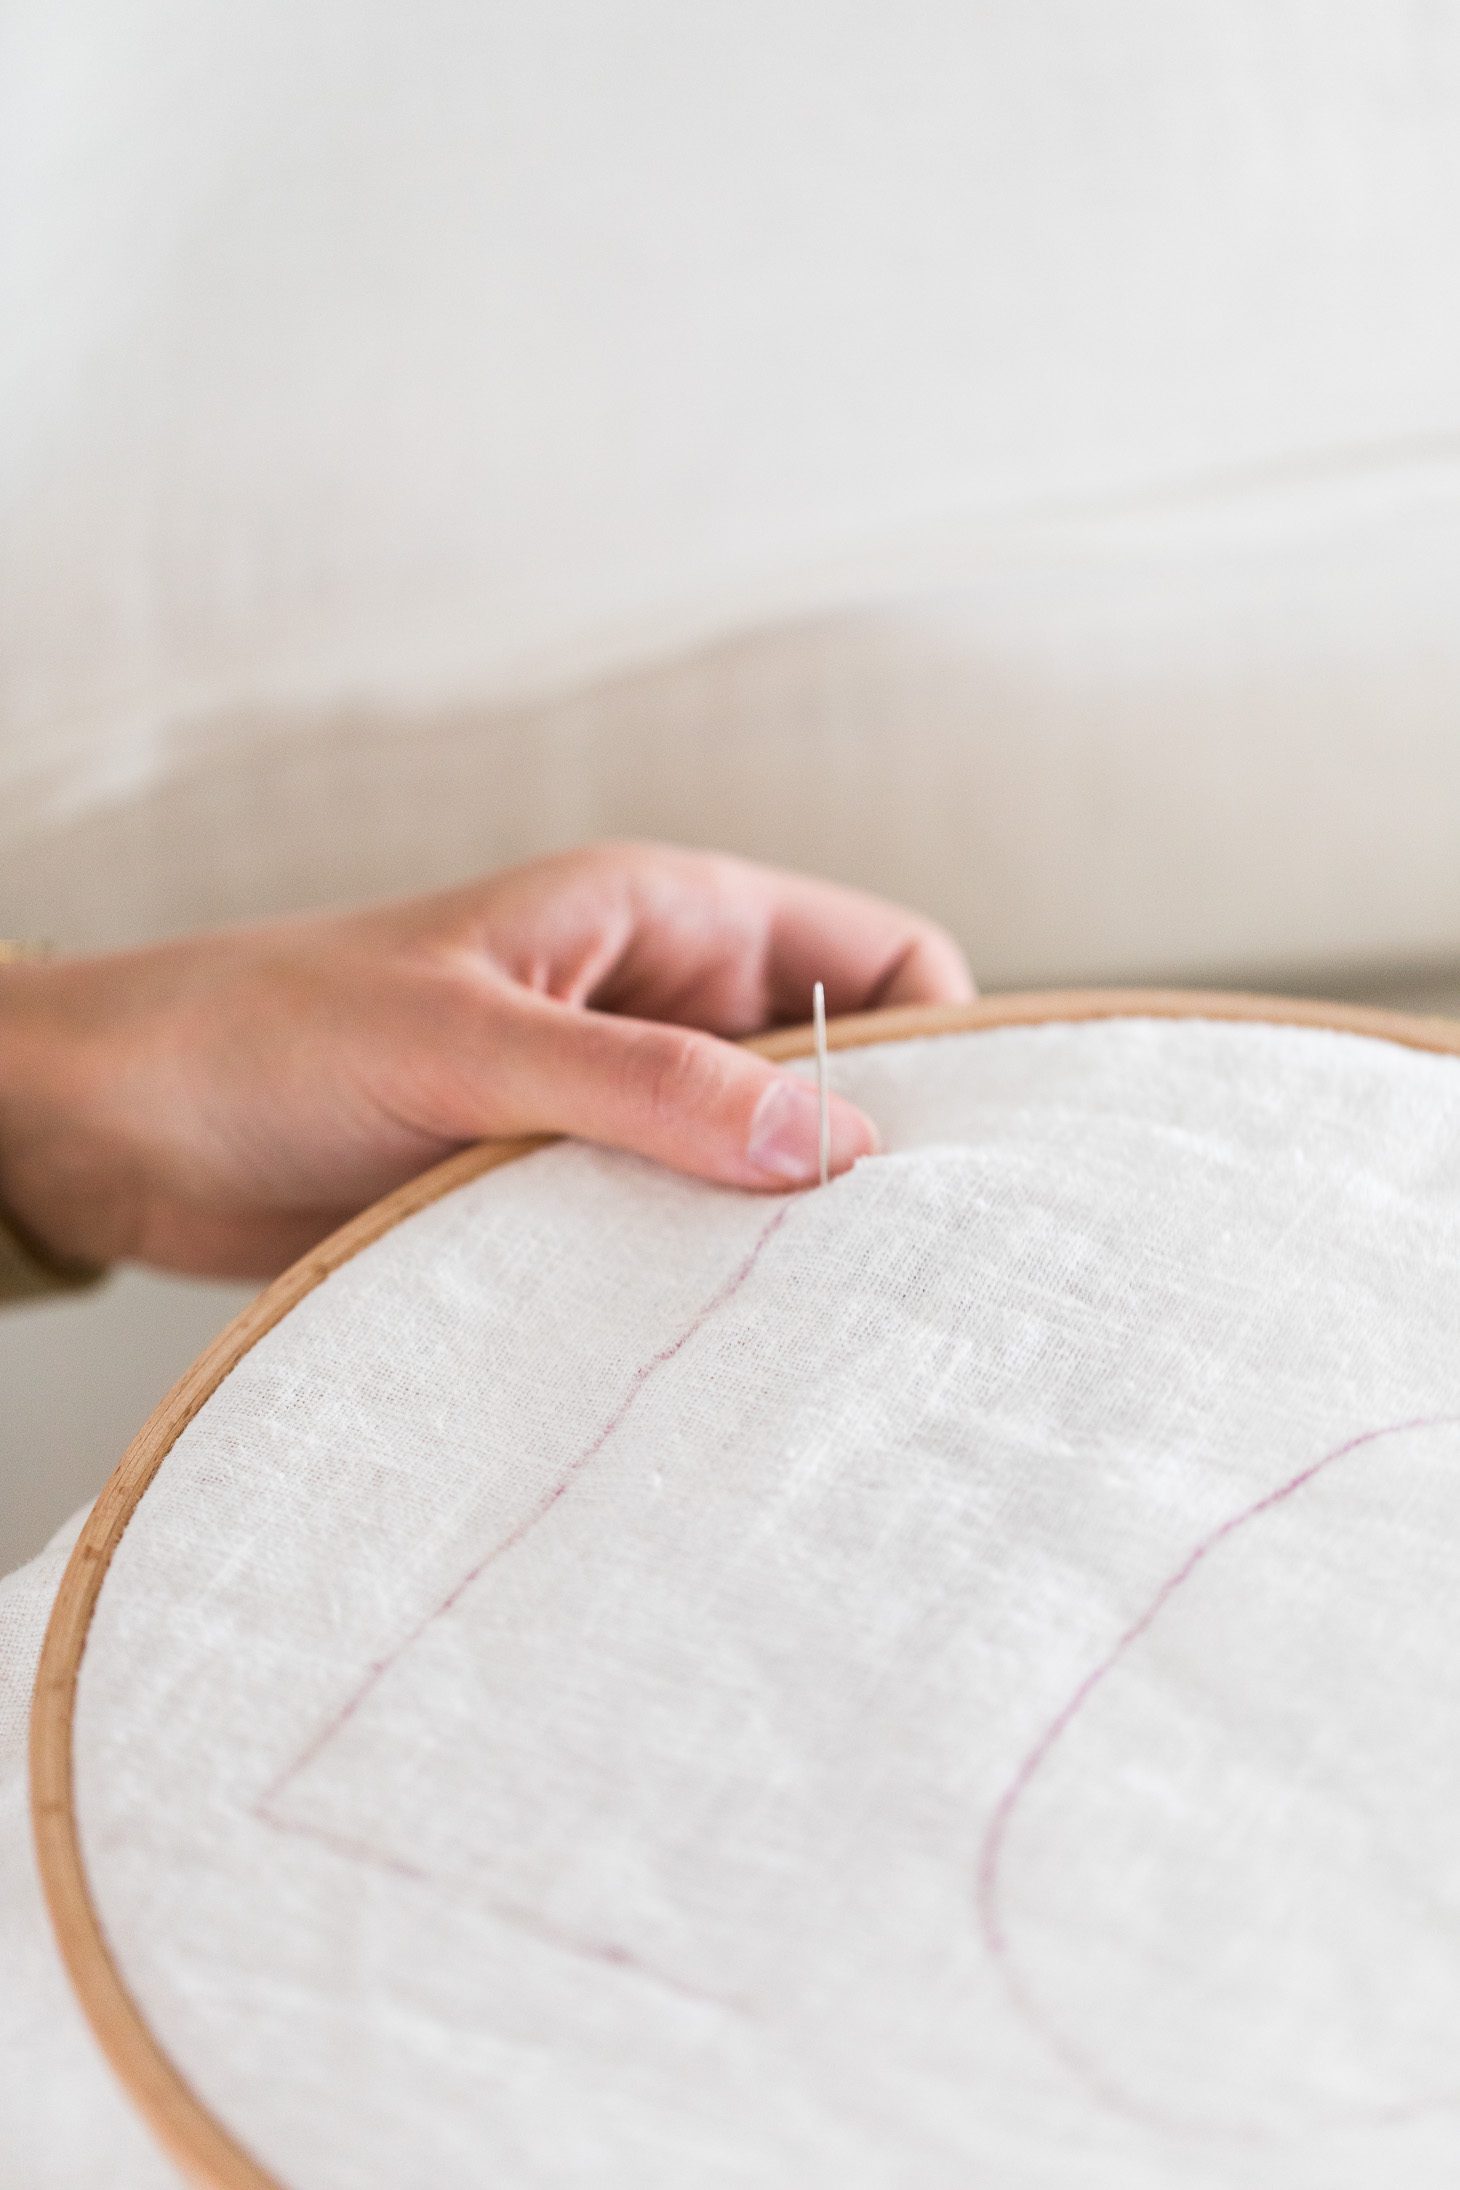
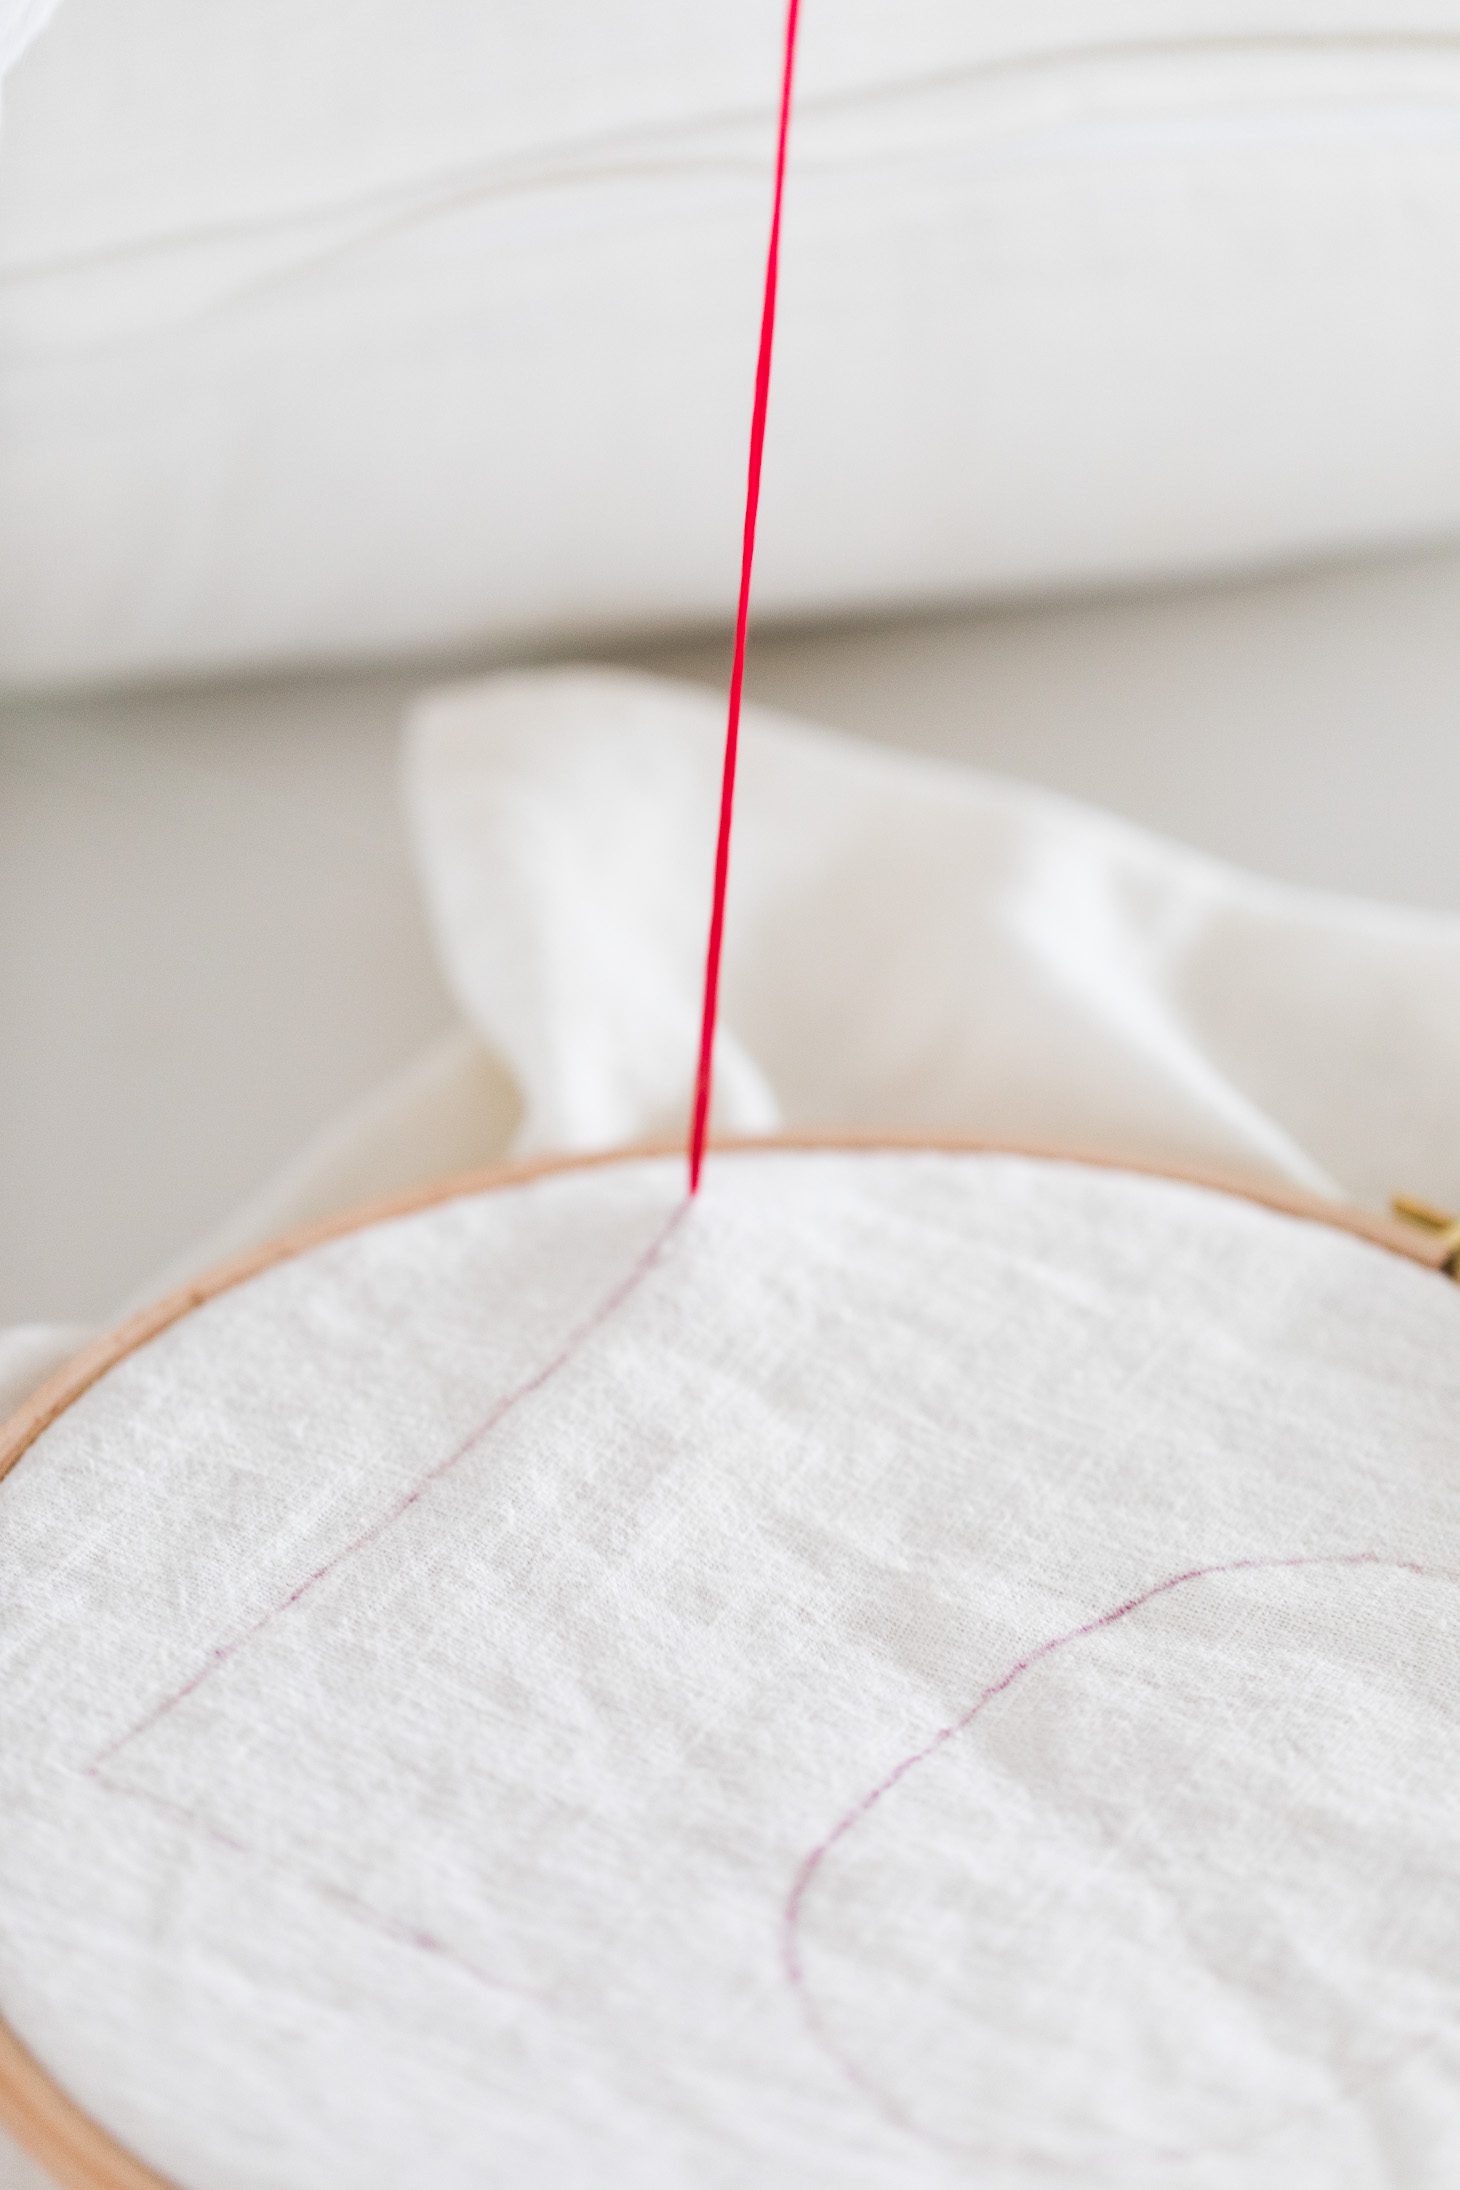
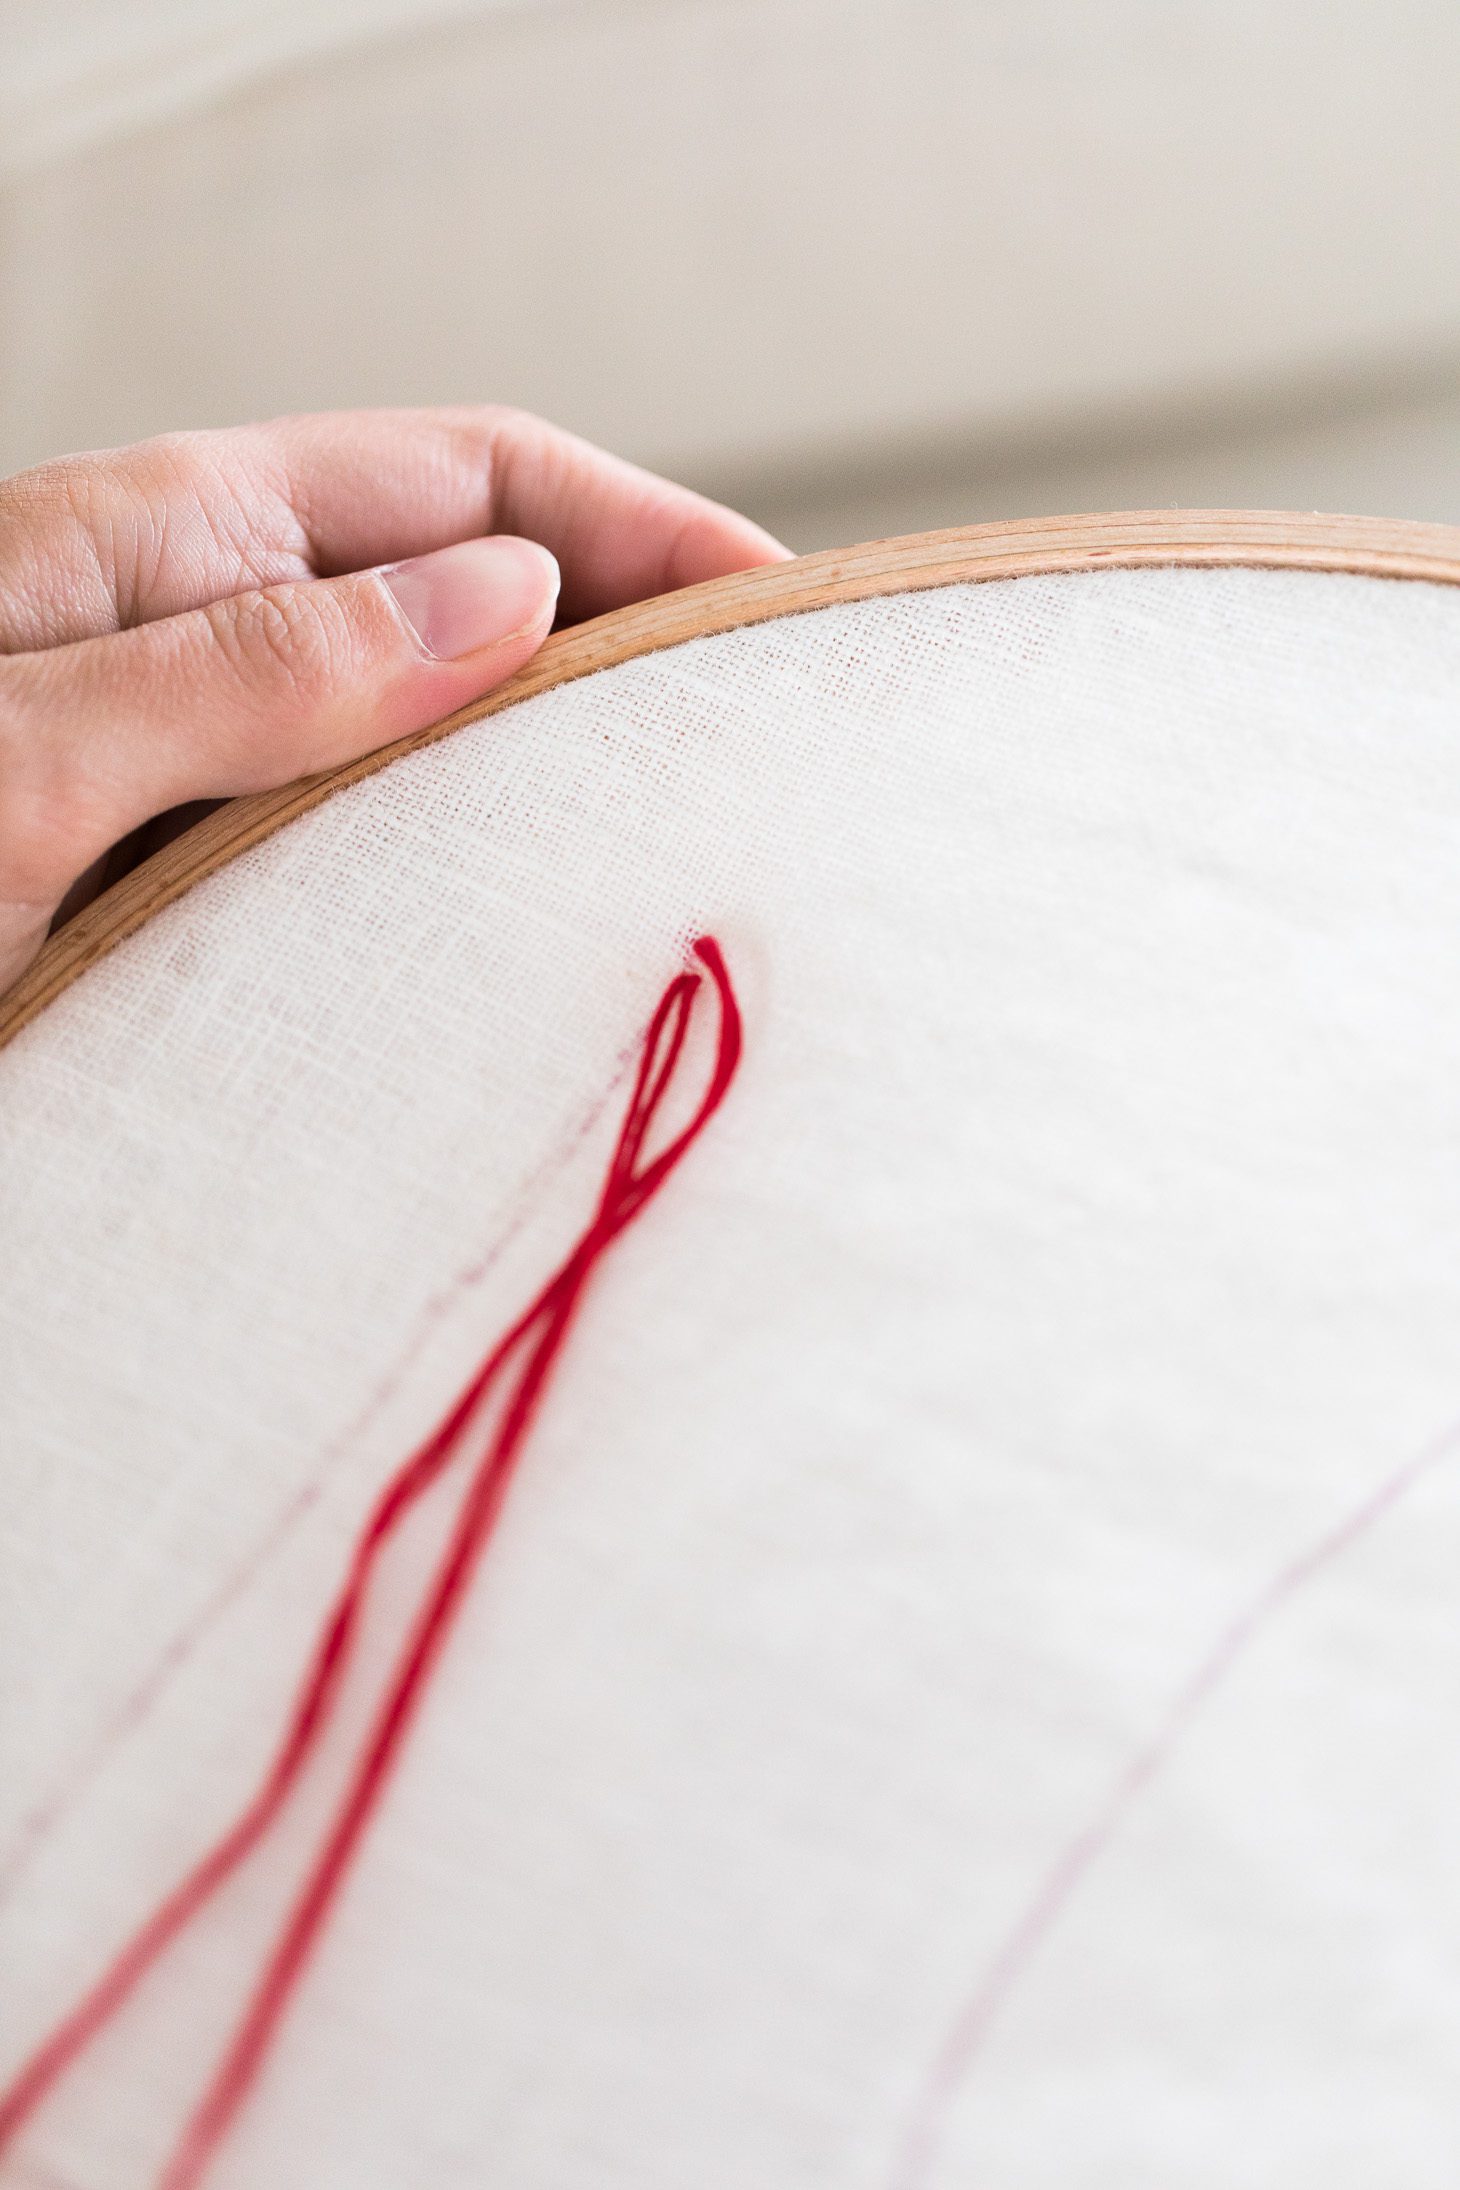
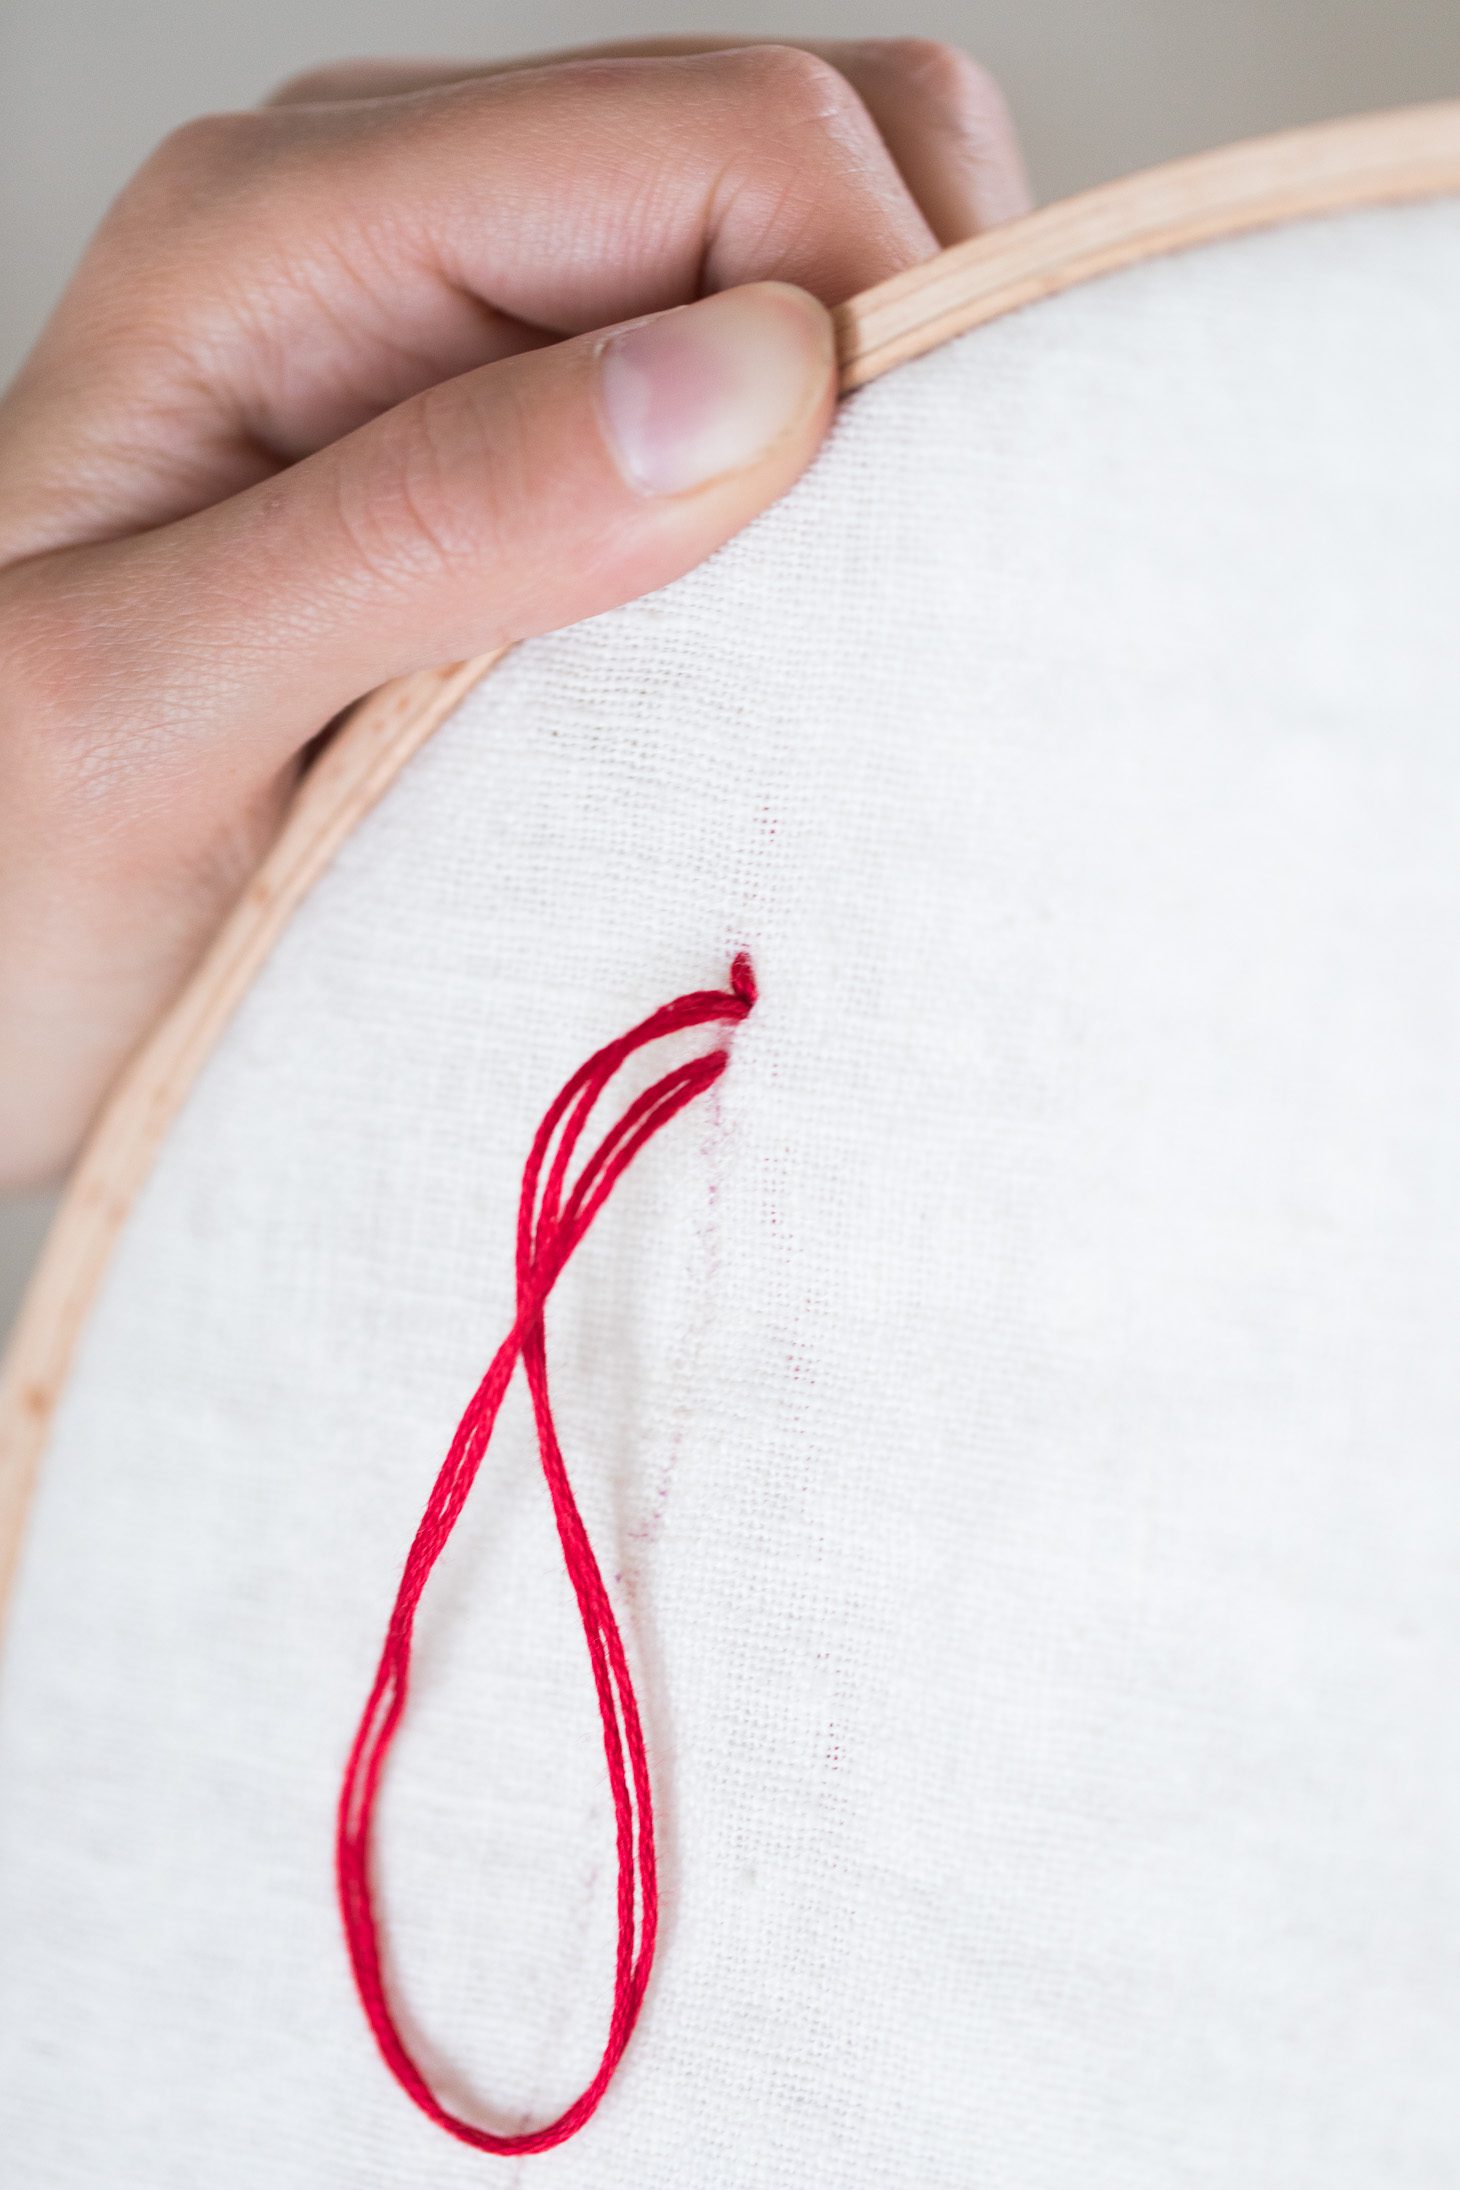
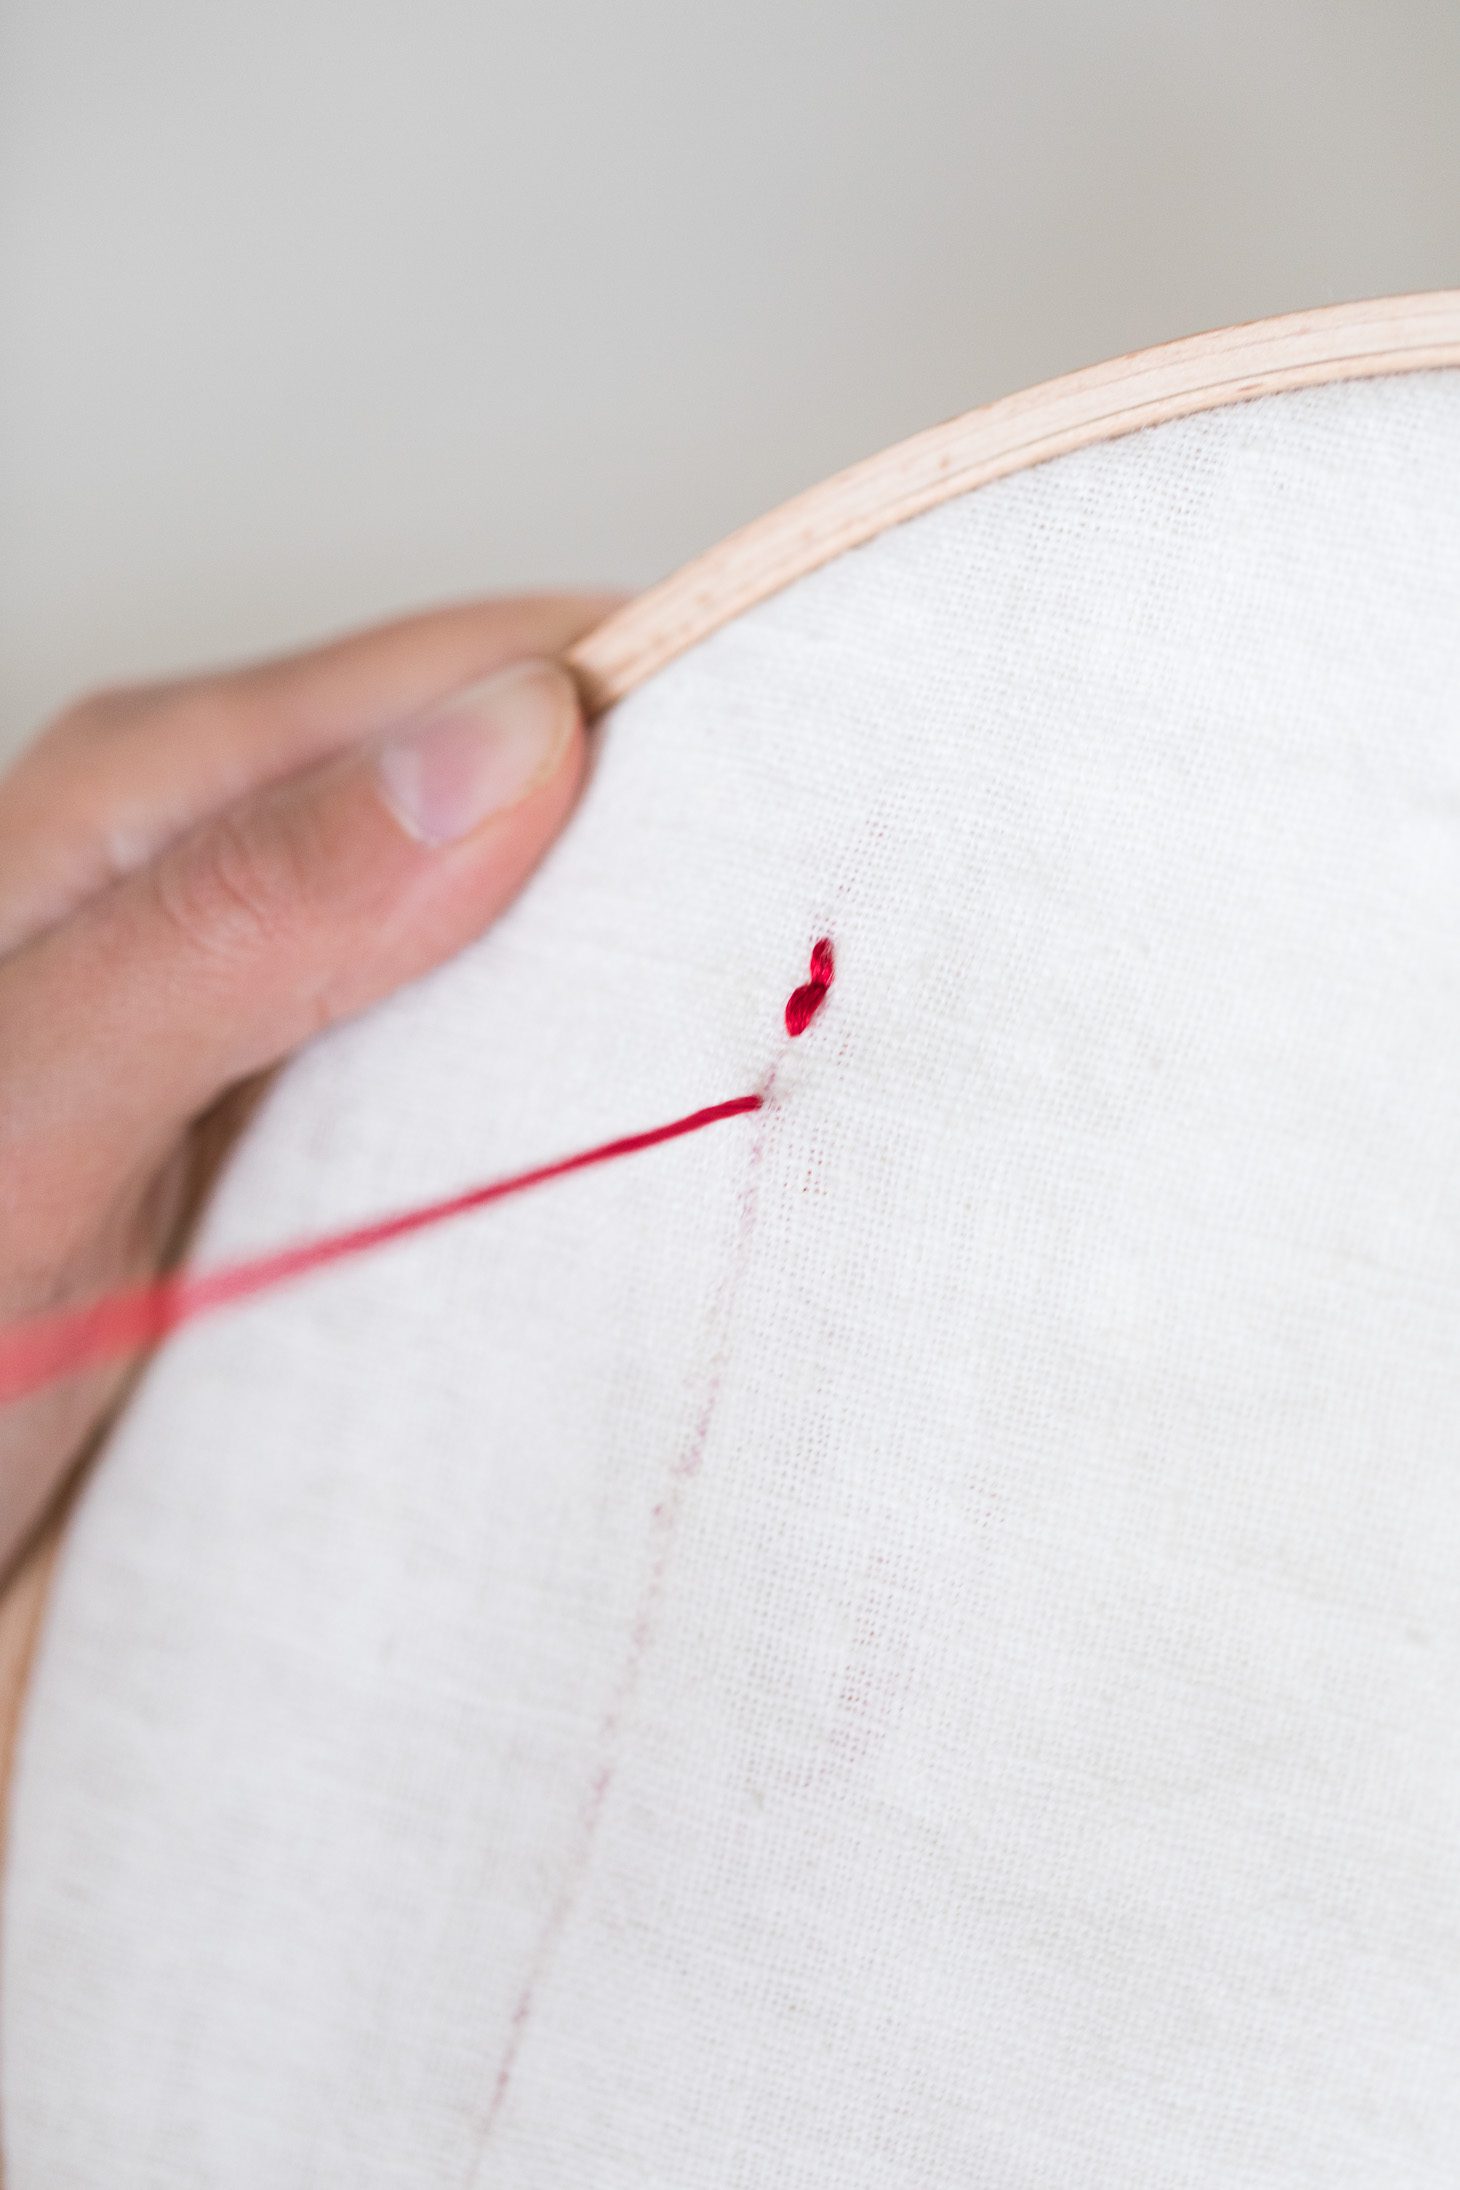
- Start your back-stitch: Bring your needle underneath the fabric (in this case it will be between the two layers of the pillow slip – underneath the top layer). Beginning at the top of the first letter, pull the thread through the starting point until you feel the knot underneath. About 1/8 inch down (or 1/16 if you want it more detailed), insert your needle back through the fabric so you are now underneath the top layer of fabric again.
- About 1/8 down from your last stitch. Bring the needle upwards through the fabric again, following your sketched letter down.
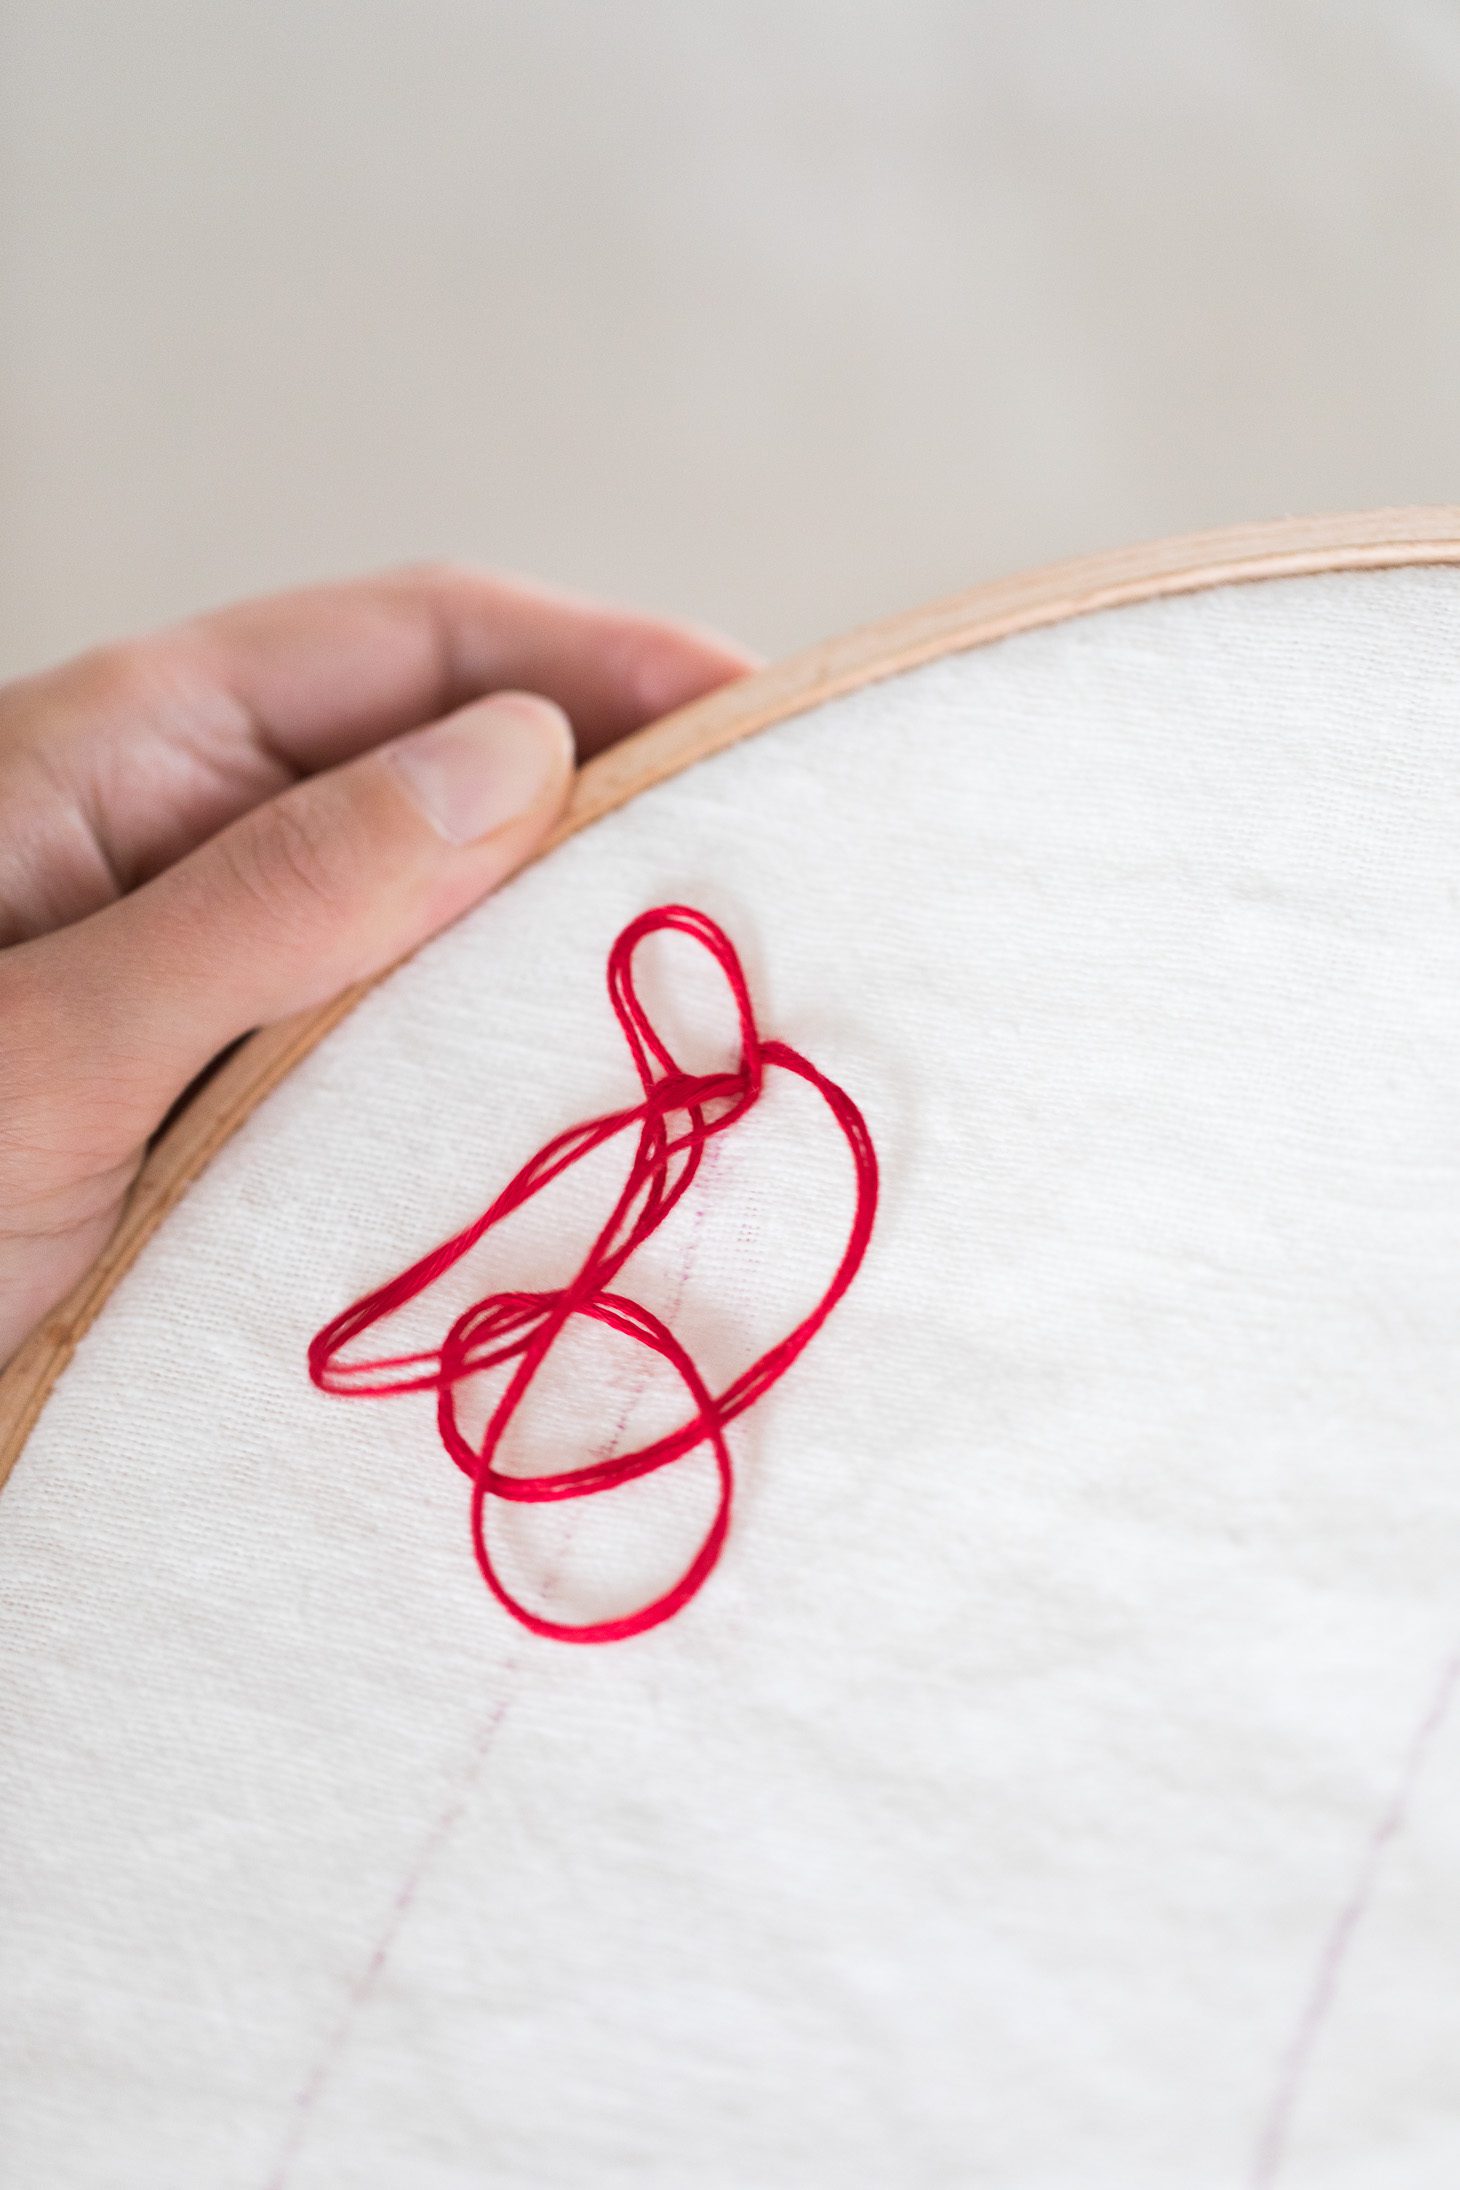
- Insert the needle at the BASE of your last stitch, as pictured, and pull thread through back underneath. You have now completed your first back-stitch.
- Continue following your sketch until you have completed your first letter. Tie a secure double knot at the base of the thread and cut the thread.
- Repeat the next letter, adjusting embroidery hoop if need be.
- Continue until each letter is complete. You have now hand-stitched your own LOVE pillow!
Below are some tips that’ll help you out when you decide to tackle this DIY!
Tips
- The thread, hoop, and fast-fade pen were all purchased from FabricLand.
- If you can get your hands on one, we’d highly recommend using a fast-fade pen that erases over time. It prevents you from having to use a pencil!
- If you are at all confused by the stitching instructions, there are a lot of useful tutorials online. Simply research a basic back stitch to guide you through your embroidery.
- While this DIY is a bit time consuming, once you have your stitching pattern down it is quite therapeutic! This would be a great exercise while you’re drinking wine and watching your favourite show!
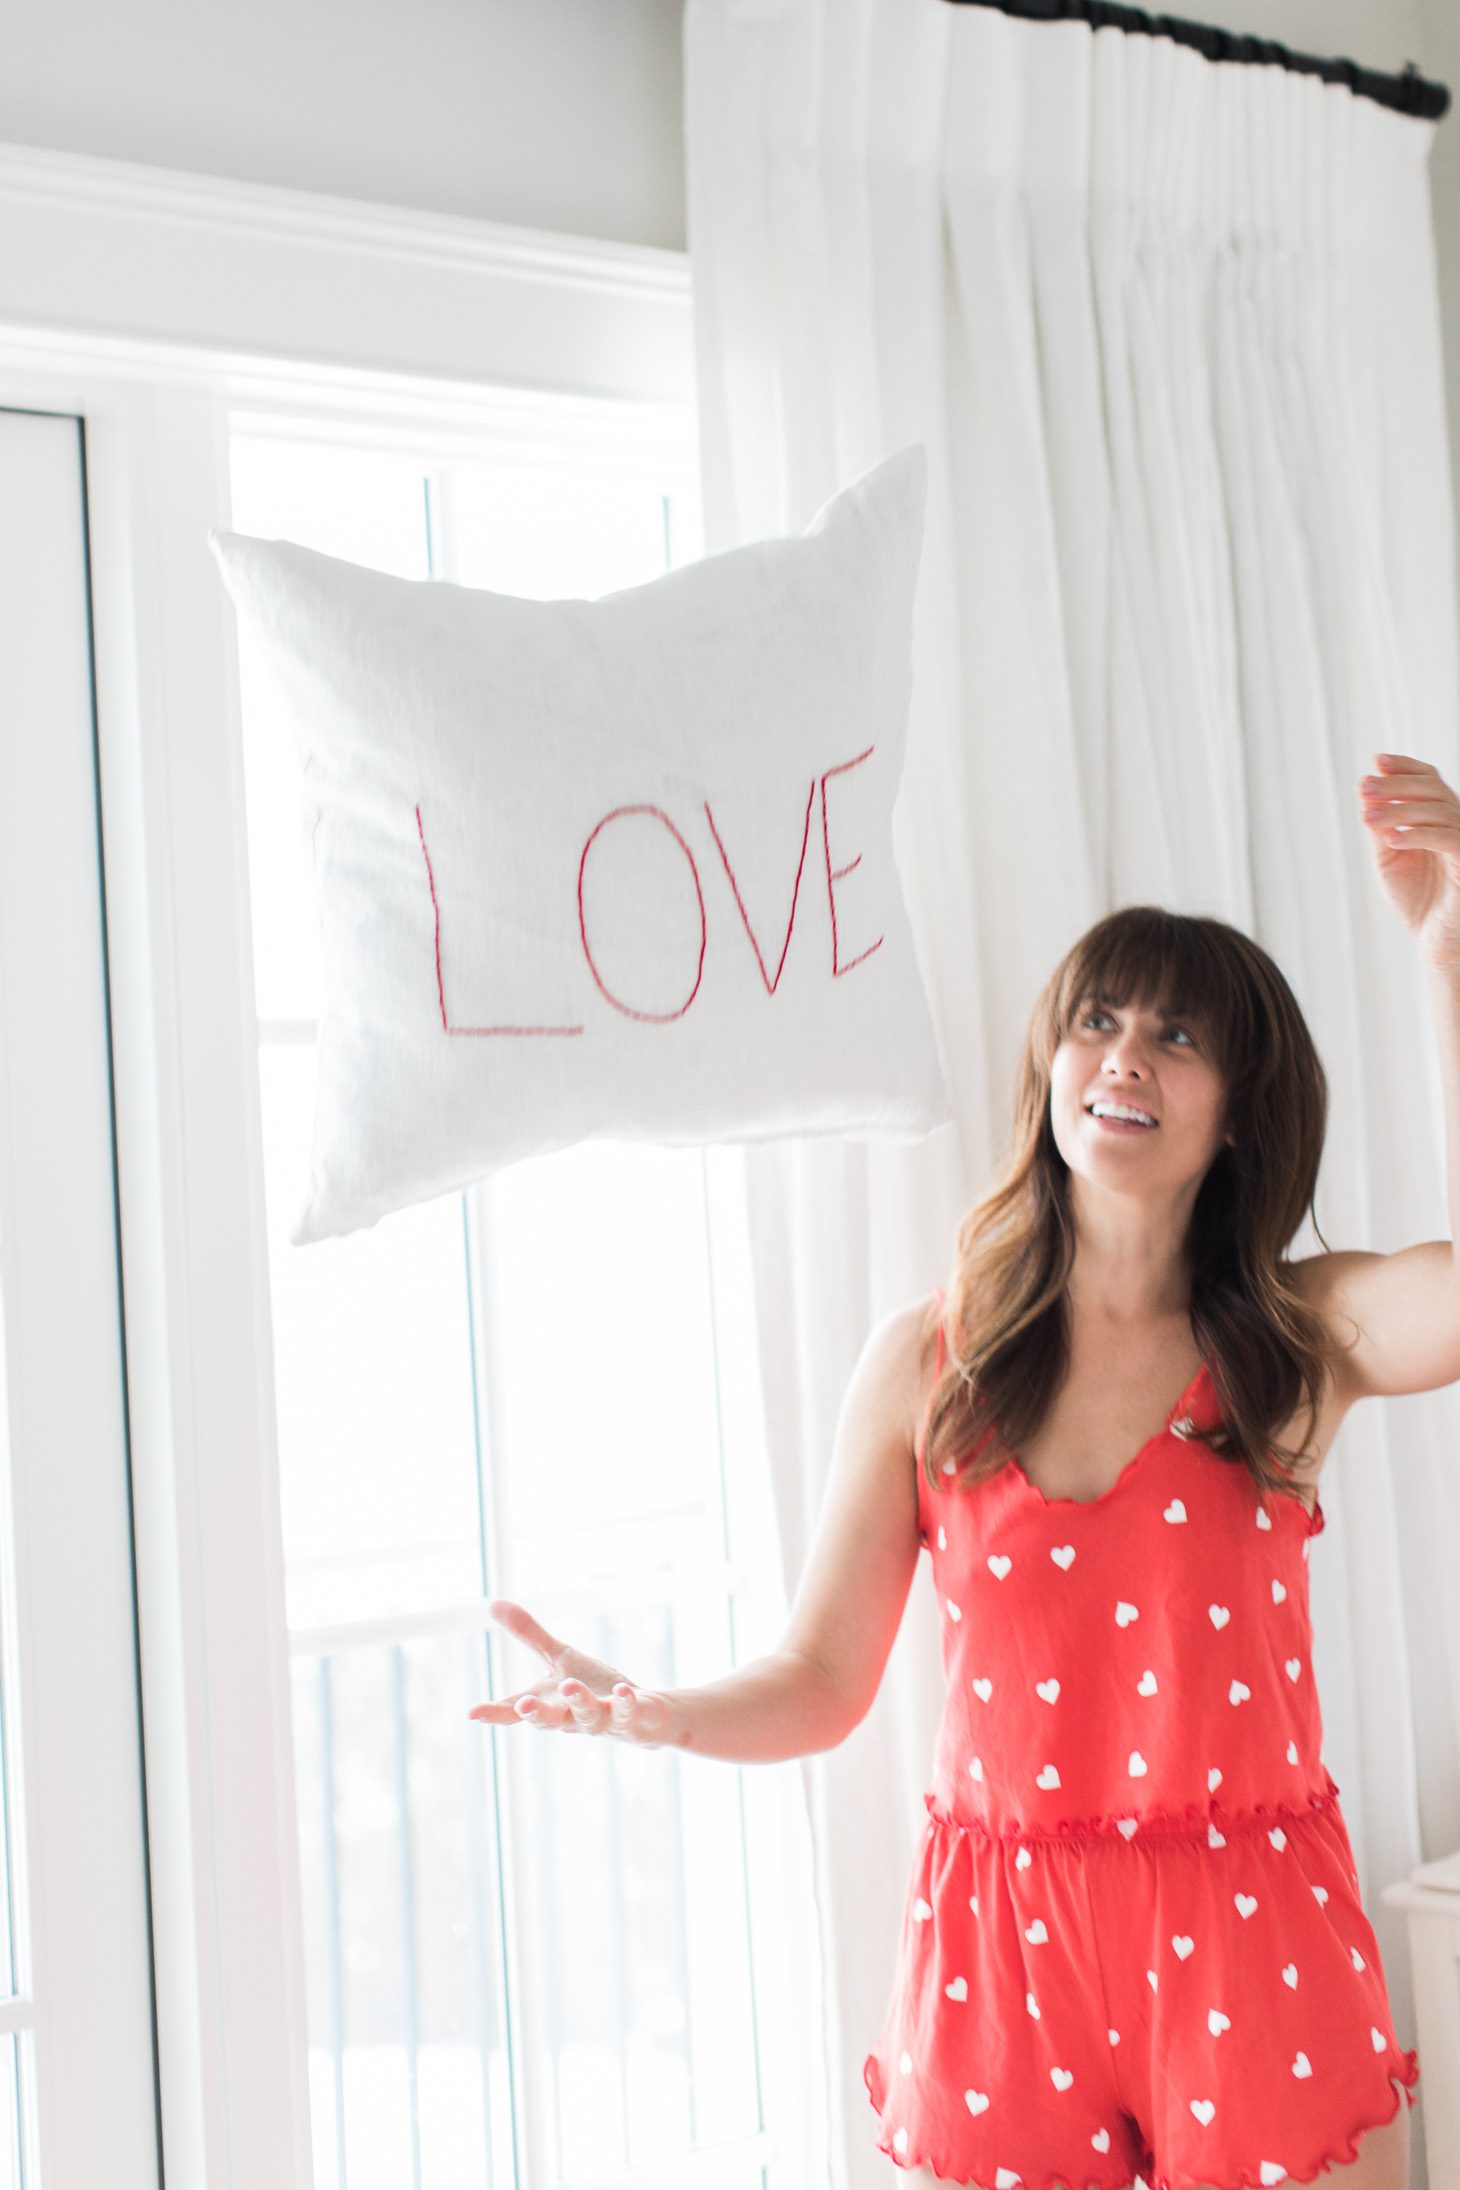
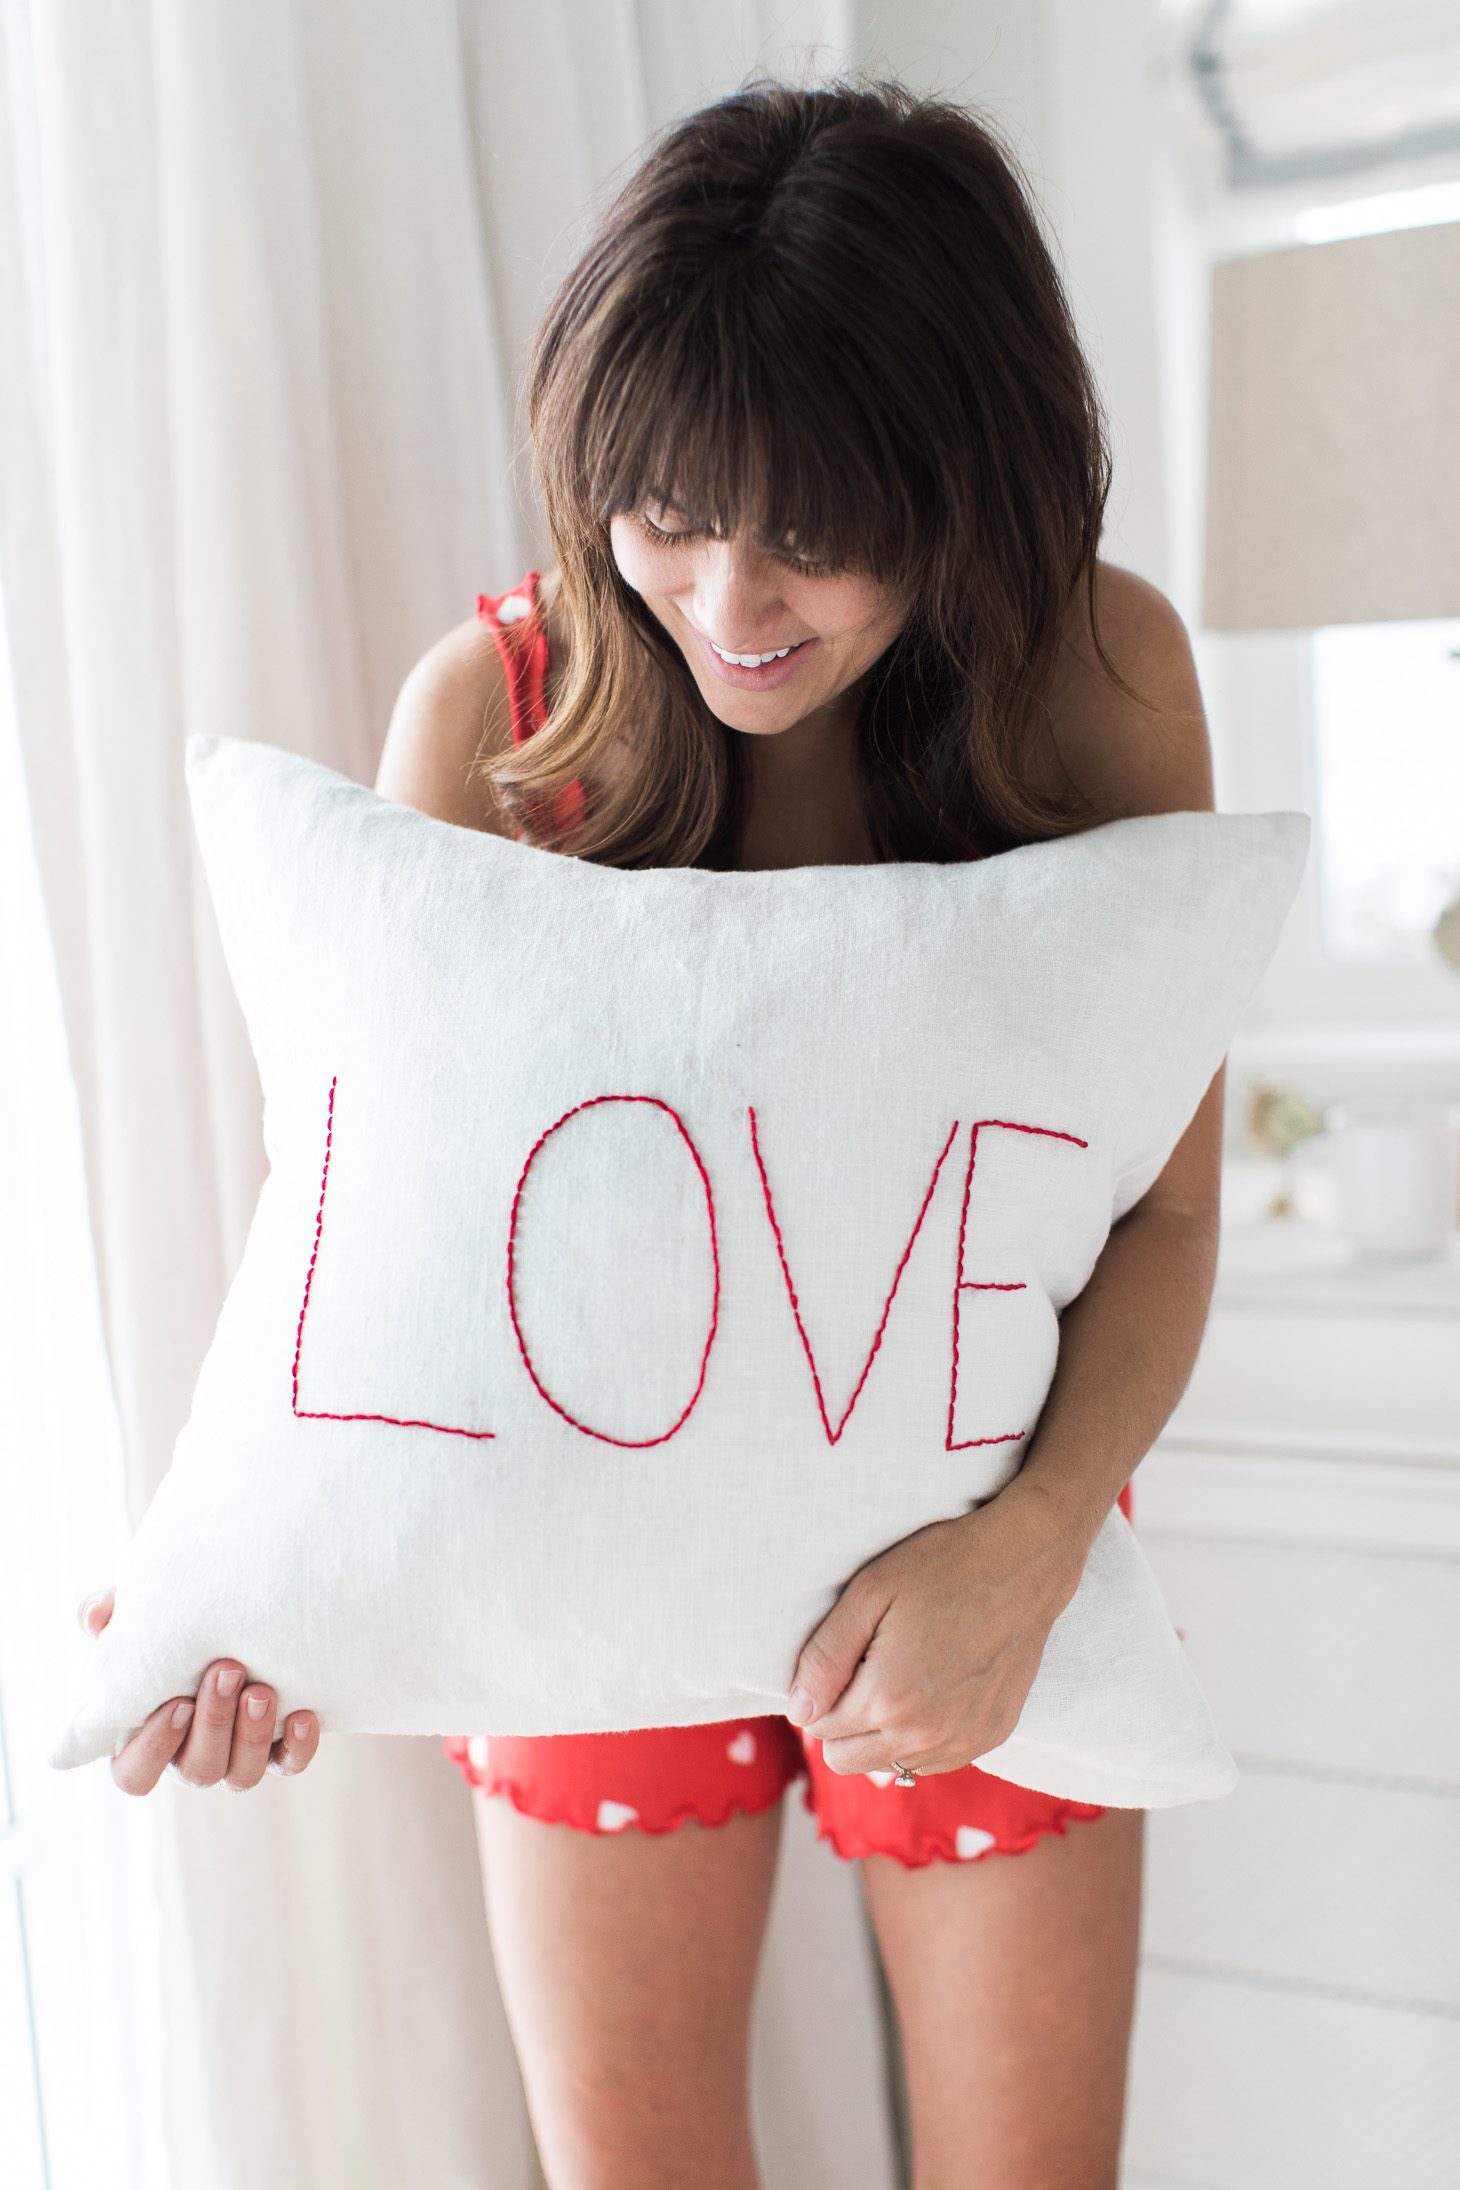
Don’t forget to share photos with us if you end up making this adorable DIY, we want to see all of your creations!!
xo
Jilly



Jillian you are amazing and inspiring in every way. You’re authentic and a wonderful role model. You give back. Love everything about you BUT thot I should share that when you sing I just have to turn it off. Just thot I’d share to be honest. I don’t want to miss your good times you share with us but can’t do your singing. Sorry just saying.
Absolutely love these pillows! Such a cute idea, and I totally agree, definitely throw pillows you can keep around all year round! Can’t wait to try this!
This is so cute! What a great idea, and so simple! I can’t wait to make these.
Oh my, this has to be the cutest little DIY i ever did see. Great idea to make for my best gals. Another win for team jilly.
CUTE!! I can’t wait to try this DIY
Love the pillows … next on my ..( things to do on a rainy day) list.
Thank you for sharing Jill.
Enjoy your weekend
I made these … and love them .. thank you for posting this DIY .. hope you post many more.
YAY!!! So happy to hear that!!! XOXO
What an interesting & informative post this is! Phenomenal & lovely. Thanks a lot for your great info. Keep up the great job.
these love pillows are great and they look amazing….I search for the pillows on google and found that here..
Now i want to have it..and guess what i found out that they are available on this website
treasurebox.co.nz