


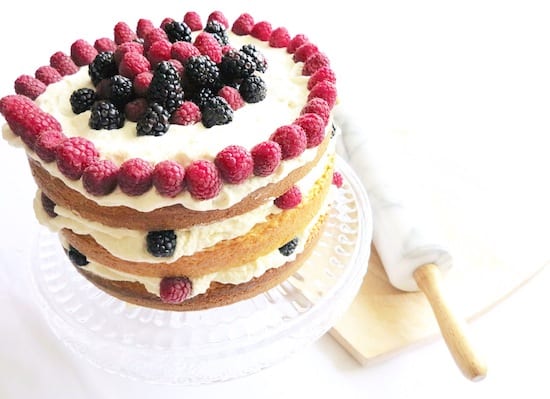
HELLO all!!!! So…I know I’m on a health kick…but I haven’t made a dessert for you in a while, so I thought I would share this SUPER EASY recipe for a Naked Cake!! The simplicity and natural look of the cake makes me LOVE IT so so much! And guess what?? It’s THAT much healthier because we skip the calories that would be in the outer frosting!!!!! Haha, you’re welcome!!!!

I happened to have two 9 inch cake pans, so I doubled this recipe, then made my last layer after, but you can make it with one pan as well, just a little more time consuming 🙂
What you’ll need…
9” round cake pan(s)
1 cup white sugar
½ cup butter
2 eggs
2 tsp vanilla extract
1 ½ cup all purpose flour
1 ¾ tsp baking powder
½ cup milk
berries or fruits of your choice
Whipped Cream – I made multiple batches as I went along!
1 cup whipping cream
1 tsp vanilla extract
1 tbsp confectioner’s sugar
Directions
1. Preheat oven to 350 degrees F. Butter and flour your 9” pan to ensure your cake will come out easy peasyyyyyy!
2. Cream the butter and sugar together until light and fluffy, for about 5 minutes, then beat in the eggs. Once you have a smooth consistency, add the vanilla extract.
3. In a bowl, sift the flour and baking powder and mix well. Slowly add the dry ingredients to the creamed mixture, and stir in the milk until the batter is smooth.
4. Pour the batter into the cake pan, and bake for about 30 minutes, or until golden. To test your cake’s doneness, you can either touch the top, and if it bounces back, c’est fini! Another trick is to stick a skewer in the center, and if it comes out clean, it is done! Once the cakes are done, set them aside to cool. When they’re cooled you can start to build your Naked Cake!!!!
6. If your cake has risen and is uneven like mine was, take the cake out of the pan and place on a cake stand that you can rotate manually. Using a serraded knife, slowly make an incision around the outer top layer of the cake, moving your cake stand as you cut. This line will act as your guideline for a SUPER straight slice! Using this line, cut straight across the top layer.
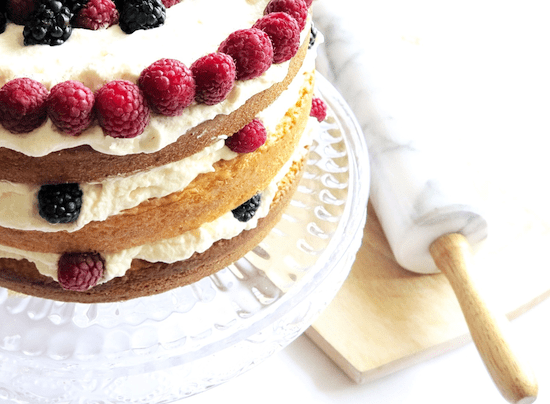
7. Place your first cake onto a cake stand top down, and cover with the topping of your choice. I chose to keep it simple and use traditional whipped cream…YUMMM!
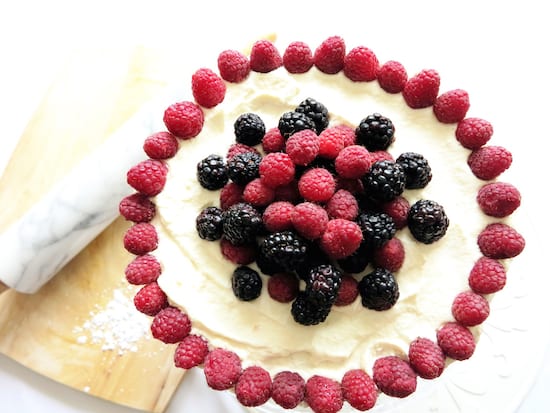
8. You can place fruit of your choice on top of the whipped cream of each layer. I chose to add blackberries and raspberries towards the edges of my cake. When you’ve your fruit on the first layer, place another cake on top, and repeat the process until you have made your three layers.
9. Decorate as you wish, and enjoy!!! Be sure to serve this cake as fresh as possible!
xo
Jilly