Before I go all gung how Christmas on you this year, we can’t forget about American Thanksgiving!!! In 6 short days, all of my American beauties south of the border will be saying what they’re thankful for and filling their bellies with delicious food while being surrounded by friends and family. Since I shared my CANADIAN Thanksgiving Menu and decorating tips … I wanted to do the same for you. Follow along below and lets get ready for Thanksgiving together!!!
Lets start it off with some easy peasy decor. I am all about keeping the decorating SIMPLE and incorporating items that you already have in your home. If you need some inspiration for your table scape and decor colour scheme, I quickly wipped up what I normally incorporate in my home. If you’re looking for some last minute decorating tips check out my hosting tips blog here.
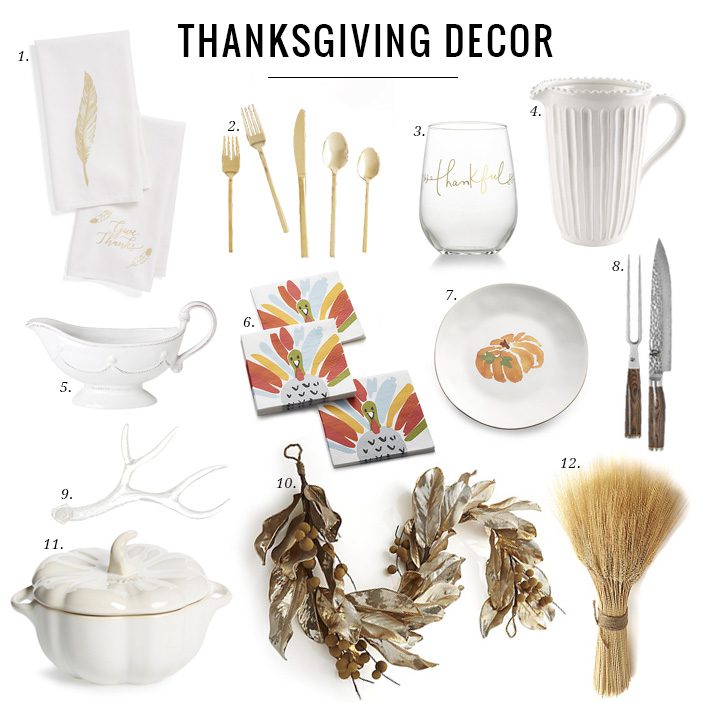
1. Thanksgiving Tea Towel | 2. Cutlery | 3. Wine Glass | 4. Pitcher | 5. Gravy Boat | 6. Turkey Napkins | 7. Pumpkin Plate | 8. Carving Set | 9. Faux Antler | 10. Magnolia Garland | 11. Pumpkin Dish | 12. Straw
On to what’s on the menu this year … I wanted to incorporate as many of my traditional favs as possible while adding in some vegetarian options. Balancing the two is important if you have some vegetarian guests and it is SO easy! When I was searching for new vegetarian options this year I came across this AMAZING list from Minimalist Baker and couldn’t help but link it here for you to check out too … all of the recipes look so freakin’ good!!!! … Happy cookin’ my loves!!!
VEGDUCKEN:
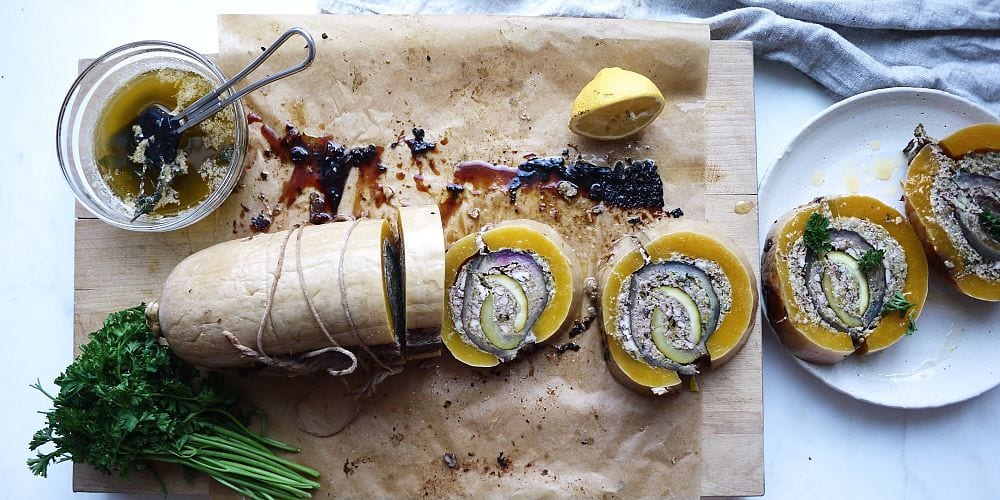
I have stolen this post from Erin Ireland time and time again … if you’ve ever heard of a Turducken … this is the exact same thing but 100% Vegan!!! It’s a butternut squash stuffed with an eggplant stuffed with a zucchini. If this is blowing your mind right now … that makes two of us. Get the recipe here!!
THE PERFECT BIRD:
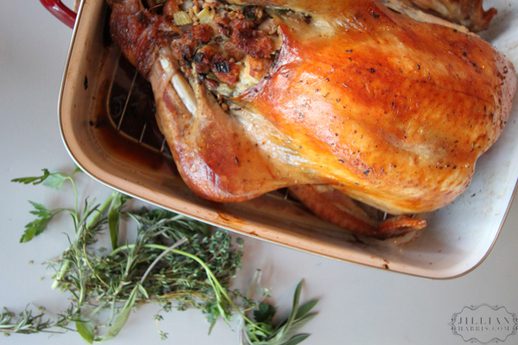
The perfect bird is honestly all about keeping it simple. In my opinion, you should get a fresh, free-run turkey because that guarantees a plump juicy bird. Yes, it will be more expensive but it will be much healthier!! Some people brine their birds, but I just can’t be bothered!
Here are a few of my tips…
– If you’re thawing a turkey, please research the proper thawing method and be patient!
– For a crisp skin, make sure your bird is COLD when you put it in the oven.
– For a fresh turkey plan on cooking your turkey about 15-20 minutes per pound.
I simply stuffed my bird with my famous stuffing (see below), rubbed the bad boy with a handful of butter, salt, pepper & FRESH poultry seasoning herbs.
I started the bird without a lid at 400 degrees for about 15 minutes, and then reduced the heat to 325 for the remainder of the cooking time.
Make sure and baste your turkey about 3-6 times during the cooking period. Use a meat thermometer and test in the crease of the thigh when you have timed your turkey correctly. When your turkey has about 15 minutes left give the skin one last good crisp without the lid if it needs it. Let the turkey rest 15-20 before carving…Enjoy!
TORI’S BUNS:
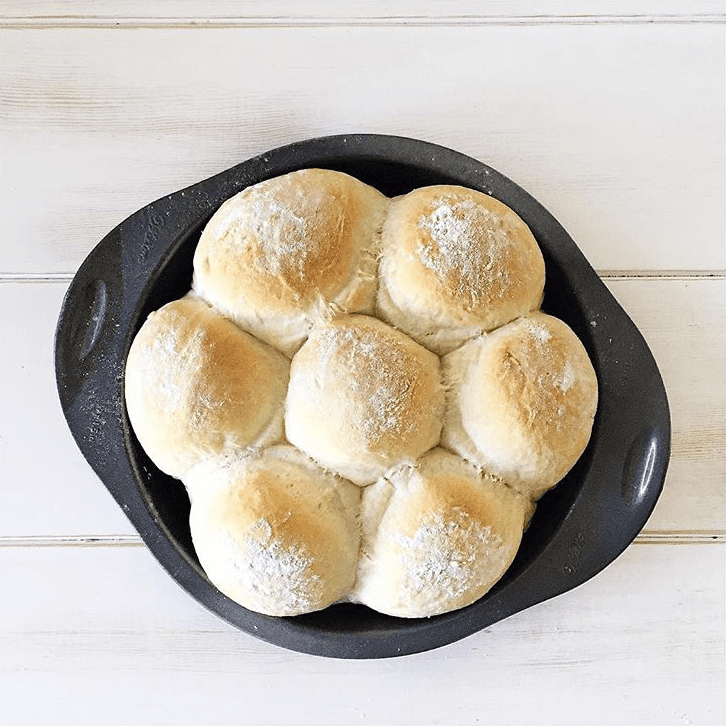
Tori recently brought these over and I had to stop myself from eating the whole batch. They are seriously SO fricken’ good … you’ll understand what I’m talking about when you try them. I tried to make them last year for Thanksgiving for my family and as confused as I was at first (after a few phone calls to Tori) … they ended up turning out perfectly!! They were a crowd pleaser and I plan on making them again this year.
Ingredients:
Makes approximately 36 small buns
Step 1:
- 1 1/2 cups boiling water
- 6 tsp. honey
- 6 tsp. butter (could use vegan butter instead!!)
- 2 tsp. salt
Combine the above ingredients in a large bowl and cool.
Step 2:
- 1 1/2 cups lukewarm water (not too warm, you’ll kill the yeast)
- 3 tsp. sugar
- 2 Tbsp. yeast
Dissolve the water and sugar in a small bowl. Sprinkle the yeast on top and let sit.
Step 3:
- 2 eggs, well beaten (or use chia eggs)
- 6-7 cups unbleached white flour
Directions:
- Mix the eggs into the first (Step 1) mixture once it has cooled to room temperature.
- Add 1 cup of flour to this mixture and stir well.
- Add the yeast mixture (Step 2) to the bowl and stir to incorporate.
- Gradually add the remaining flour, cup by cup, until the dough gets too difficult to stir in the bowl. At this point, on a floured surface (your counter), empty the dough and knead by hand until the dough is smooth and elastic, about 10 minutes. You will need to keep the surface floured to prevent it from sticking.
- Place the dough into a greased bowl, cover with a clean tea towel, and place in a draft-free warm area to rise.
- Let the dough rise until doubled (about 40 minutes) and punch it down. Repeat this process once.
- Preheat your oven to 350 F and grease two 9×13 sheet baking pans or any shape pan with low sides. Cut off pieces of dough that are approximately 1/2 cup in size (doesn’t have to be exact!) and form into buns. Keep fingers slightly floured and tuck the dough under as you stretch the dough to make it smooth on top.
- Place the buns about a 1/2 inch apart on the greased pan, cover and let rise until doubled, about 30 minutes.
- Bake for 15-20 minutes or until nicely browned.
Now onto the rest of my all time favourite Thanksgiving recipes that I wait so patiently all year to devour!
CRISPY GARLIC BRUSSELS SPROUTS WITH SRIRACHA AIOLI:
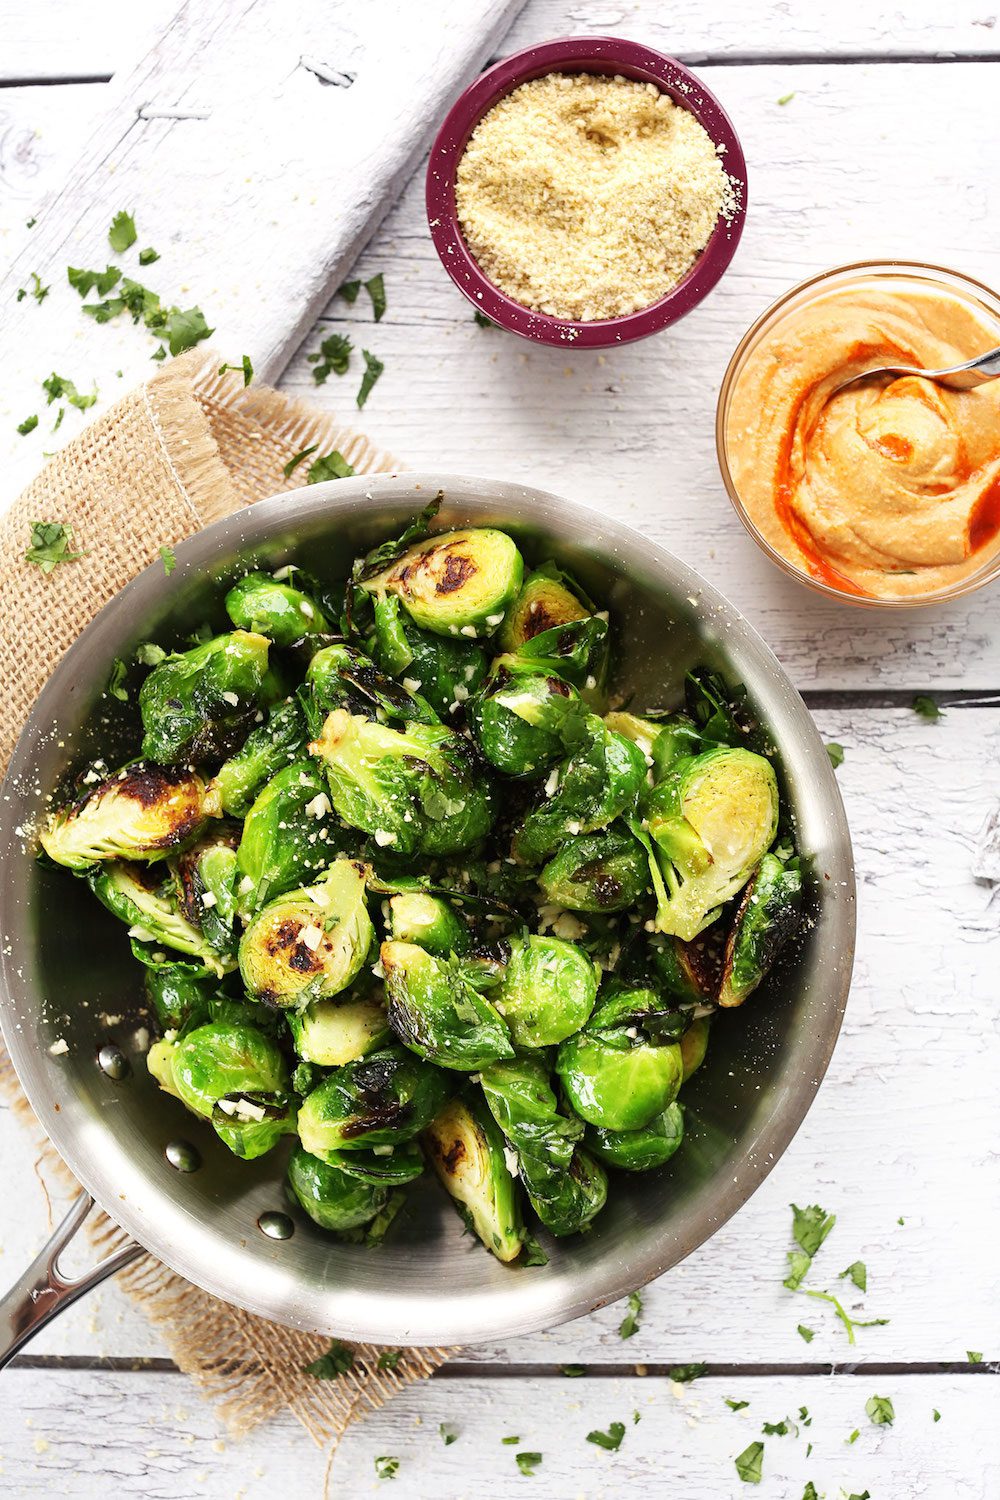
I found these babies on the Minimalist Baker Thanksgiving Menu and they look SO good and would definitely be a crowd pleaser in my house. I can’t wait to try them and add them to the menu!!!
DELICATA SQUASH BAKE WITH TAHINI SAUCE:
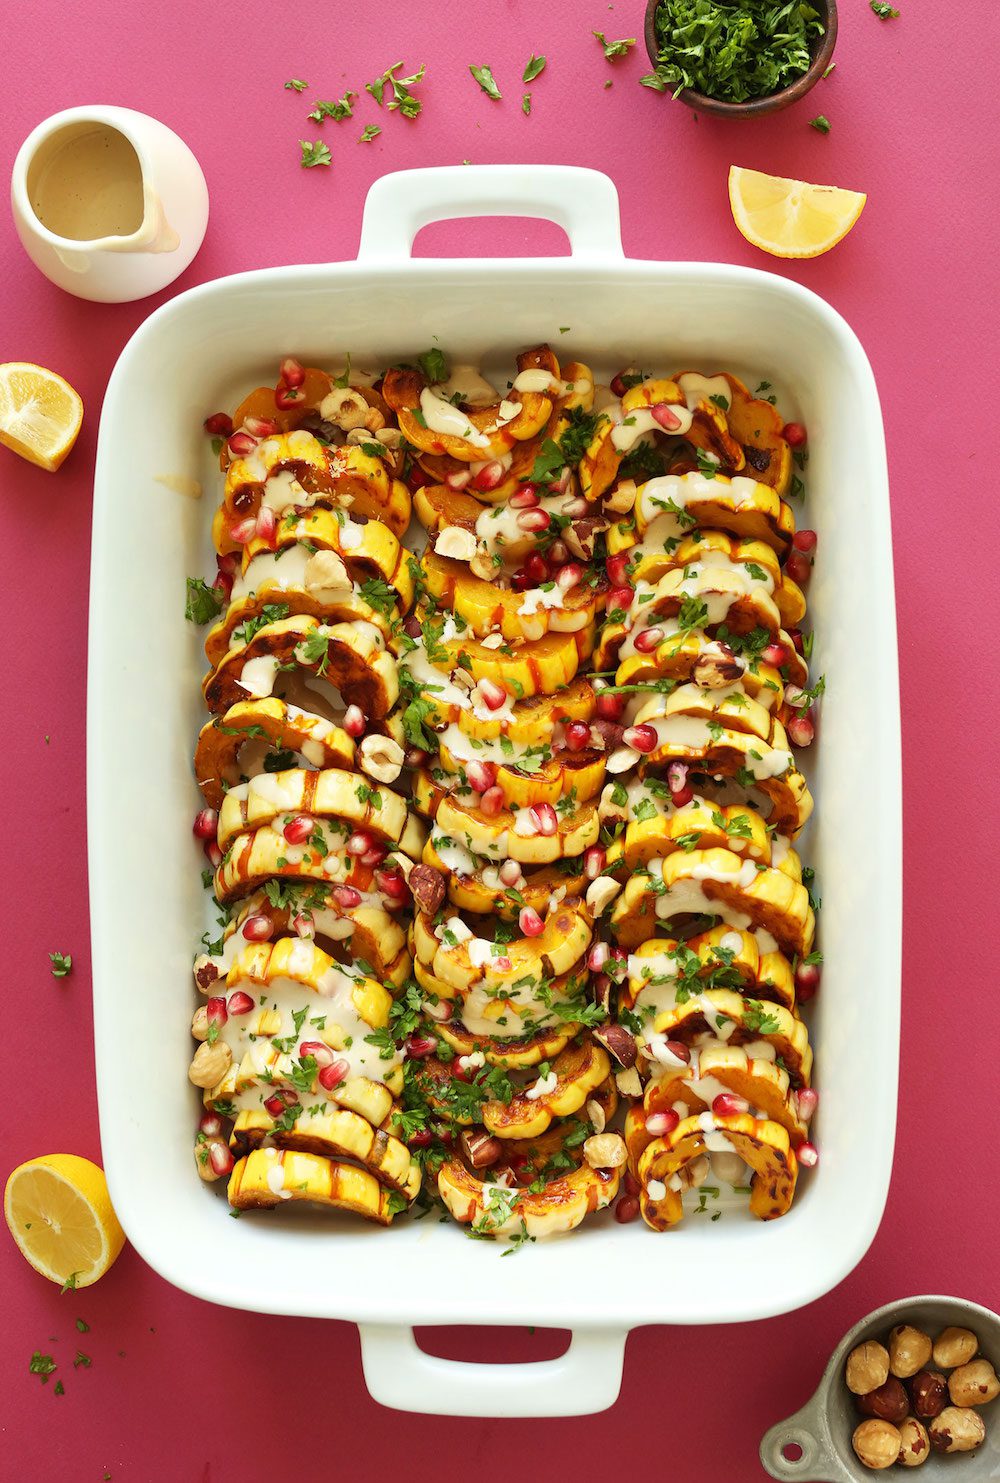
This dish looked too good not to share. If you’re looking for an updated version of a classic squash bake this one is a MUST try. I am adding it to the Thanksgiving AND Christmas menu. I mean … look at how pretty it is!!! Head to Minimalist Baker’s Site for the recipe!!
BEET ROLLS:
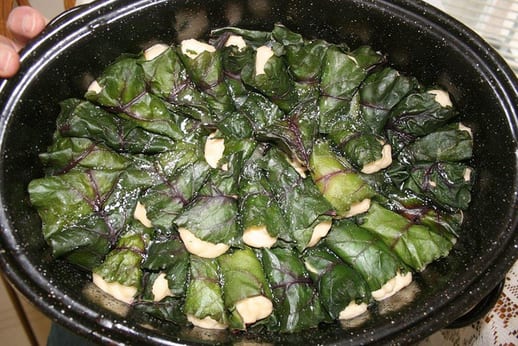
The recipe I have for you guys today is a super simple one with very few ingredients. It does sound strange but the flavor is so incredible you will keep going back for these little suckers until the casserole dish is dry.
Ingredients:
Frozen (or fresh) bread dough (thawed)
24-26 Beet leaves
1 cup whipping cream
3 tbsp butter
Salt & pepper to taste
1 tsp dill
1 clove garlic
Directions:
1. Place the dough in a greased bowl, cover it with a towel and set it in a warm place to rise until doubled
2. Clean your beet leaves while the dough is rising
3. Cut stalks from leaves
4. Pinch off small pieces of dough (about the size of a walnut) and place a piece of dough in the center of one end of a leaf
5. Roll the beet leaf loosely around the dough
6. Place in a lightly greased baking dish and line up rolls in a single (or double layer) in the dish
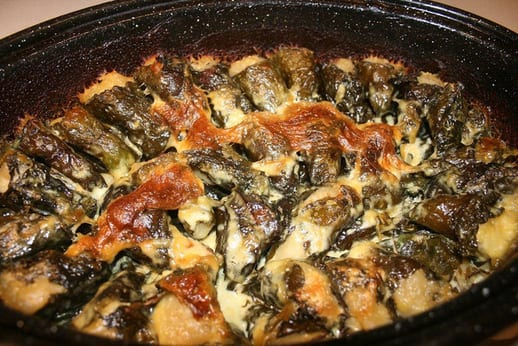
7. Cover and place in a warm area until the dough rises again
8. Cover the dish and bake at 350F for about 30 minutes or until rolls are puffy and slightly golden.
9. Melt butter in a saucepan
10. Add the cream, dill and garlic
11. Bring to a low boil & then reduce until ready to serve
12. Ladle the sauce over the rolls and then place in oven for another 5 minutes
I know it’s a little unique but it’s a family favourite and I promise it won’t disappoint!
MY FAMOUS STUFFING:
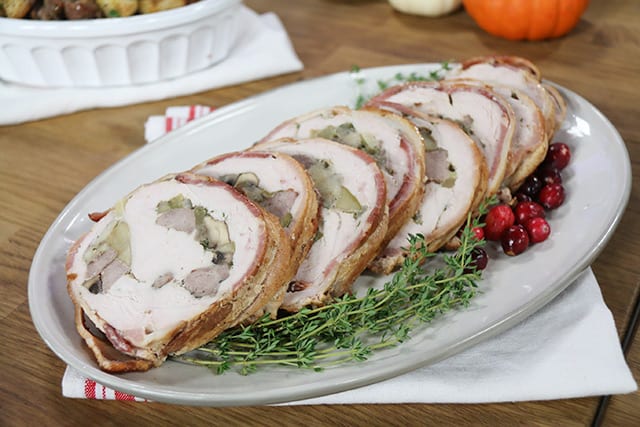
I make this stuffing every year and don’t ever feel the need to try new stuffing recipes…why?? because it’s DELICIOUS!
Ingredients:
½ loaf of whole wheat bread, cubed
1 ½ loaves white bread, cubed
½ lb. salted butter, melted (this is the secret you do not speak of to your guests OR you can use vegan butter)
1 lb. diced local free-range turkey sausage (you can opt for vegetarian sausage as well)
1 c. chopped onion
3/4 c. chopped celery
1 ½ c. cremini or button mushrooms, sliced
¼ c. dry white wine, such as Sauvignon Blanc
2 ½ tsp. fresh chopped sage
1 ½ tsp. fresh chopped rosemary
½ tsp. fresh chopped thyme
1 Granny Smith apple, cored and chopped
1/3 c. minced fresh parsley
1 tsp. salt & 1 ½ tsp. pepper to taste
Directions:
1. Preheat oven to 325 degrees F. Spread the white and whole wheat bread cubes in a single layer on a large baking sheet. Bake for 10-15 minutes in the preheated oven or until evenly toasted. Put toasted bread cubes to a large bowl.
2. In a large frying pan, cook the sausage over medium heat, stirring until evenly browned.
3. Add butter, onion, celery, sage, rosemary, and thyme. Cook, stirring for 2 minutes to blend flavors.
4. Add wine.
5. Pour sausage mixture over bread in bowl. Mix in chopped apples, mushrooms and parsley. Mix lightly. Spoon into turkey to loosely fill.
DAIRY FREE PUMPKIN CHEESECAKE:
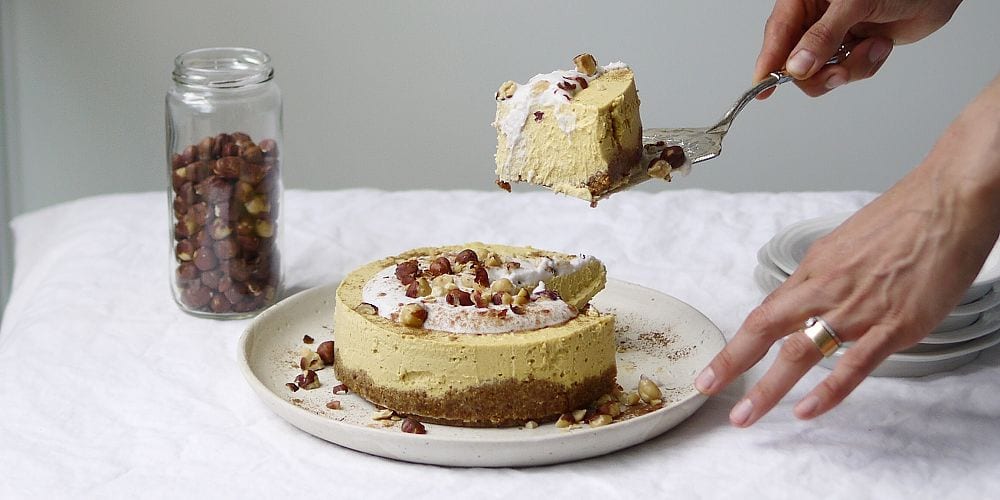
This one I stole from Erin Ireland’s site … It looks SO delicious and is completely vegan!!!
Ingredients:
Filling:
1 c. coconut cream (full fat coconut milk will do, but cream is best)
1/2 c. coconut oil (I love Naked Coconuts)
3/4 c. roasted pumpkin (canned pumpkin will work)
1 c. soaked cashews (soaked in water for at least 4 hours)
2-3 tbsp fresh lemon juice (depending on how “cheesy/sour” you like it)
1/2 c. maple syrup (or honey if not vegan)
1/2 c. chickpeas
1.5 tsp cinnamon
1/2 tsp freshly grated nutmeg
1/4 tsp cloves
1/2 tsp sea salt
Crust:
1 c. dates (soaked for 10 min in warm water if too hard)
1 c. nuts of your choice or cereal of your choice
2 tbsp vegan butter or coconut oil
1 tsp sea salt
Directions:
1. Soak cashews in water for at least four hours. Roast your sugar pumpkin (at 400F for about 25 minutes, until soft).
2. To make the crust: add dates to a food processor and blend until they become a ball. Remove from food processor and add nuts or cereal. Chop those until fine. Gradually, re-incorporate your dates to the food processor. Now add vegan butter/coconut oil and salt. Your crust should stick together when you pinch it. If too sticky, add more cereal or nuts.
3. In a springform pan (mine is 5″ in diameter, but you can use any size to create any number of little cheesecakes you want, or one big one) cut parchment paper to fit the base, and then cut two long strips of parchment which you can lay along the bottom and up the sides – these serve as little tabs and will help you remove the cheesecake once it sets. Now press your crust into the base of your pan – make it as thick or thin as you like.
4. Add all filling ingredients to a high powered blender and puree until silky smooth. Pour filling into your moulds and let chill uncovered in the fridge for about 12 hours. Garnish with coconut whip, cinnamon and pecans.
VANILLA PLUM GALETTE:
 The great part about Thanksgiving dessert is that it’s the perfect time to use up any leftover fruit from the summer harvest. Peaches, apples, plums … there are so many great recipes out there that are perfect for a Thanksgiving dessert like this Vanilla Plum Galette. Tori brought this over and it barley made it through the door that’s how good it was …. YUM!!!
Happy EARLY American Thanksgiving my loves!!
xo
Jilly


