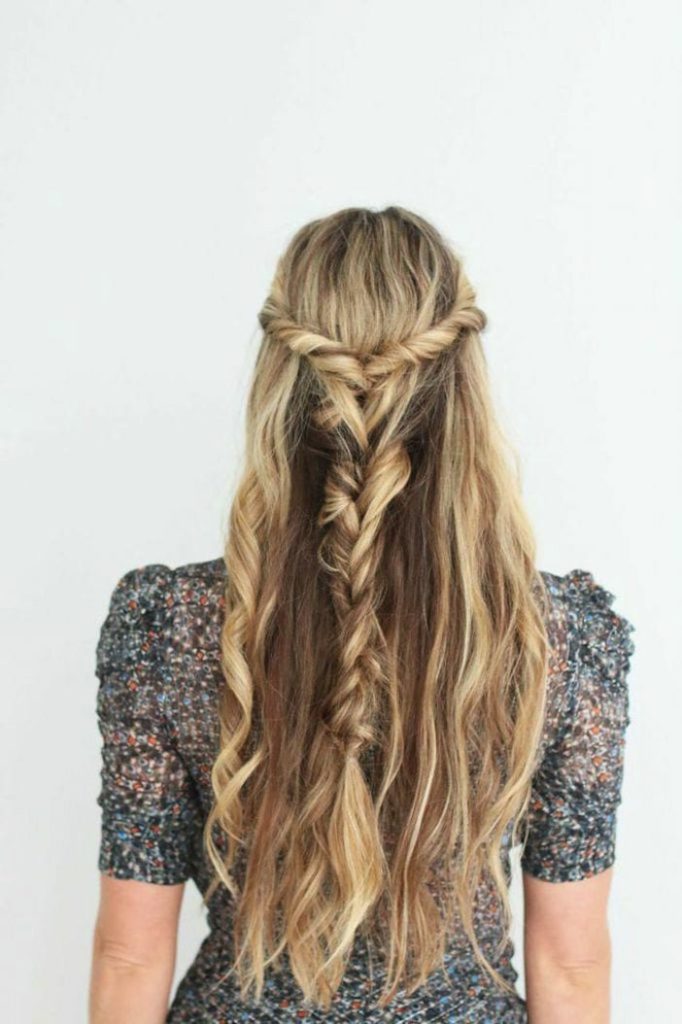
Here are the step by step instructions for the twisted braid tutorial as shown in the images and steps below!! This is a perfect summer hair style for both short and long hair lengths and can be a great alternative to a hat after the beach or even a hair day off!!
What you’ll need:
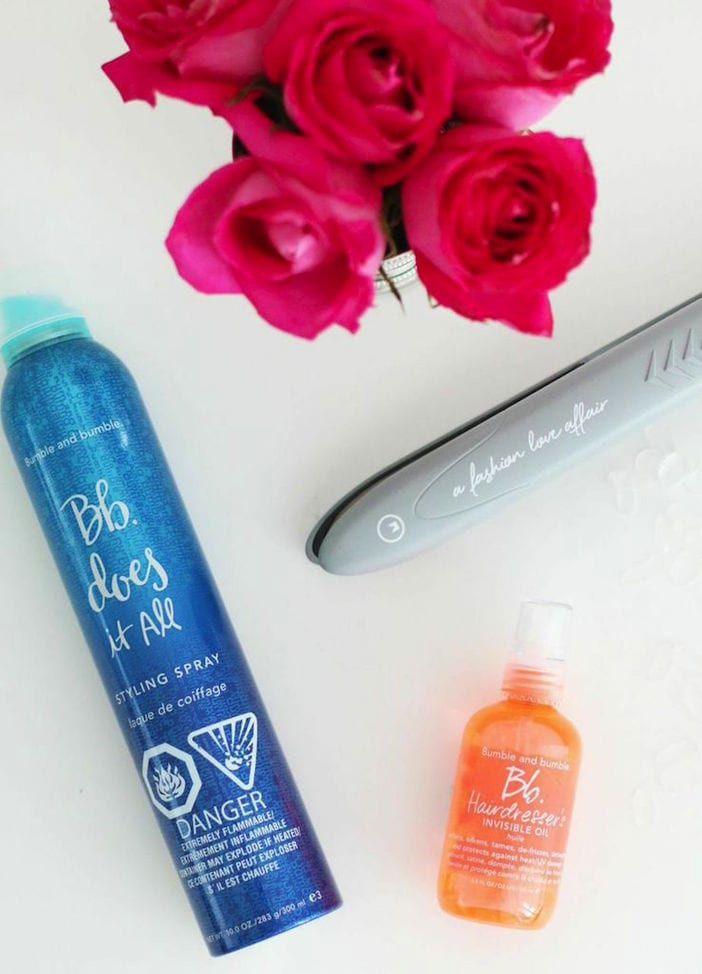
XO Styling Iron (or hot tool of your choice)
Clear Elastics
Hairspray
Invisible Hairdresser’s oil (or finishing product of your choice)
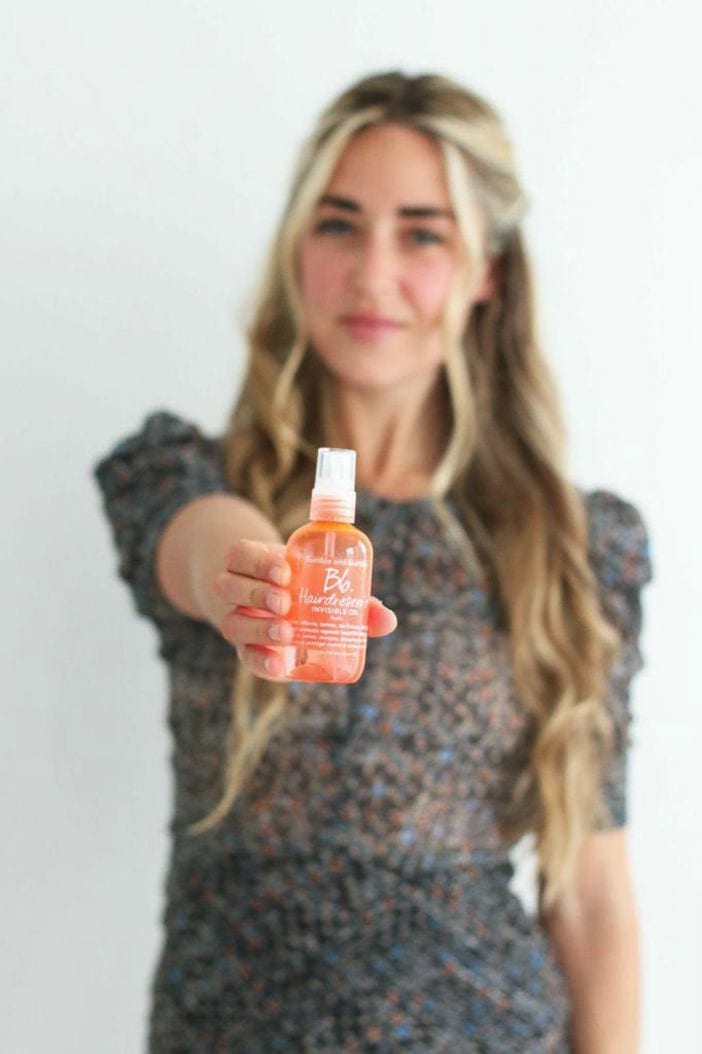
My Secret Tip: I like to braid my hair while I am doing my make-up so that my hair is a bit wavy when I start the look.
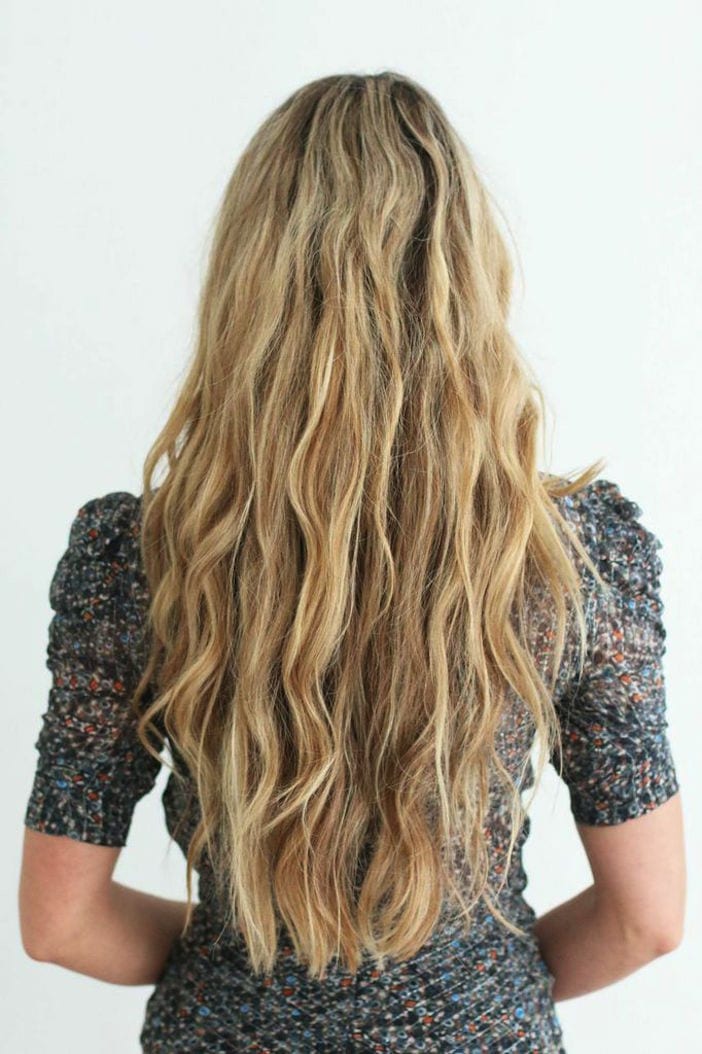

1. Twist a small portion of your hair from the front to back, leaving a few pieces out around your face. Repeat on the other side, and secure both twisted pieces behind your head with a clear elastic.
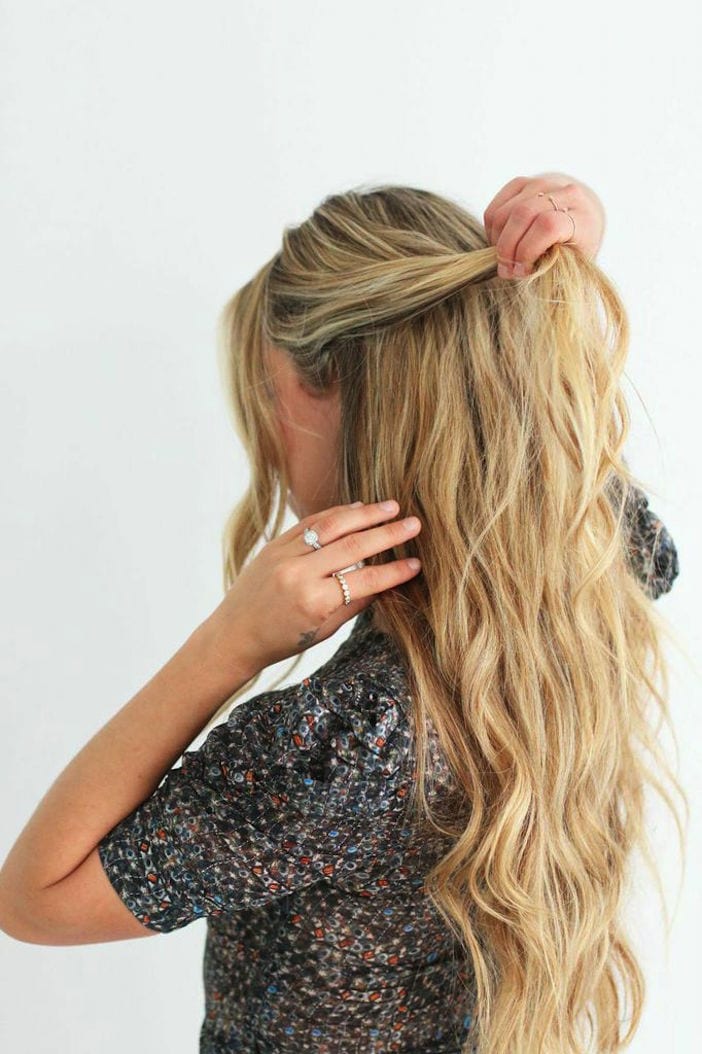
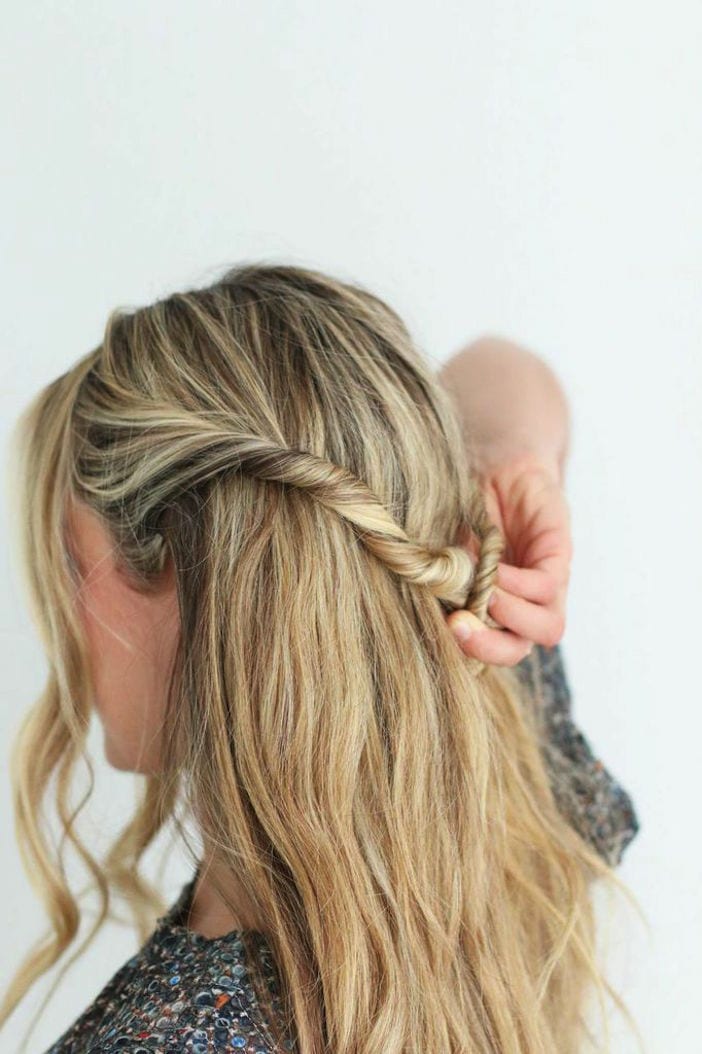
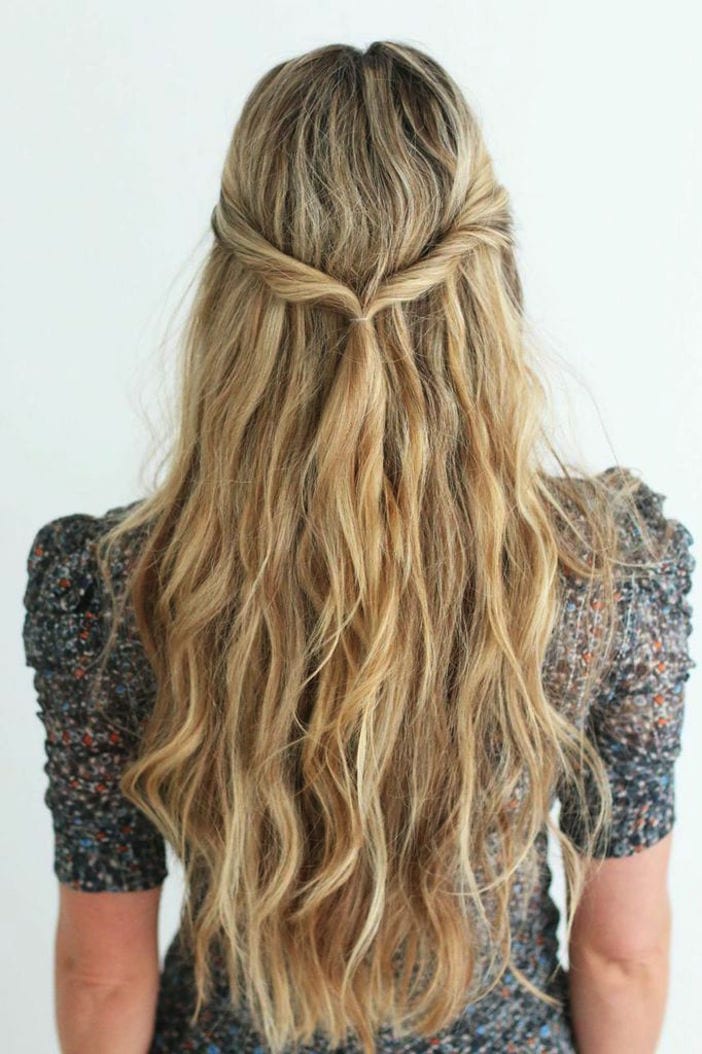
2. Take the ponytail and flip it towards your head, looping it behind the elastic and down.
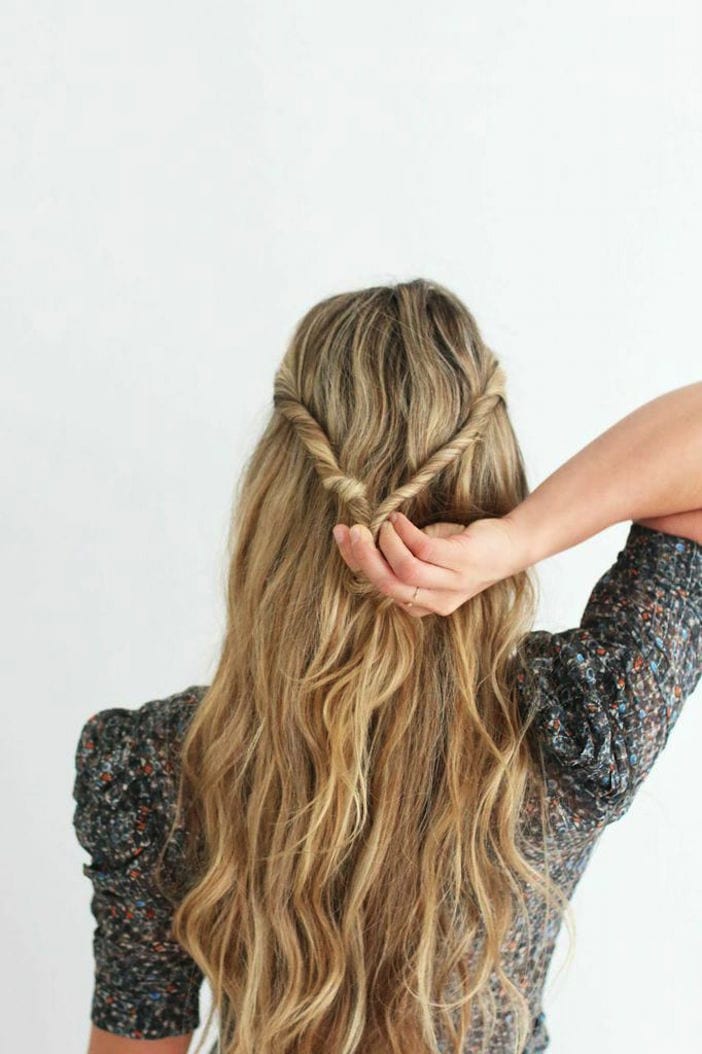
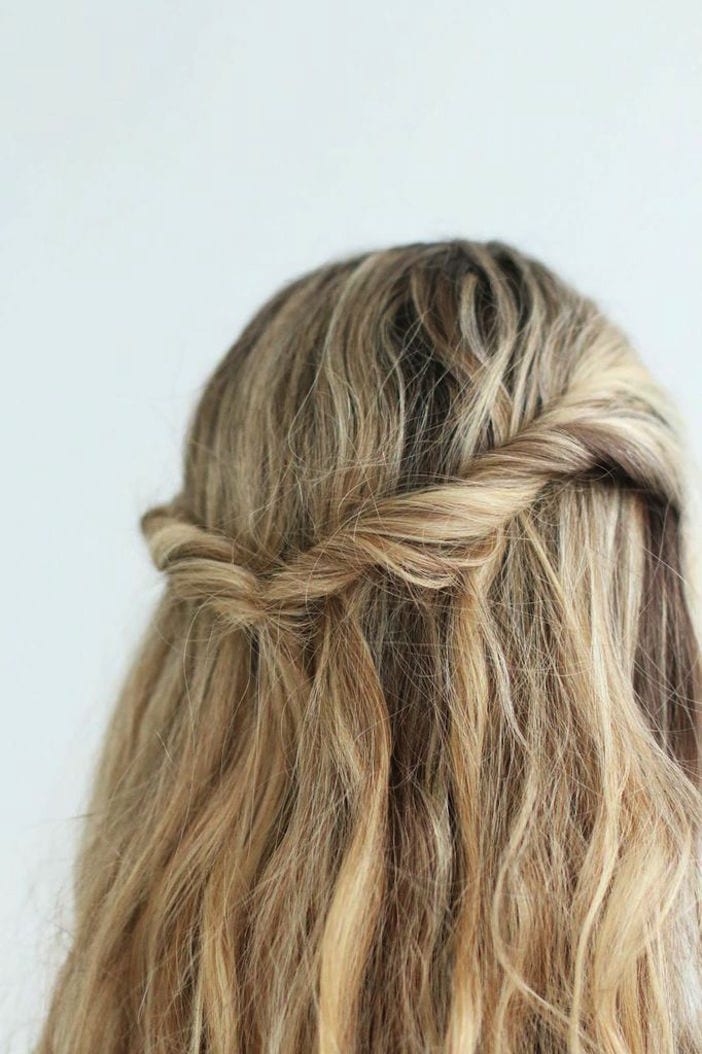
3. Take the hair in your ponytail and separate it into two portions. Take hair from underneath on the left side and pull it to the front, then repeat on the other side all the way down the ponytail, and secure with an elastic.
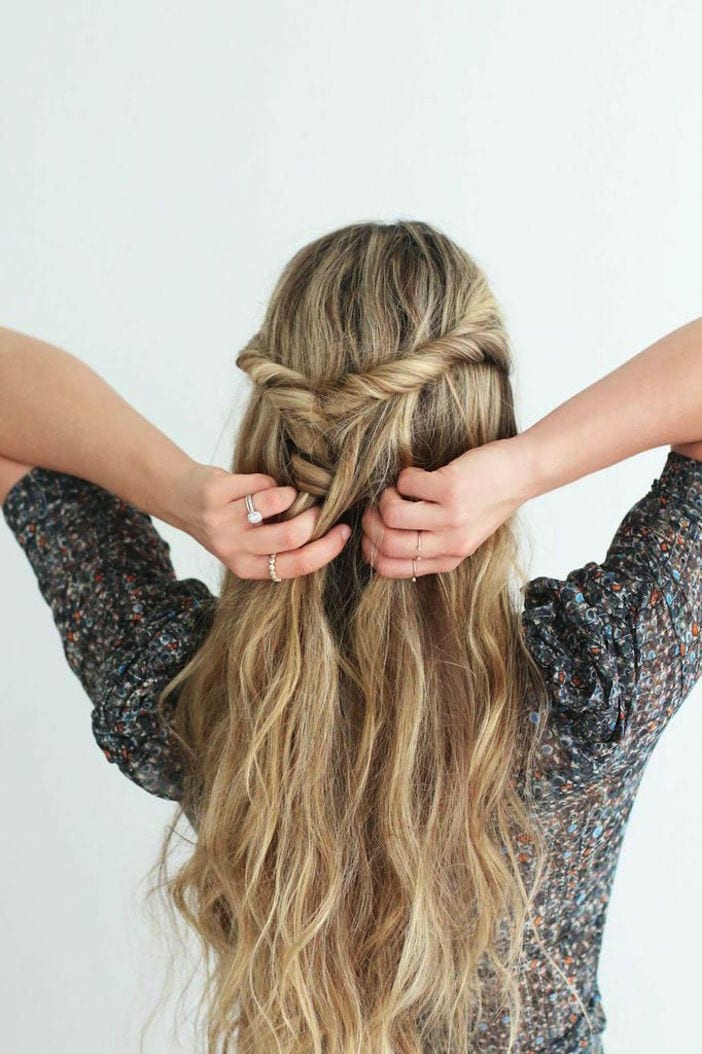
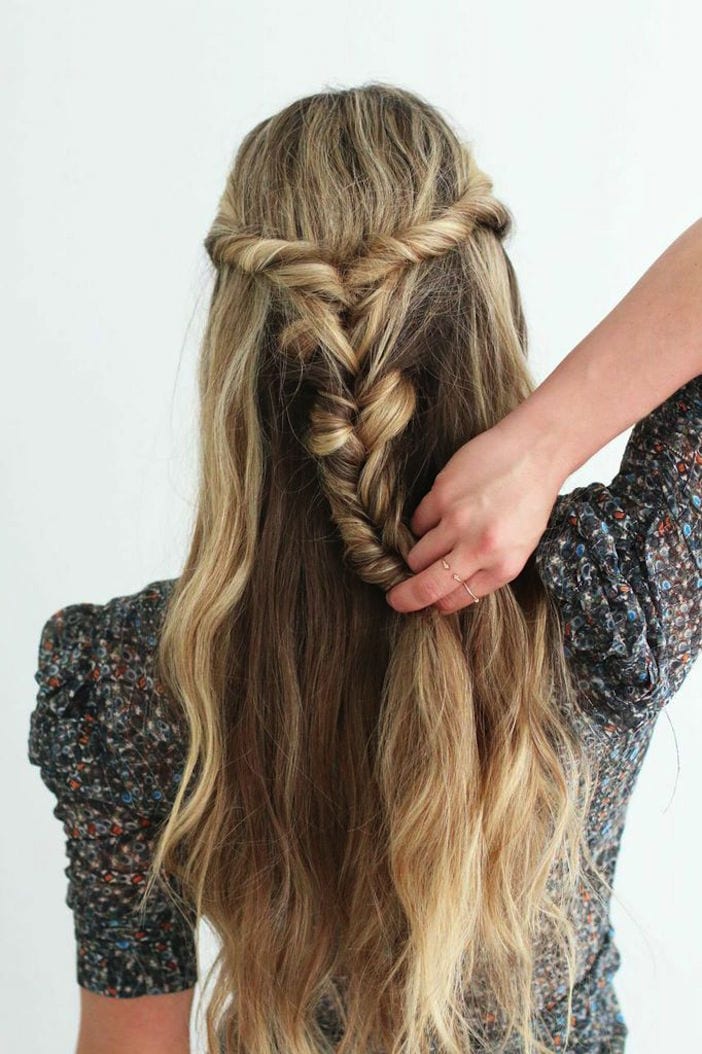
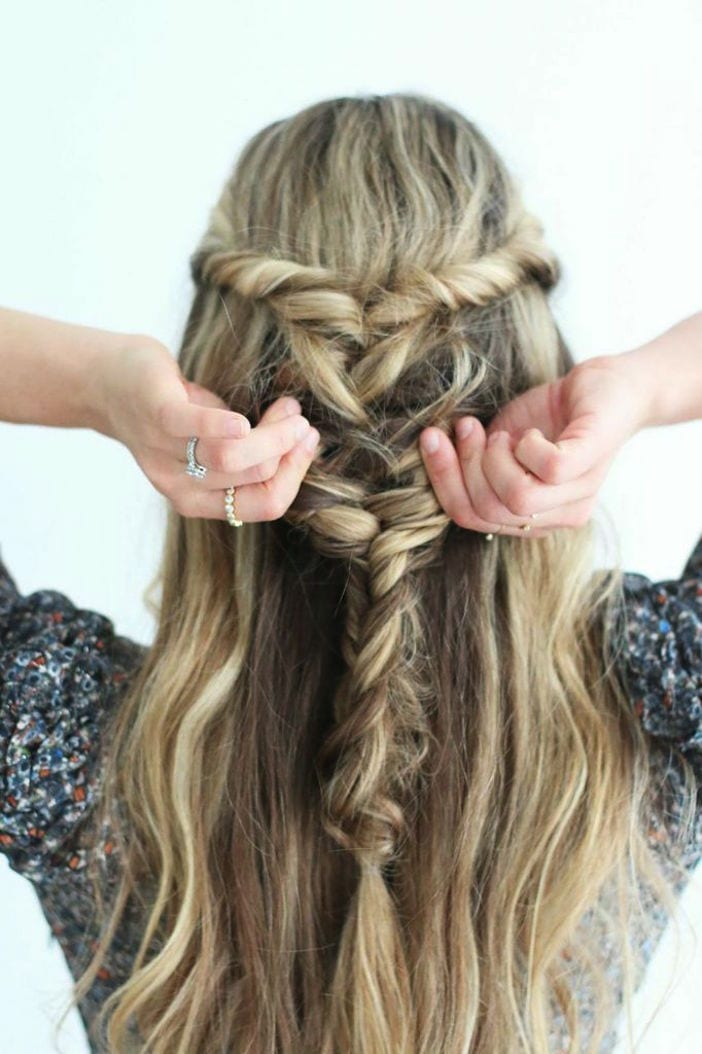
4. Slightly pull the braid apart for that undone look.
5. Use the XO Styling Iron to create soft waves throughout the rest of your hair that is down. Place the XO Styling Iron at a 45 degree angle, close the plates and glide the iron down the length of hair, spinning it towards you as you go down. You can also use the XO Styling Iron to wave the pieces of hair you left out at the front around your face.
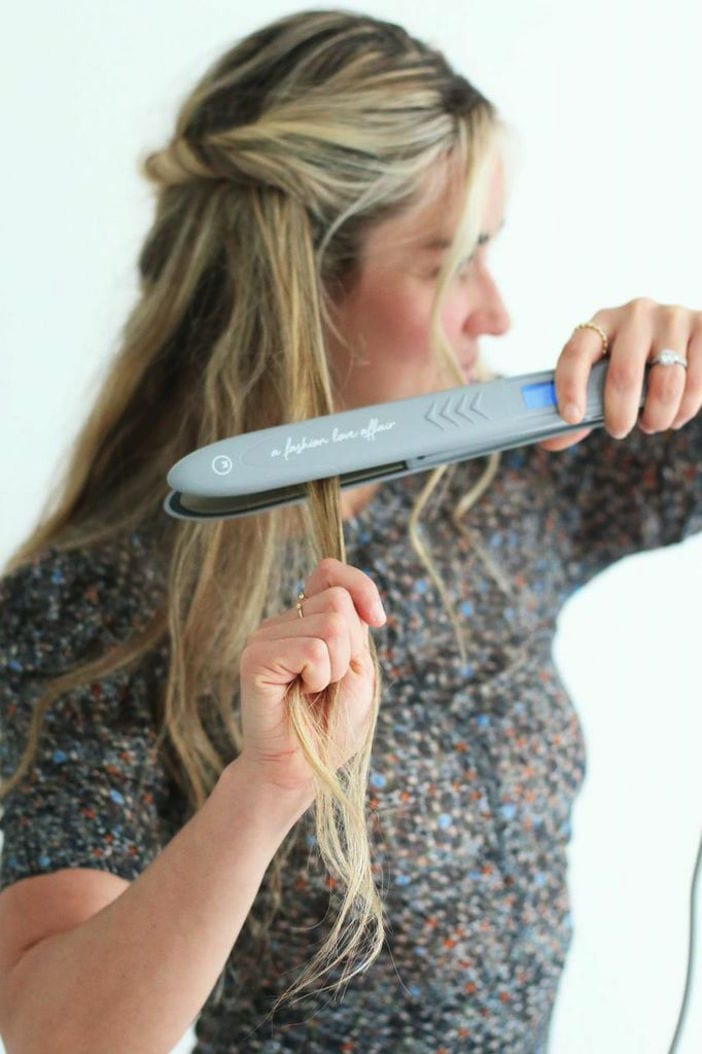
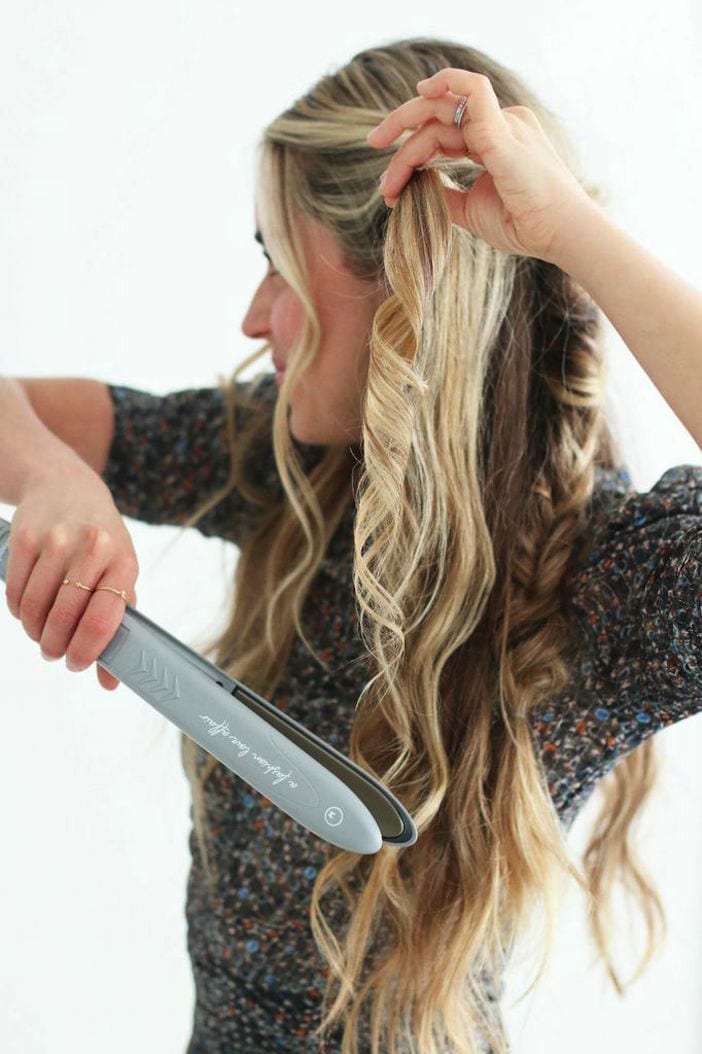
6. To finish the look, lightly spray your curls from underneath using the hairspray and run a small amount of hairdresser’s oil through your waves to separate the curls and create a shine.
And VOILA!!! Also, for reading this get 15% off your very own XO IRON with code: XOJILLIAN
xo
Cara McLeay
photo credit: Erin Sousa



OMG so cute and way easier than I thought it was going to be!