If you don’t know me, I’m Kaitlin Hargreaves. I work on the set of Love It or List It Vancouver and I’m Jillian’s Makeup Artist. As a makeup artist and fellow makeup wearer, I want to share some of my beauty tips with you.
I know makeup can be overwhelming at times, especially with social media. We have access to so many great things like tutorials and inspirational looks that sometimes we feel discouraged ours didn’t turn out the same! Well, this is just a reminder to all you ladies that makeup is FUN! It doesn’t have to be taken too seriously… Have fun with it! Use color! Try new things! After all….. It washes off!!
1) Blend Blend Blend:
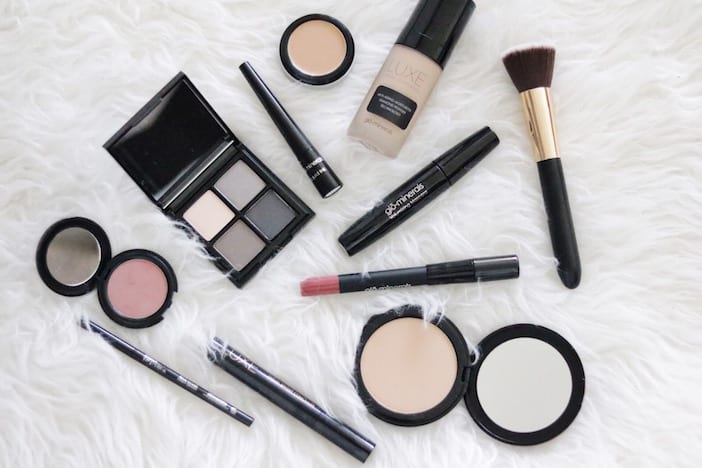
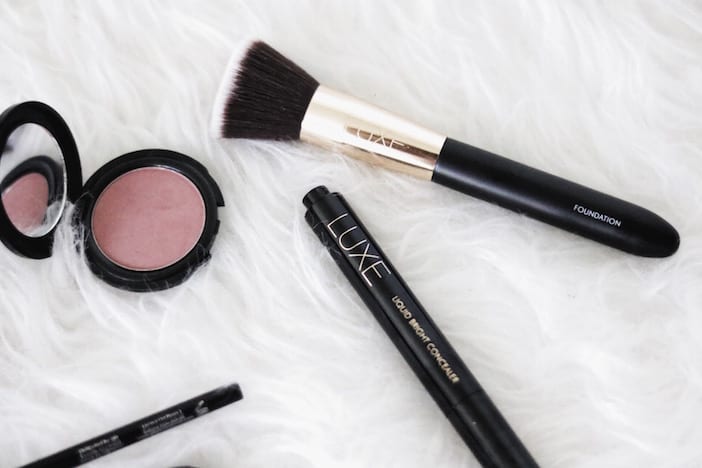
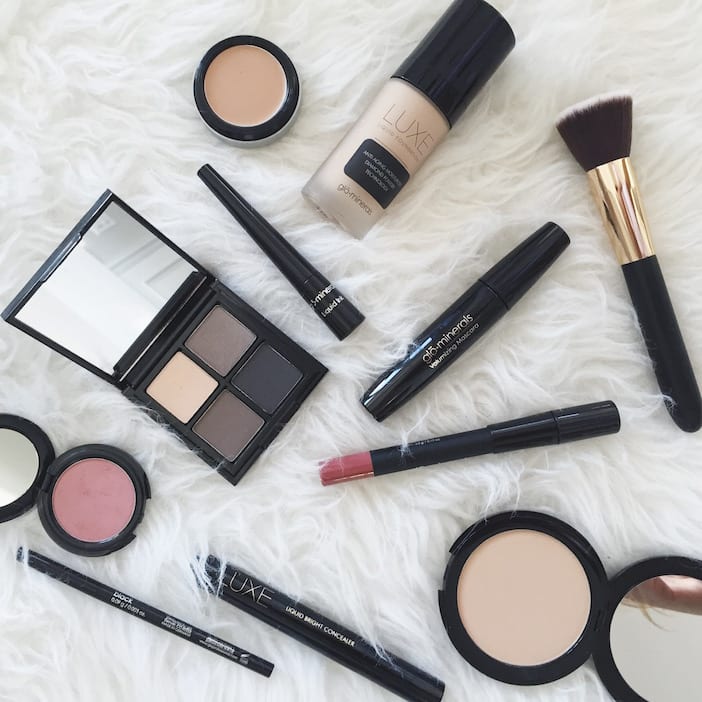
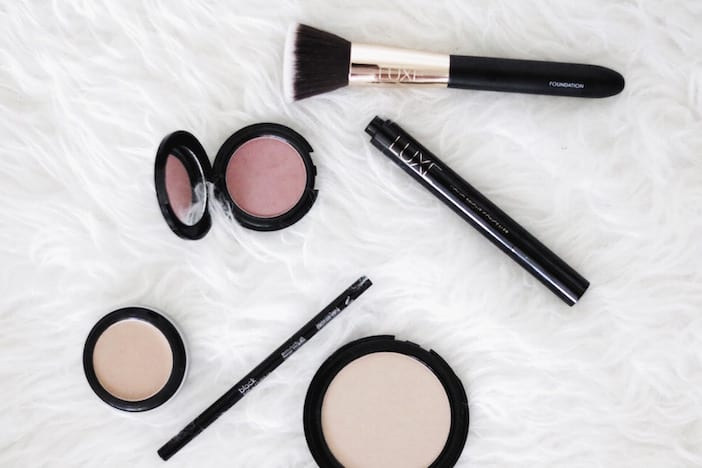
It is so important to keep your foundation well blended. Diffuse those edges and buff out any signs of where your makeup starts and stops. The Luxe Foundation Brush is perfect for this. I like to buff Luxe Liquid Foundation in circular motions around the jawline and onto the neck – also into your hairline (this is especially important if you are like Jillian and don’t tan your face. You may need to use a foundation that’s slightly darker to match your body).

2) Concealer:
Know the difference between an under eye concealer and blemish concealer! Under eye concealer should be a different undertone than a blemish concealer.
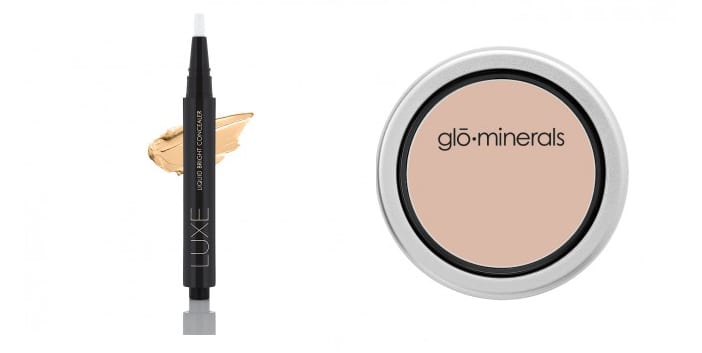
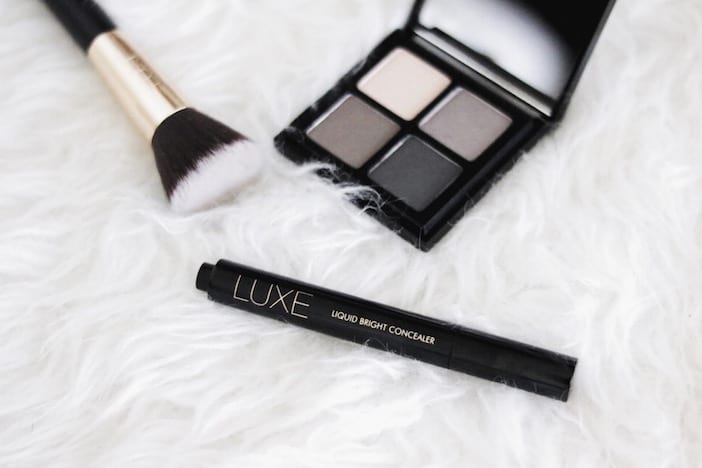
Just think of it this way – under your eyes you’re trying to make dark circles disappear. These circles are a blue/purple color. To combat and neutralize this we use a peach/orange undertone. I like to use the Luxe Liquid Bright Concealer Pen for under eyes as it has reflective qualities and bounces back the light.
On to those dreaded blemishes – these have more of a pink/red tone to them, which we need to combat with a yellow/green base. It might seem weird to think of green makeup, but the concealer isn’t going to be green itself. It will just have a greenish yellow undertone to it, while still being the right shade and color for your skin. I have oily problematic skin and this Oil Free Camouflage is perfect for this. No breakouts!
If you are having trouble remembering this, when you’re purchasing your concealer just look up the color wheel and find the color across from it 🙂
For deeper skin tones things are slightly different – when picking a foundation or concealer keep in mind that pink undertones can look ashy on the skin. Try something with more of a yellow base (even for the under eye ). If you have dark skin you may need to play around with different undertones to find your perfect match.
3) Contouring:
Contouring is the all craze right now, but I’ll let you in on a little secret…. contouring is the basis of ALL makeup. Using light and shadow when applying makeup enhances face shapes and draws focus to certain parts of our faces. Whether it be adding a brown eye shadow to your crease, or lining your lips with a bold color, contouring has been around as long as makeup has.
But let’s talk about the face! If you put your contour and highlight in the right places it can be life changing (lol). Just be careful not to go overboard – it’s easy to get a muddy looking face.
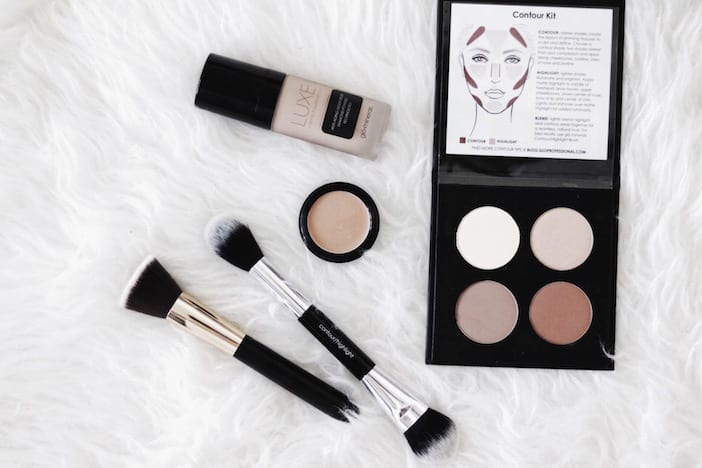
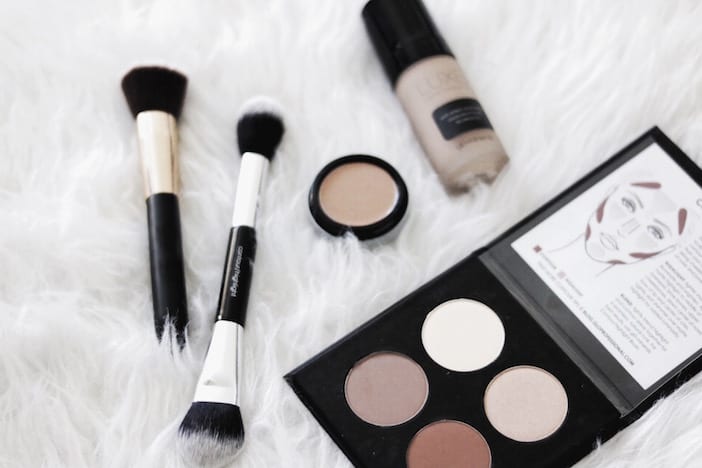
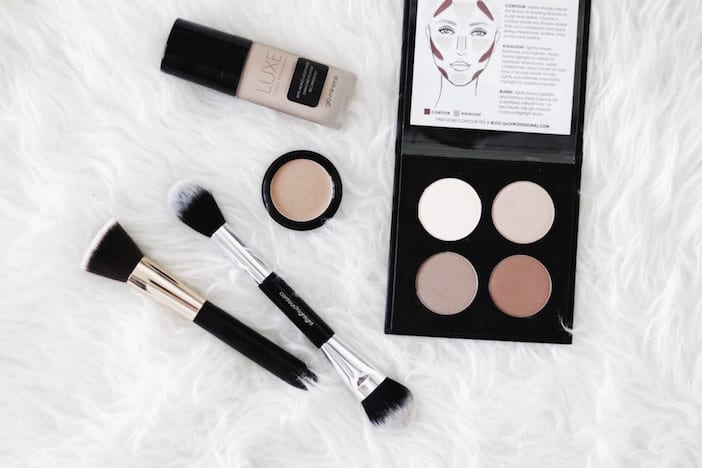
The glo Contour Kit comes with a Contour Highlight Brush and has a diagram right inside the palette to show you exactly where to place your contour and highlight! It’s fool proof!
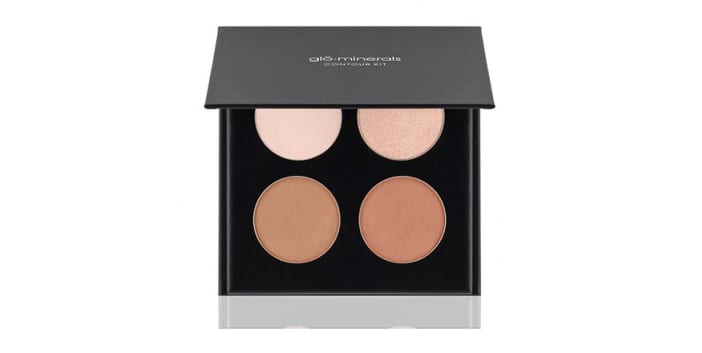
I like to use the lighter of the two contour colours with the thin end of the brush – I lightly apply from the top of the ear towards the mouth until I am two fingers widths away. Your contour shouldn’t look like you’ve drawn lines all over your face – nor should it be so blurred that you look muddy!
Repeat this along the jawline, around your forehead and temples, and if you wish you can add subtle thin lines down the bridge of your nose.
Remember – adding these shadows creates the illusion of depth so do not contour places you want to pop! Now use the light matte color with the fluffy end of the brush and add it to all the places you did not contour (bridge of nose, under eyes and apple of cheeks, chin, and centre of forehead).
Beauty secret : bring your contour from your jawline down onto the neck – this will help with that pesky double chin! (Make sure you blend out so there are no lines).
4) Tightlining:
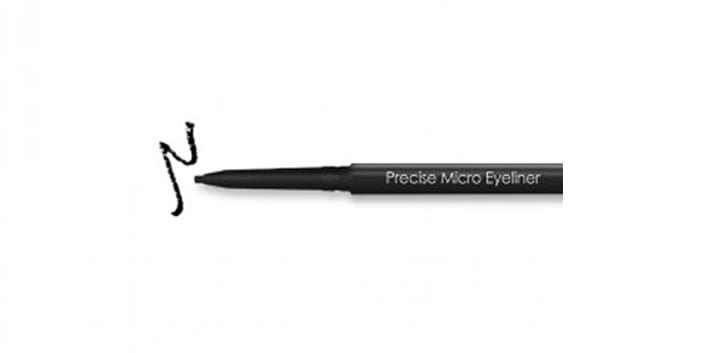
I do this in ALL my makeups. Tightlining is when you apply eyeliner to your waterline. Tightlining the bottom waterline is totally optional depending on the look you’re going for, but I cannot live without it on the upper waterline. Doing this enhances your lash line, making your lashes look fuller and your eyes pop. I like to use black Precise Micro Eyeliner on most of my clients as it adds high contrast with the whites of the eyes. This is a great way to enhance your eyes without adding a thick line to your lid (especially great for those with less lid space!)
5) Find the Perfect Blush:
The purpose of blush is to give life back to the face after we’ve stripped it of color with foundation. I like my blush to be subtle and soft (unless we are talking runway or avant-gard). Blush should be applied to the apples of the cheeks and lightly brought upwards towards the temples. For a more youthful look, keep the majority of blush on the apples of cheeks. For a more contoured and bold look – apply in a more linear direction from temple to apples (above your contour).
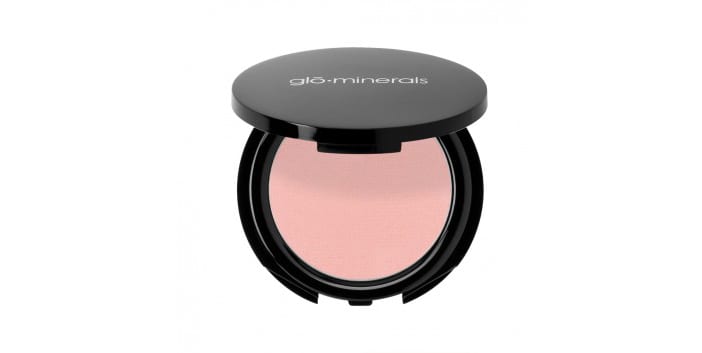
Beauty secret : If you have uneven skin texture or oily skin – use a matte blush like this Blush in rose bud. This will hide the unevenness that a shimmer will only enhance.

Now go get your makeup bag and try out these beauty tips! If you’d like to try any of the products mentioned above use the code JILLHEARTSGLO for 15% off your Glo Minerals order! If you have any feedback or photos, I’d love to hear from you!
xo
Kaitlin


what in the word is a waterline?
world…what in the world….I need to get out more!
love this post!!! now, just need to remember all the tips!
Hi Kaitlin what are you sponging on under jillian eyes with the pink puff in the snap chats? It looks like it really brightens the area! Thx
Great tips .. Your so funny on jillians snapchats .. You do wonderful work .. Jillian looks like a million bucks ..
That is amazing. Great tips!