SAFETY WARNING: Before jumping into this article, I wanted to give an important safety warning. Bleach, when mixed with other cleaning supplies that contain ammonia or vinegar, can cause deadly gas. So, be careful NOT to mix it with any other substances and do this DIY craft in a well-ventilated space—like outside!
Well, folks! Once and a while, you know I love to get a little crafty… usually, that looks like me experimenting with green soup recipes at 9 PM and talking to all of you on my stories about it in my Romper, LOL. But sometimes that looks like ACTUAL DIY projects—exciting!!
Recently, Team Jilly had the idea to do a DIY bleached flannel project from Our Hopeful Home to give some old flannel a fresh new look for Spring… and let me tell you, it turned out SO GOOD!!!
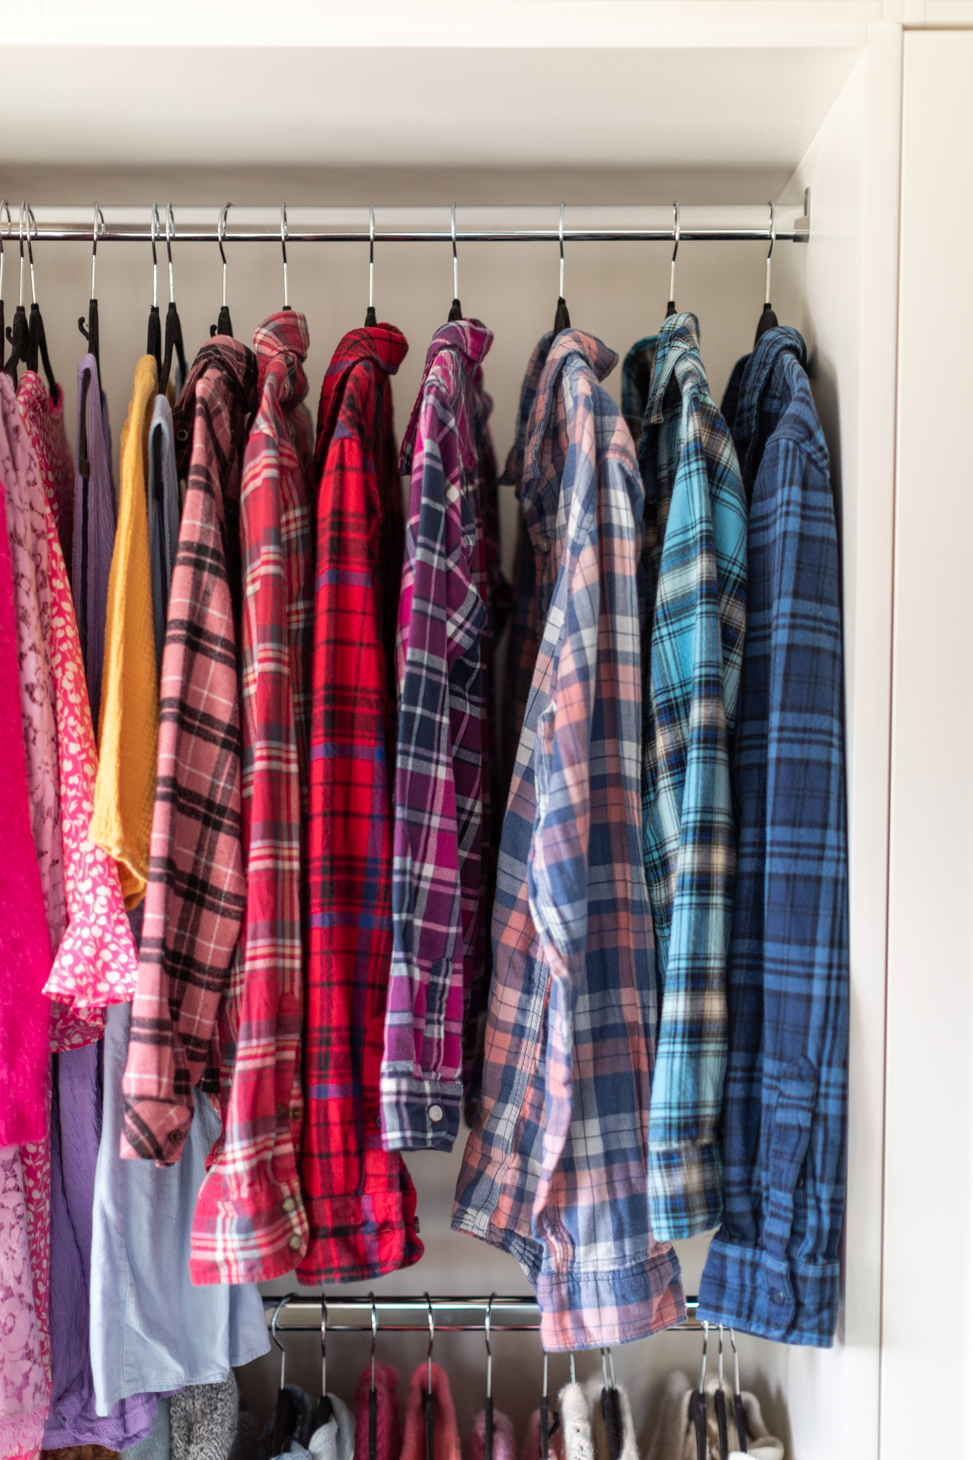
So, if you or your partner have some old flannels hanging in the back of your closet, (or you want to grab some from your local Value Village) get them out and let’s get crafty together. Seriously, this DIY bleached flannel project turned out SO WELL, and I think they are going to be such a cute piece to cover up for huddling around the fire at the farmhouse this Spring. I can’t wait!!
First things first, you’re going to want to assemble your materials. Here’s what you’ll need:
- Flannels
- Buckets (or you can potentially do this in your bathtub if you’re comfortable… but it MAY STAIN!)
- Bleach
- Gloves (so you don’t stain your hands!)
- Wooden Spoon (don’t use metal!!)
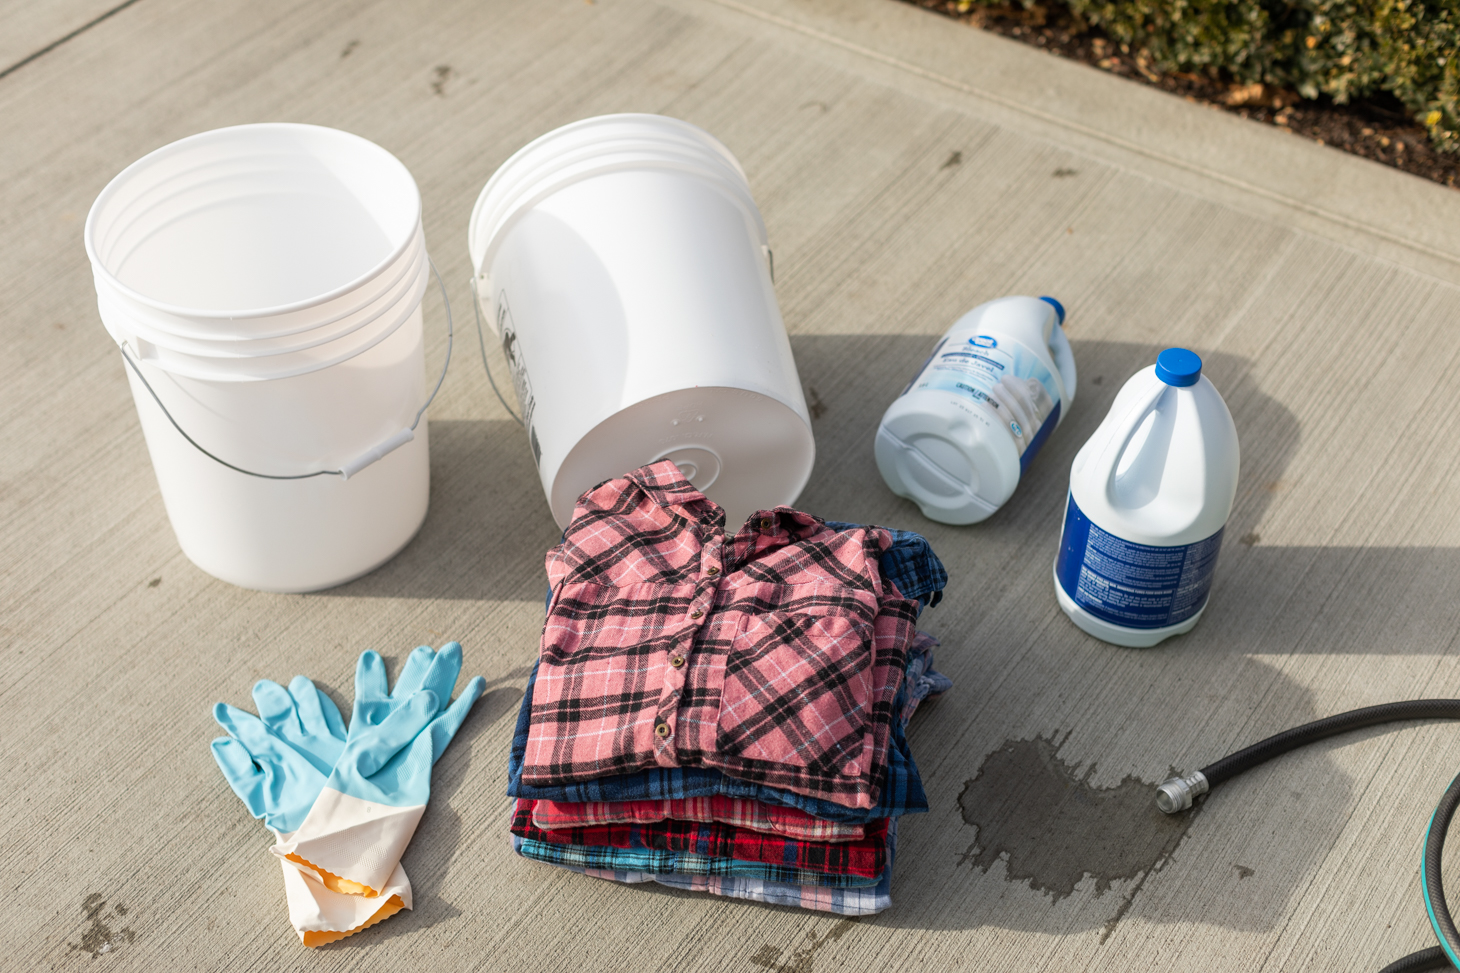
Team Jilly and I did this OUTSIDE because we wanted to do it in a well-ventilated area (for safety reasons!!)
Once we had all of our supplies laid out for our DIY bleached flannel project, we filled up the buckets with water and bleach. We then filled our buckets with COLD water.
For reference, we bleached 7 flannel shirts. 3 in one bucket, 4 in the other. And EACH bucket had around 3.6 L of liquid concentrated bleach.
Now, using cold water may have increased the time it took for the bleach to fade the garments. We don’t know for sure, but it’s a hypothesis worth noticing! Our guess is warm water, and doing this indoors would be faster… but there is less ventilation in that case which is a safety hazard, and NO ONE wants to stain their bathtub, so here we are!
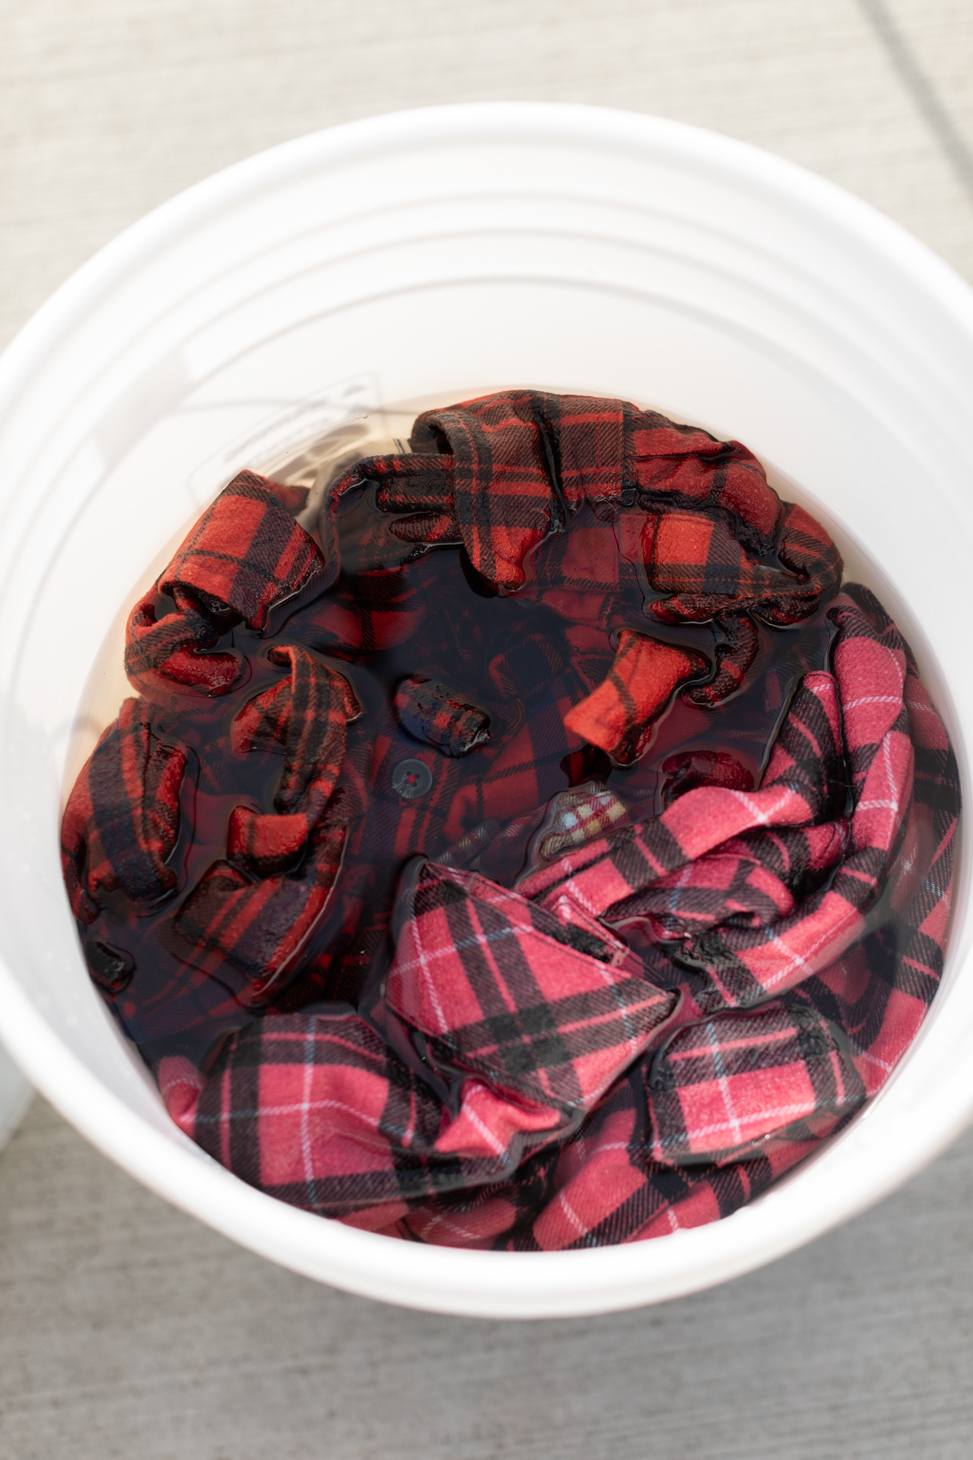
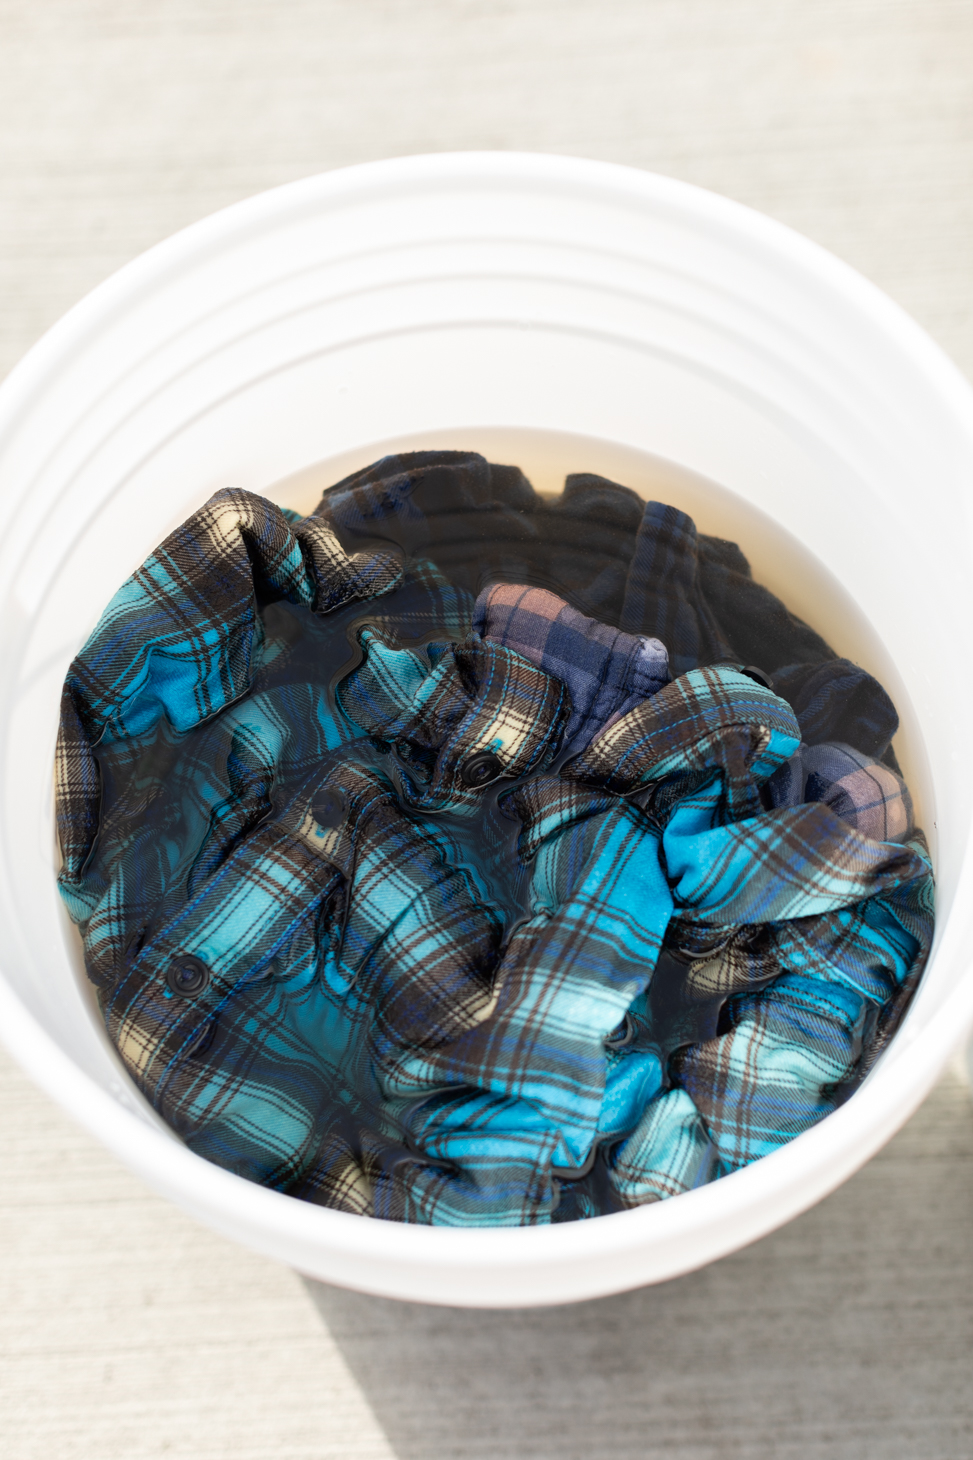
Next, we waited. (Yep, that’s a step! And, probably the hardest part as someone who was VERY excited to see the results, LOL.) We waited a while until the bleach faded the flannel to the PERFECT shade.
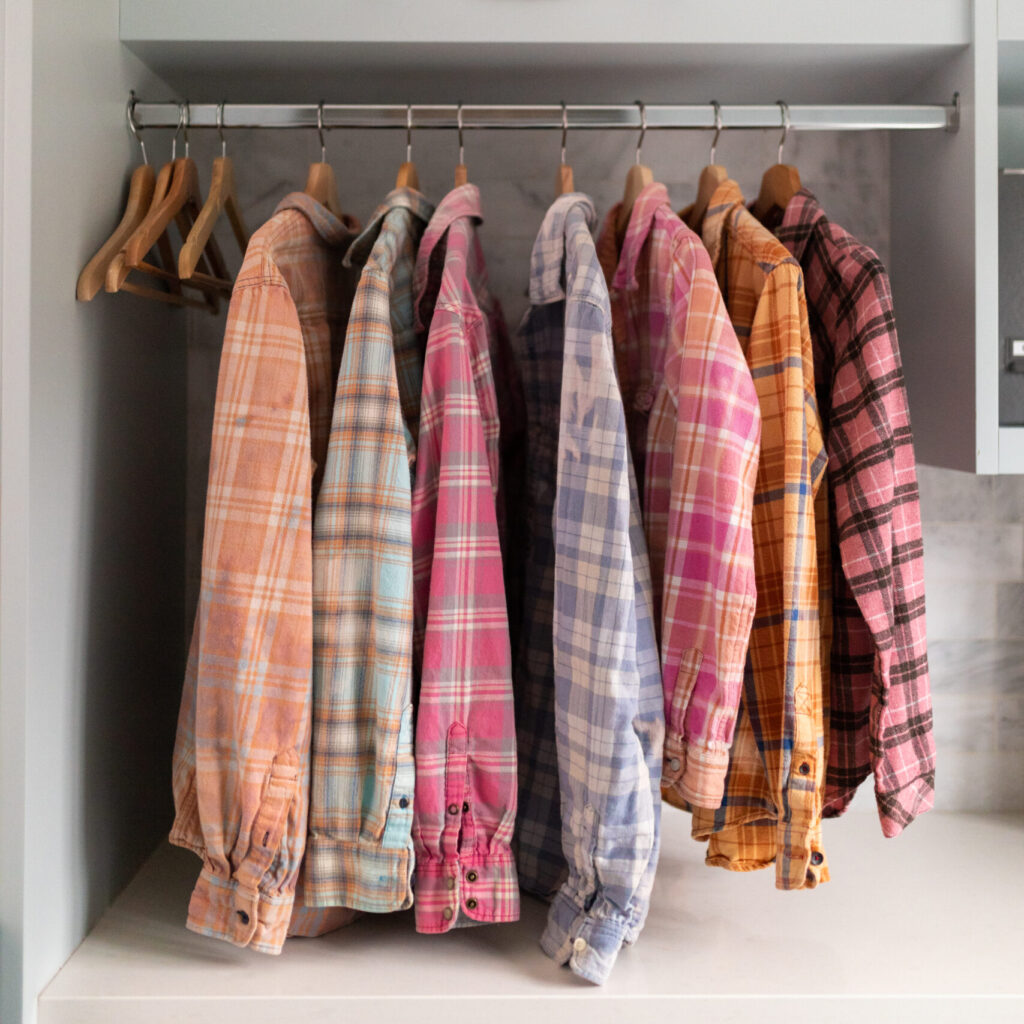
Once we were happy with the colour, we took them out of the buckets, rinsed them out in the sink to get rid of the access bleach, and we ran them through the wash. Then, we hung them to dry (but you could also throw them in the dryer)!
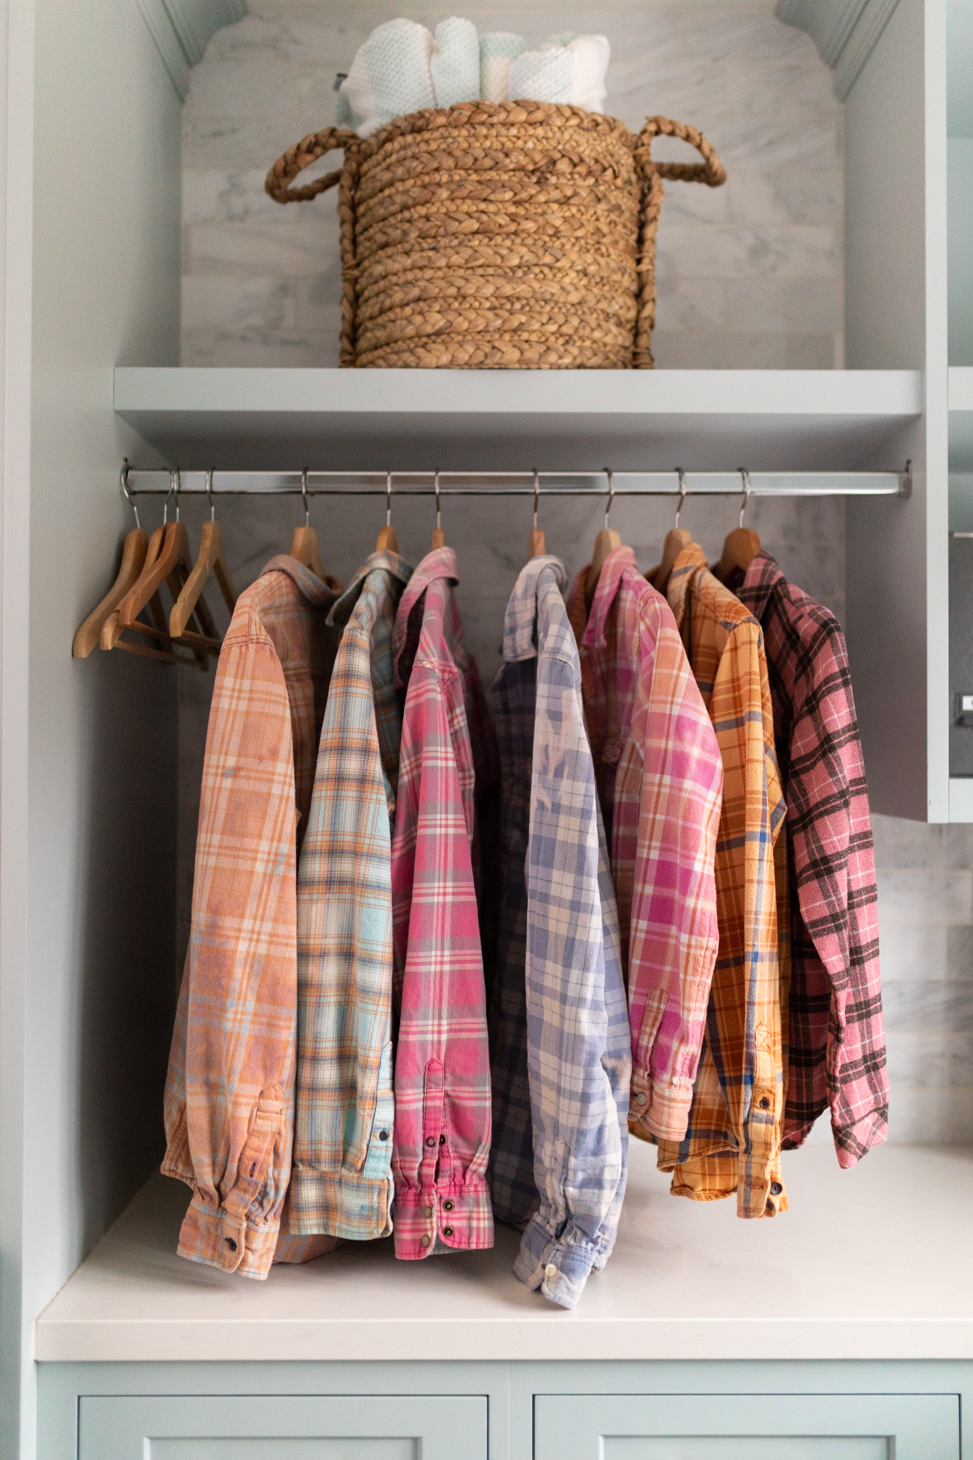
Like how cute are these?!!
A Few Takeaways From This DIY
- I LOVED that the team and I took something not being worn and gave it new life!
- SAFETY IS IMPORTANT – please be safe while doing this DIY (well-ventilated location, careful around bleach, etc.)
- Using warm water may have been faster.
- Thicker or different blends of material can affect how well things bleach and how long it takes. So, keep that in mind when starting this project!
All in all, I hope this inspires you to take something hanging in the back of your closet and find a new way to wear and style it!
xo,
Jilly
