


It’s the most wonderful time of the year!! I mean, it’s not Christmas just yet but December 1st is quickly approaching, which means it’s time to start opening up your advent calendars!!
I’ve never been the biggest fan of pre-packaged advent calendars that you buy at the grocery store. I mean, they are fun, but my favourite part about the holidays is thoughtful gift-giving. Whether that’s giving gifts to family and friends or creating our very own advent calendar and picking out each treat and surprise for the kiddos!
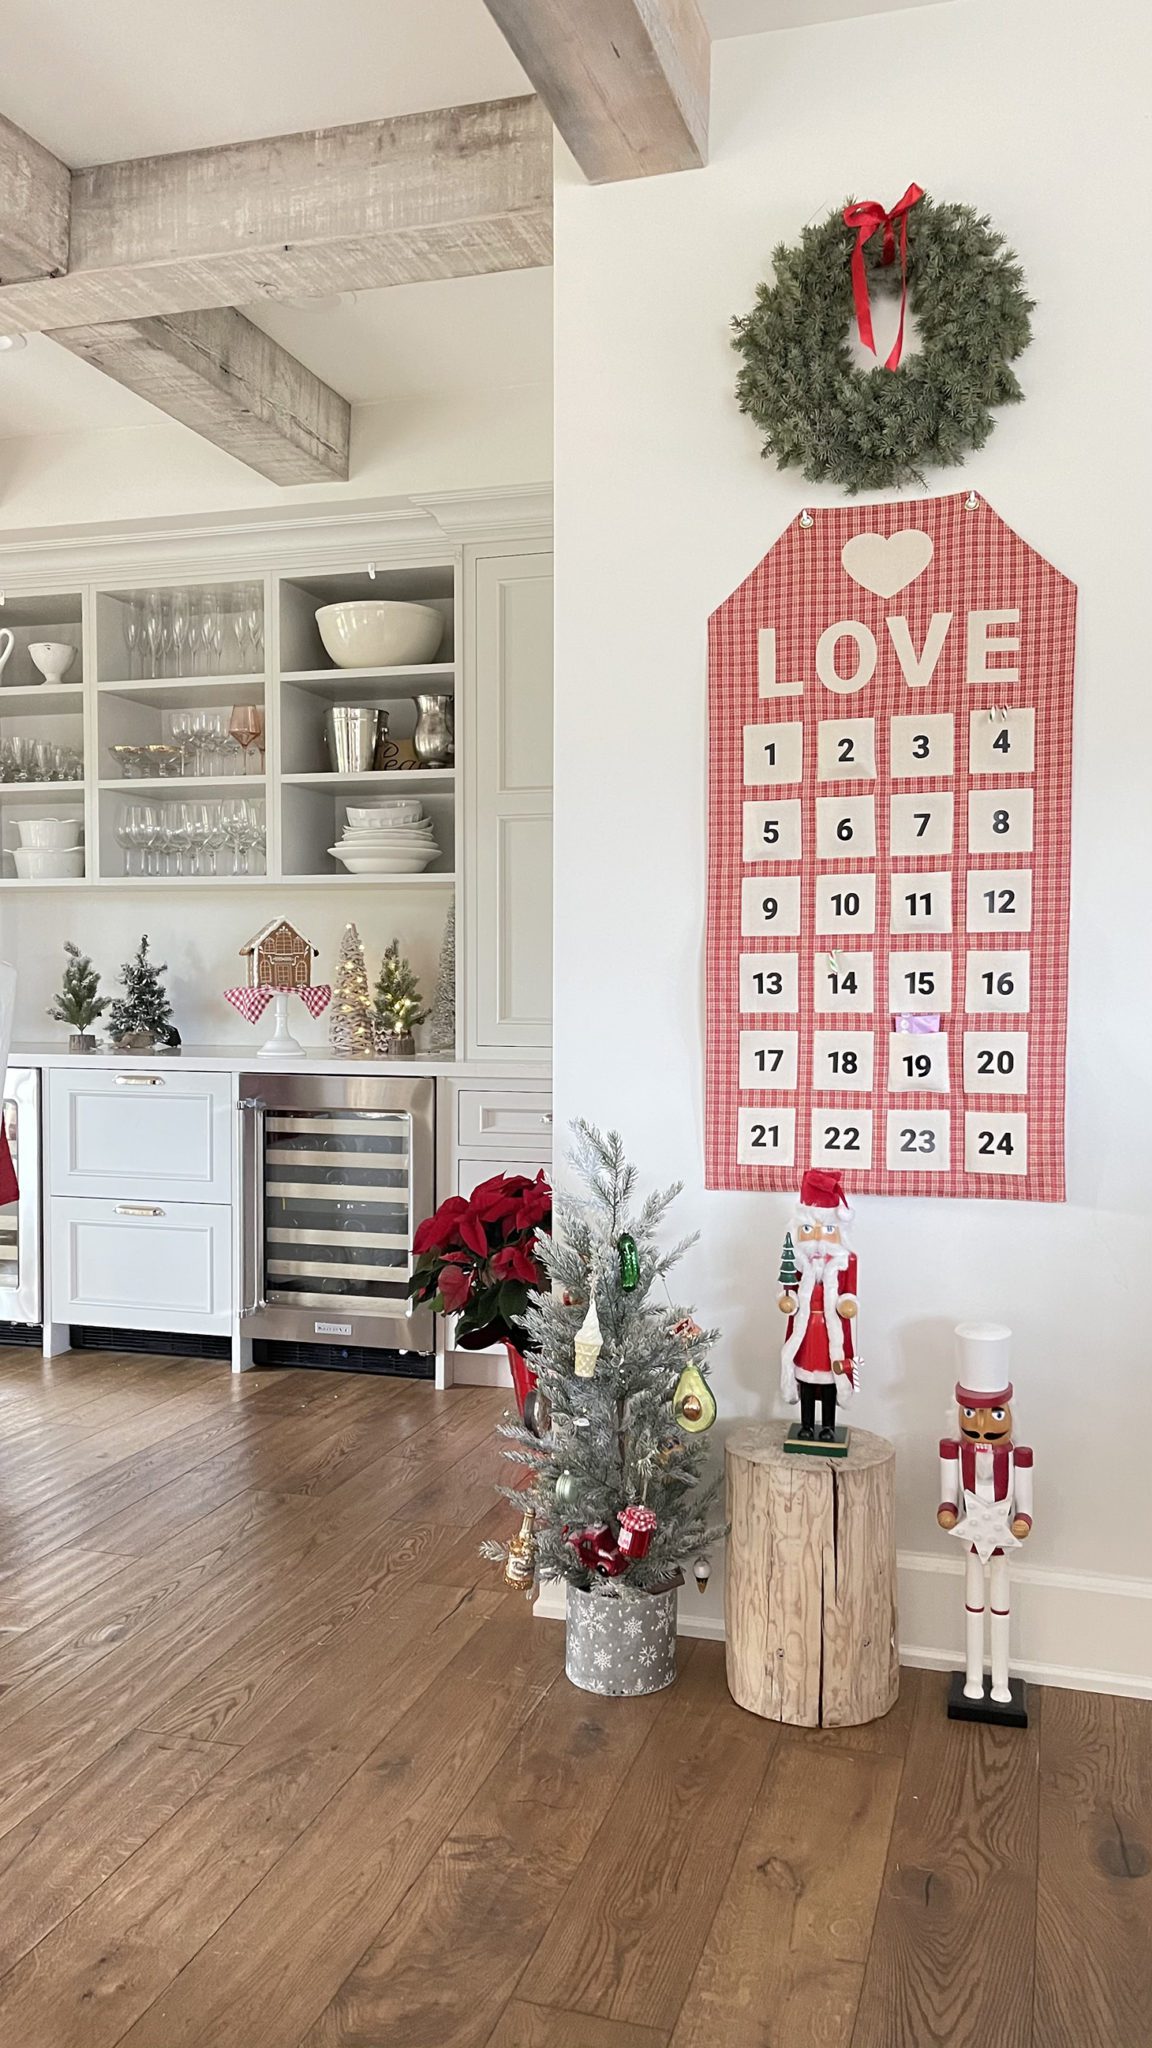
In previous years, I have always collected small treats and toys for Leo and Annie leading up to Christmas and just handed it over to them each day! LOL! But since they’re starting to get the hang of our holiday traditions, I thought I would kick it up a notch this year. And by me, I mean my friend Virginia! LOL! This year I enlisted Virginia’s help to create an adorable advent calendar that we can use for years to come. It’s SO beautiful that I asked her if she would mind sharing this DIY with all of you!
Today, I’m sharing the supplies you will need along with all of the instructions to recreate this adorable advent calendar! It’s the perfect weekend project if you ask me! 😉
Please note: this project is for intermediate to advanced sewers hence why I enlisted the help of Virginia! LOL!
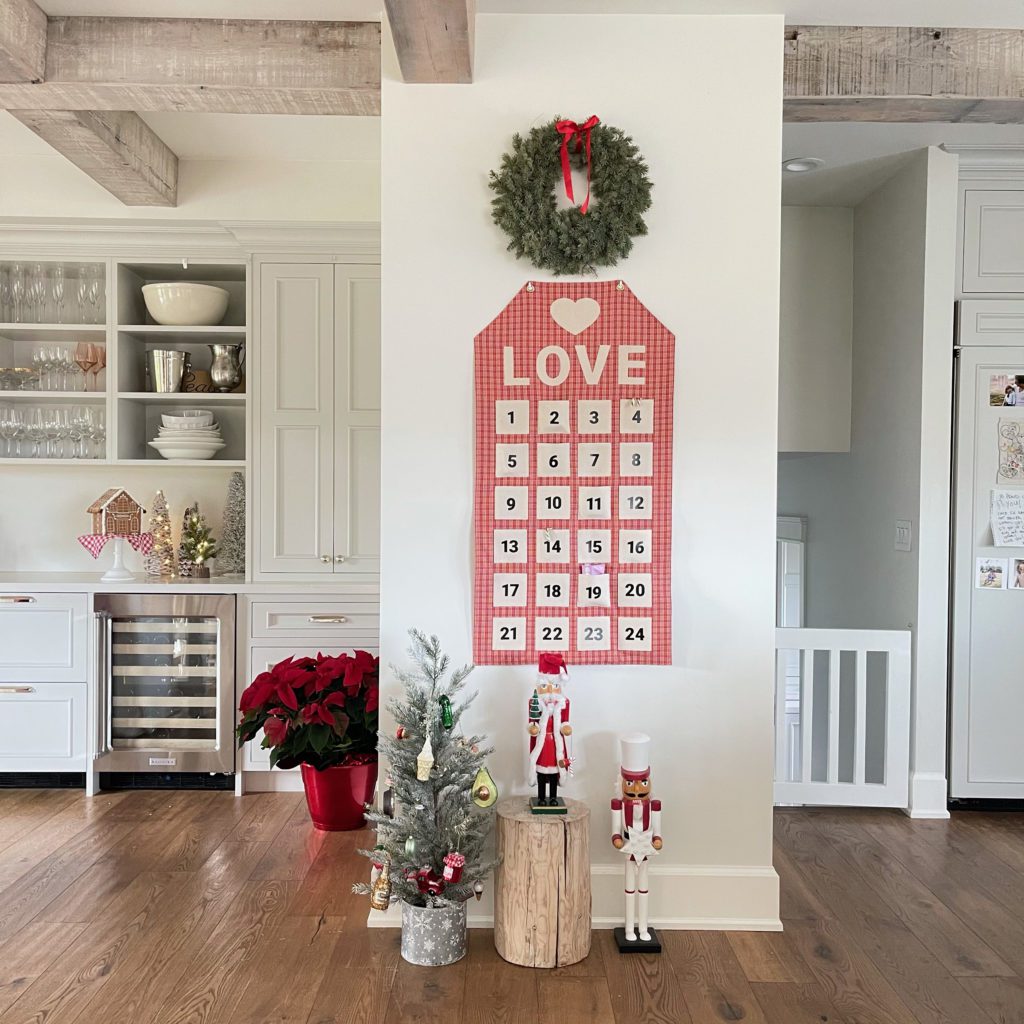
DIY Christmas Advent Calendar
Depending on your sewing skills and available time to make this project, choose your fabric wisely. Plaids and stripes for the calendar usually cost more and they will also take more time and precision! I will forewarn you that the pockets do take quite some time. You will need to apply interfacing to the wrong side of the fabric and turn under each side of the pocket to give it a clean look.
Another time saver would be to use felt for the pockets! Felt does not have to be lined or turned under! All you will need to do is cut each square straight and you are good to go.
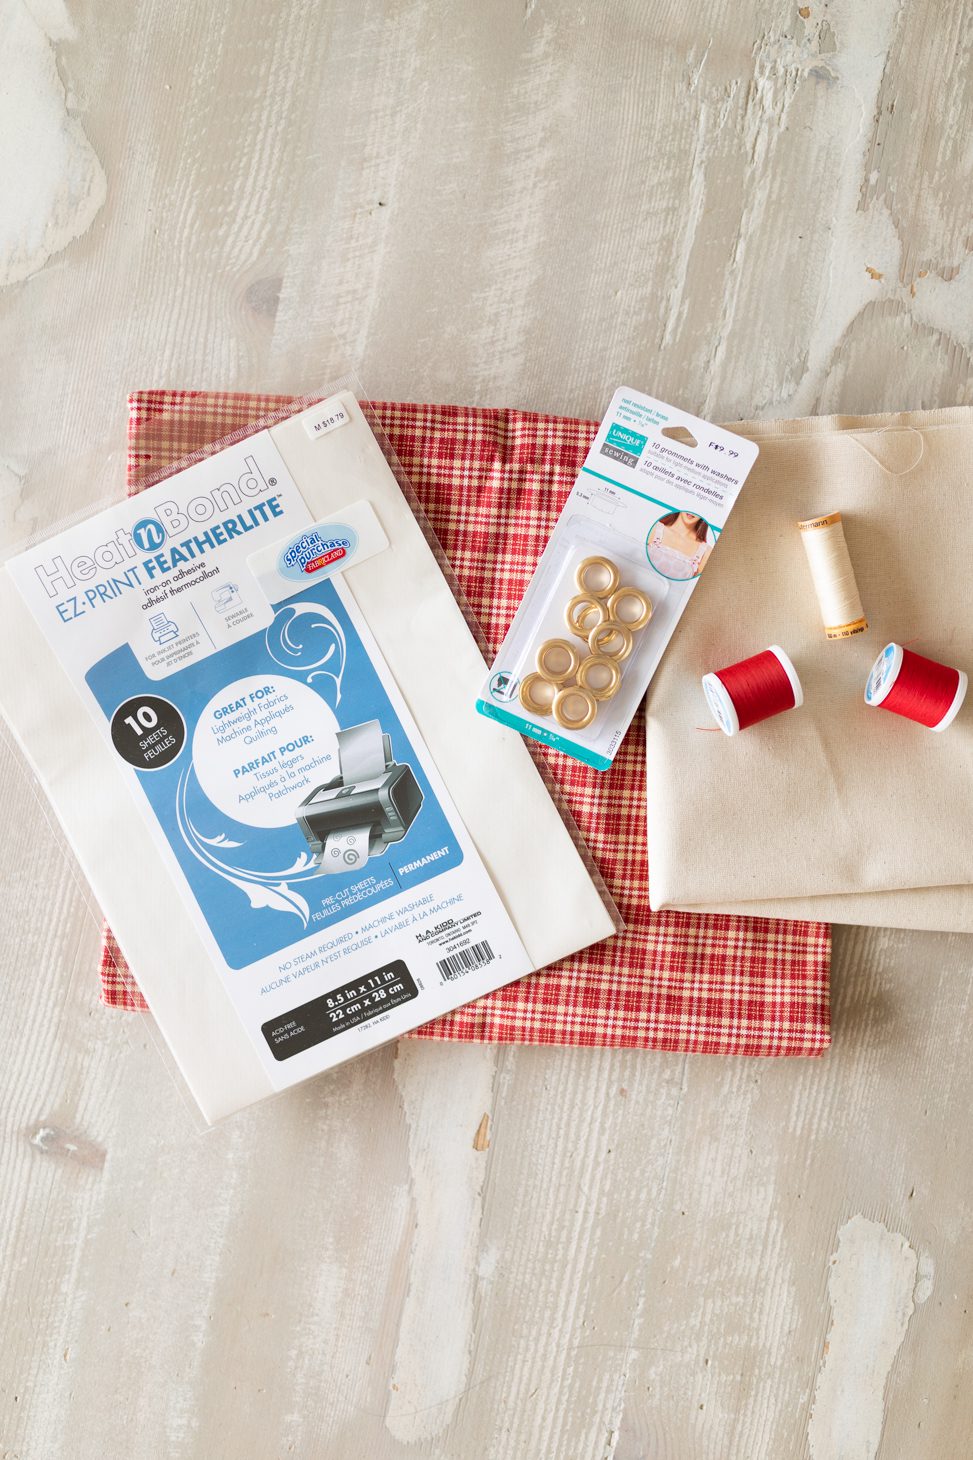
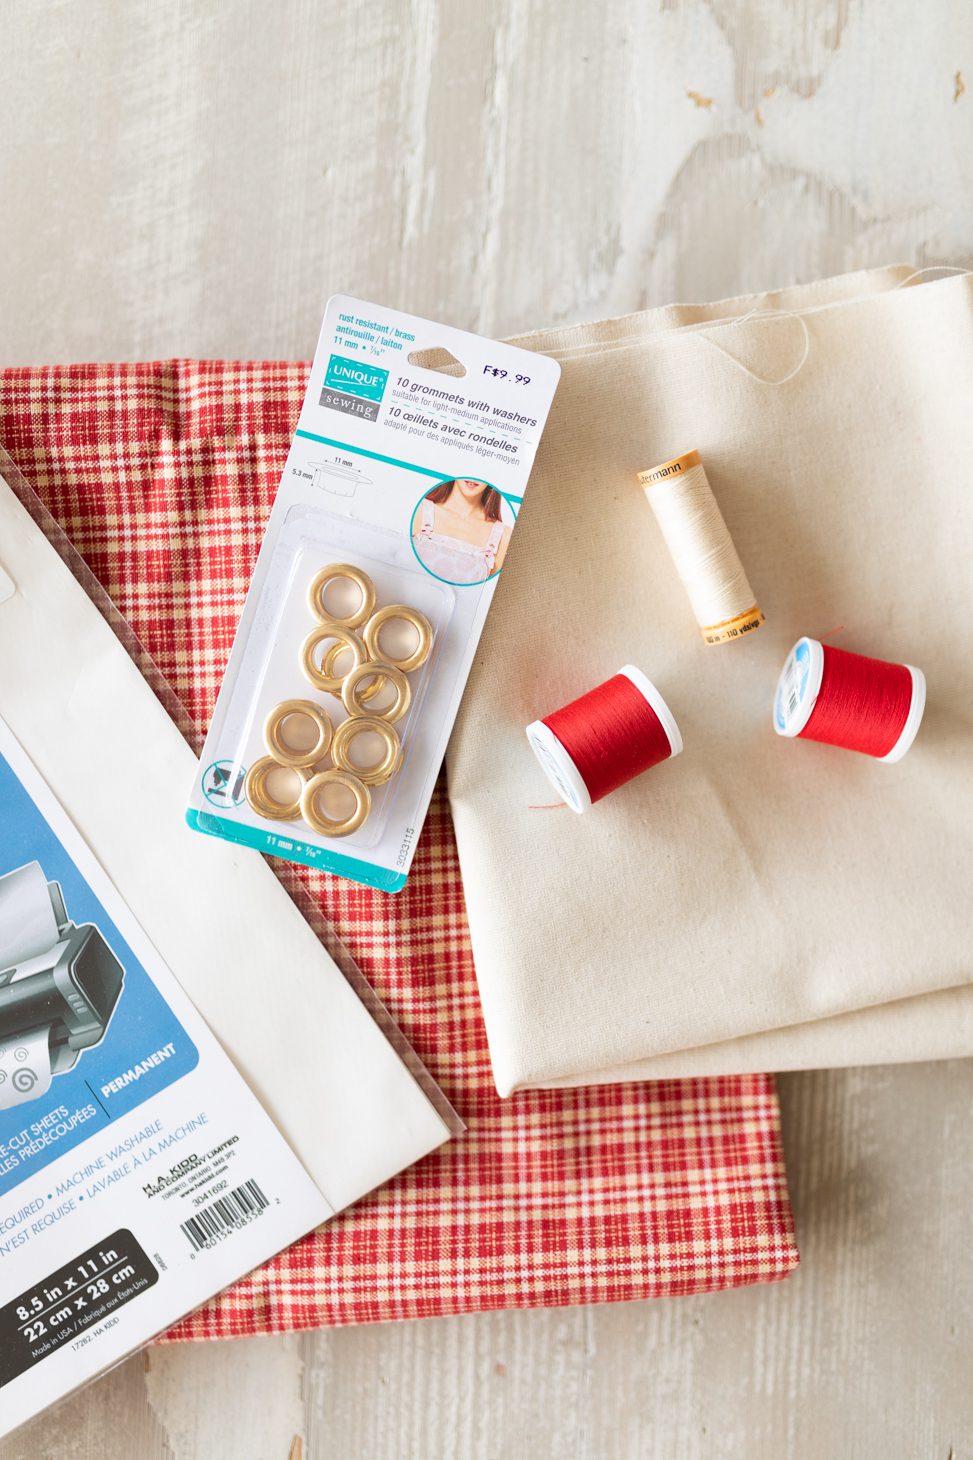
Here’s what you will need:
- Calendar fabric – 1.5 metres @ 150cm wide
- Accent fabric for the pockets, letters and heart – .8 metres @ 115cm wide
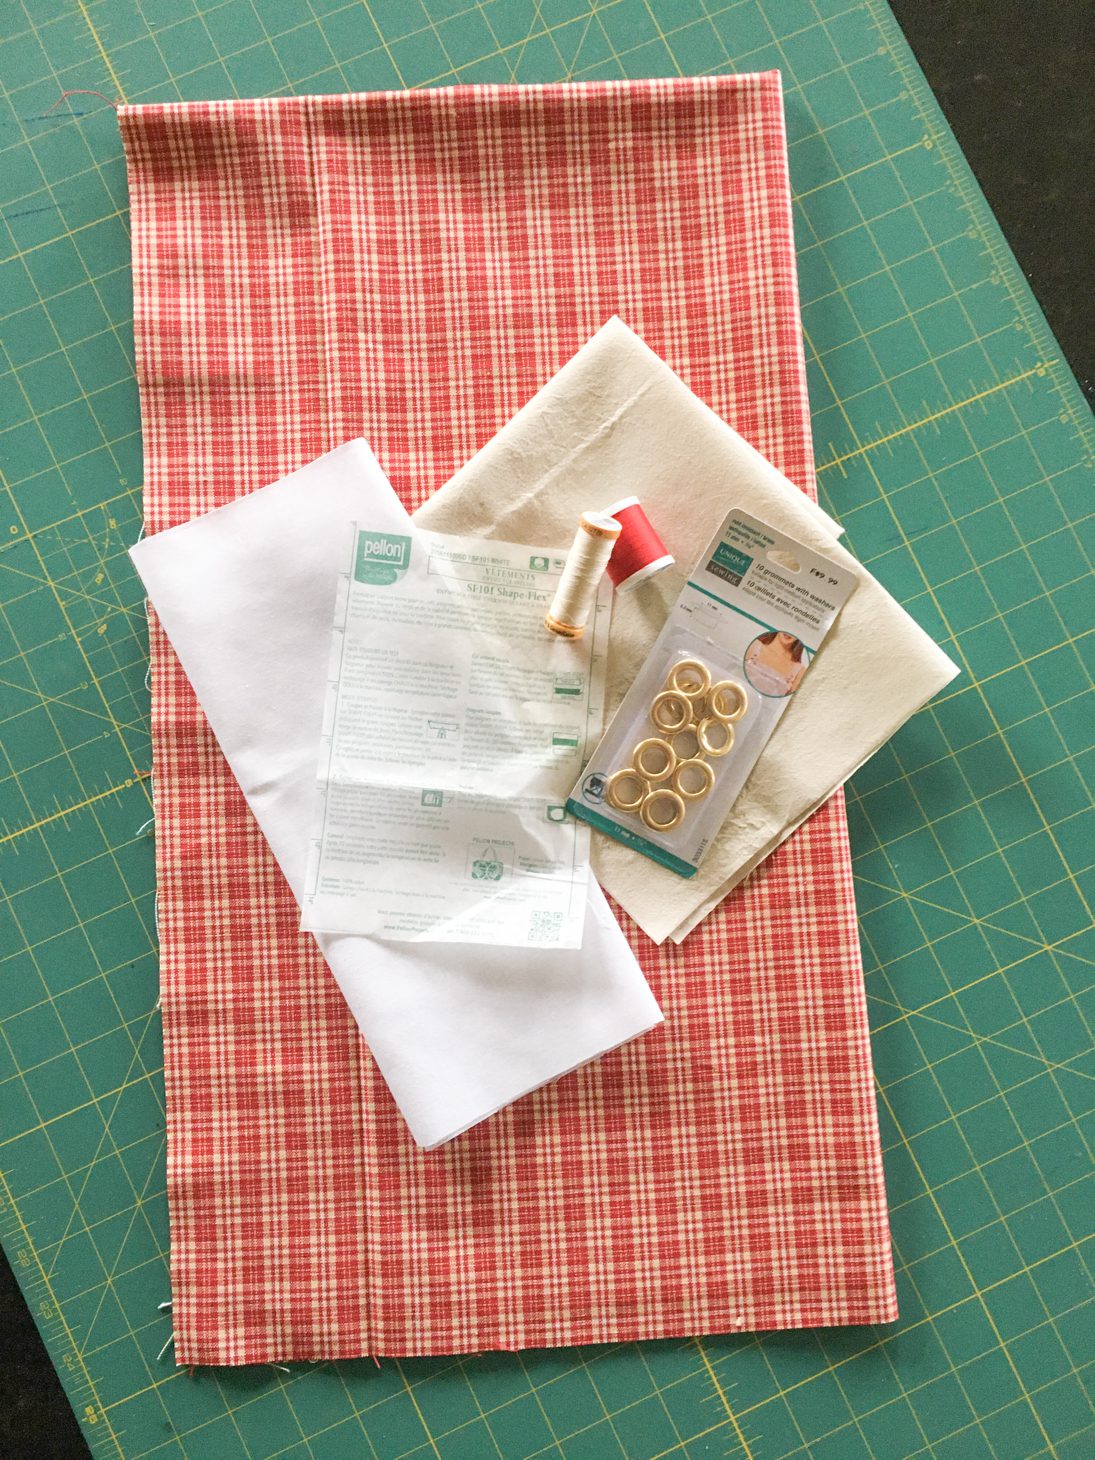
- Lightweight iron-on interfacing for the pockets, letters and heart – buy enough for you to cut (24) 4” squares, letters and the heart
- Medium weight-iron on interfacing for the upper body of the calendar – buy enough for you to cut a 24” Wide X 12“High
- Heat and bond for the letters and heart
- Thread for each colour of fabric
- Grommets (14mm) and same size grommet tool to attach them
- Rotary cutter and mat if available
- Sharp Scissors
- Sewing Pins
- Ruler (clear ruler if possible)
- Scotch tape
- Sewing machine
- Iron
- Hammer

Instructions:
1. Prewash fabric, dry, and iron, if necessary.
2. Measure and cut out twenty-four 5” squares, the letters, and heart, using the accent coloured fabric.
3. Measure and cut out twenty-four 4” squares, letters and heart of interfacing.
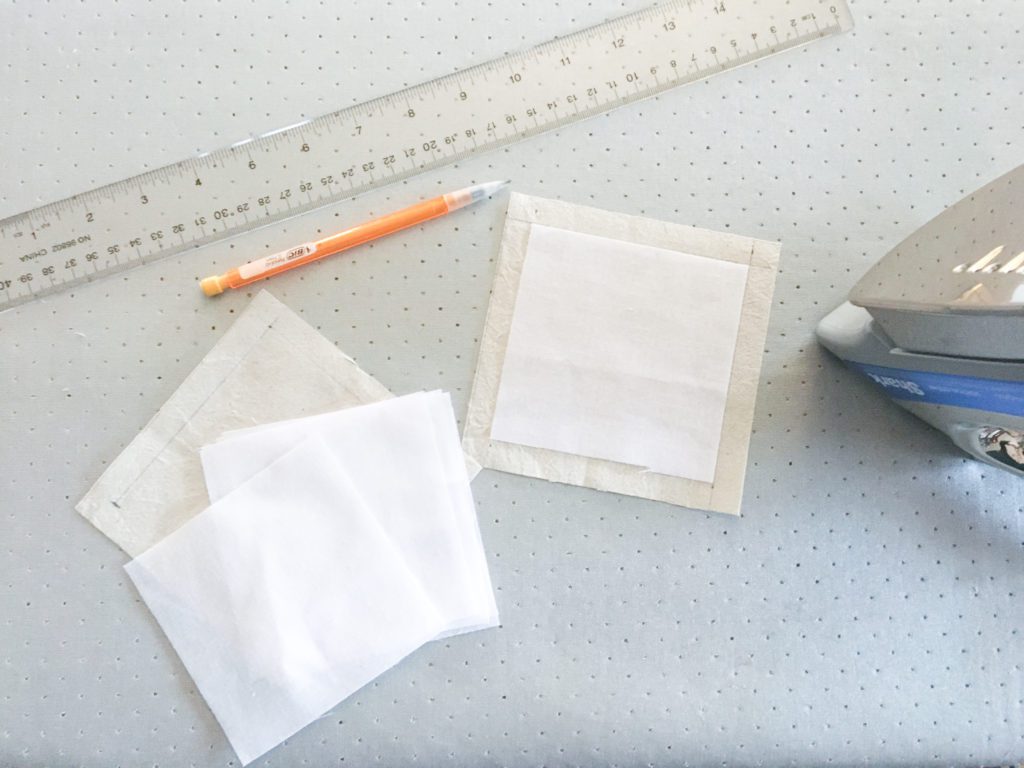
4. Leaving a 1/2” edge on each square, (pocket), center and iron-on interfacing to the wrong side of the fabric.
5. Turn under each edge of the square 1/2” and iron.
6. To ensure a sharp corner, angle cut fabric at the corners of the pocket to minimize the bulk.
7. Turn under sides again, tuck in excess corner fabric, re-press and re-measure to make sure the pockets are 4” squares.
8. When cutting out the calendar remember to cut according to the diagram but add 1/2″ for the seam allowance around the entire pattern.
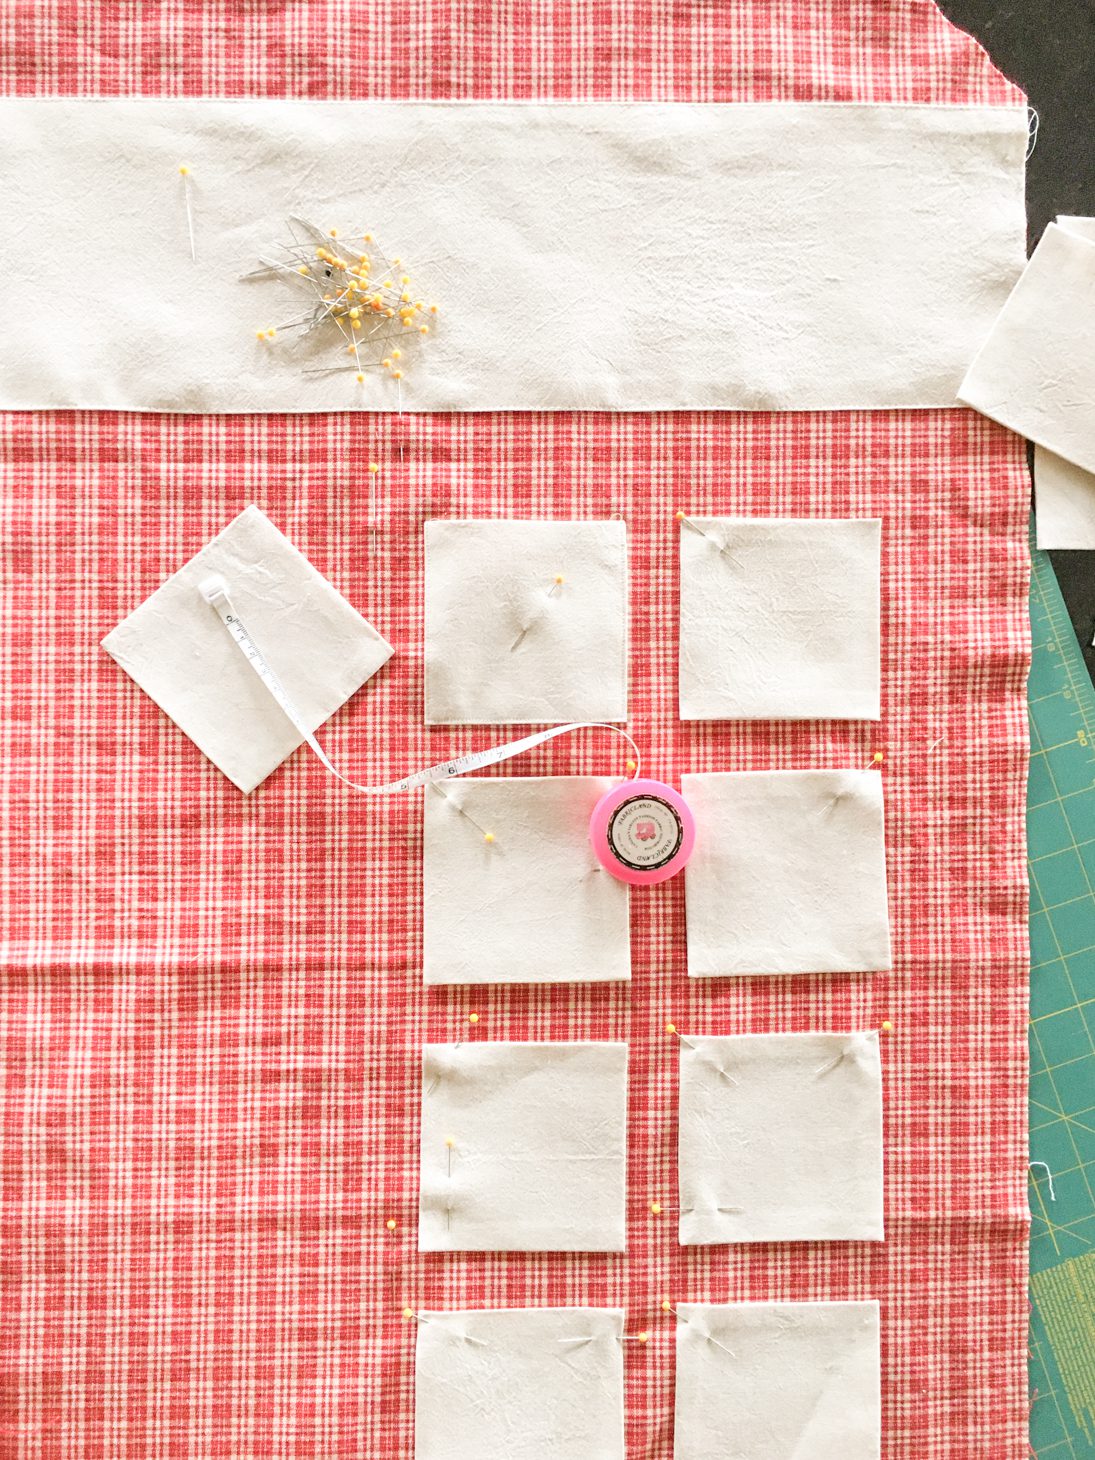
9. Determine your pocket placement on the calendar, sew them to the right side of fabric using a 1/8” topstitch along the bottom and sides of the pocket. Leave the top open.
10. Determine how much fabric you need to apply the Heat n Bond to.
11. Read and follow the Heat n Bond instructions and apply to the wrong side of the accent fabric.
12. Draw or use a stencil for the letters and heart, making sure that they are a mirror image then tape them on the Heat n Bond paper and cut out.
13. Determine the placement of the letters and heart and mark them using a pencil on the right side of the calendar carefully. Peel the Heat n Bond paper off one at a time and iron on the letters and heart.
14. Cut the medium weight interfacing the same shape as the upper portion of the calendar less 1/2” on the sides and top for the seam allowance.
15. Apply the medium weight interfacing to the wrong side of back piece of the calendar on the top portion only, starting 1/2″ from the top and sides.
16. With the right sides together, sew the front and the back of the calendar together leaving at least 1/3 of the bottom open.
17. Trim the corners, turn the calendar right side out and press.
18. Hand stitch the opening closed and press again.
19. Top stitch around the outside of the calendar.
20. Read and follow the grommet instructions to complete project.
Well, there you have it! Whether you can tackle this DIY advent calendar this weekend or over the holidays make sure to tag me on Instagram so I can see your masterpieces!
xo
Jilly


This is so cute. The kitty sewing OMG so funny and so sweet.
Looks so beautiful wouldn’t expect anything less from Virg a perfectionist and it always shows in her work! Don’t even get me started on her homemade stockings !!!
What did you end up doing to make it more of a countdown ??