


I have always loved a good DIY… usually, that looks like me experimenting with new recipes at 9 PM or bedtime craft projects with Annie, but sometimes that looks like ACTUAL DIY projects like these Dried Hydrangea Wreaths!
The other day, Shay and I tried making wreaths using dried Hydrangeas from our garden… and let me tell you, it turned out SO GOOD I had to share it with you!!!
It took us 30 minutes from start to finish. So, if you’re like me and you have a garden full of Hydrangeas that are on their last legs, head out to the garden to cut them down and let’s get crafty together.
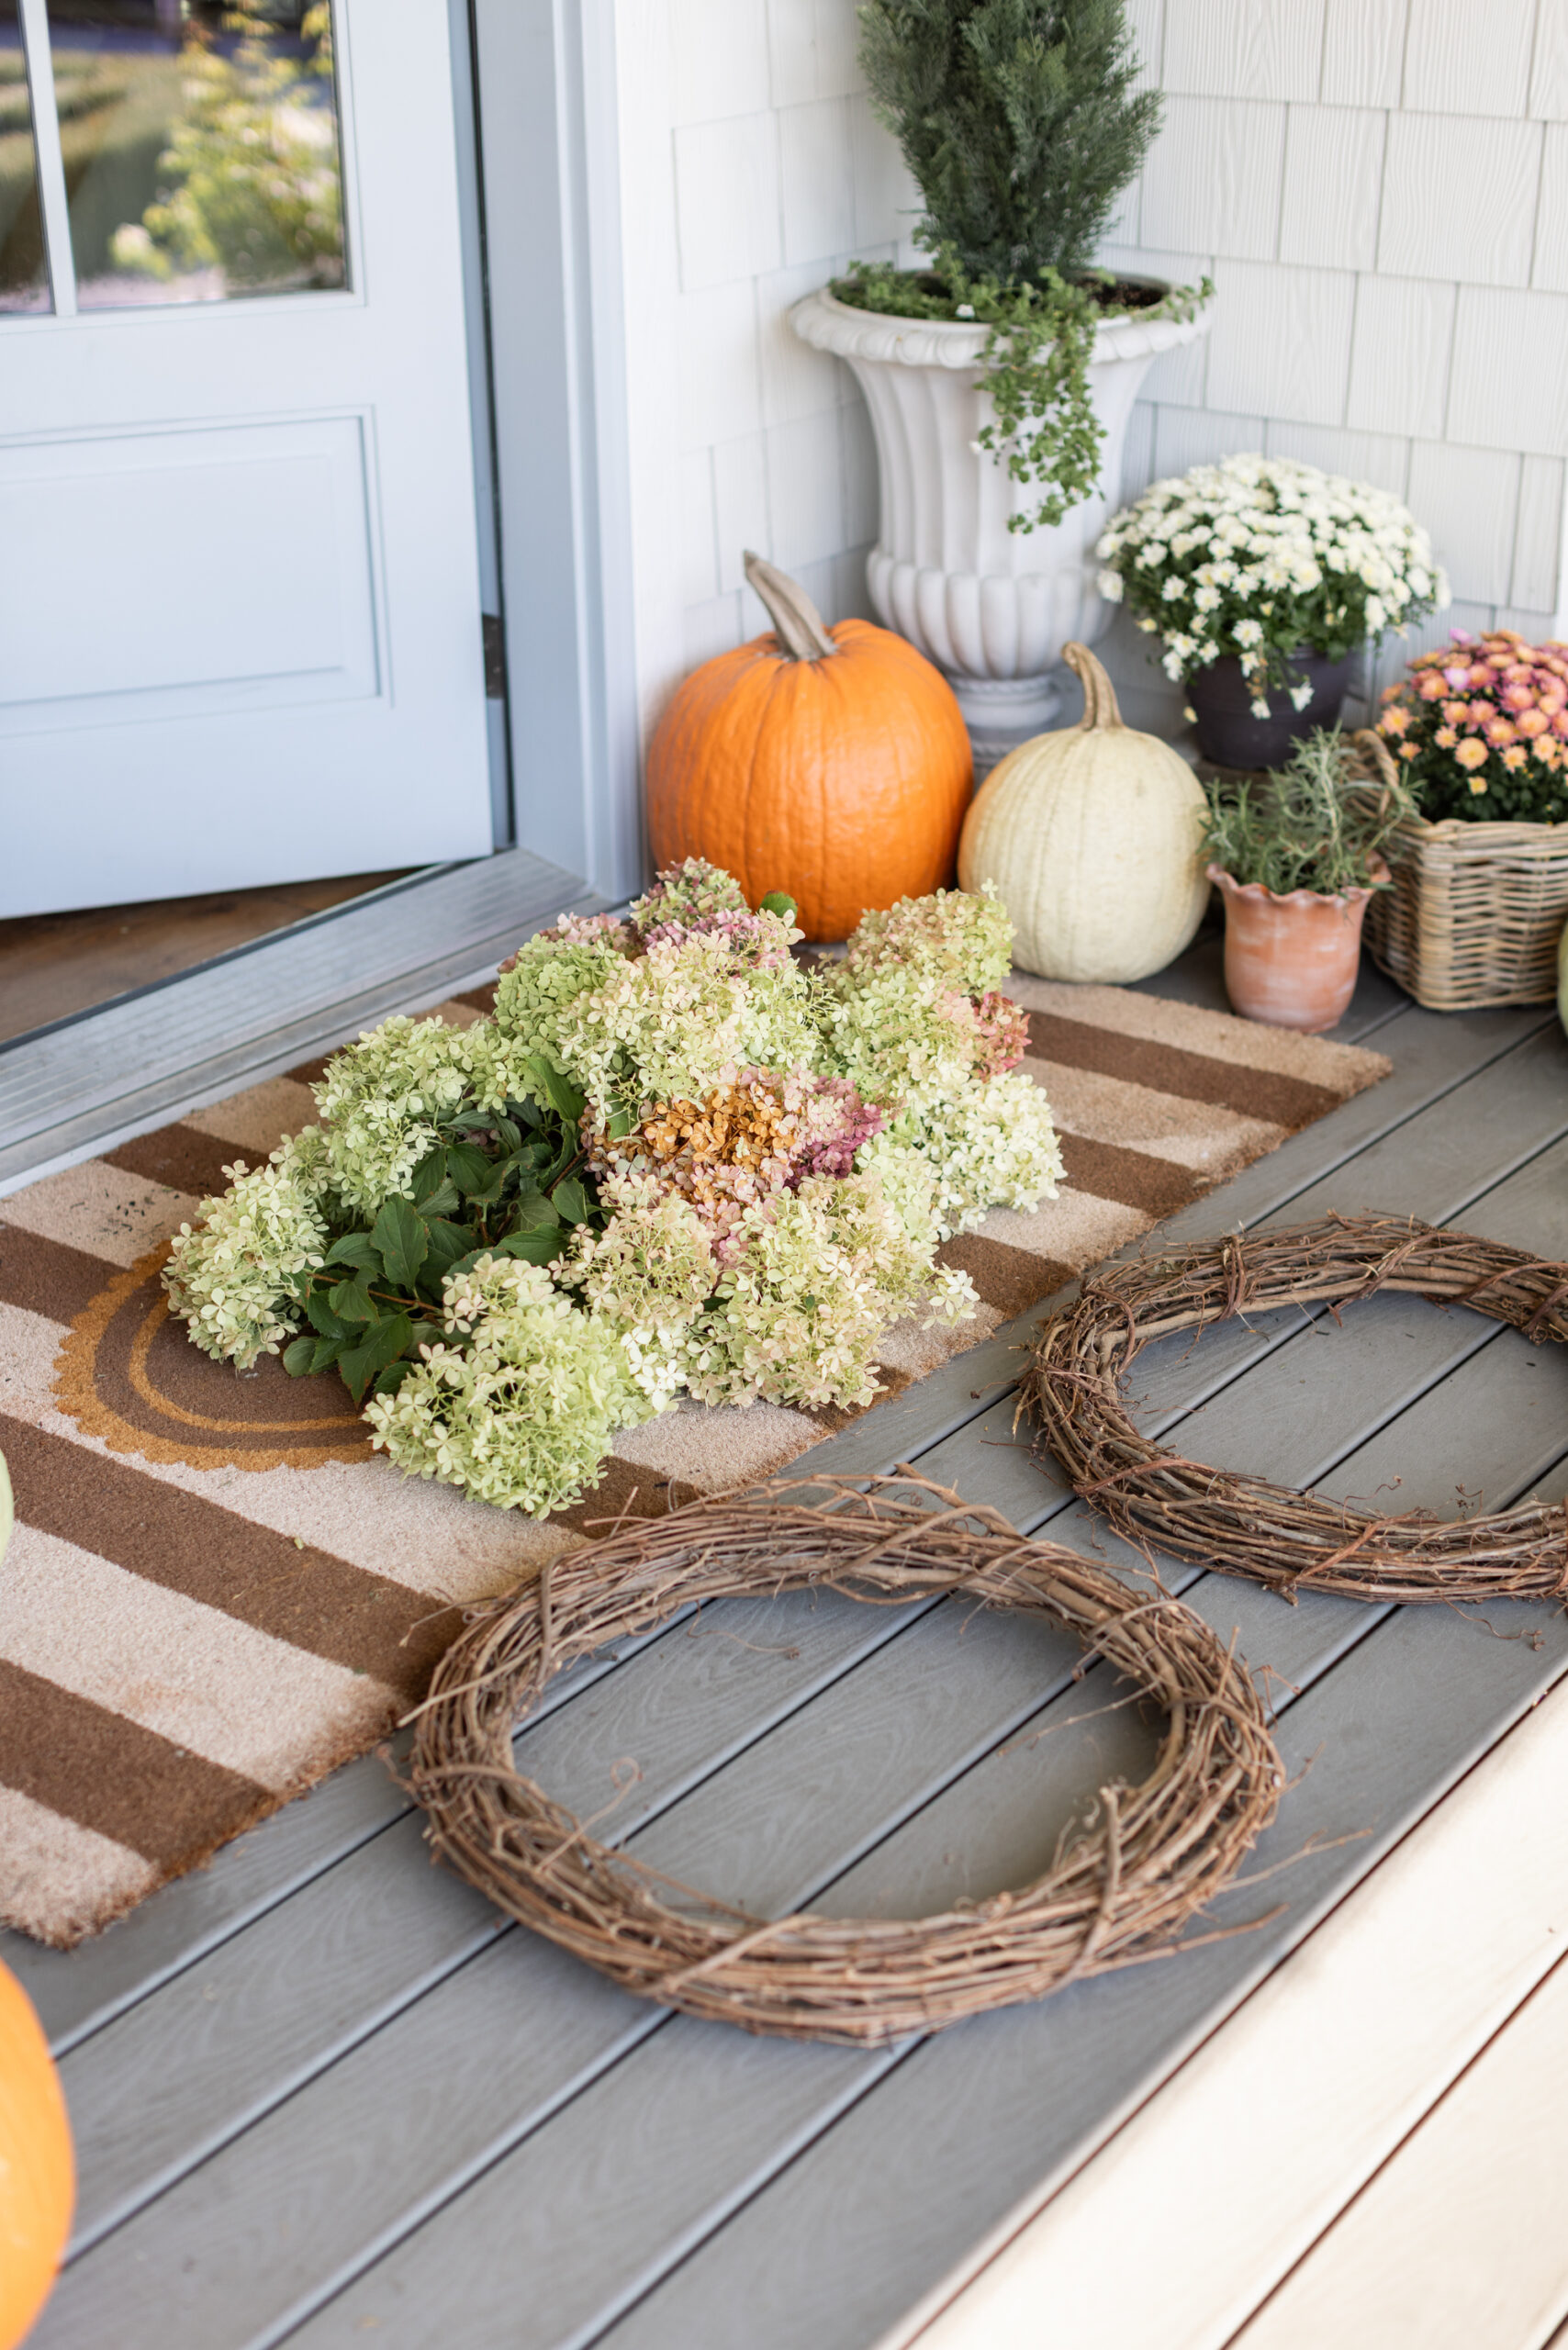
First things first, you’re going to want to assemble your materials. Here’s what you’ll need:
- LOTS of Hydrangeas (with a long stem, about 12″, you’ll cut this afterwards)
- A grapevine wreath
- Scissors/pruners
- Hairspray
Once you have your supplies, here’s how to assemble your wreaths:
- Prep your blooms. Trim the stems long and remove any leaves— this makes them easier to work with. Don’t worry about perfection, you can always adjust!
- Insert the hydrangeas. Tuck one bloom at a time into the wreath frame. Poke each stem through the wreath and place them close together so the wreath looks lush and full.
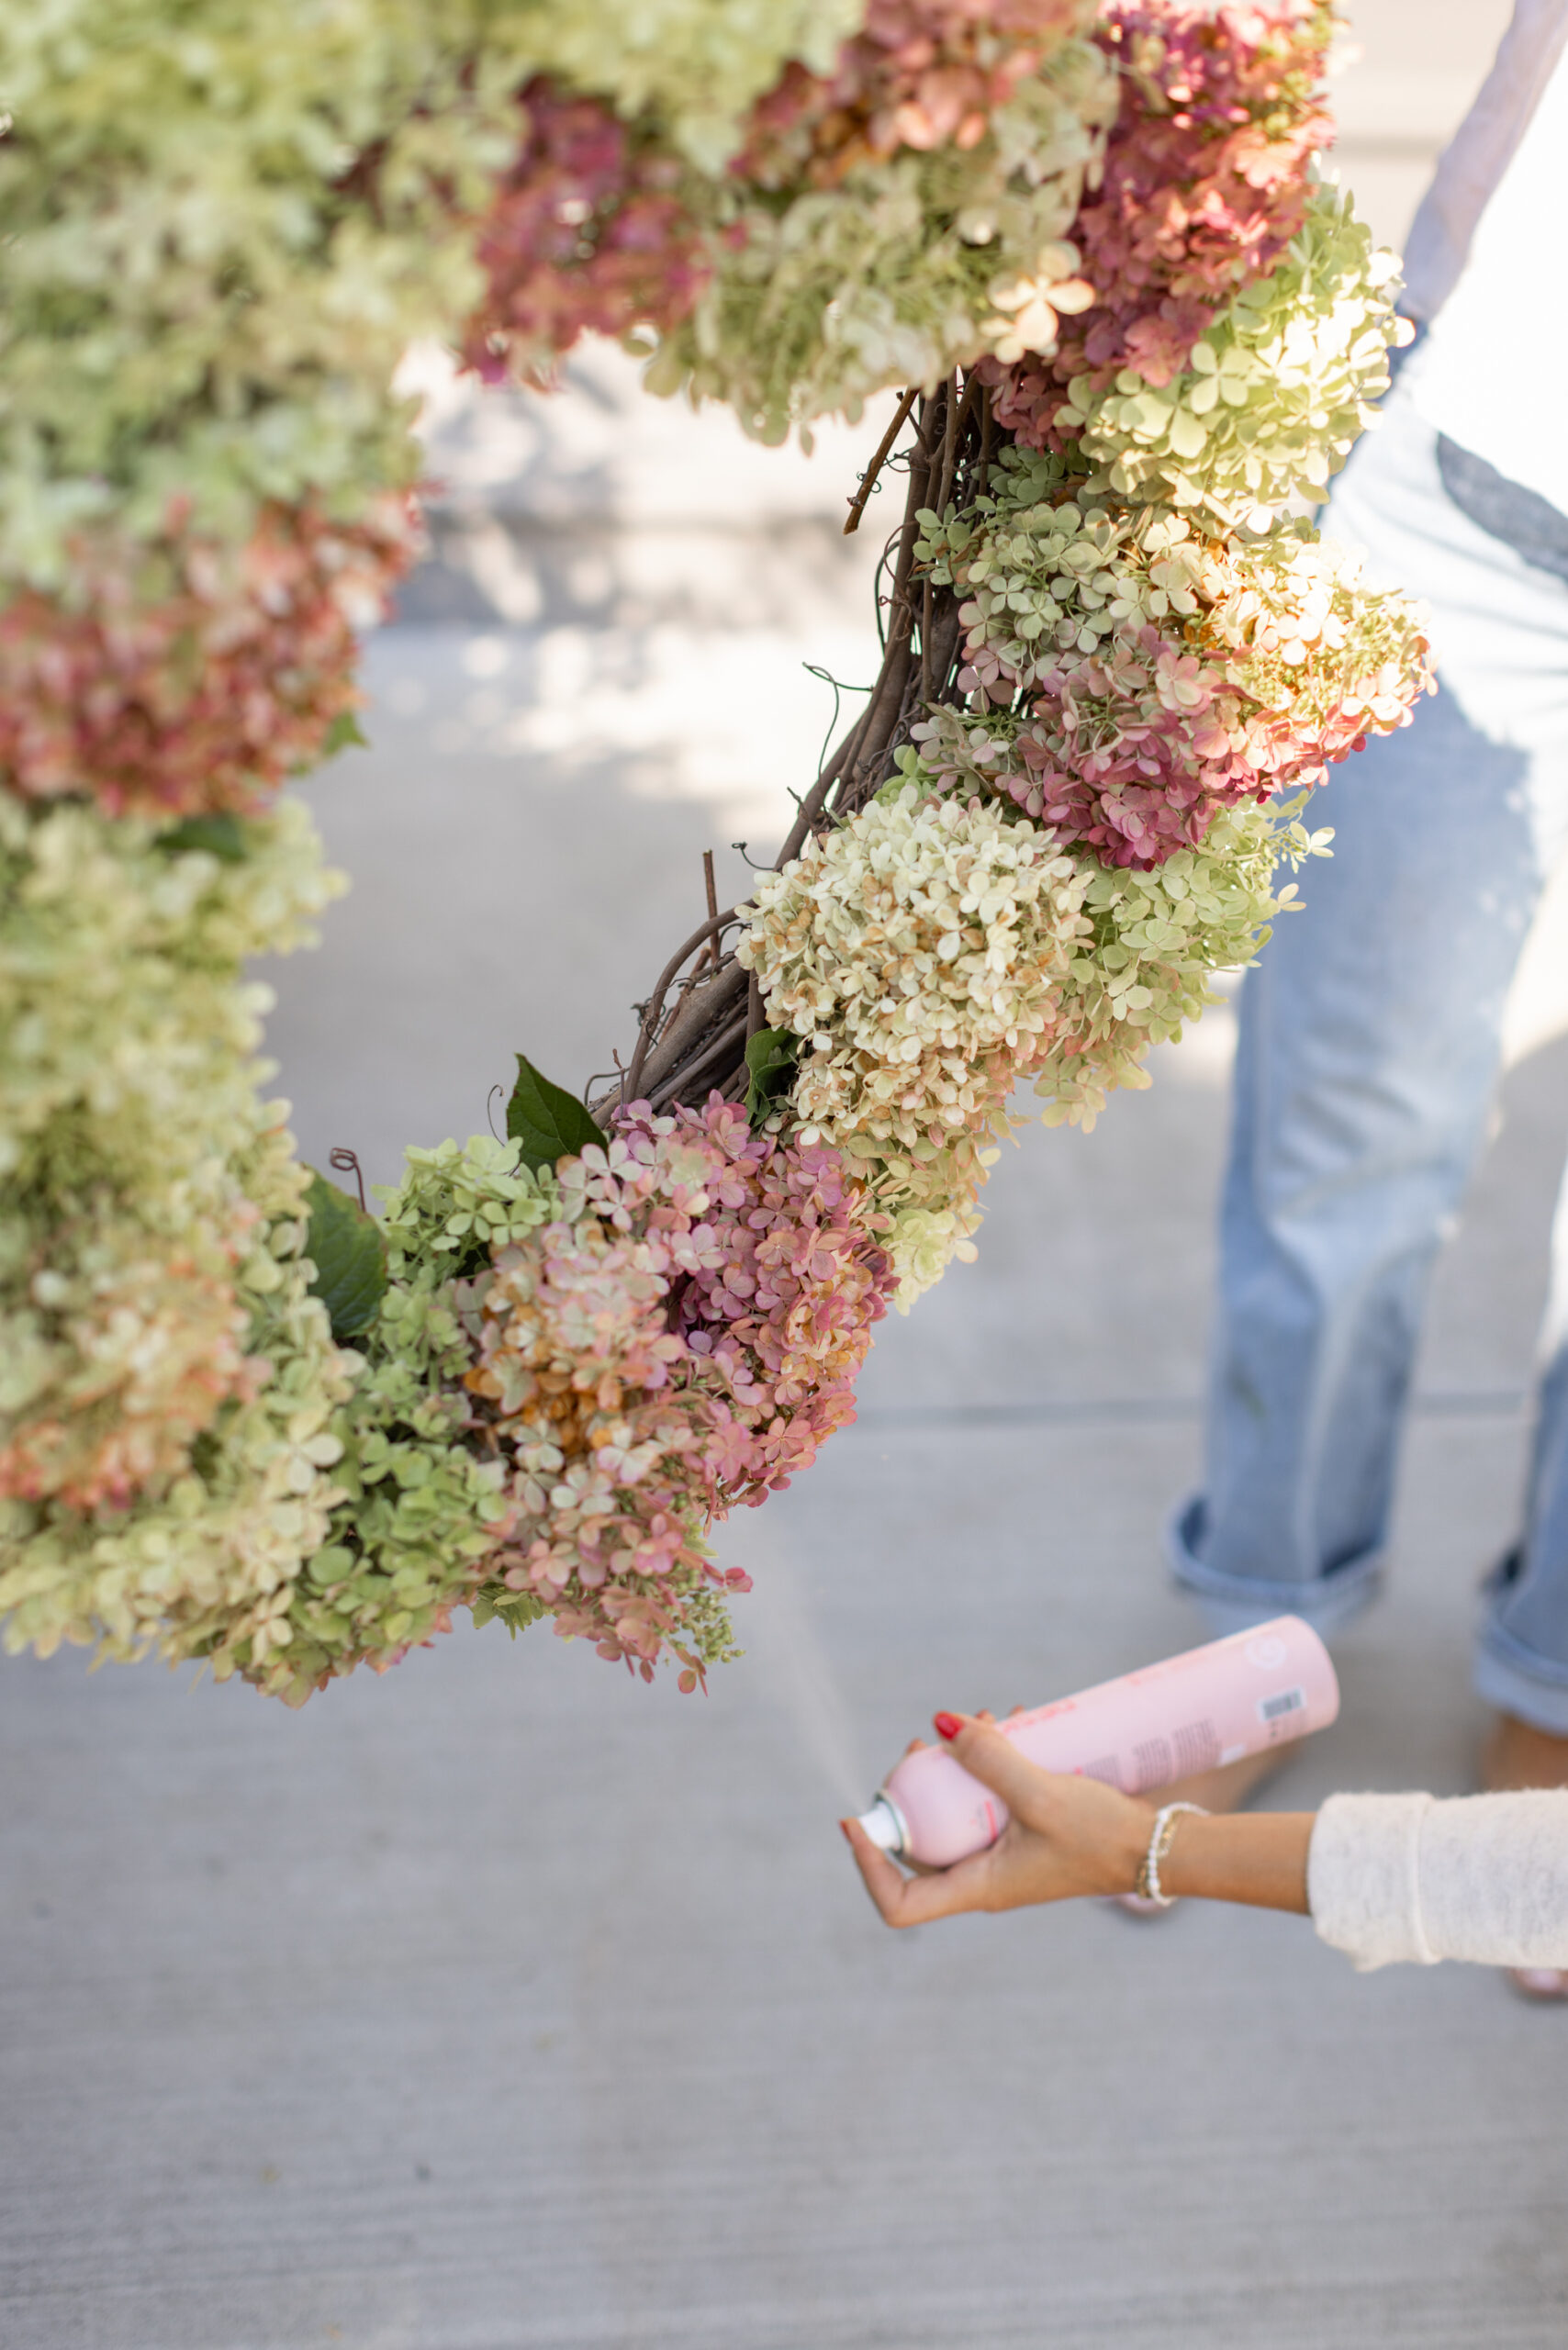
- Use hairspray to set everything in place. Once you’re happy with how full it looks and everything’s secure, give it a thorough mist of hairspray. This helps hold petals and keep everything from shedding.

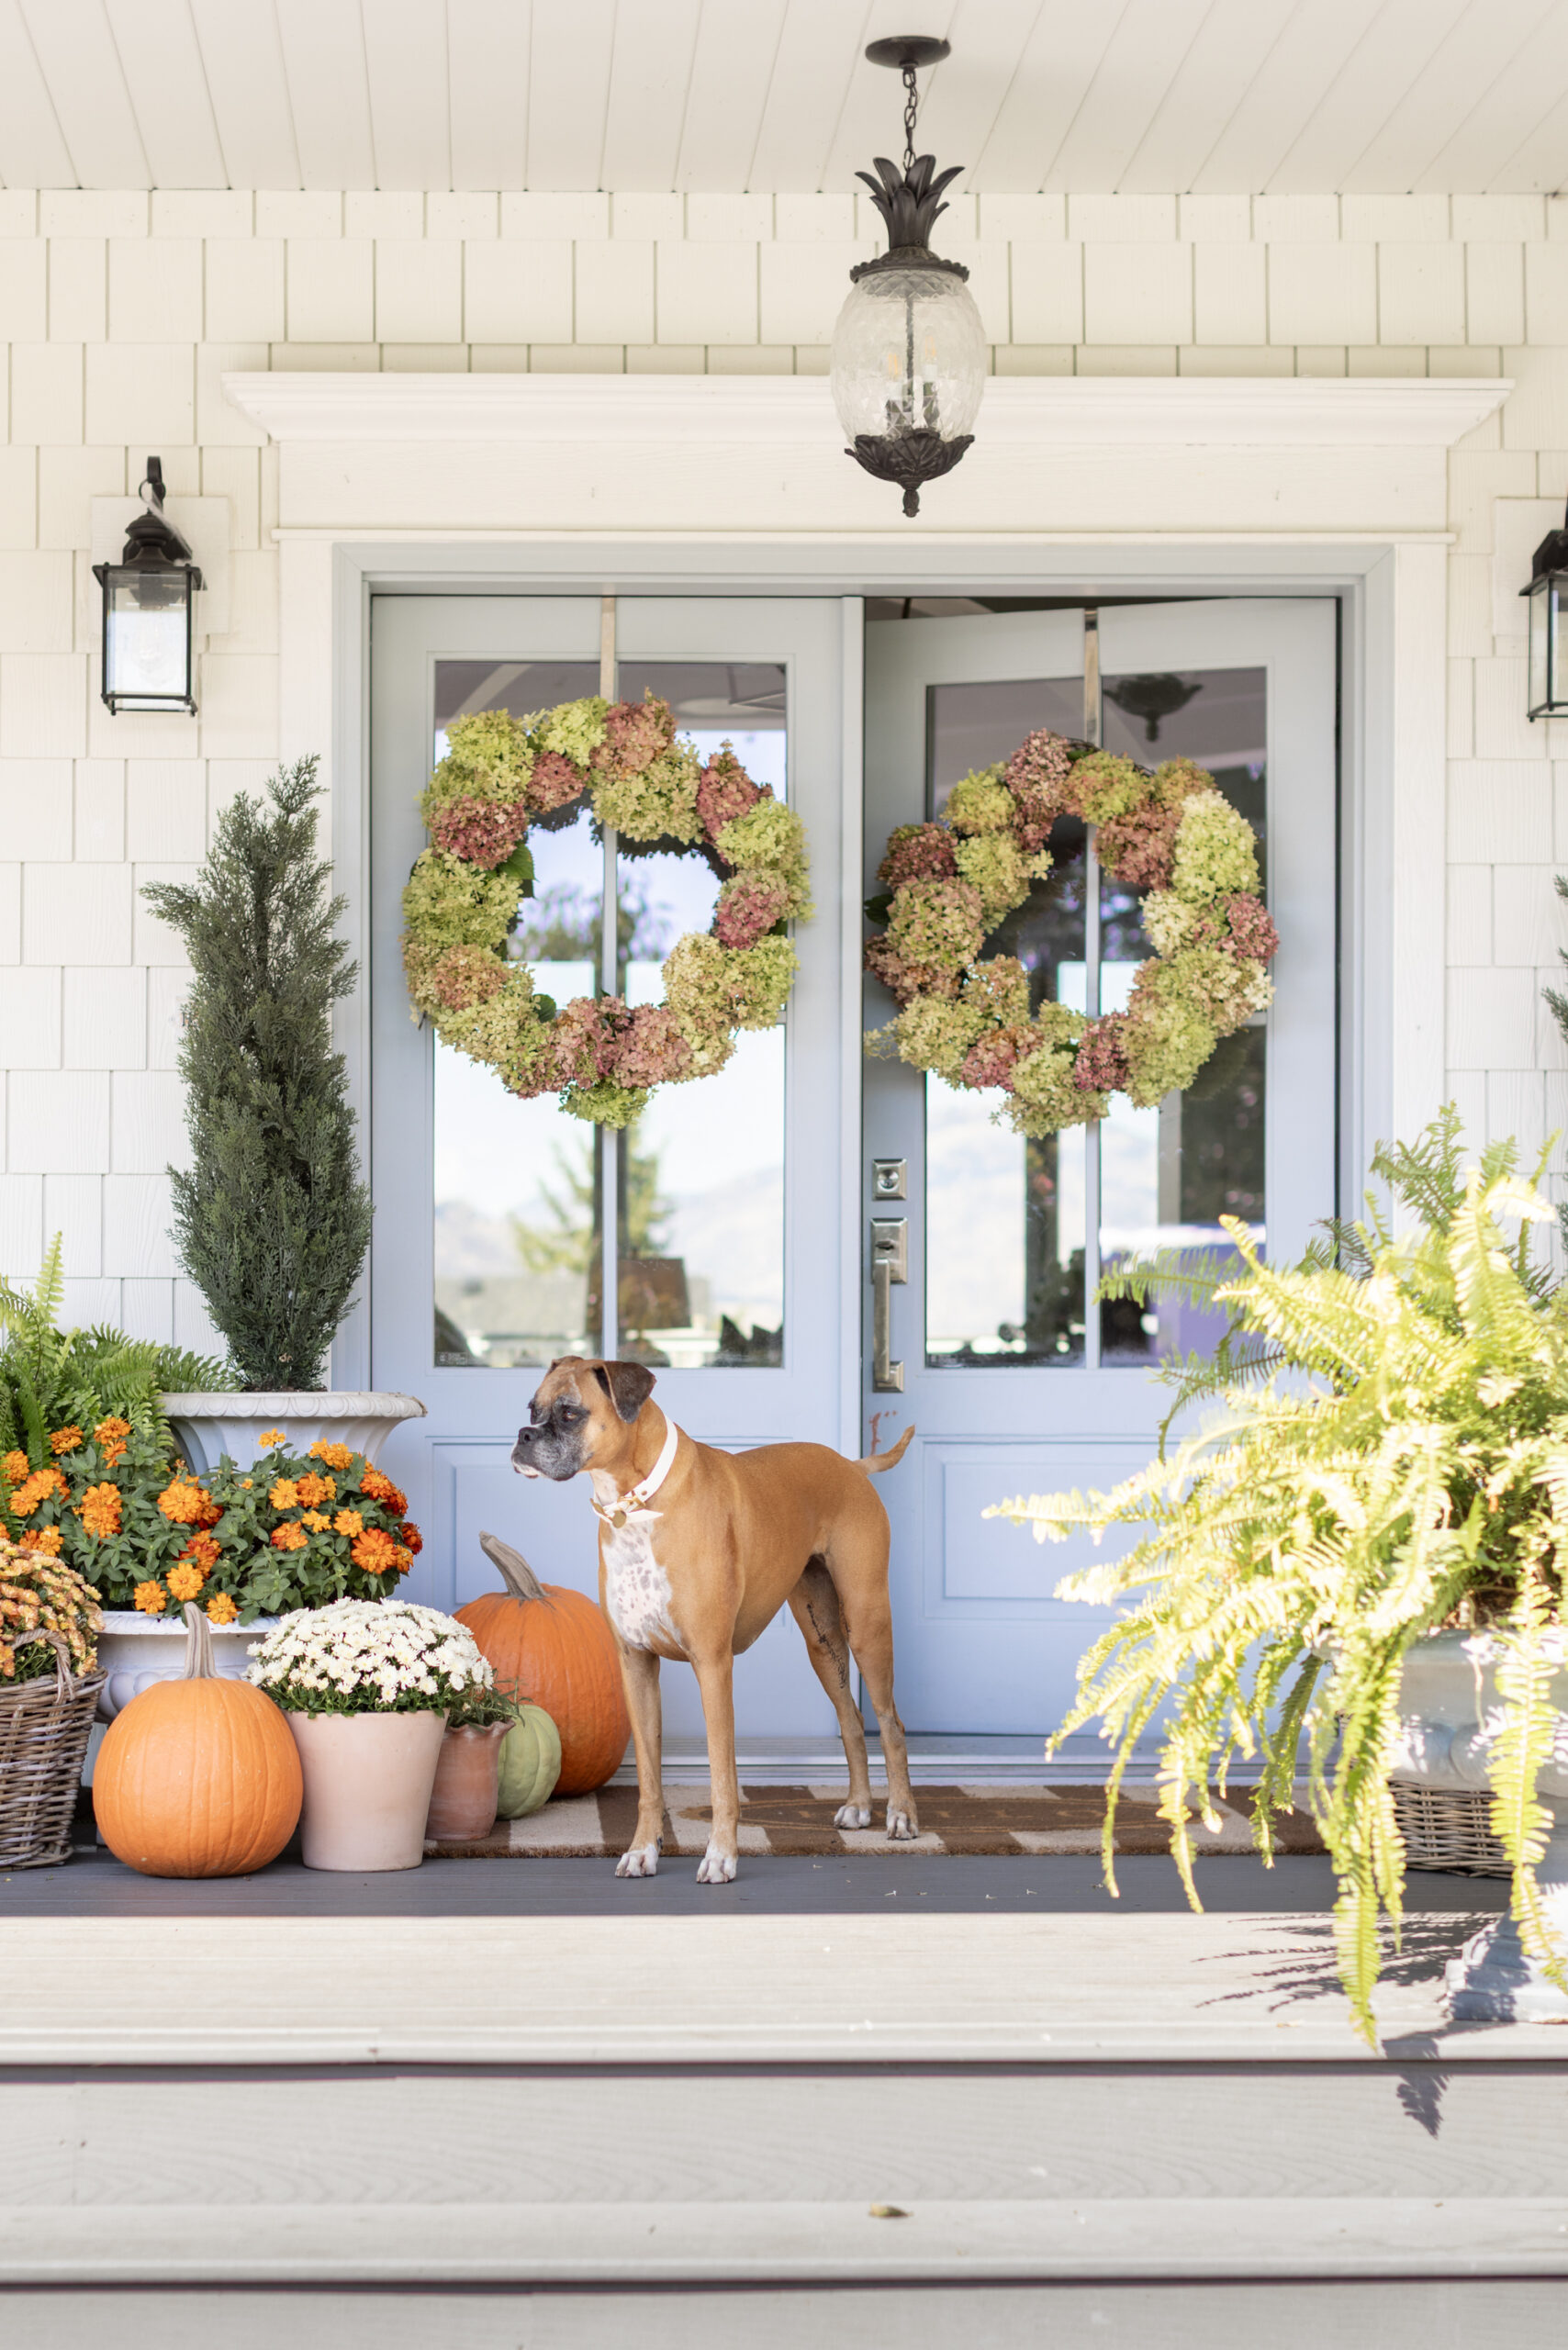
That’s it! I couldn’t believe how easy this DIY was… and it turned out so cute!
All in all, I hope this inspires you to give the Hydrangeas in your garden a second life this fall!
xo,
Jilly