Ever since we first moved into our home we knew that one day we wanted to build a play zone for the kids but we weren’t exactly sure where we wanted to put it and ultimately, we wanted to wait until Leo was old enough to enjoy it (the time has finally come!). Yes, even though we have one full acre of property, the location of the play zone proved to be a difficult decision to make. I’m sure MANY of you know about Justin’s obsession with our grass … (if you don’t just check out his Instagram and you’ll know what I mean! LOL!). To be fair, he works so hard to keep our grass in such great condition (with two Boxers constantly challenging him on this!) so we knew we didn’t want to just plop a playhouse down just anywhere in the yard considering it would be such a high traffic area for both the dogs and the kids …. not to mention, it would be difficult to mow around the area unless you did it by hand.
After Justin and I chatted about it some more, we decided that we wanted to have the playhouse tucked away on the side of the house to act as a designated area for the kiddos. In fact, we just so happen to have a cement pad on the one side of our home which would have been used previously as RV parking (yes, we are kicking ourselves over this now that we have an RV! LOL!). Anyway, we decided this would be the best spot for the playzone! Then the planning begun …
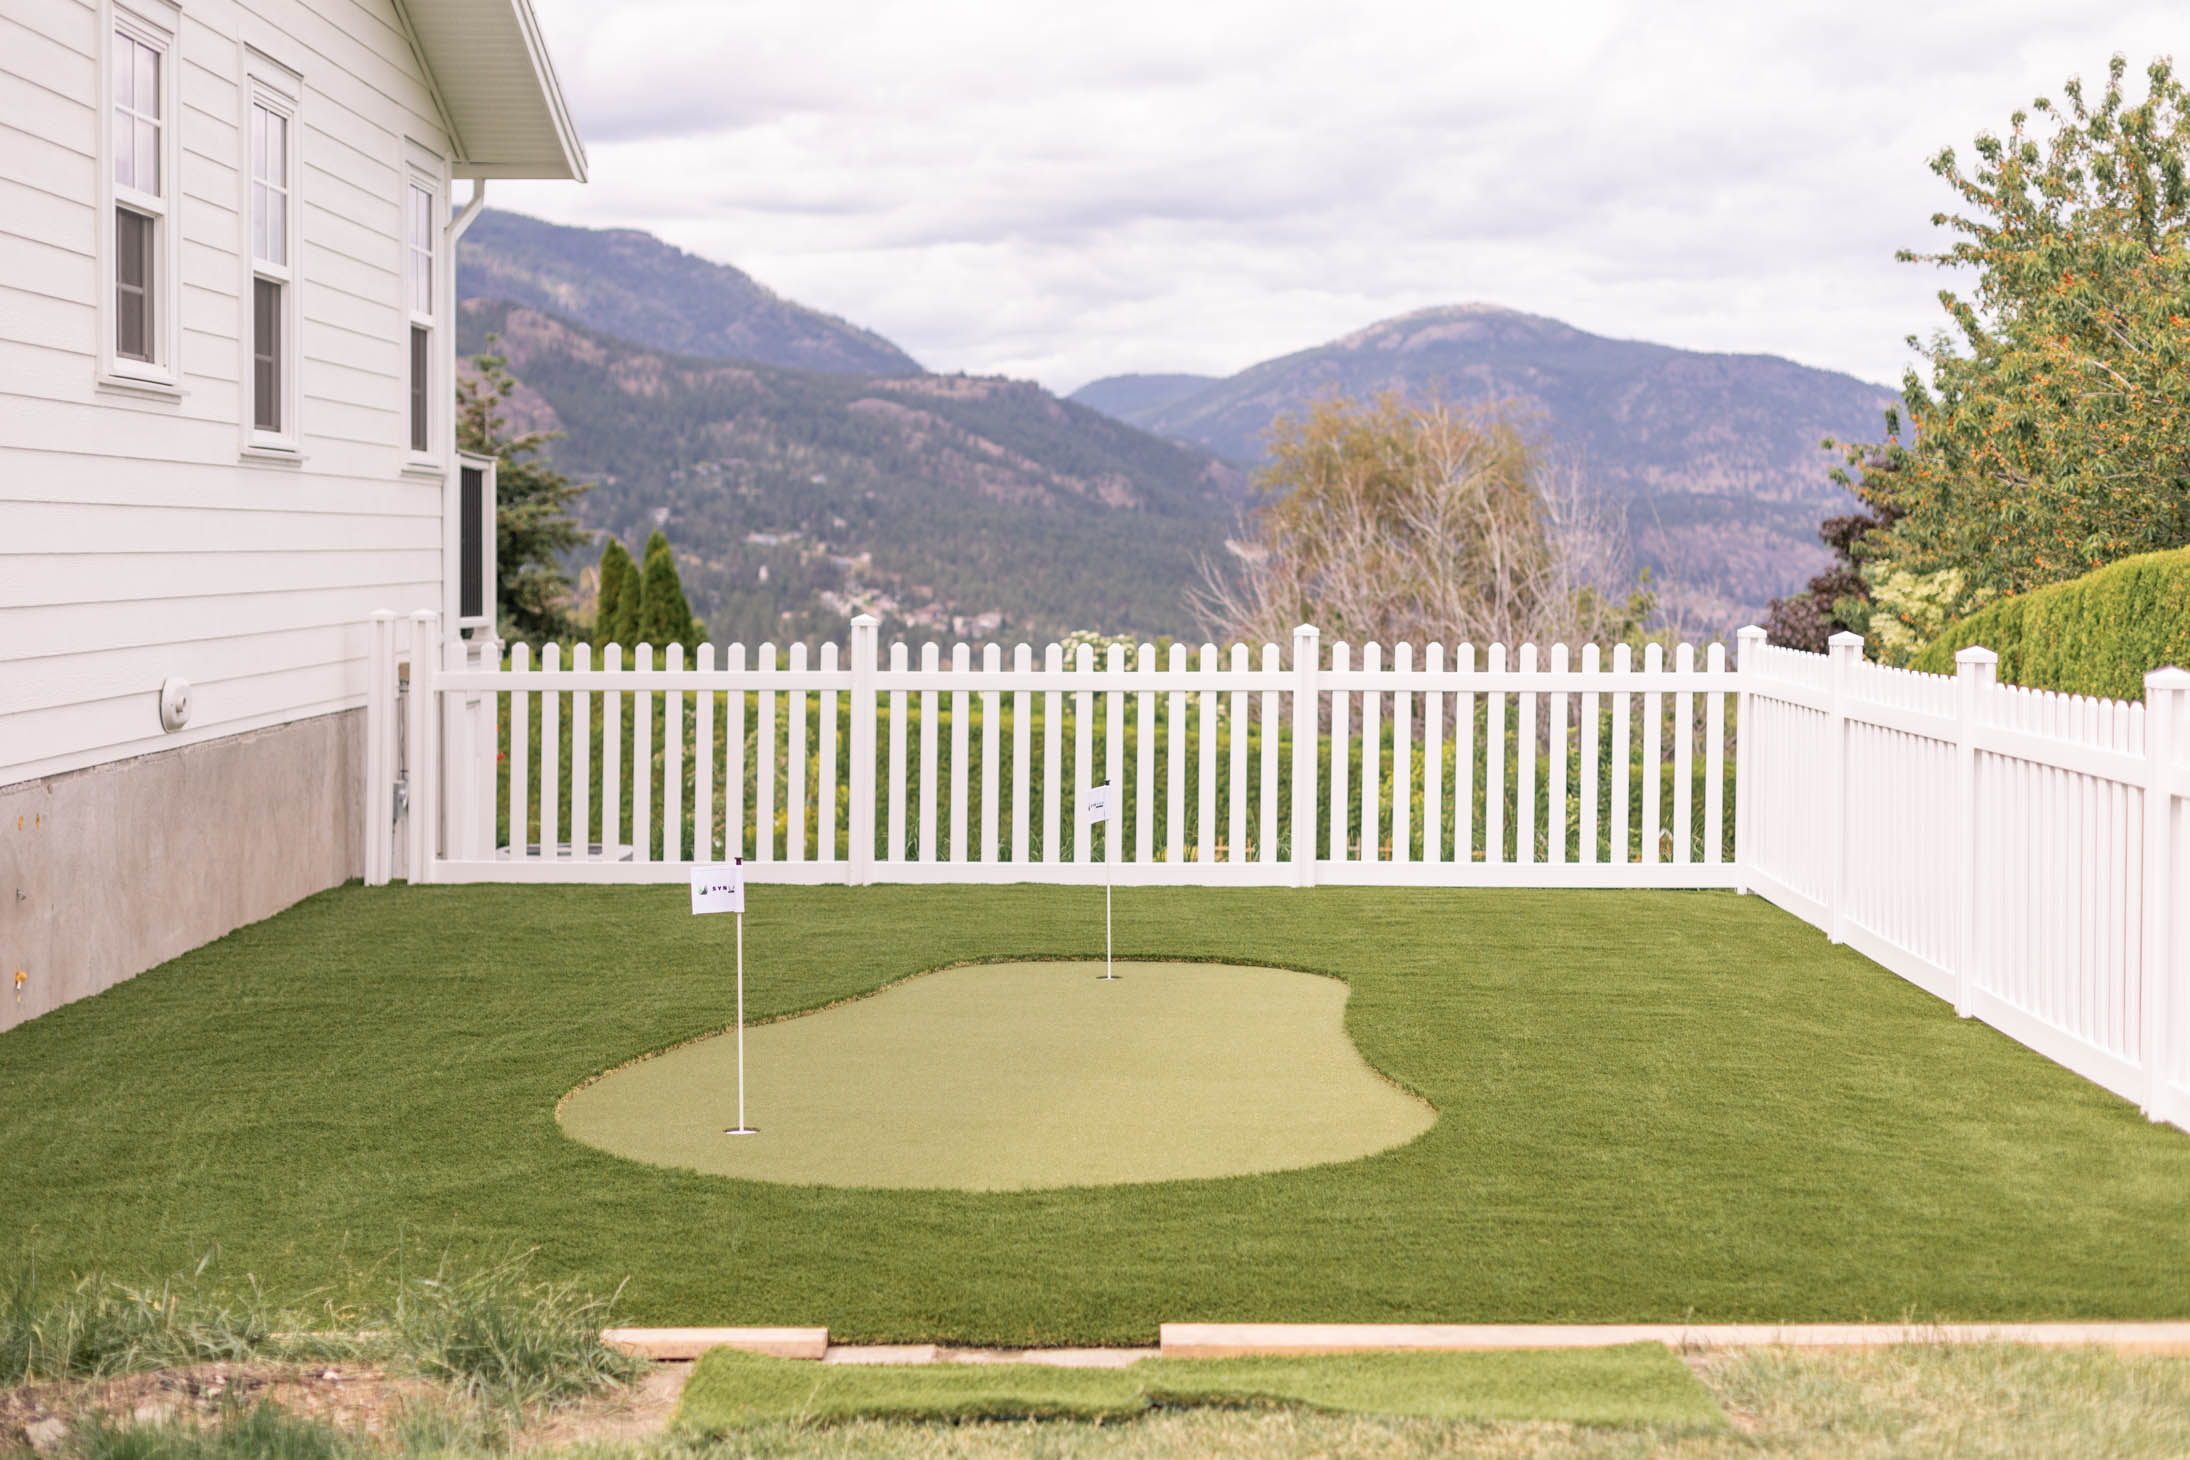
As you’ll notice in the photo below there was a ledge on the pad where we wanted to put the play area so in order to prevent any injuries from falling off of here, I wanted to add a picket fence around this portion of the space. While I was SUPER determined to have a wood fence here my dad talked me out of it by reminding me just how much upkeep this would take throughout the years. He did a little bit of research and found Wambam Traditional white picket vinyl fencing from Home Depot which we ended up going with and I couldn’t be more happy with how it turned out! Classic, cute, easy to put together, and zero maintenance! LOL!
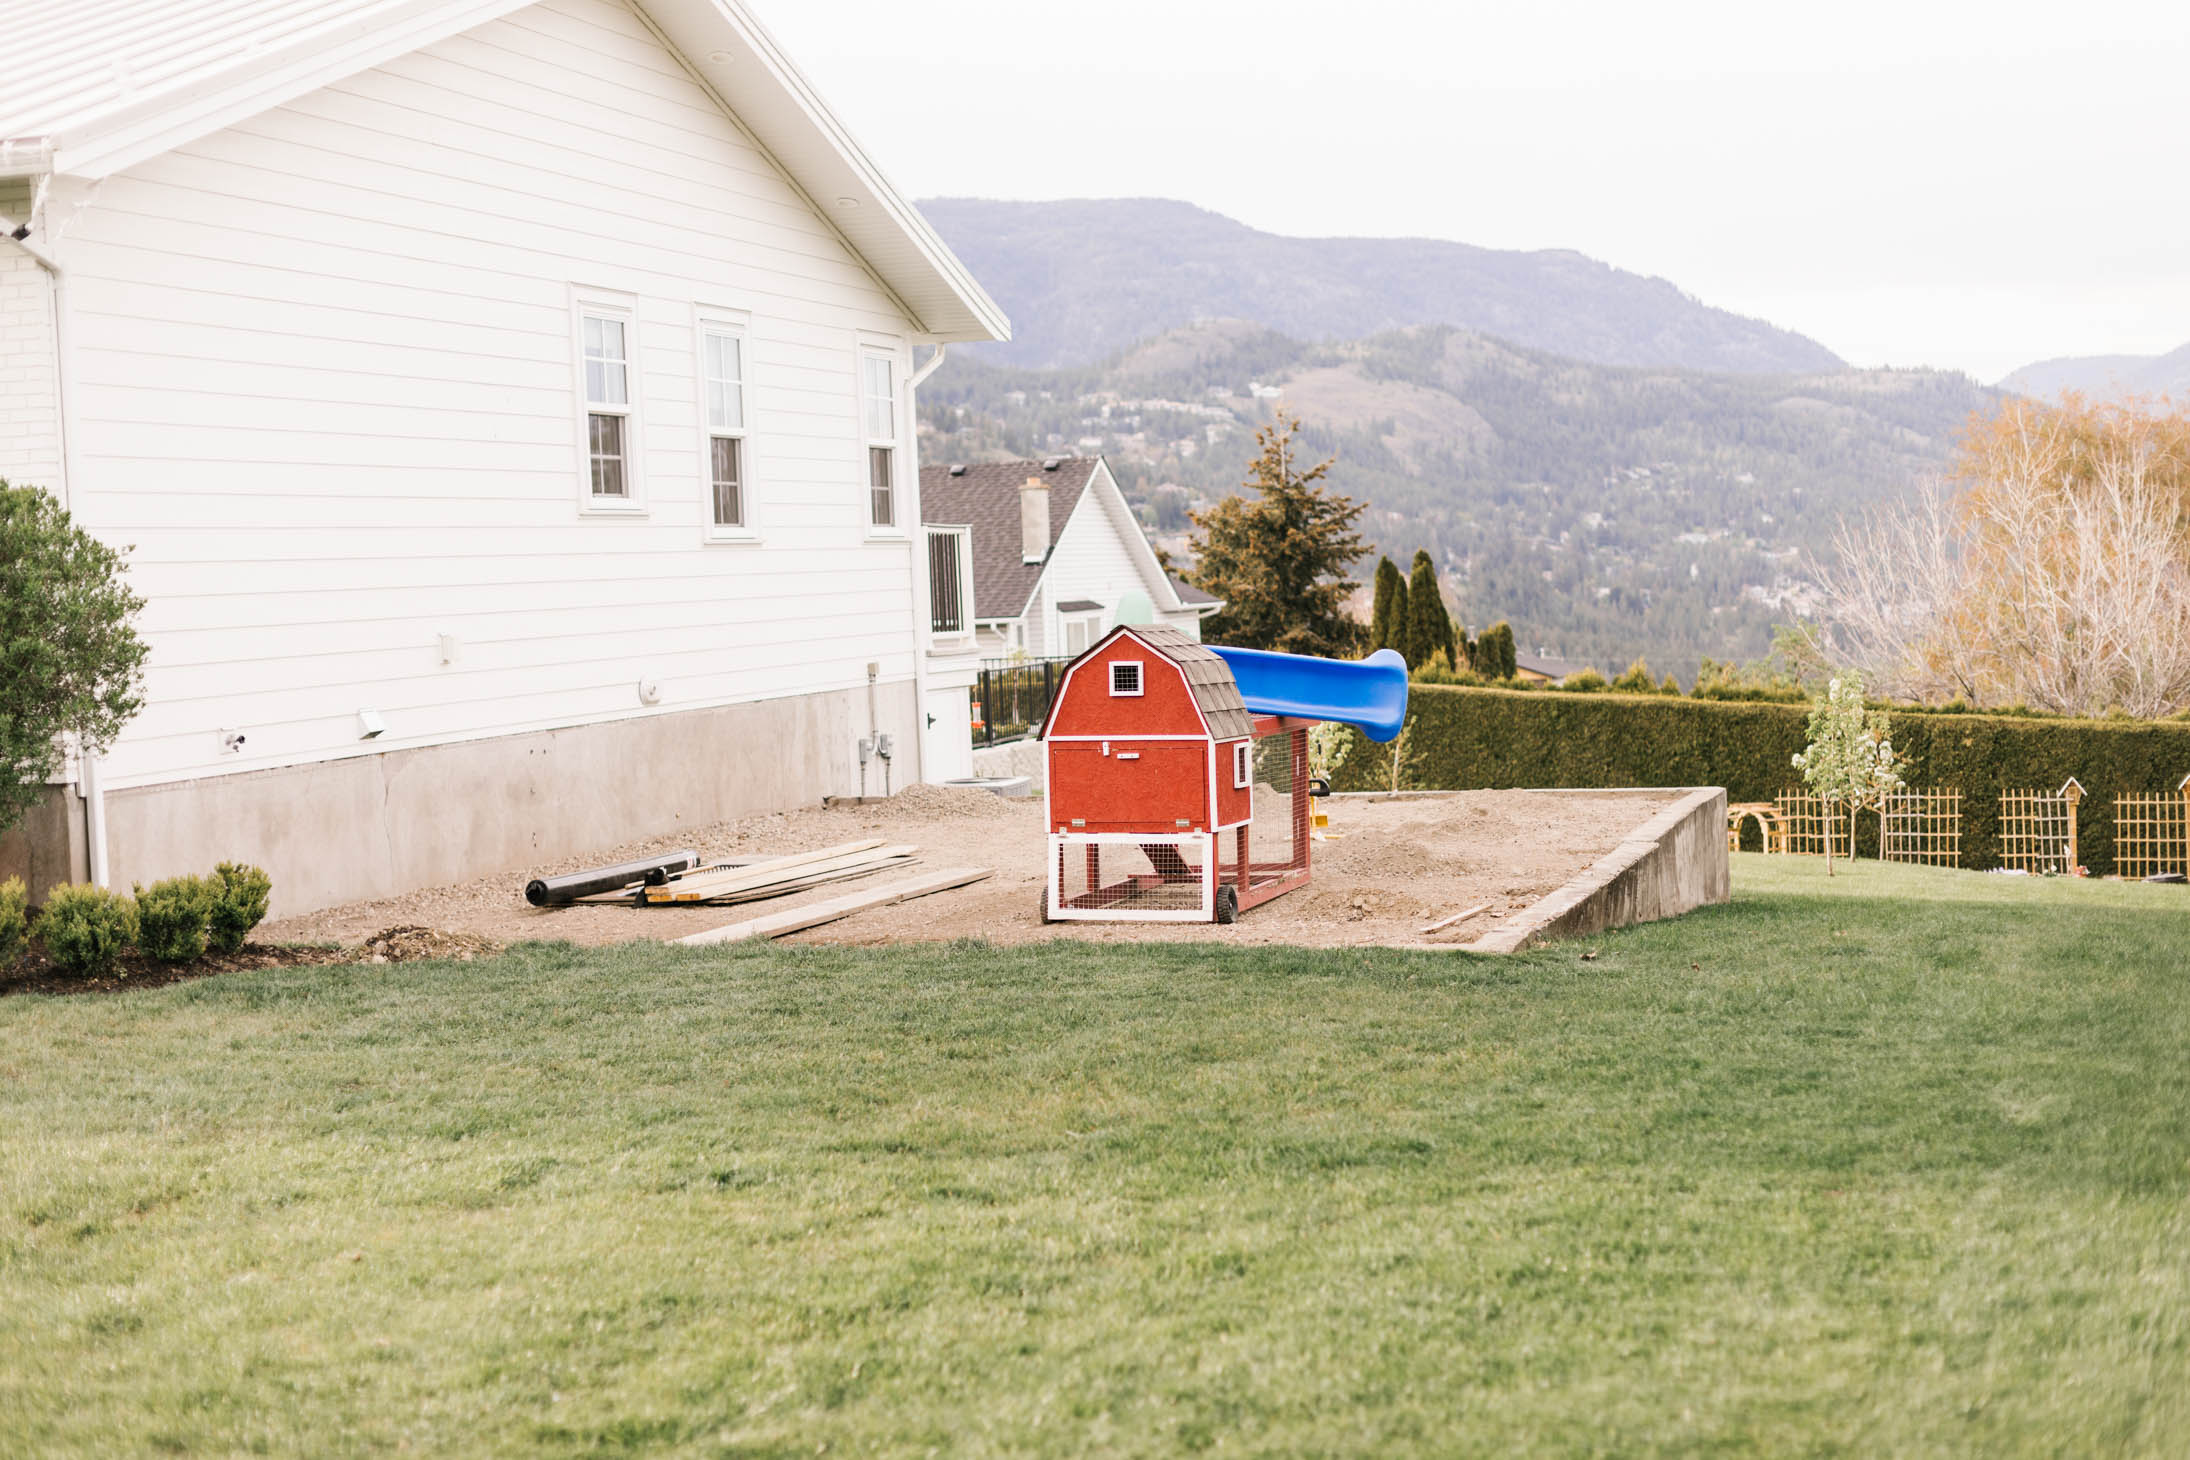
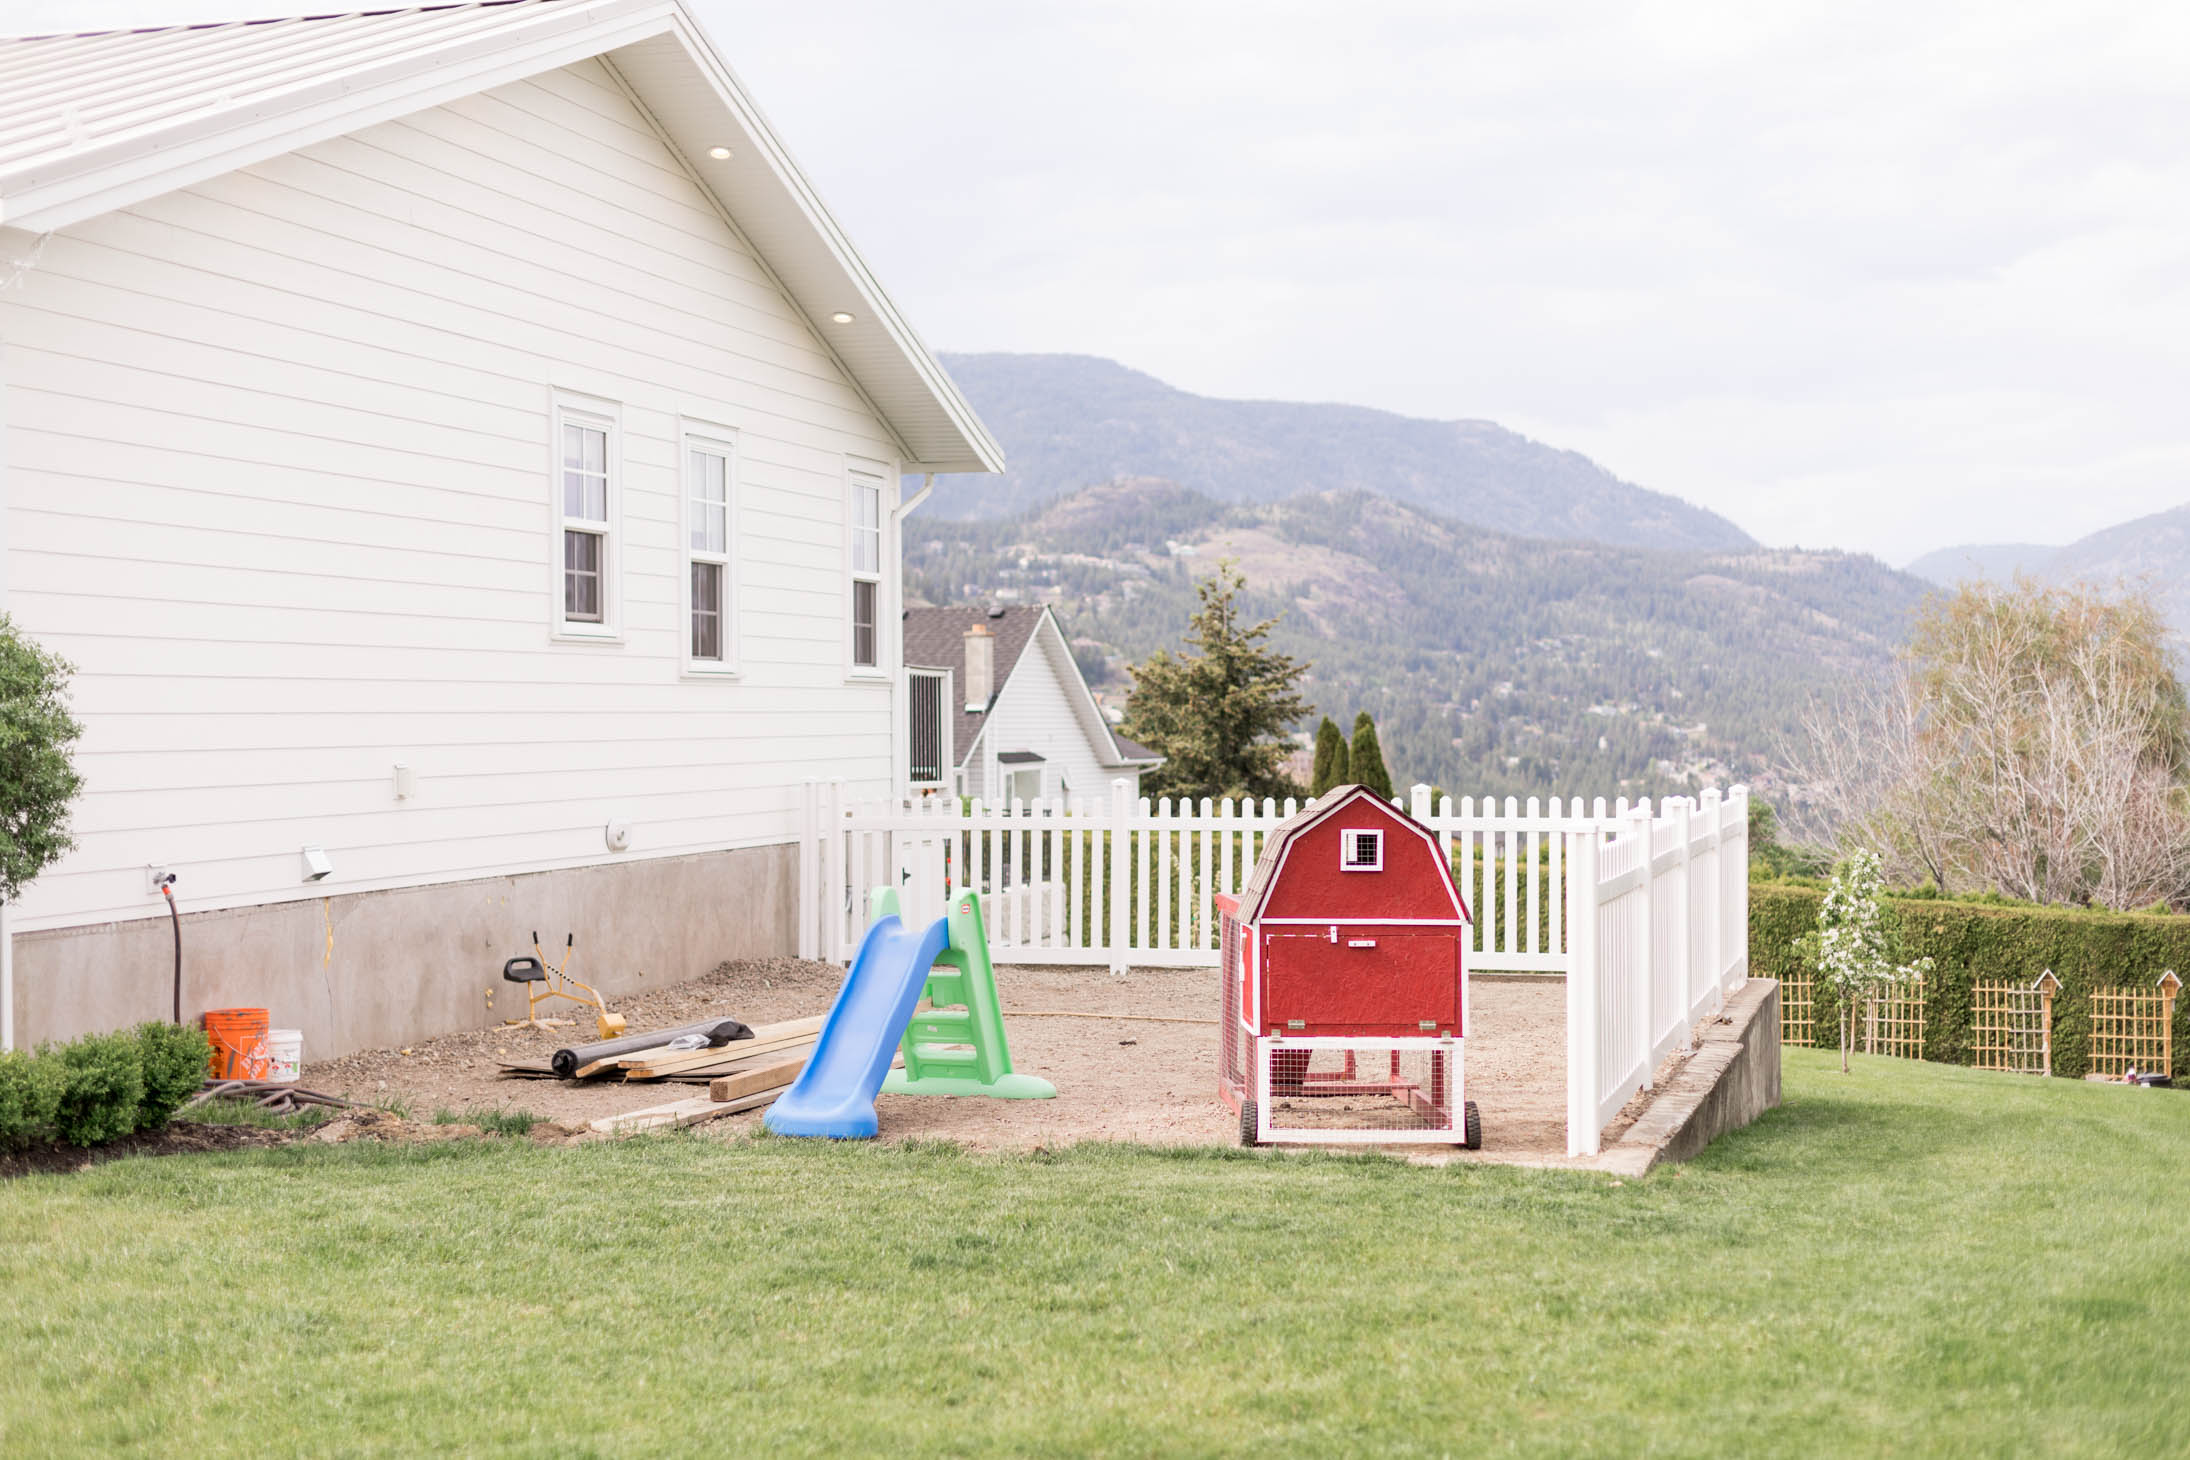
Now that we had the location and the fence figured out, next up was to make the decision of what this area was going to look like starting with the ground covering! My first thought was to cover the entire area with pea gravel but ultimately decided against this as so many people warned me about it how dirty it is and how most kids love to throw the gravel onto the lawn … and we know how well that would go over here! 😂So, that option was quickly axed … even though I feel like Leo would have LOVED to play in this!! Then we toyed around with the idea of planting sod but realized we wanted something that was low maintenance. That’s when we thought of covering it in SYNlawn!!
We had SYNlawn in the backyard of our last home and loved it but it wasn’t the best fit there as it was Nacho’s only place to go to the bathroom! Now that we have an entire yard for him and Peaches to run around and do their business we knew that SYNlawn was going to be the best bet for this area since it will allow the space to be safe for the kids and stay nice and clean! We reached out to SYNlawn Okanagan and went over our options and decided to go with SYNAugustine 347! In fact, the team at SYNlawn Okanagan were even able to install a 2-hole putting green for us which not only made Leo happy … but it made Justin JUST as happy! They love spending evenings out here, practicing their putting and goofing around and it’s the BEST thing ever!
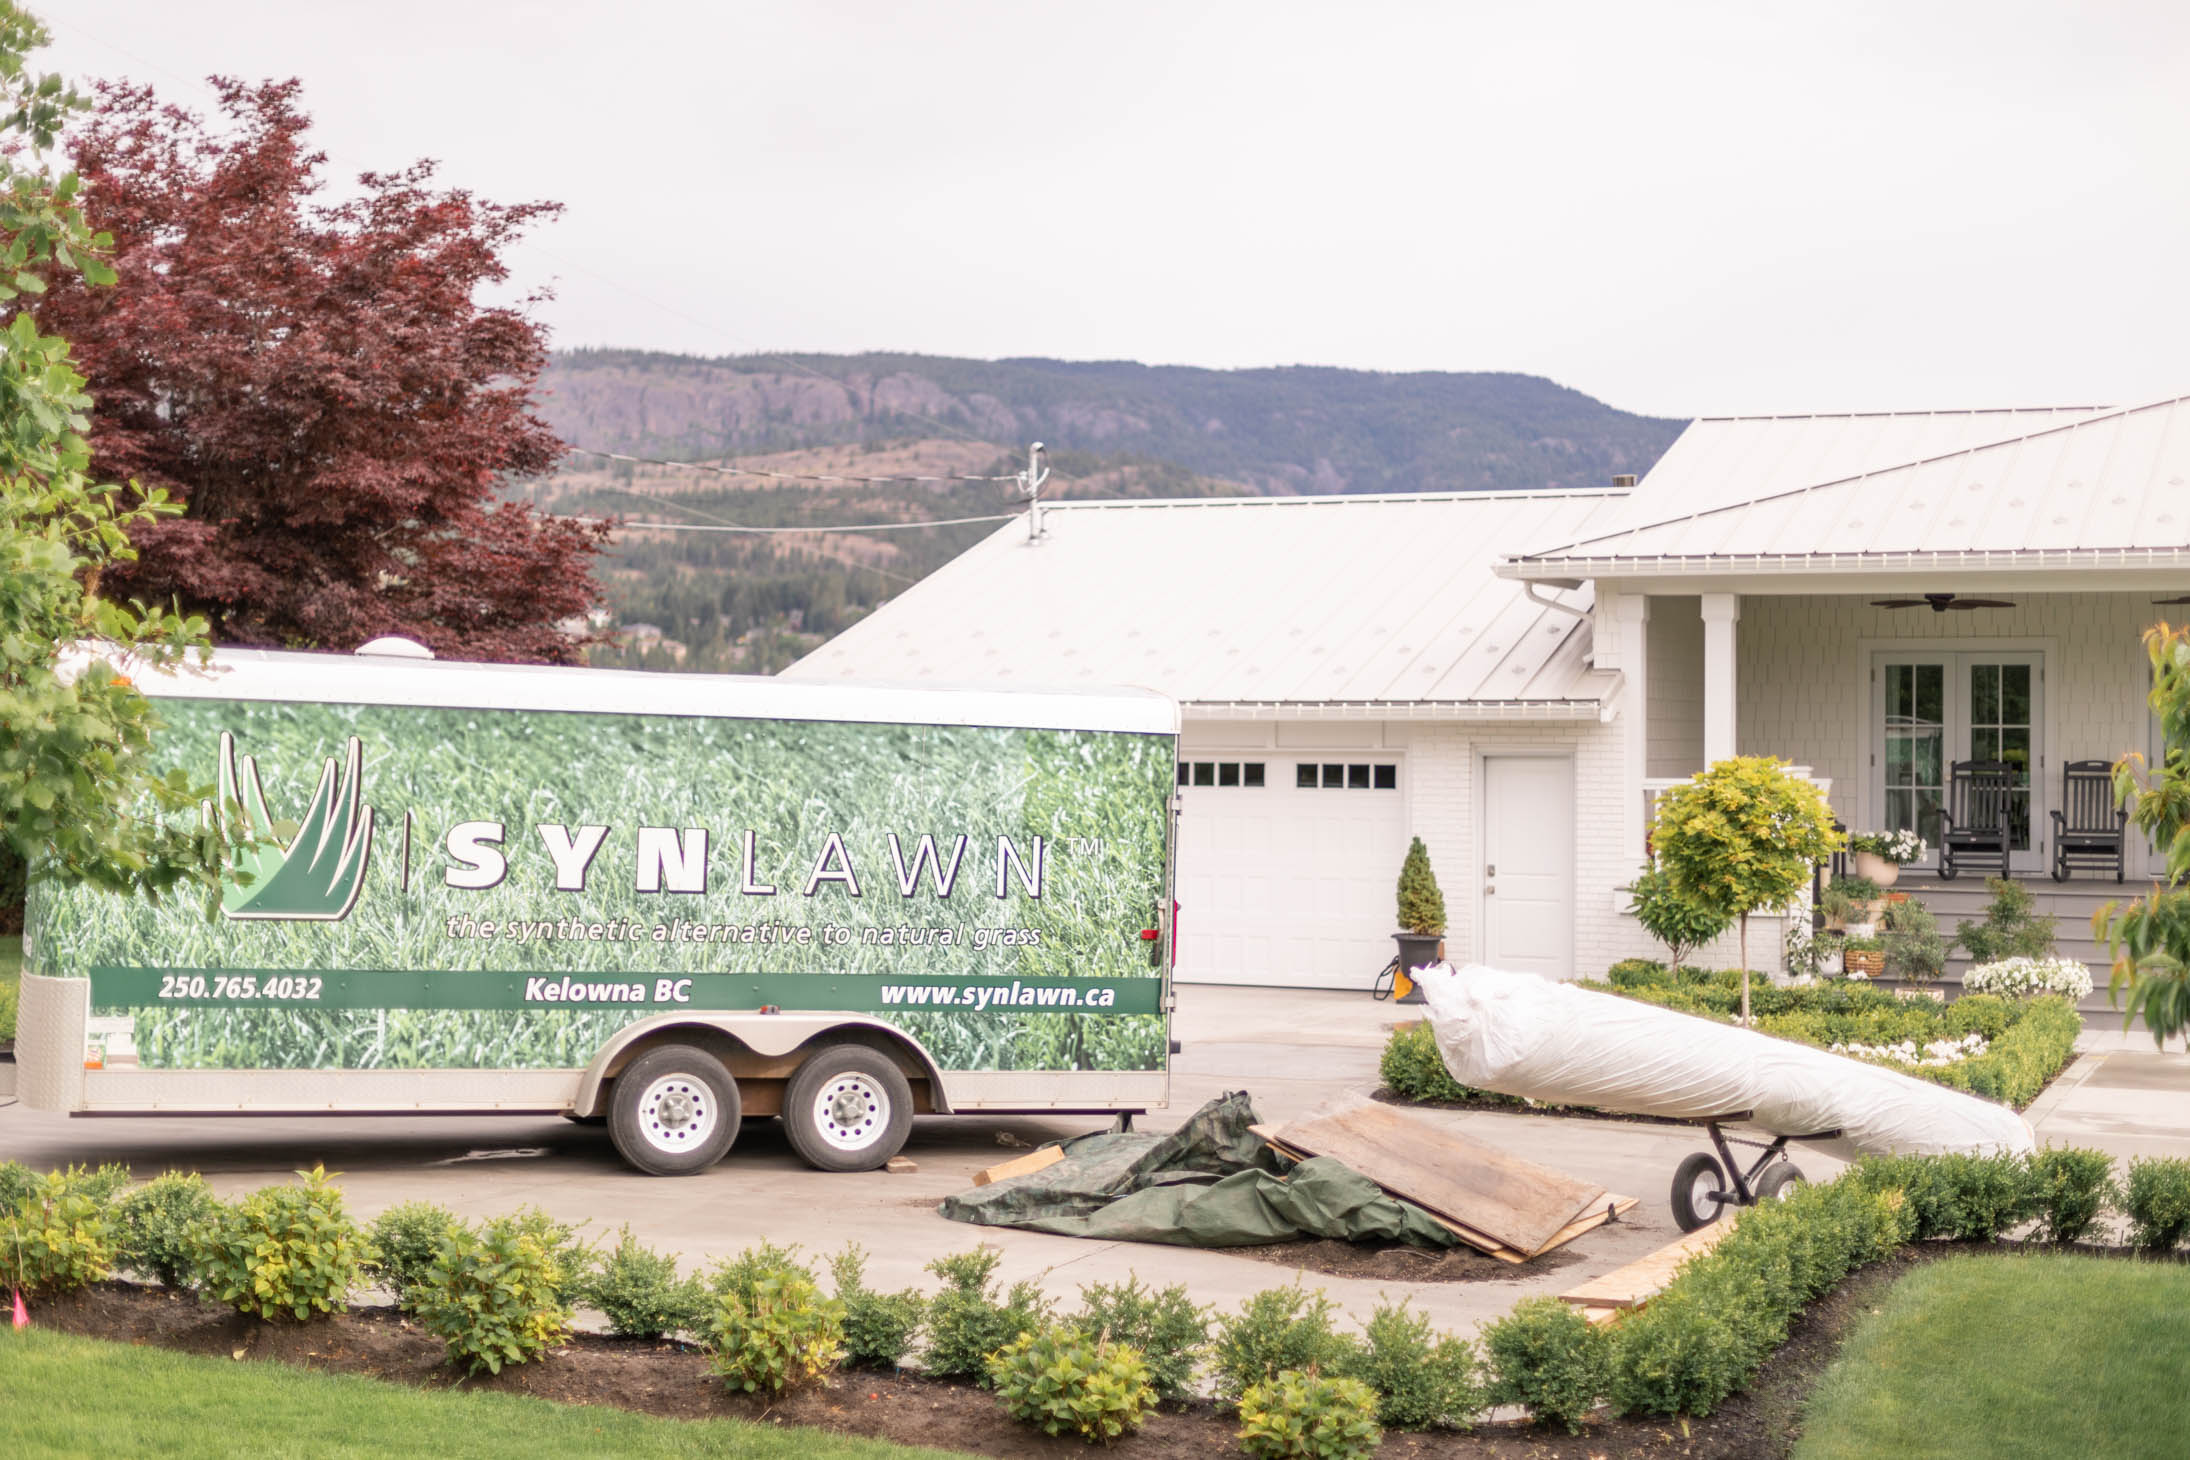
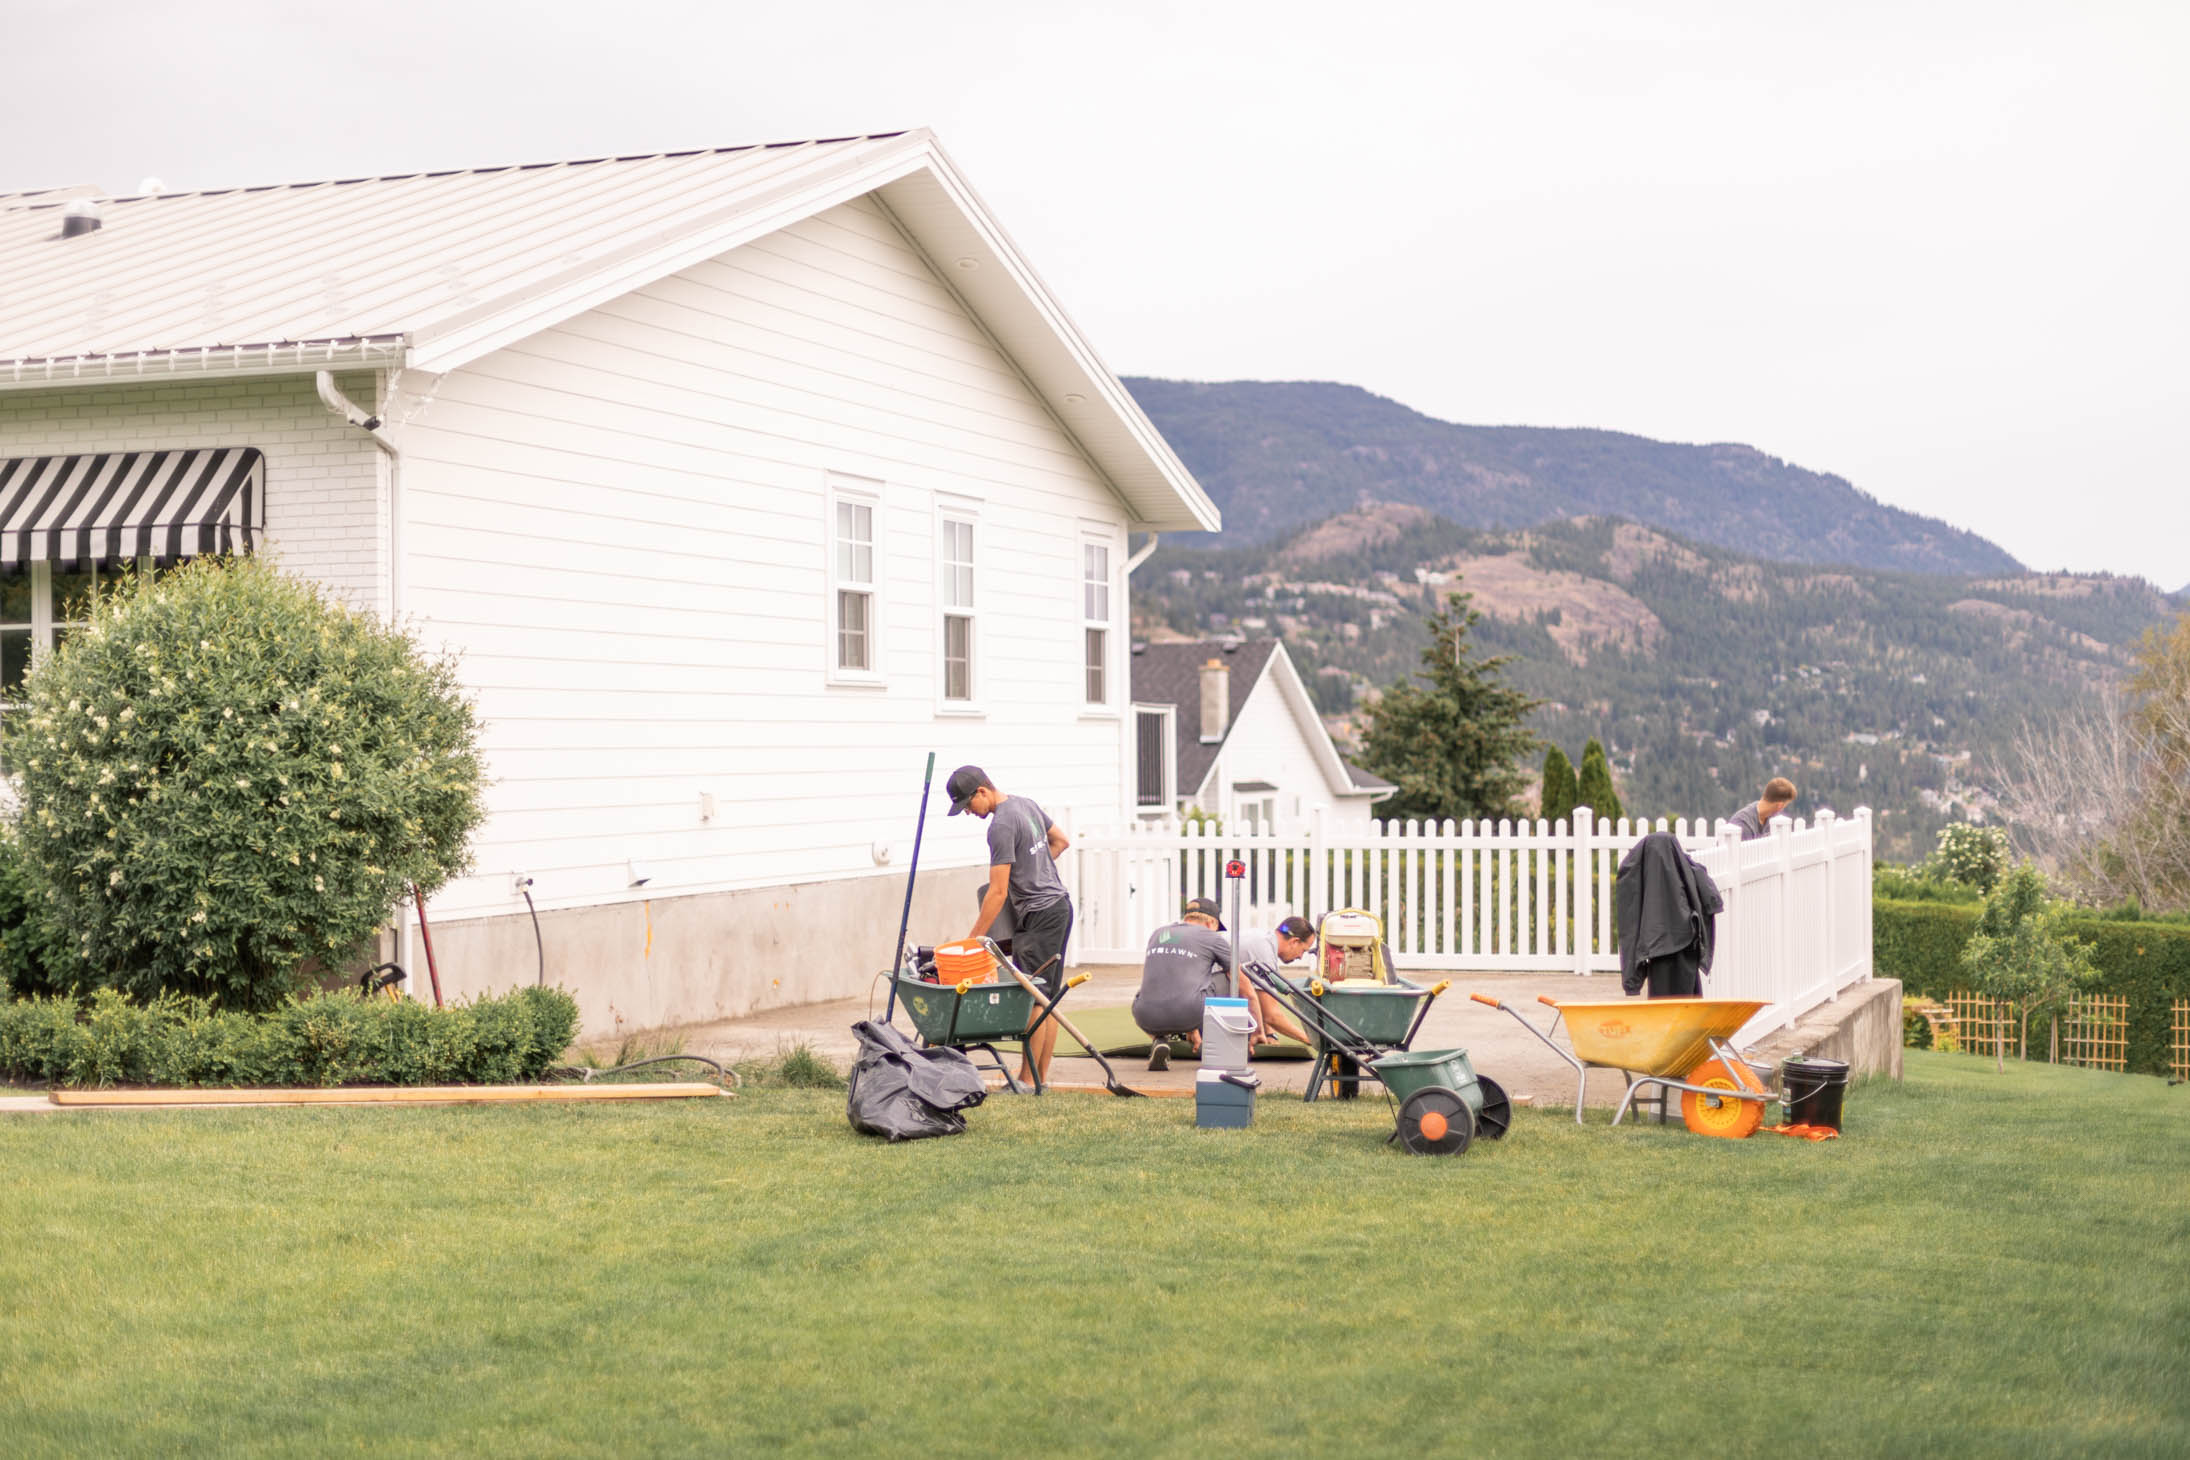
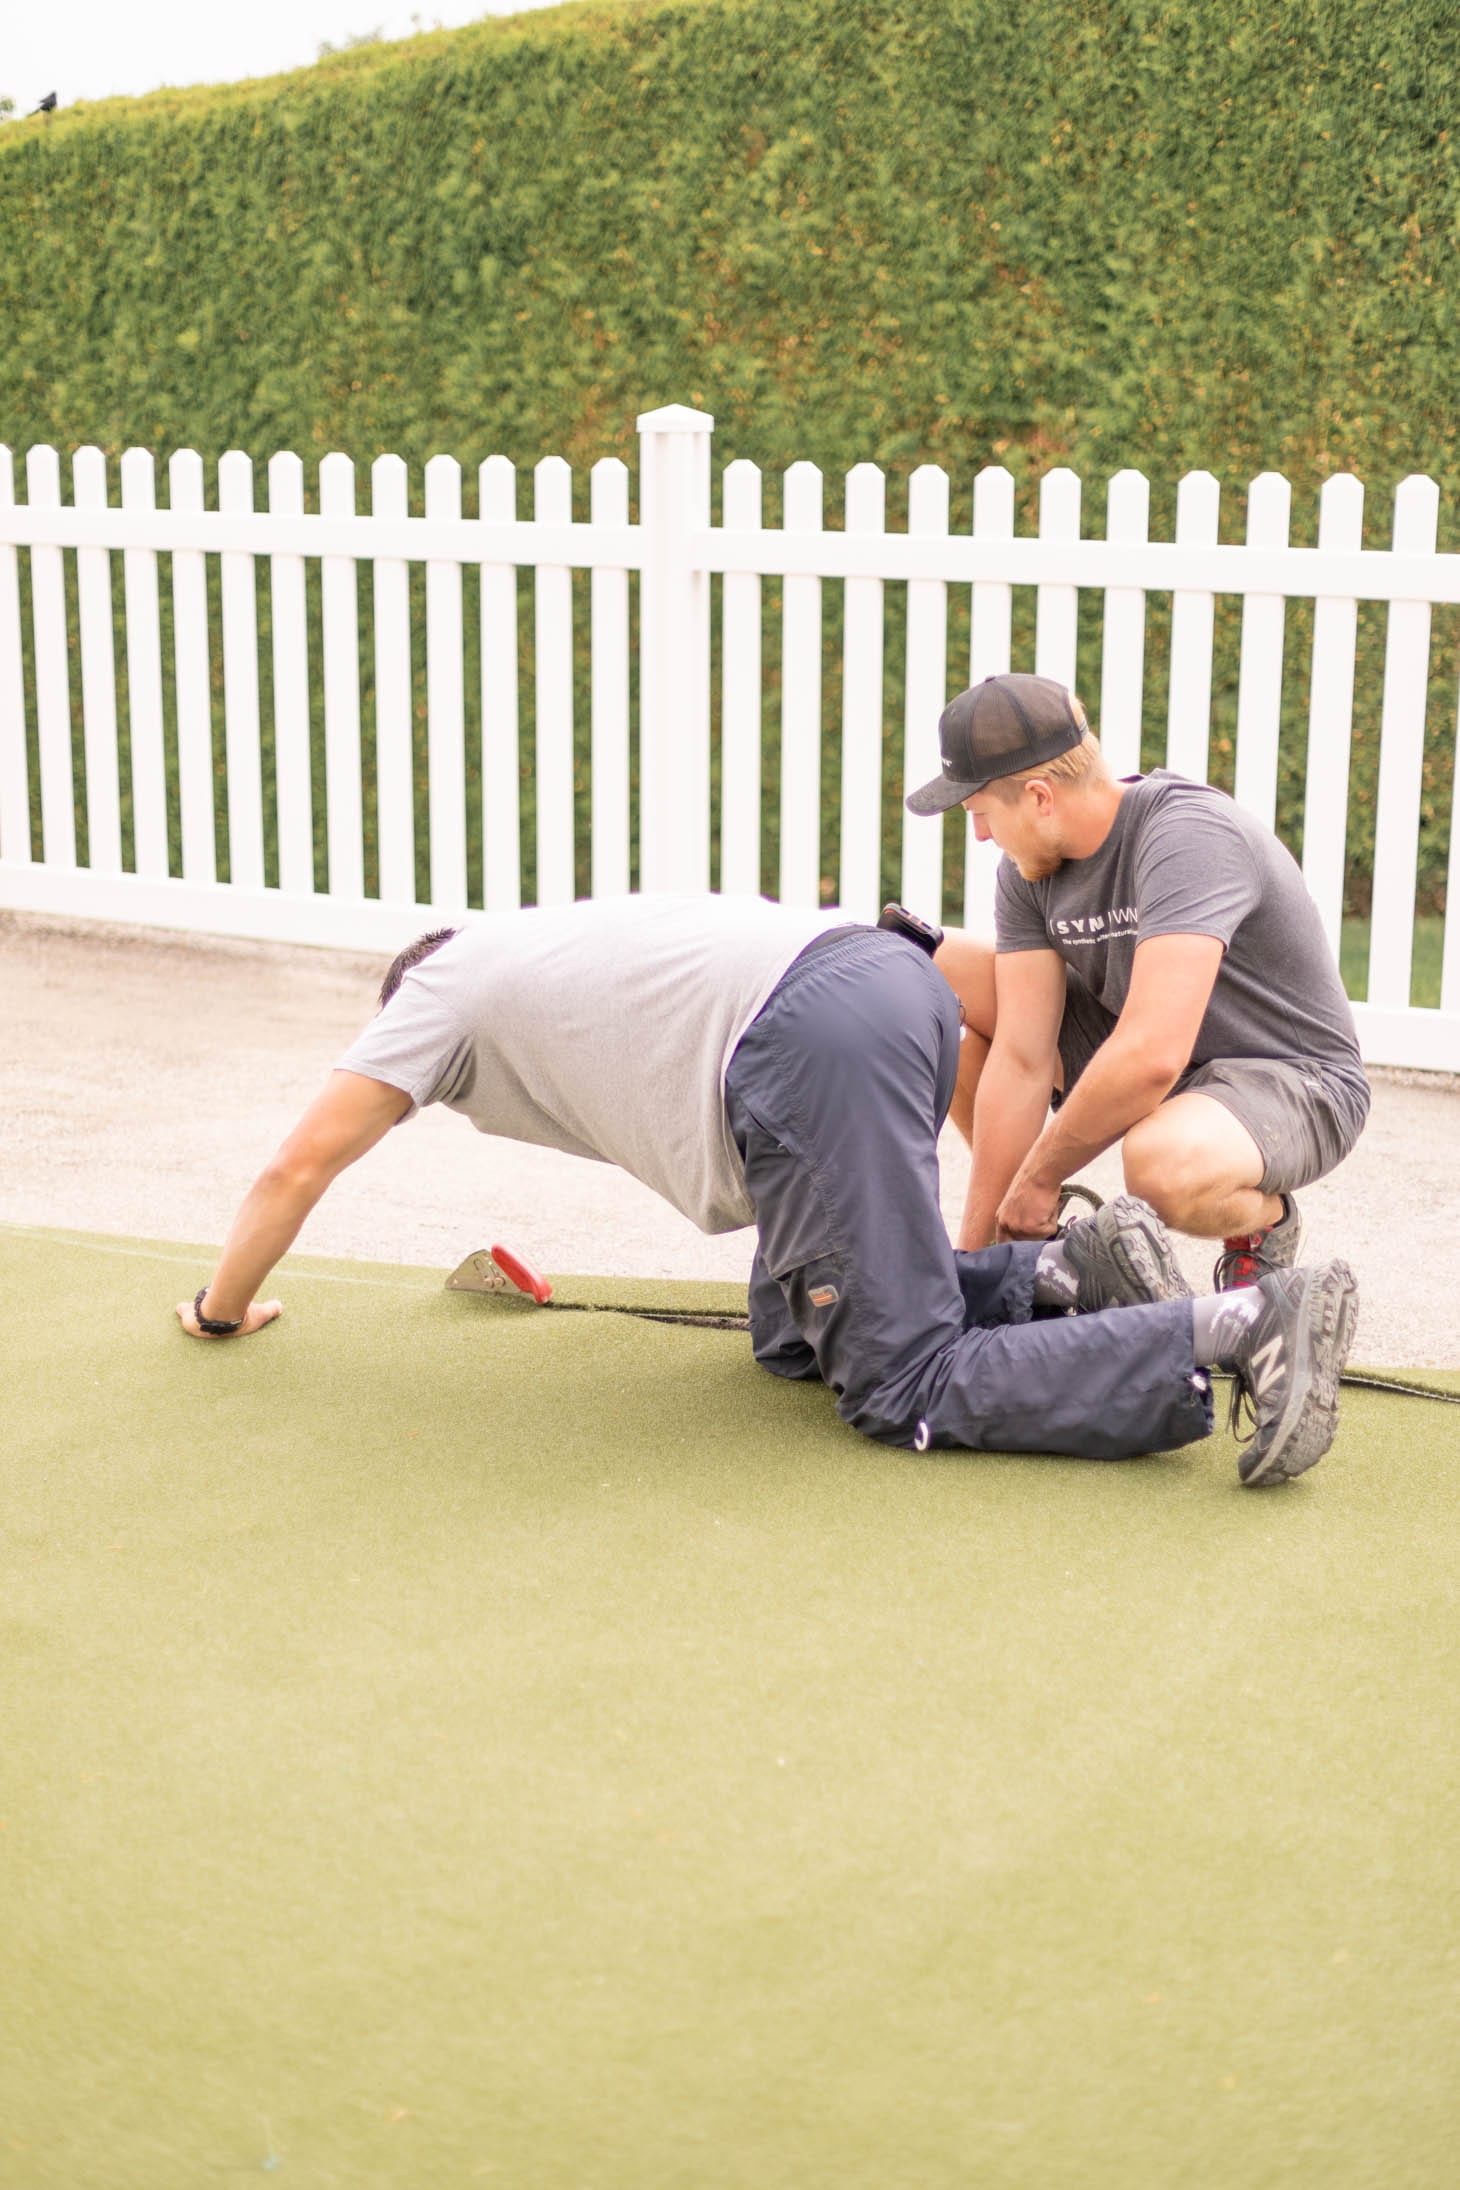
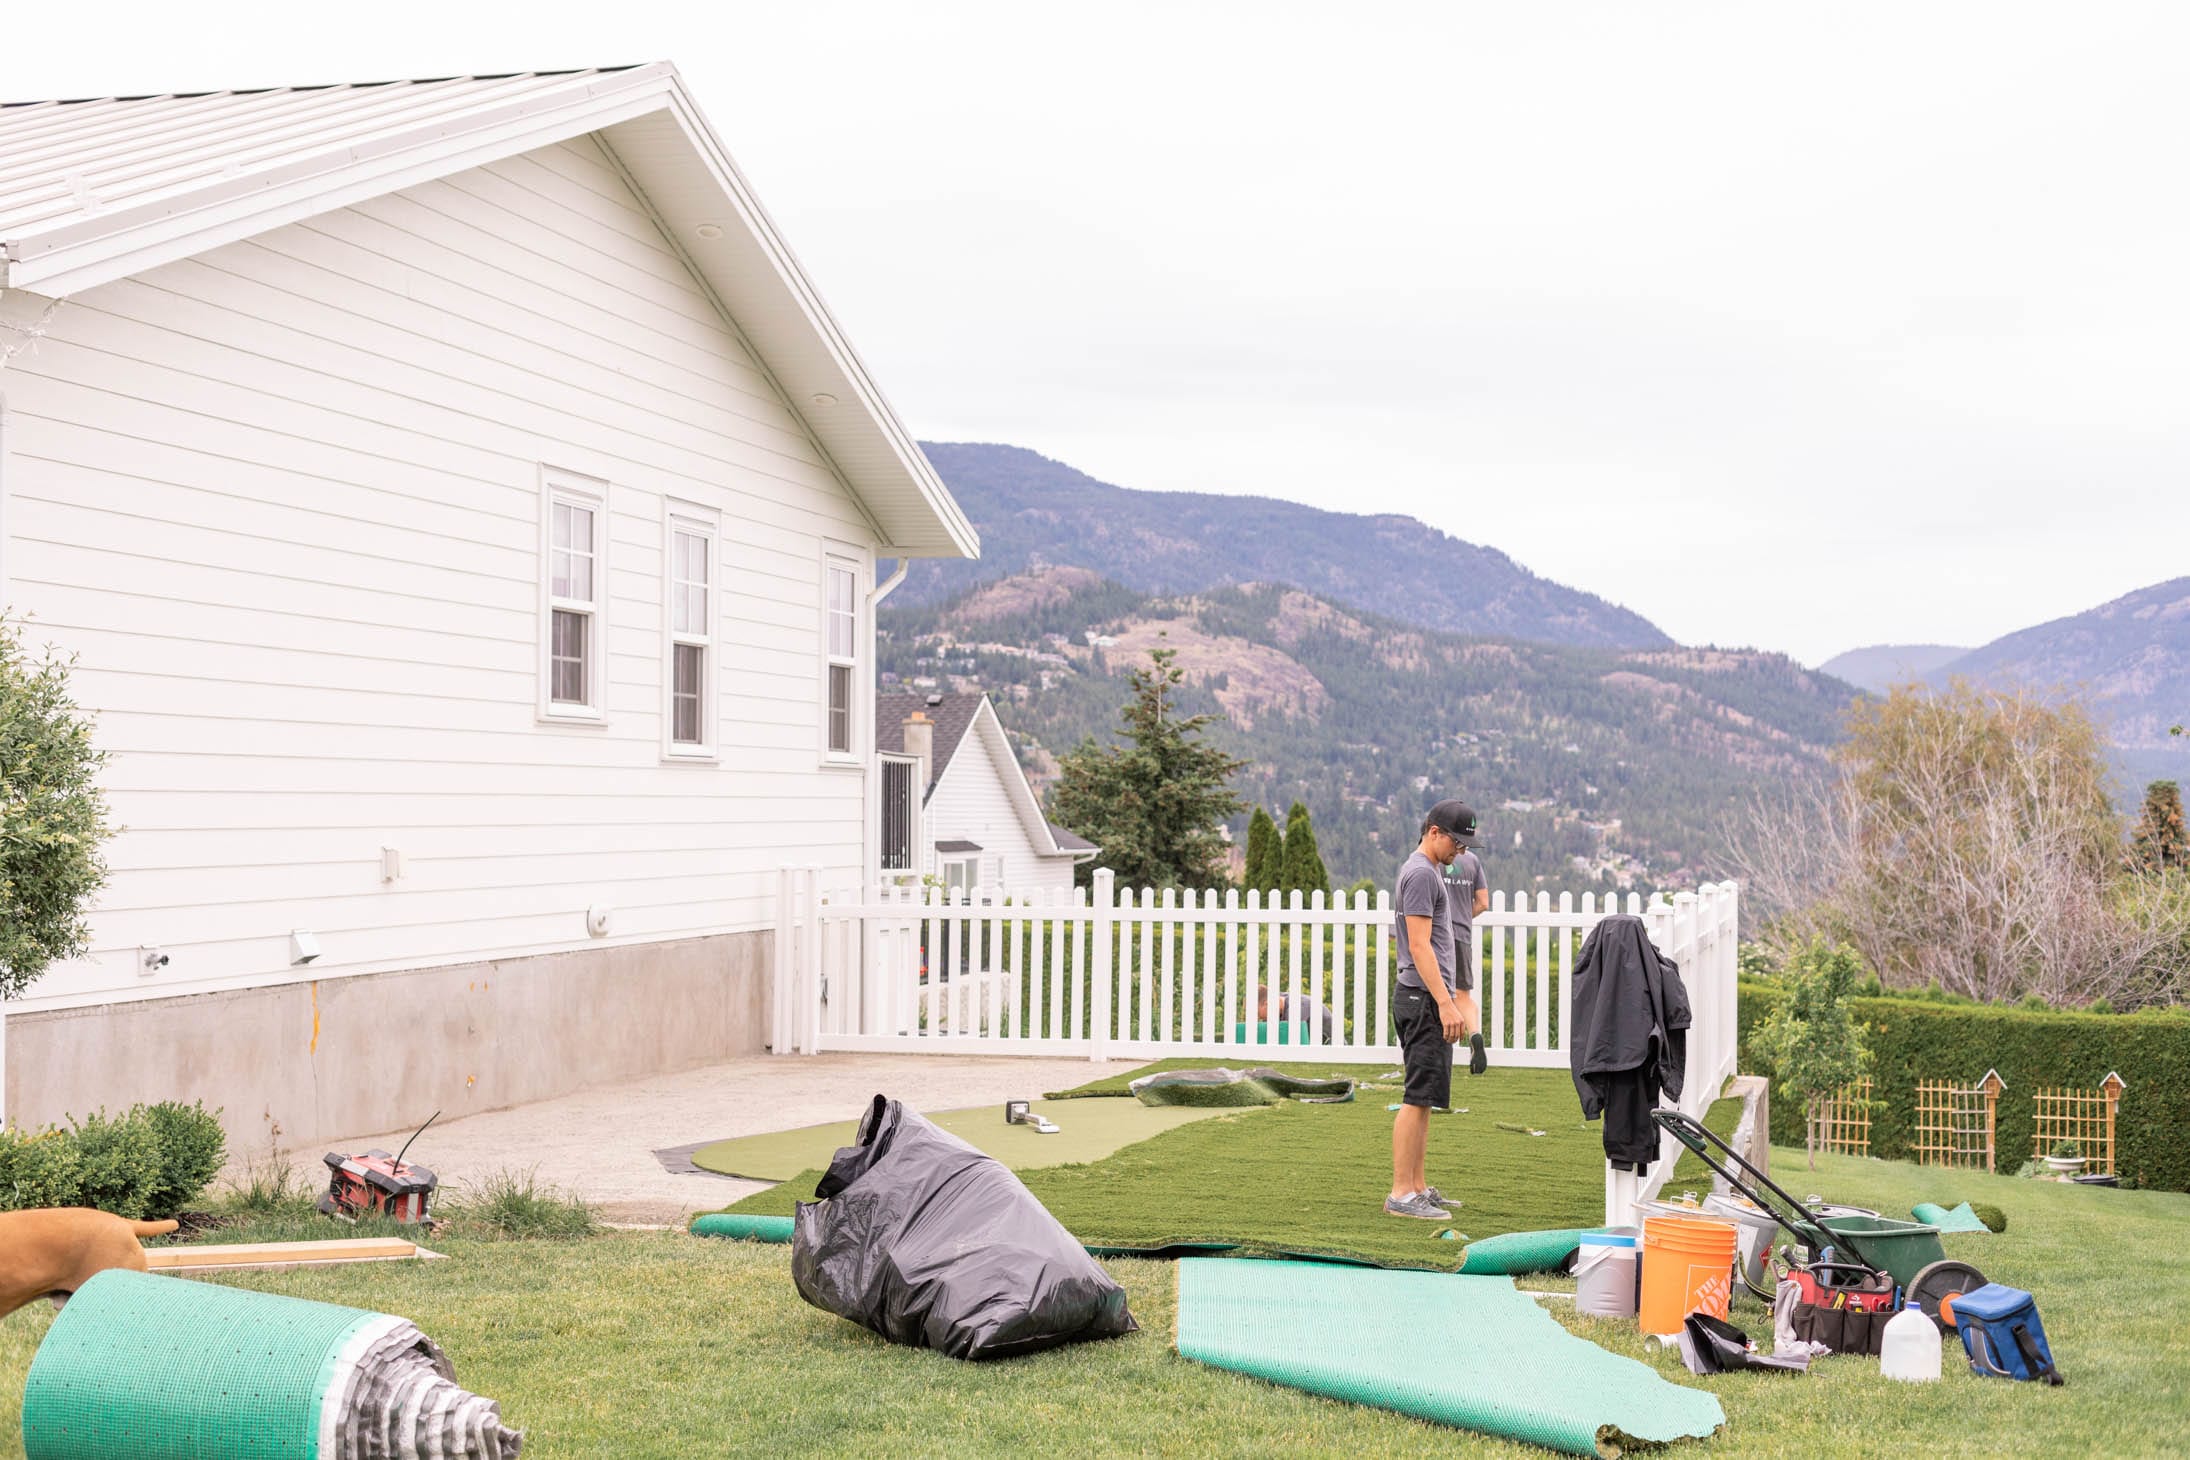
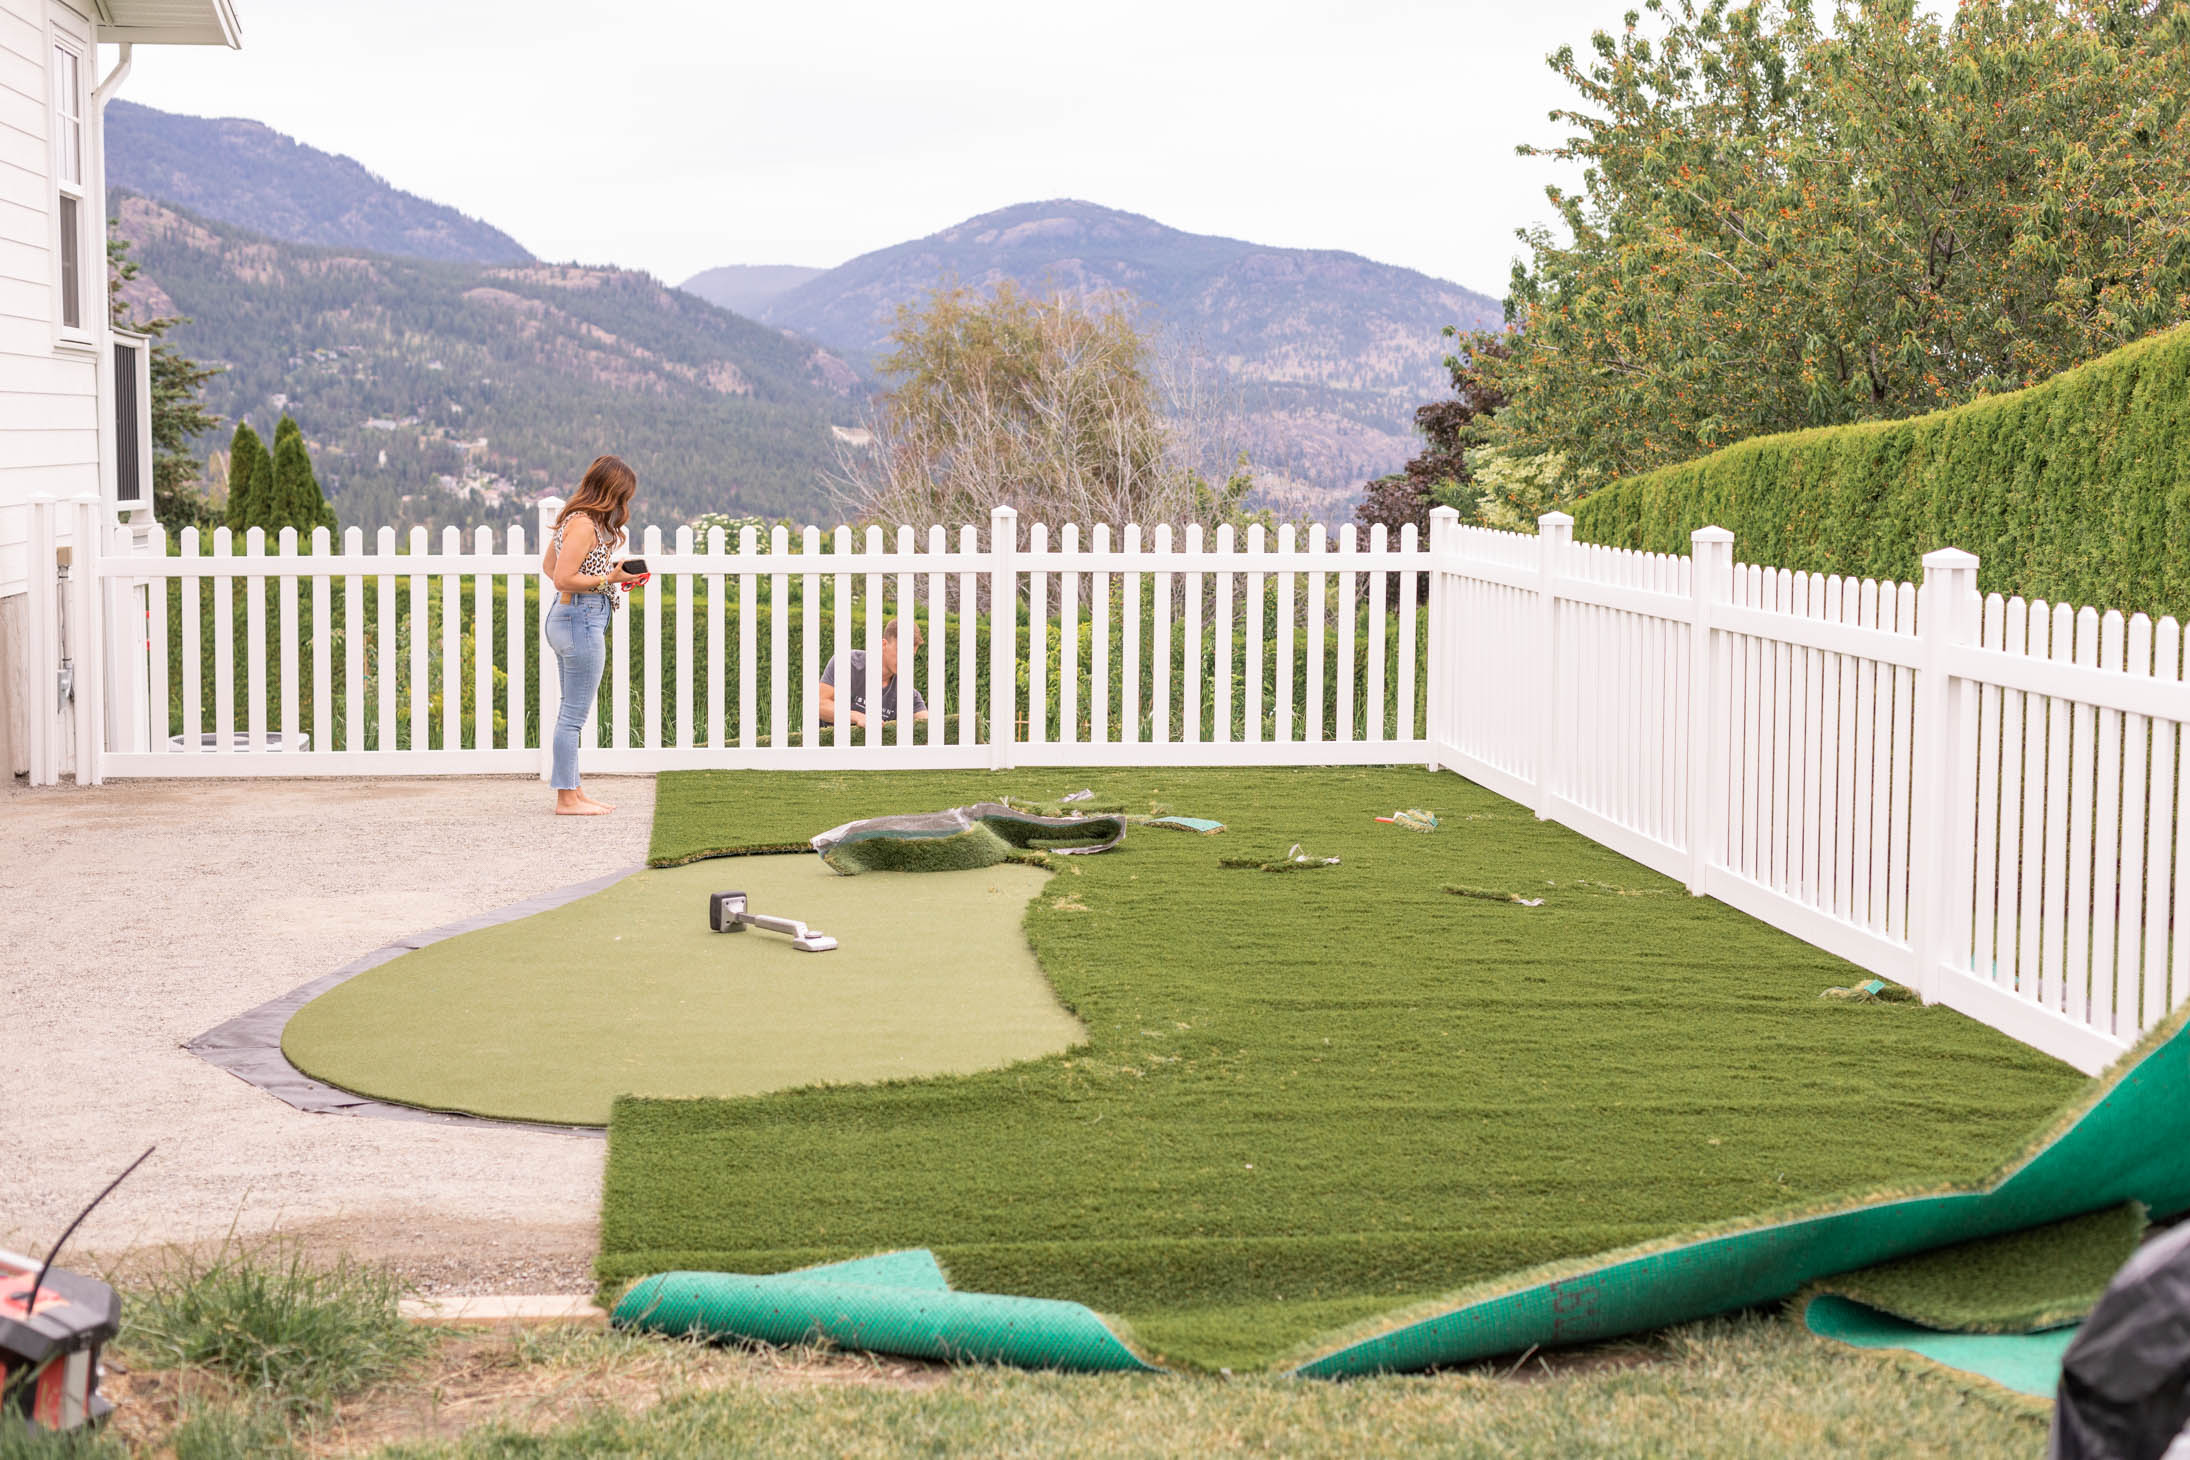
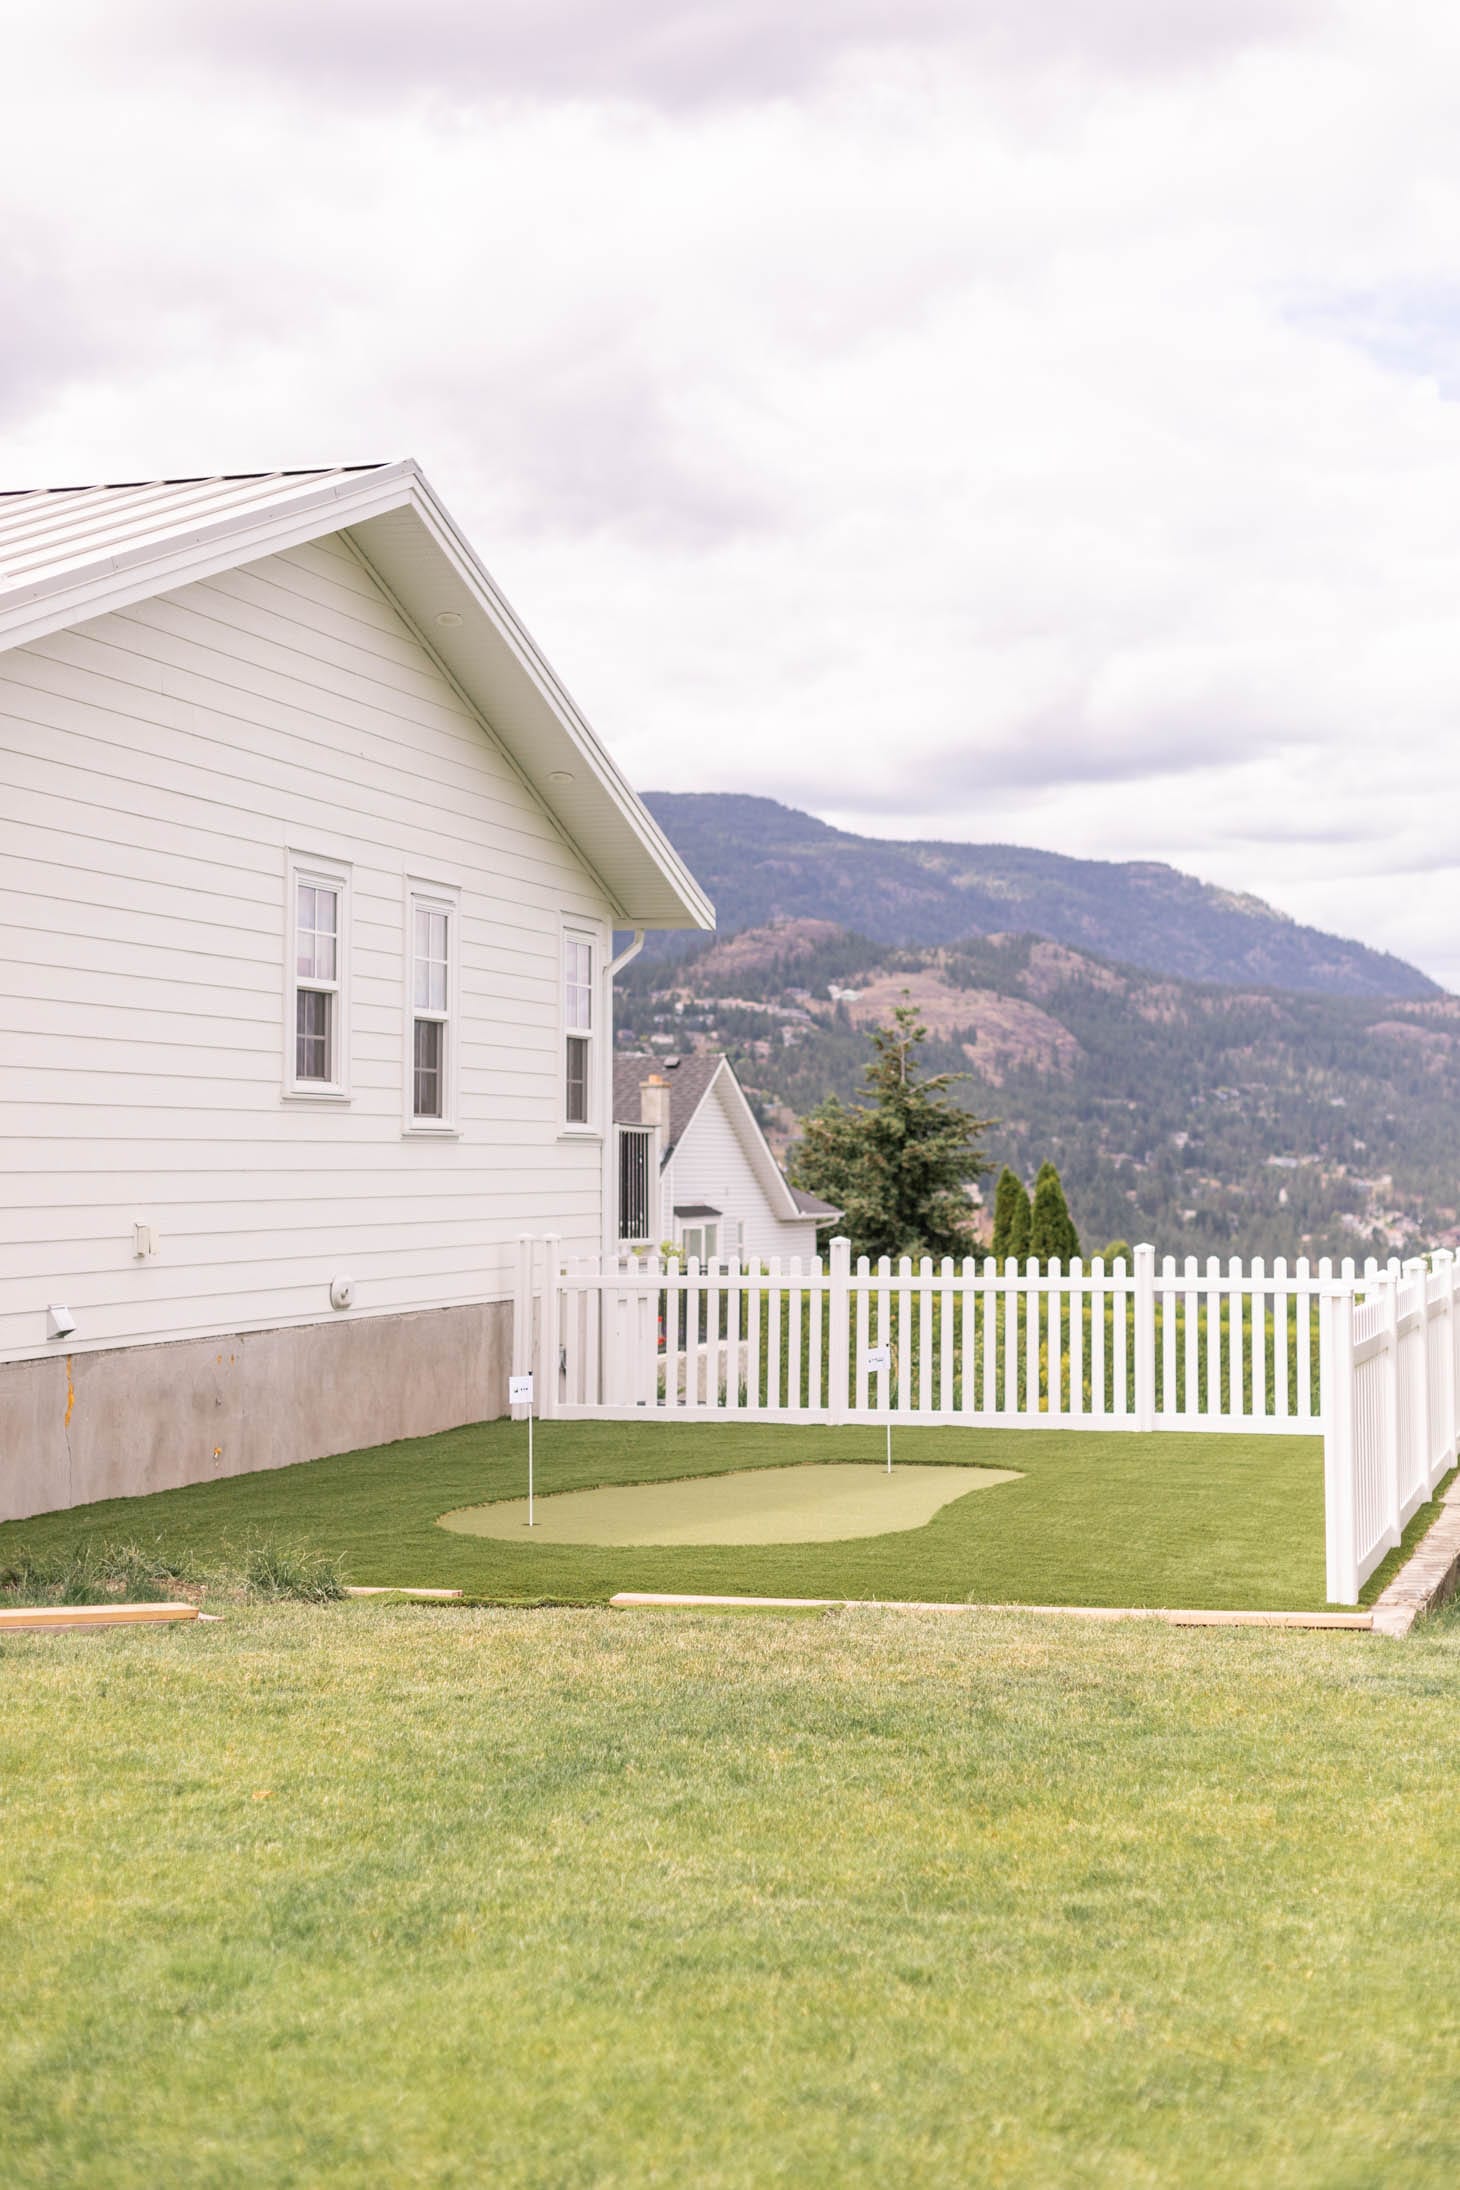
So at this point we had location, fencing, and SYNlawn … checked off of our list! There was only a few more things missing from the space … which included THE PLAYHOUSE! LOL! I had very specific measurements for this area and you ALL know just how much I love WHITE! So, needless to say, I was having a bit of a time trying to find a playhouse that would fit in this area AND match my aesthetic. That was, until I was connected with KidKraft!
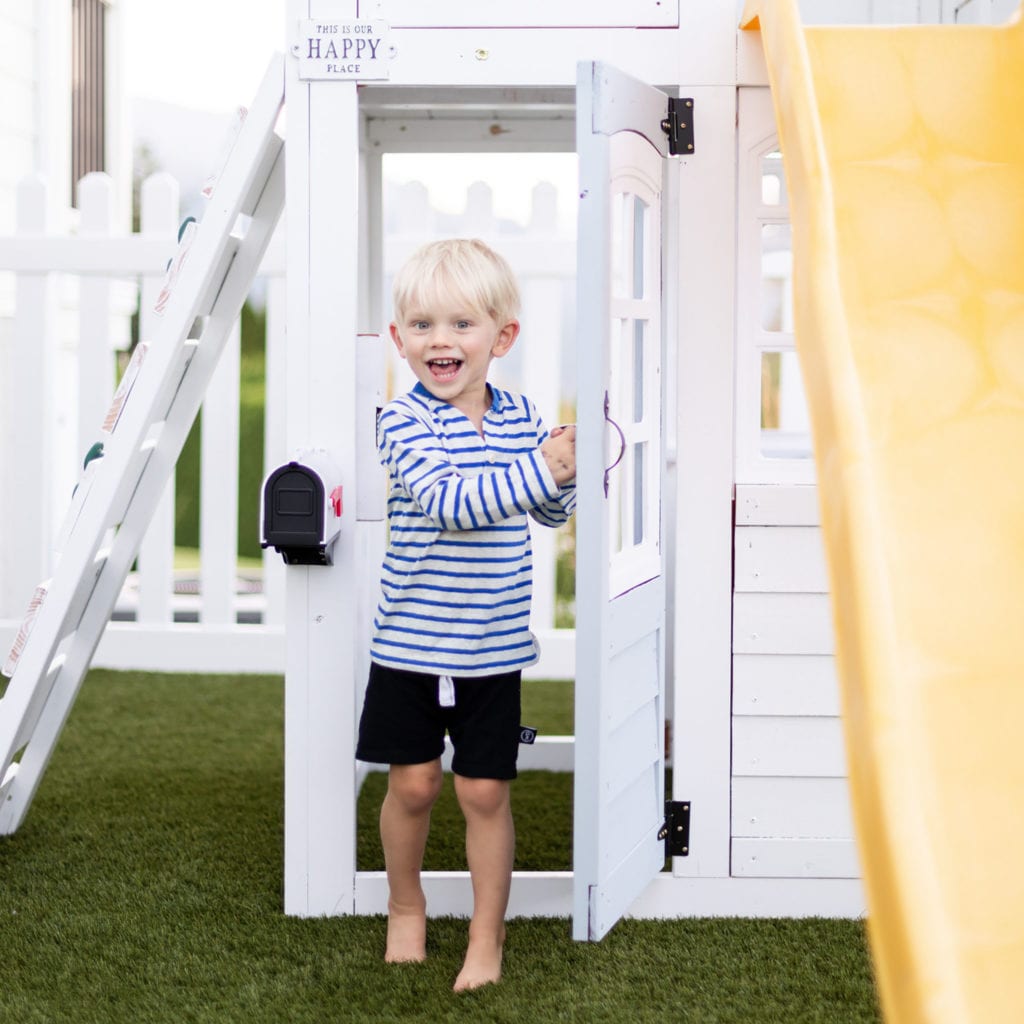
KidKraft has some of the cutest playhouses I’ve ever seen and they just so happen to have a set that would work perfectly for our playzone! The playhouse I decided to order up was the McKinley Wooden Swing Set / Playset and while it didn’t come in white, Justin and I decided to paint it ourselves to match the colour of the exterior of our house complete with the same colour roof and the blue door!!! It turned out AMAZING!! To see what the playhouse looked like before, check out their page here!
I also ordered a few accessories from KidKraft to finish off the playzone which included an outdoor table and benches (complete with the cutest white and navy striped umbrella!) and a sandbox. However, when we got the sandbox we realized the kids would be tossing all of the sand all over the SYNlawn so my cousin Samantha brought it home for her little girl to enjoy in their yard!
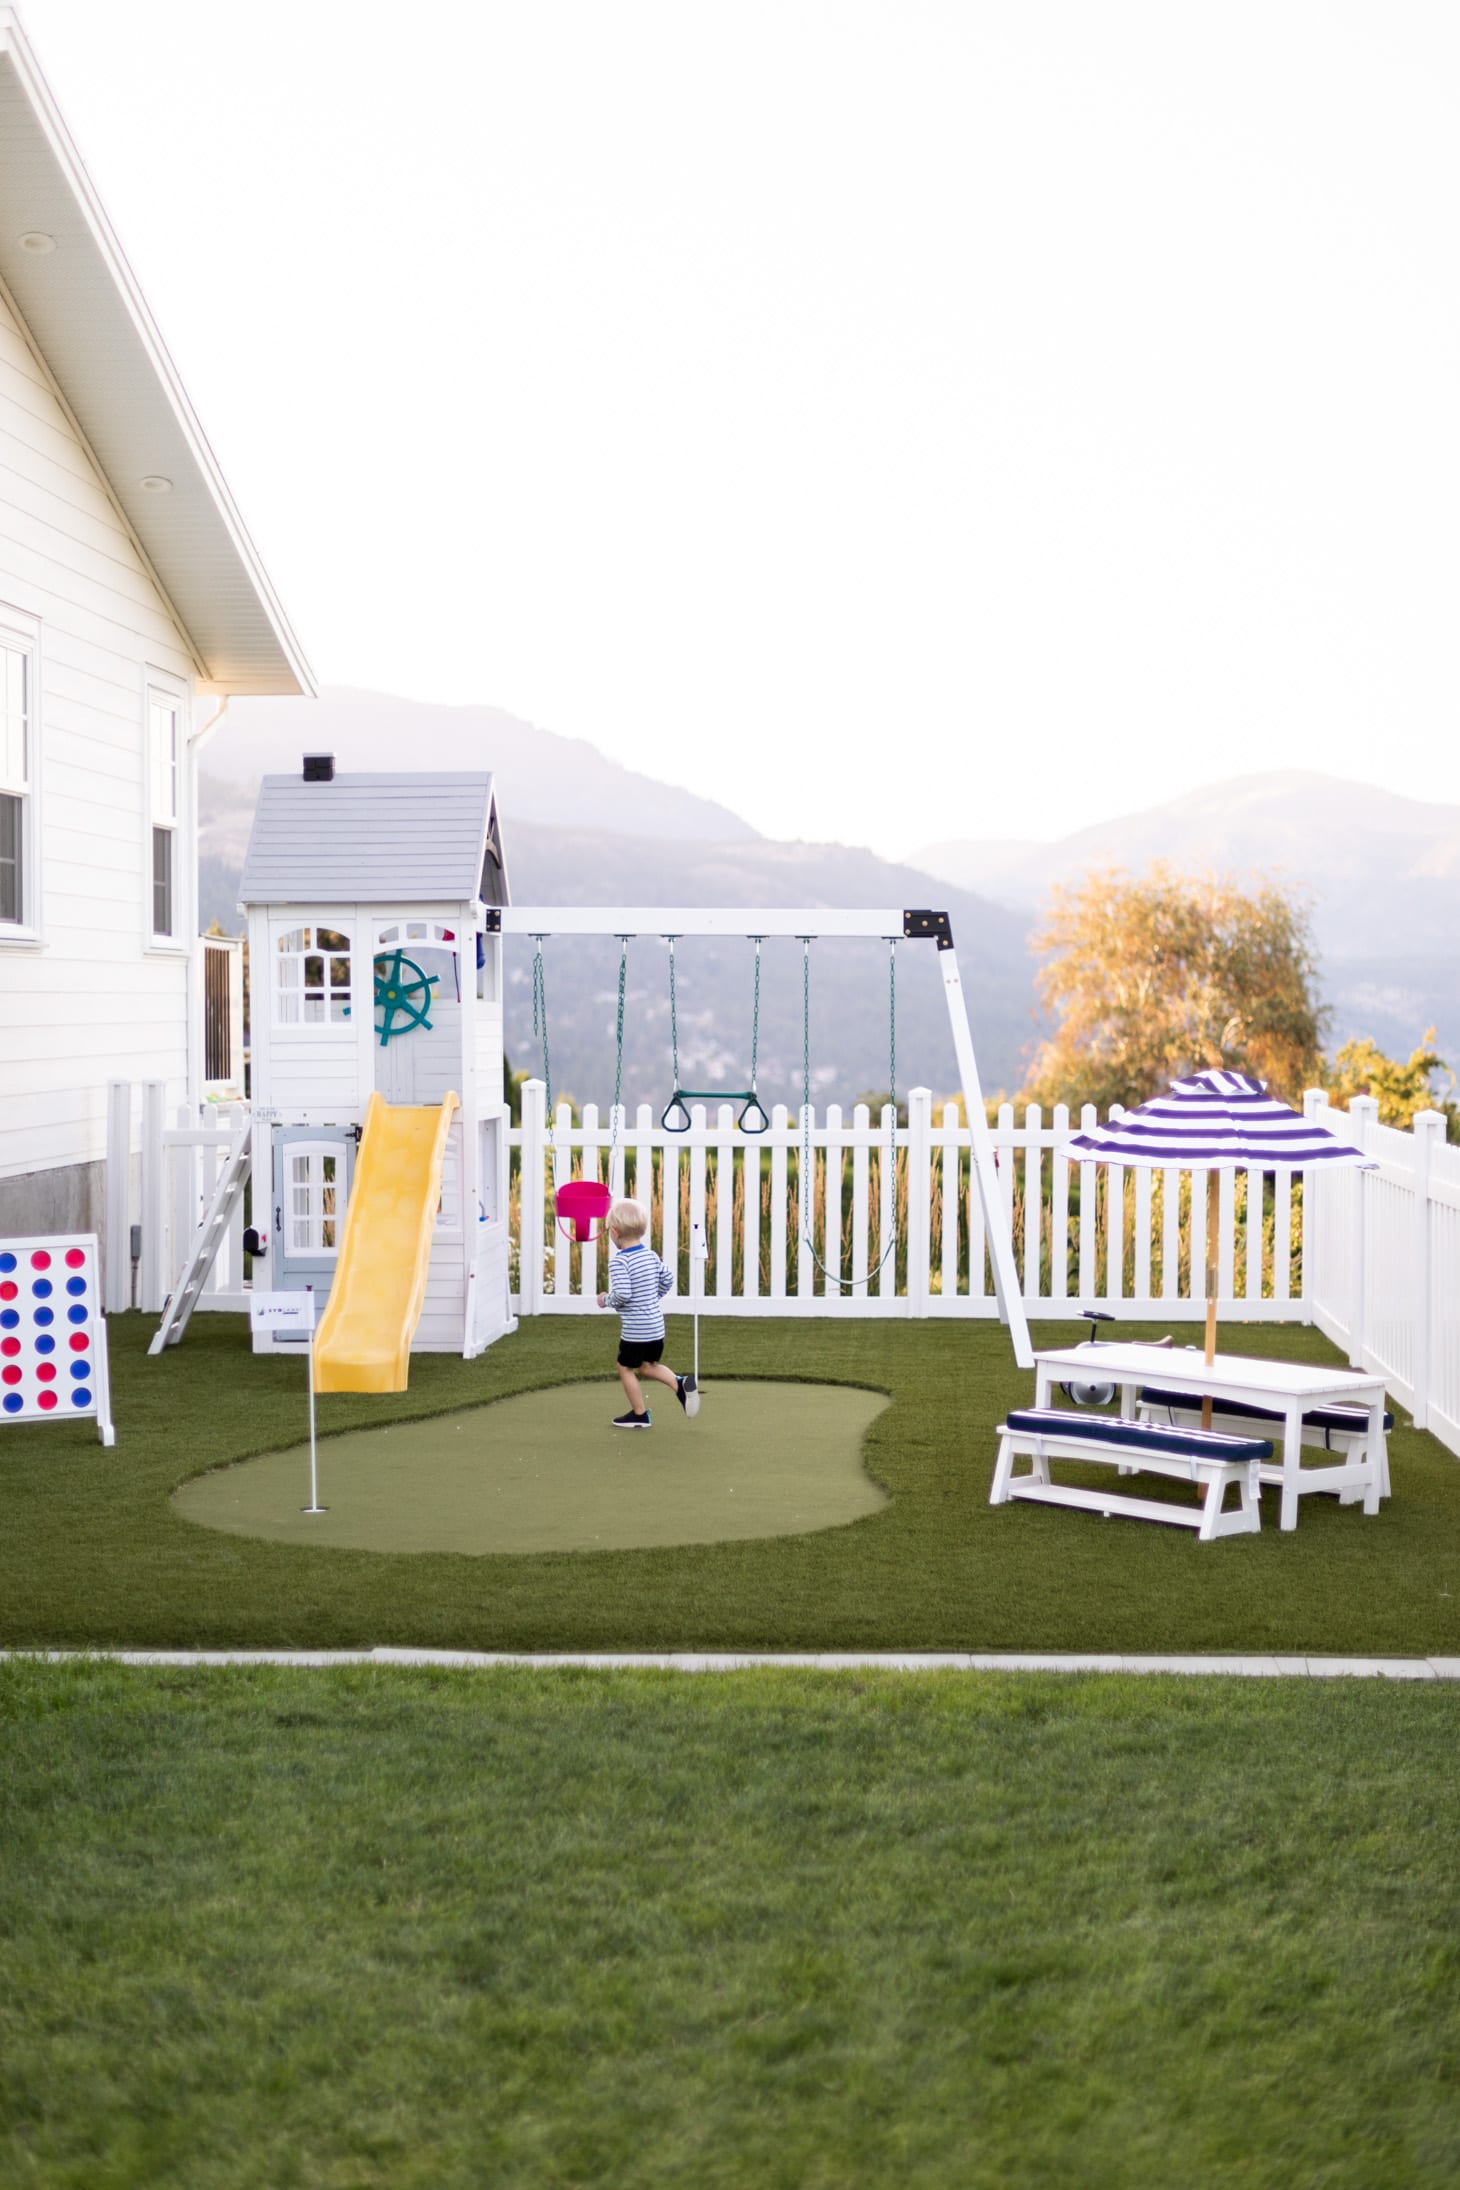
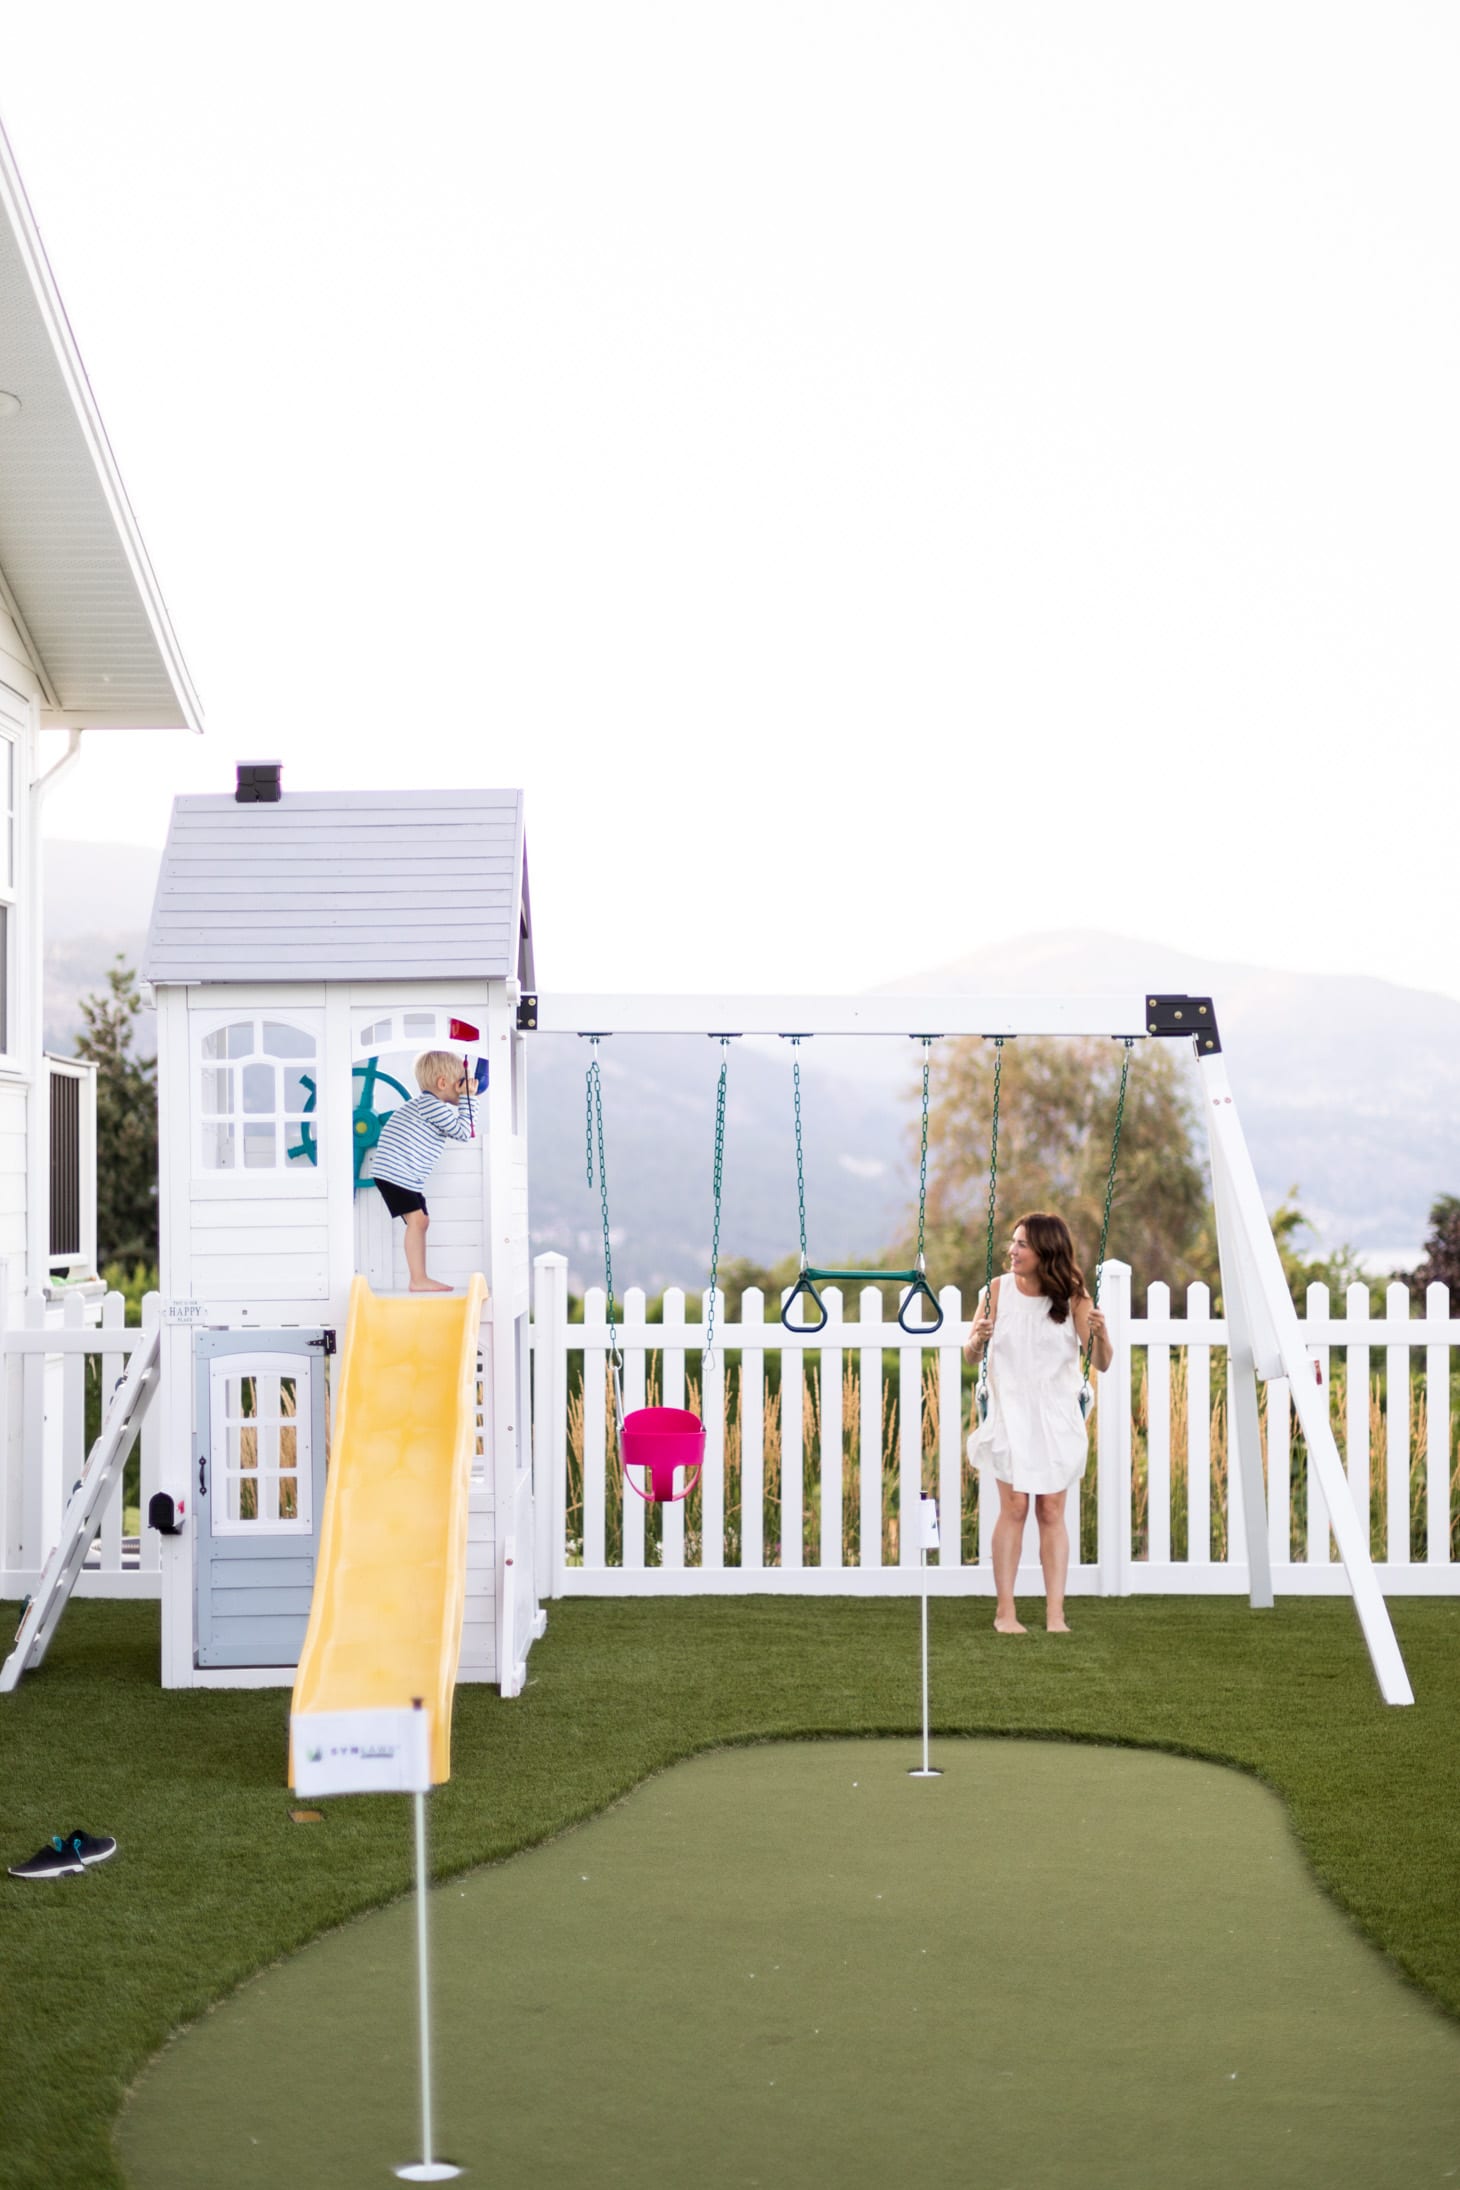
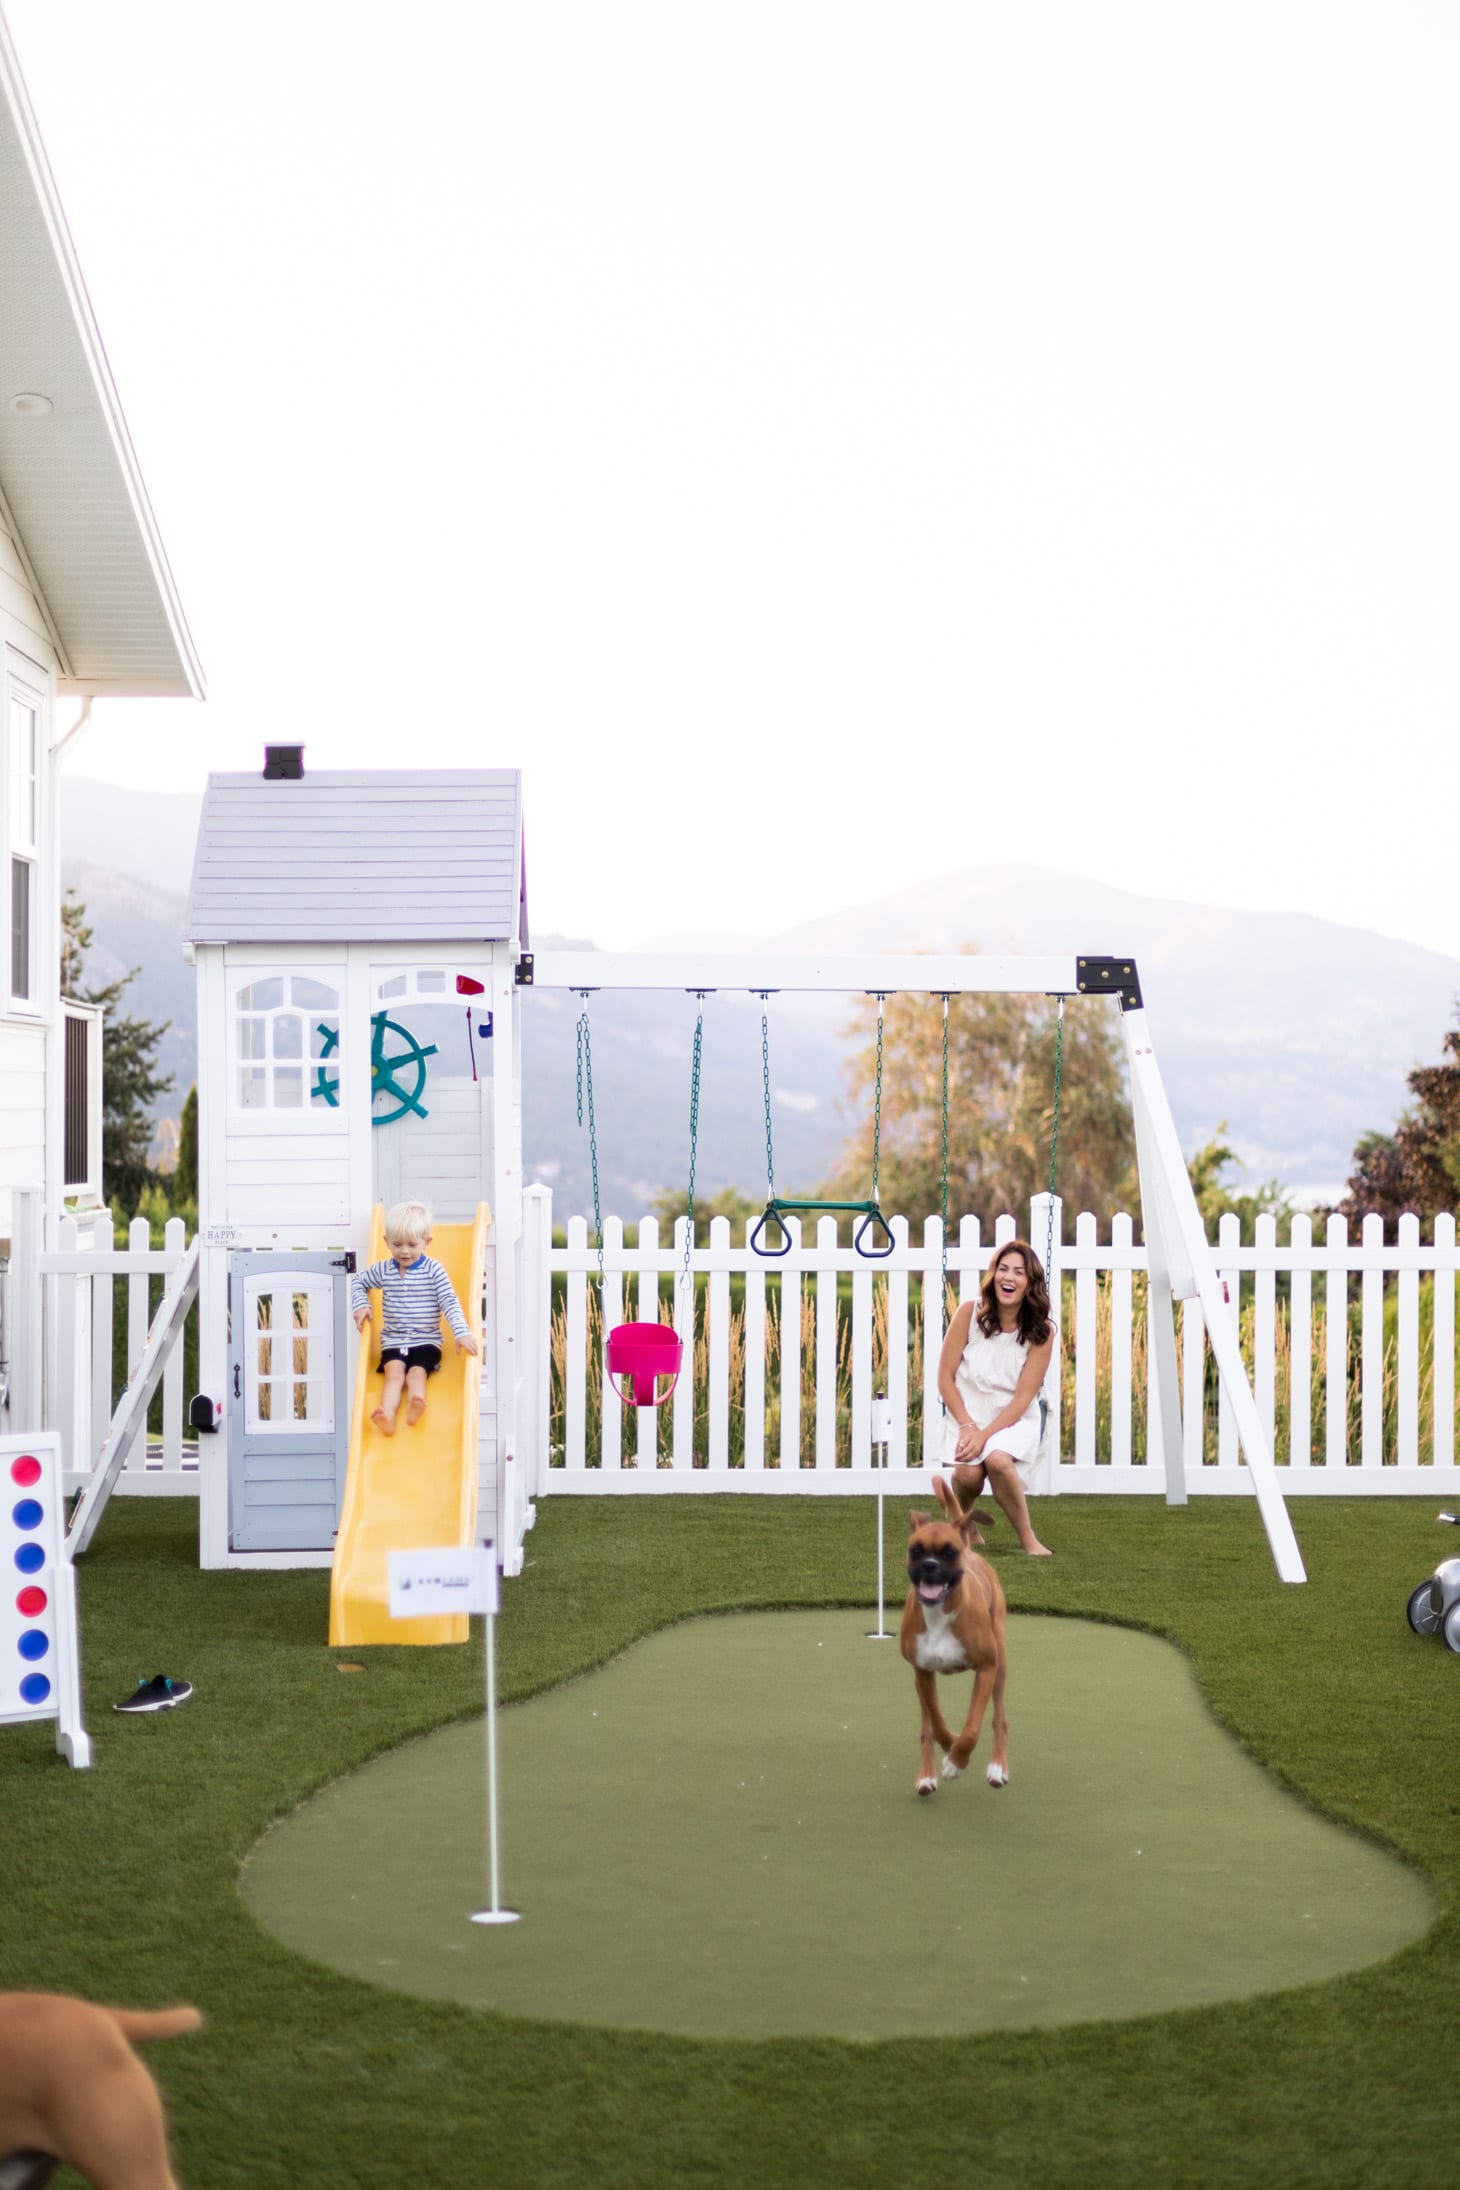
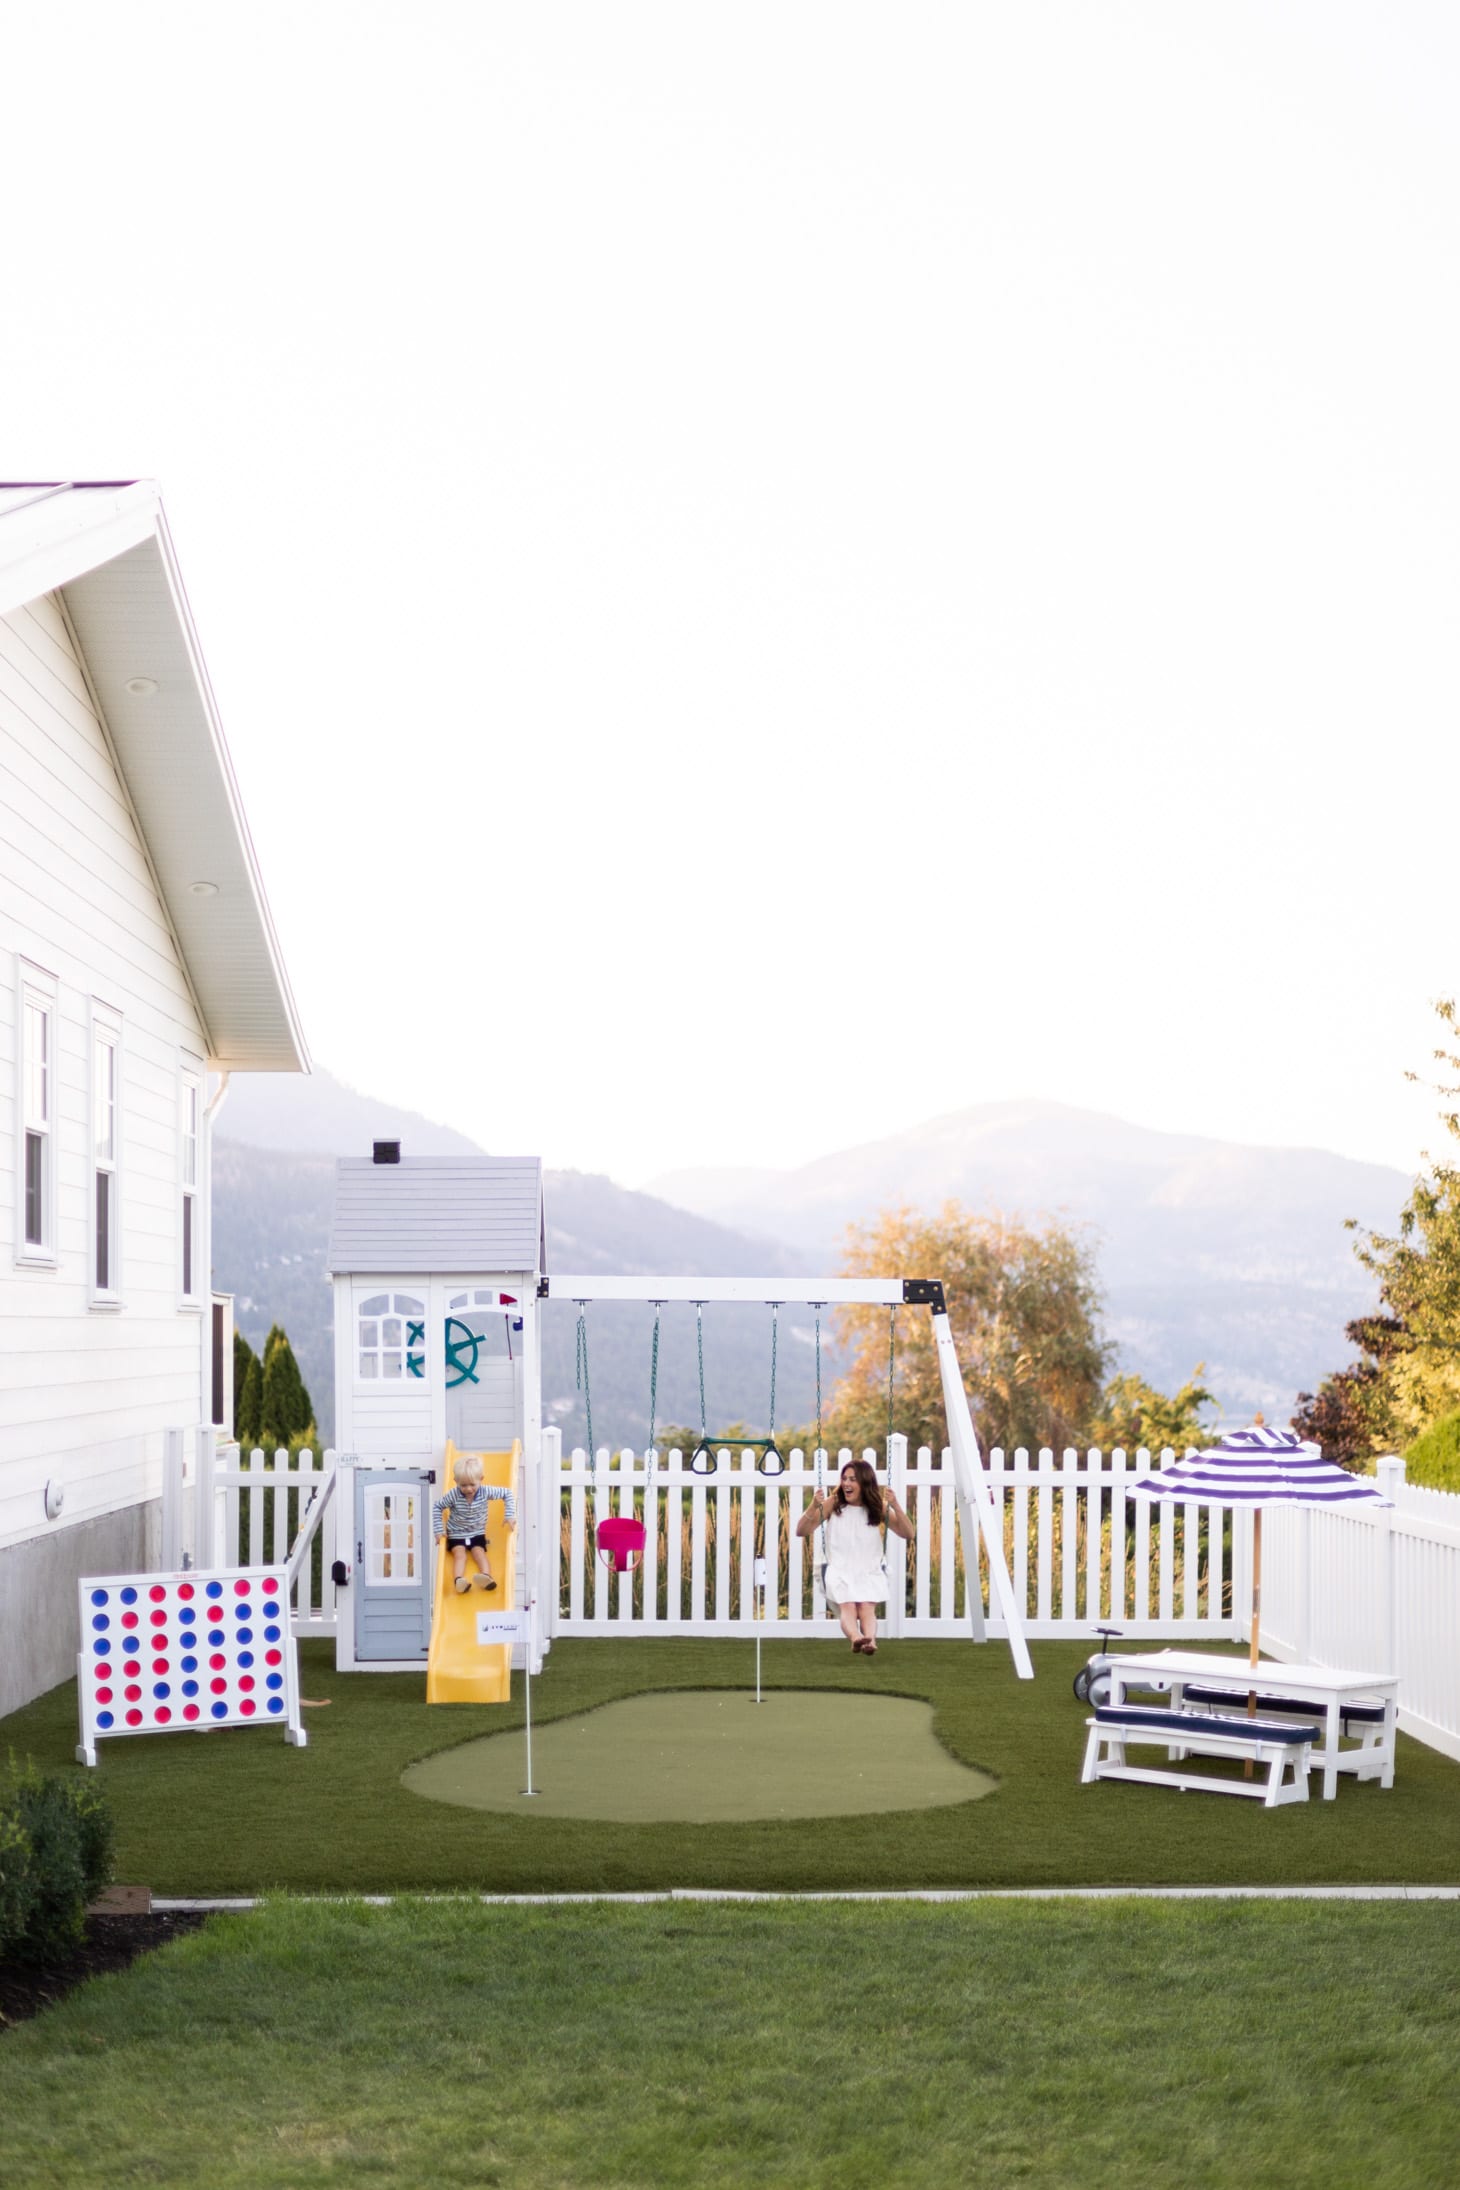
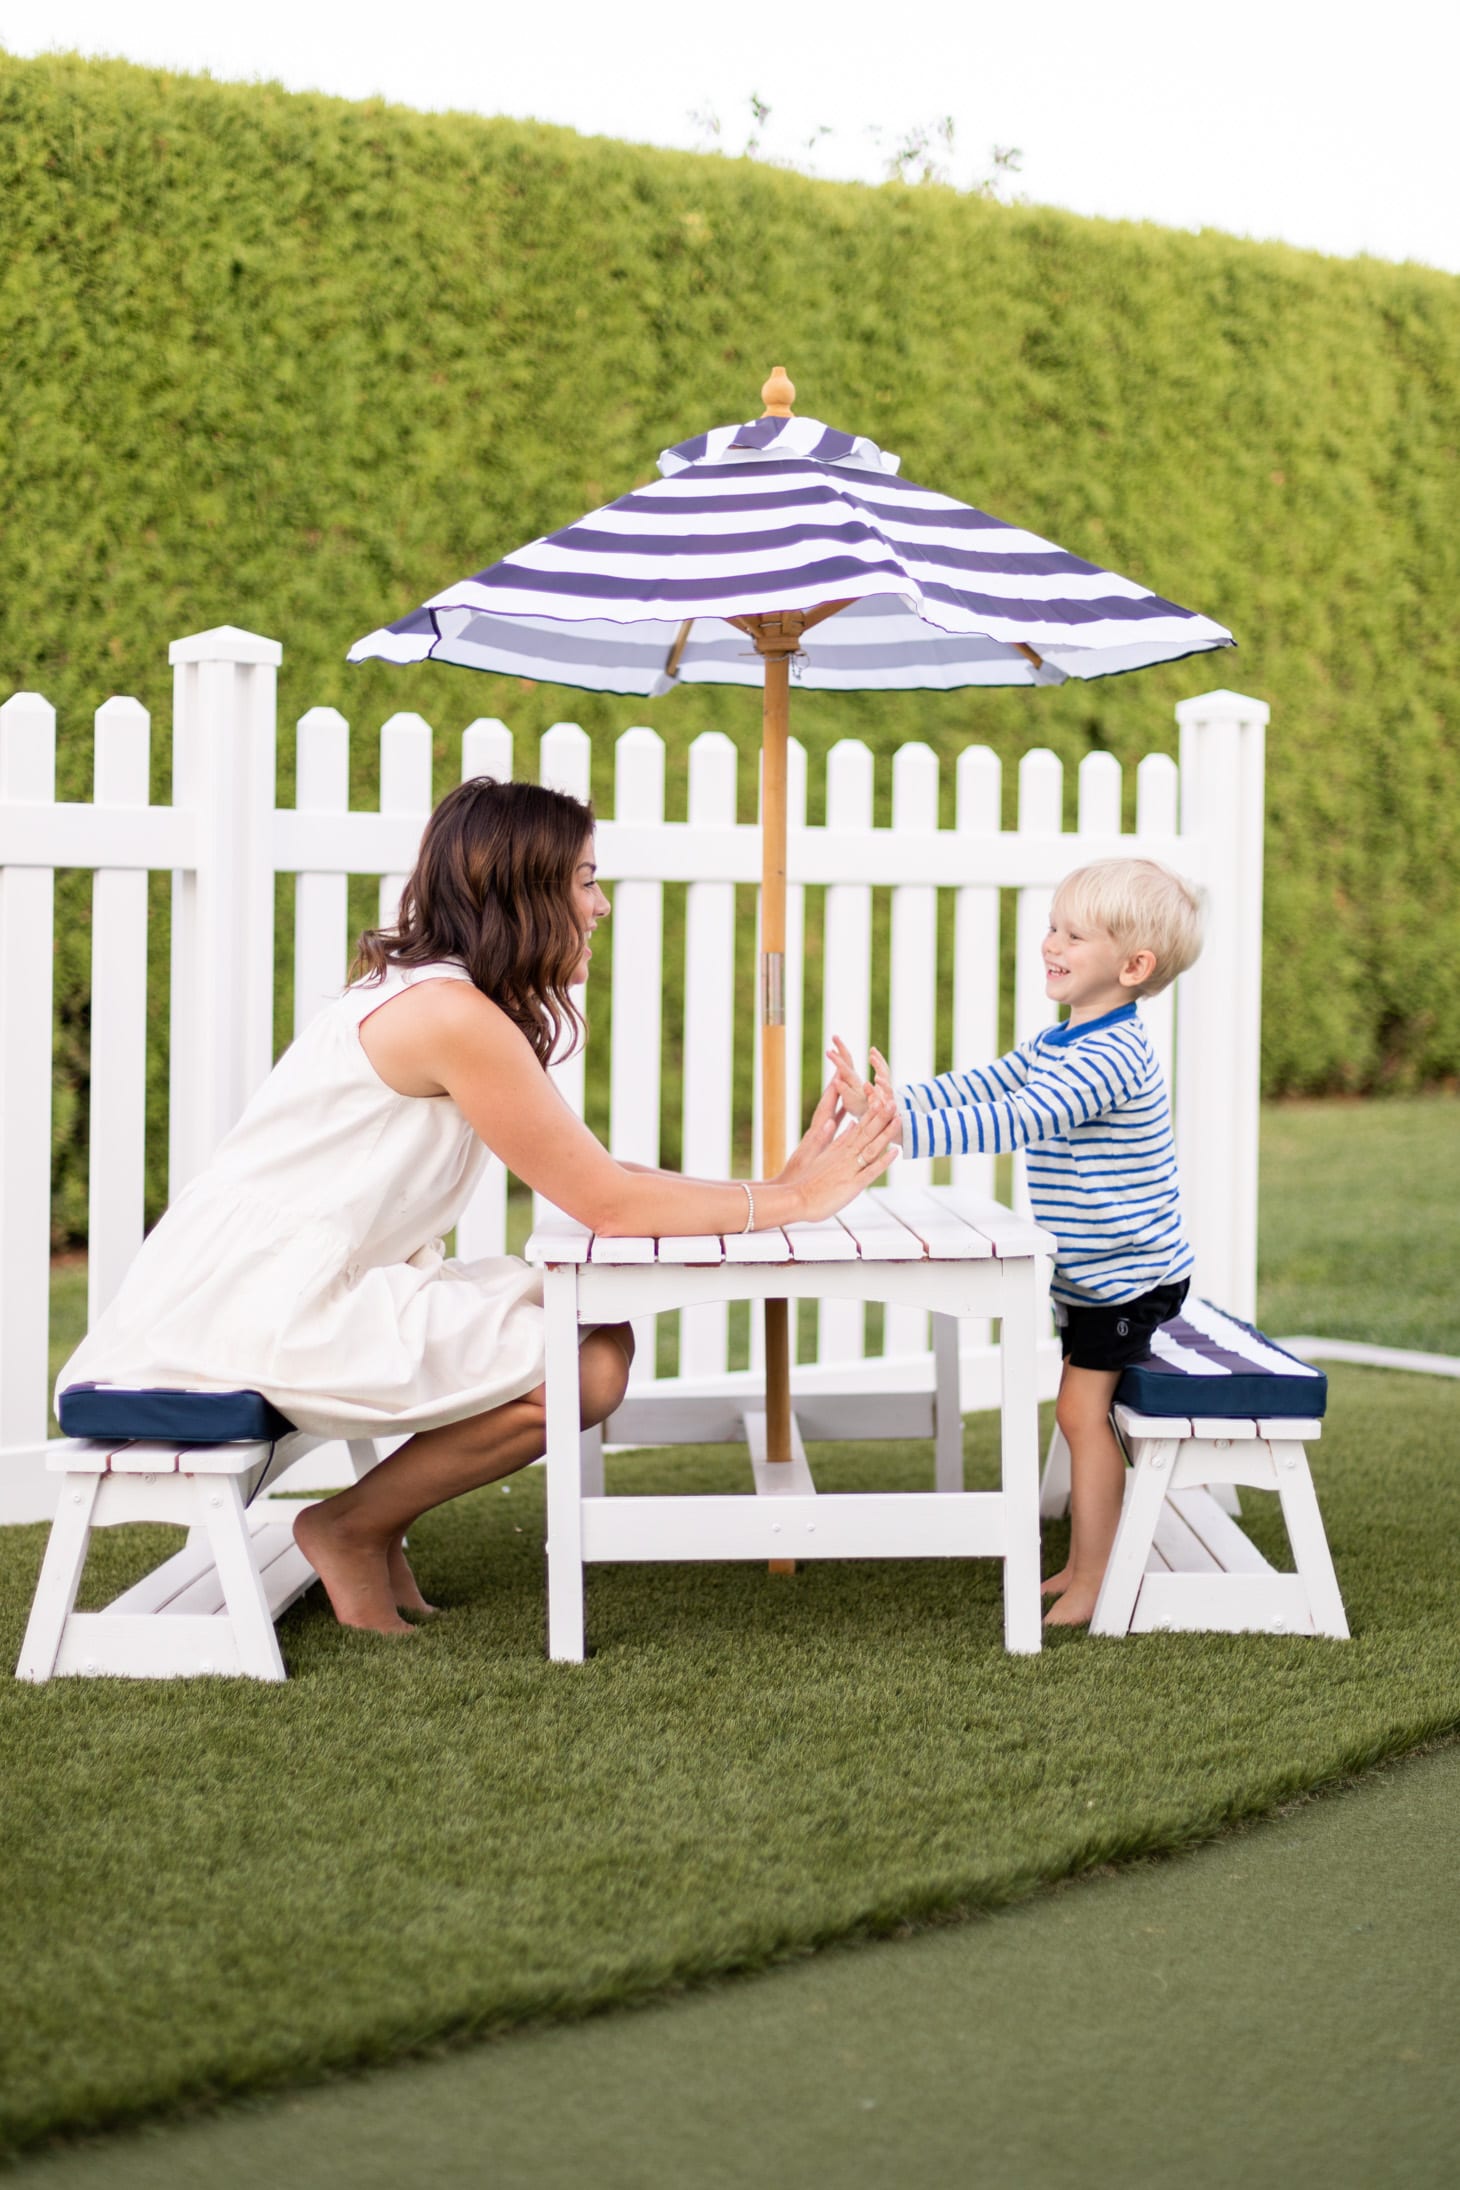
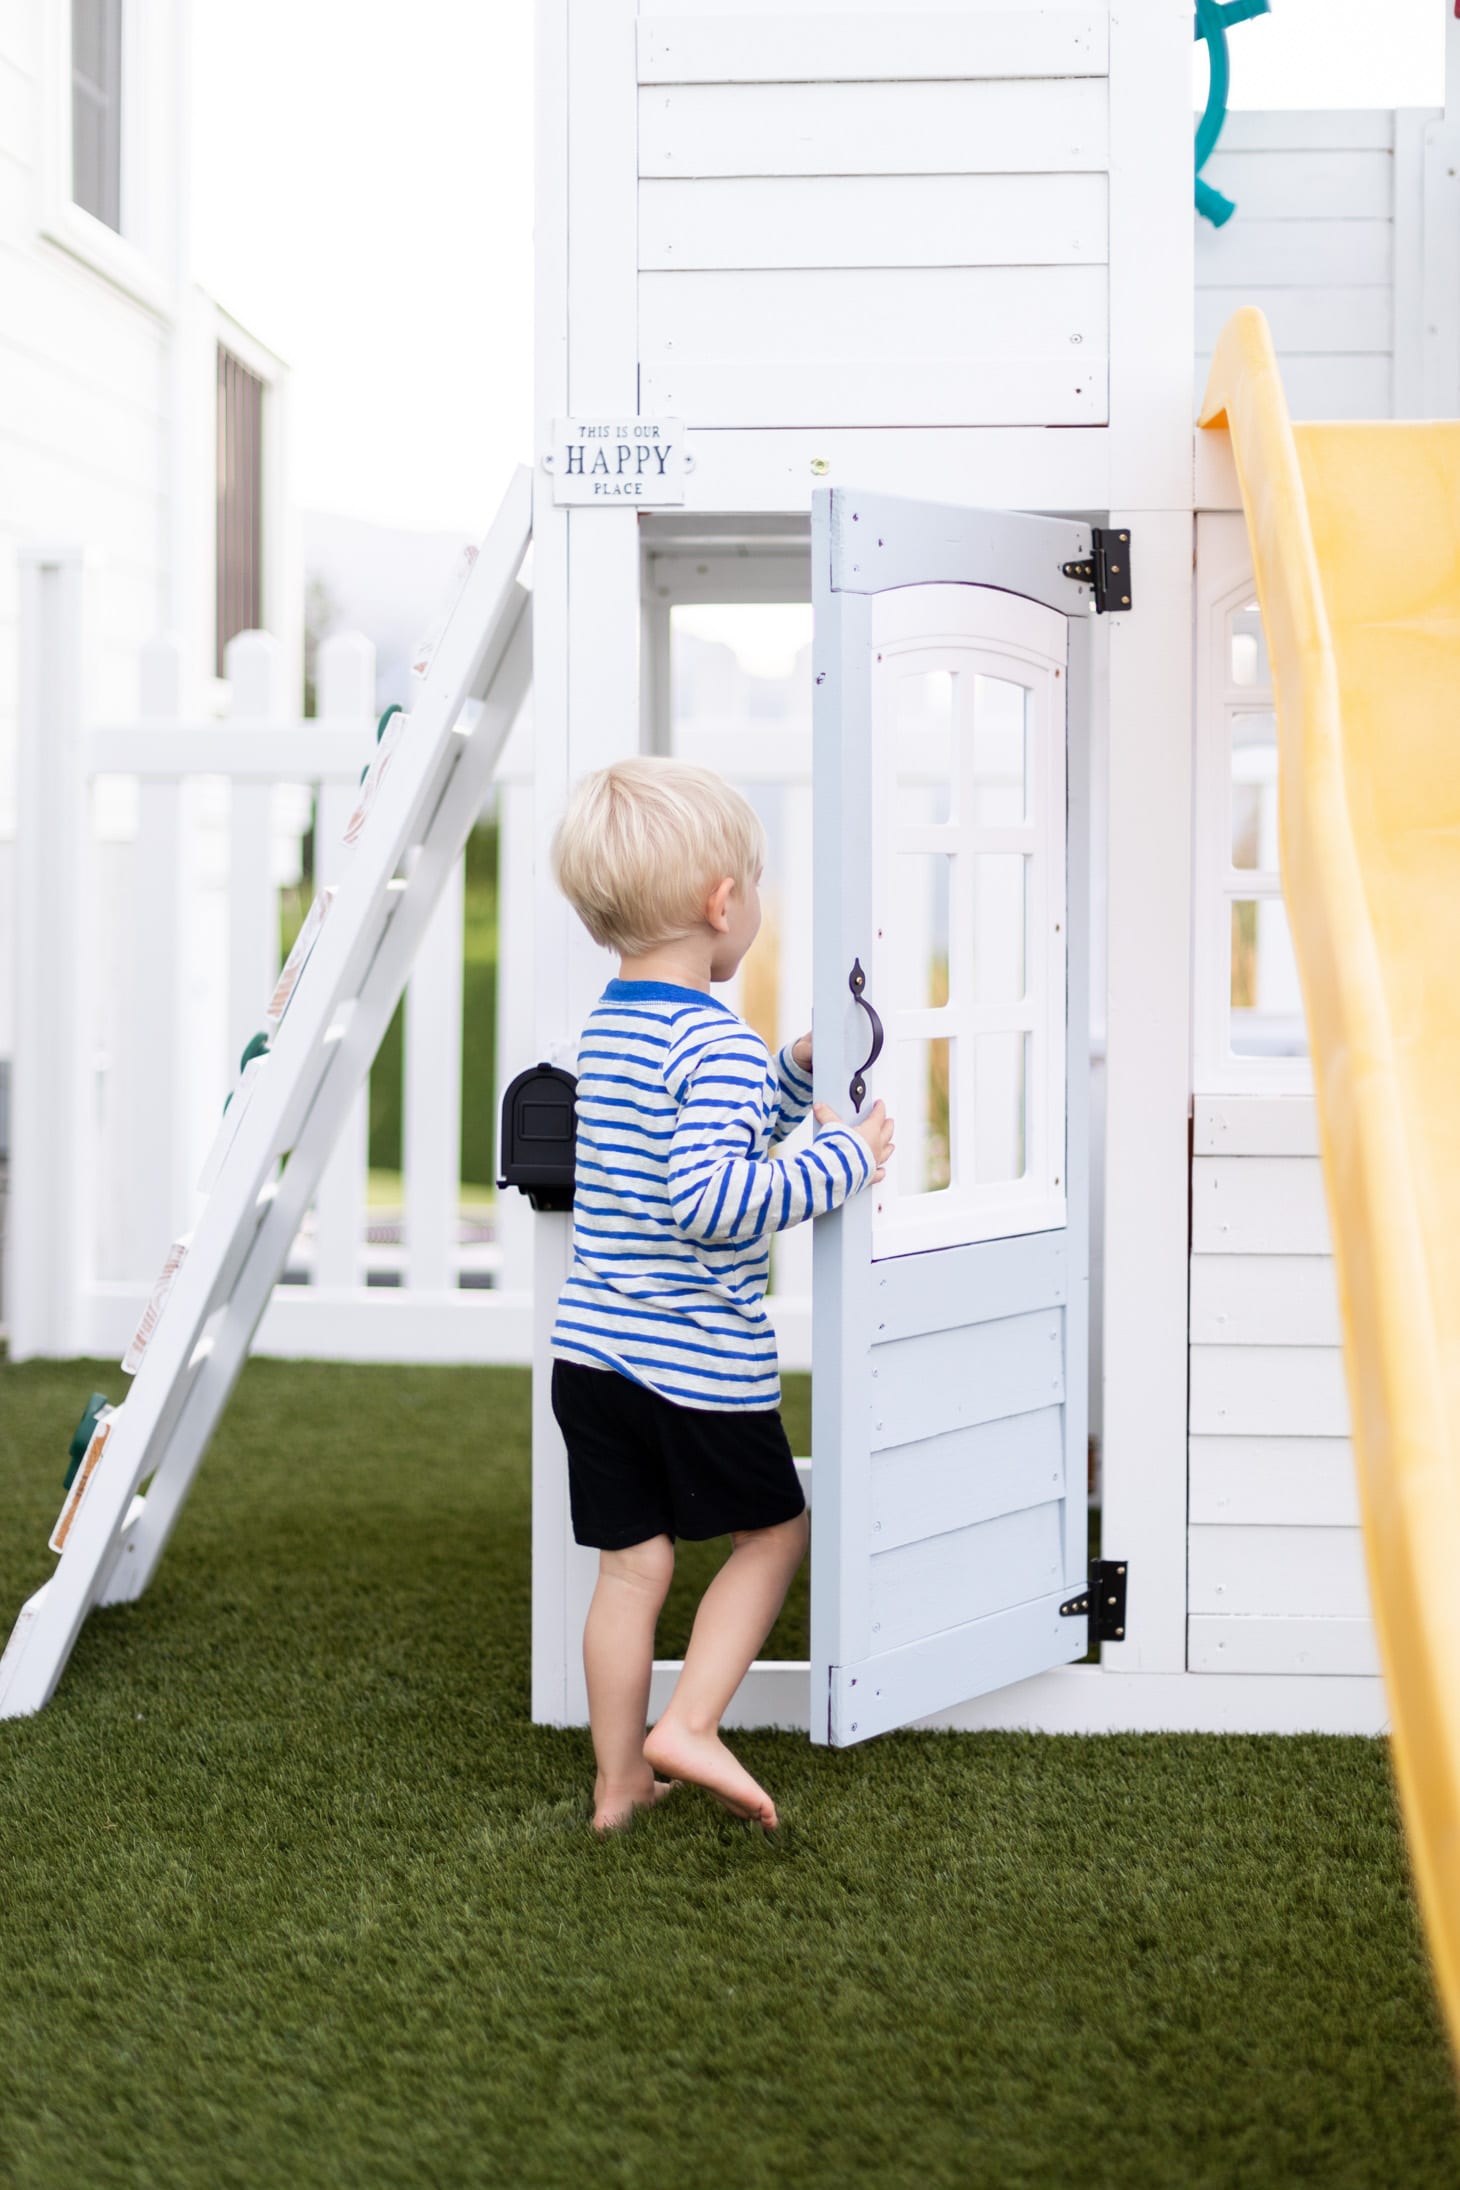
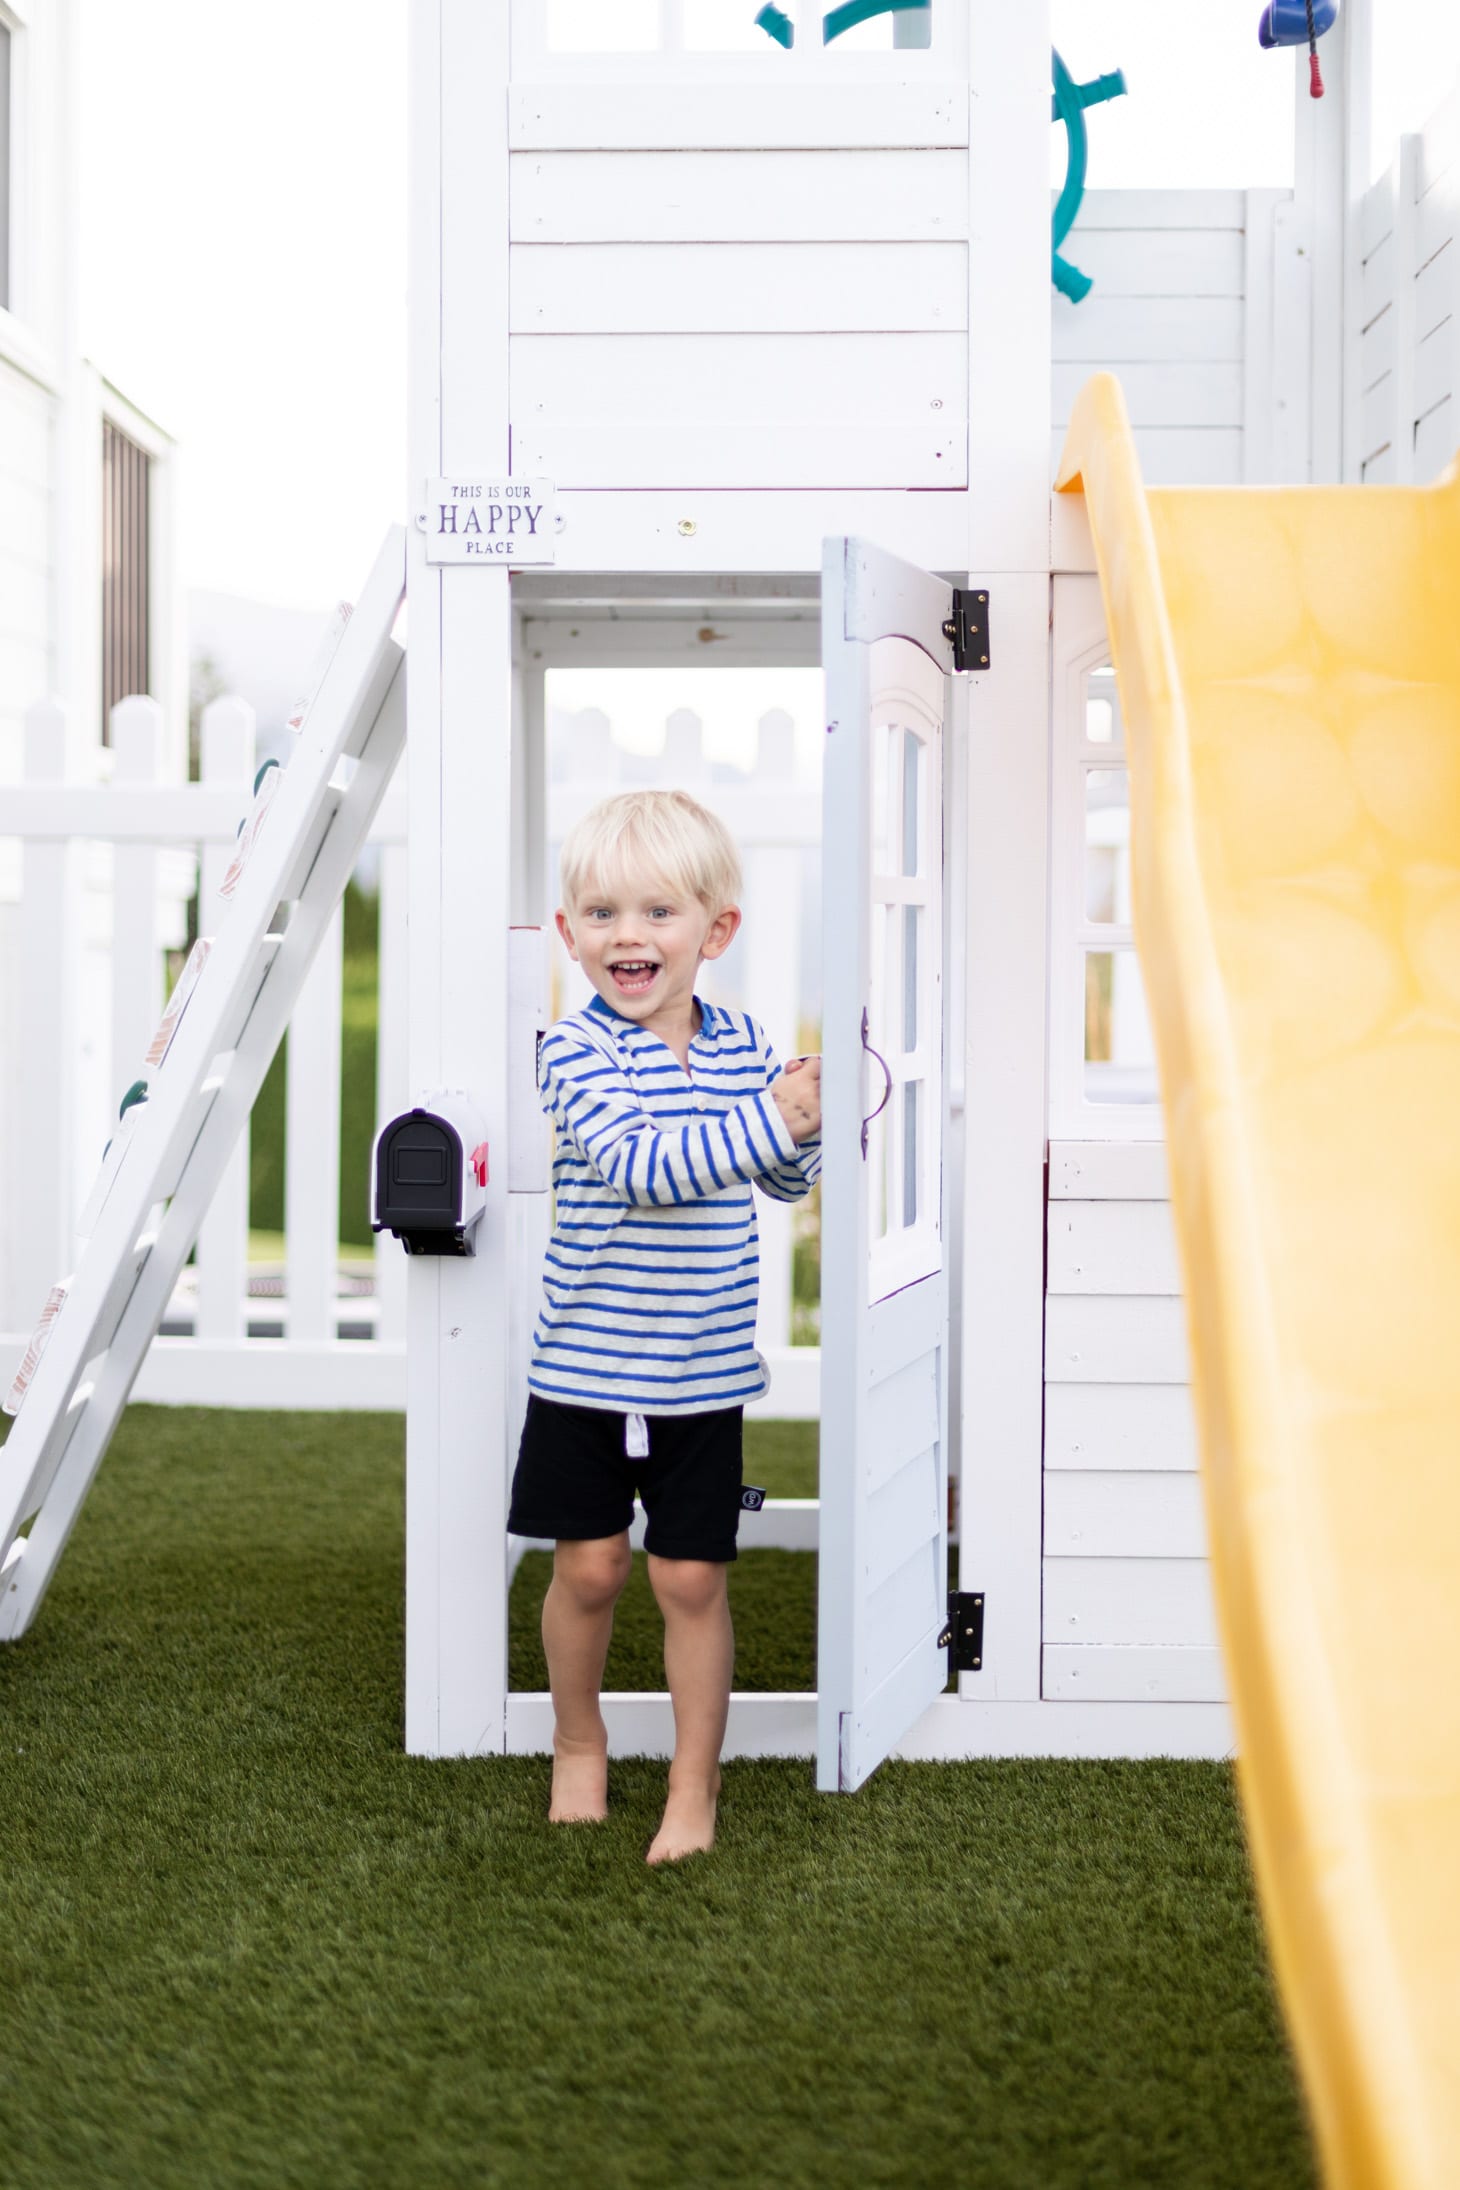
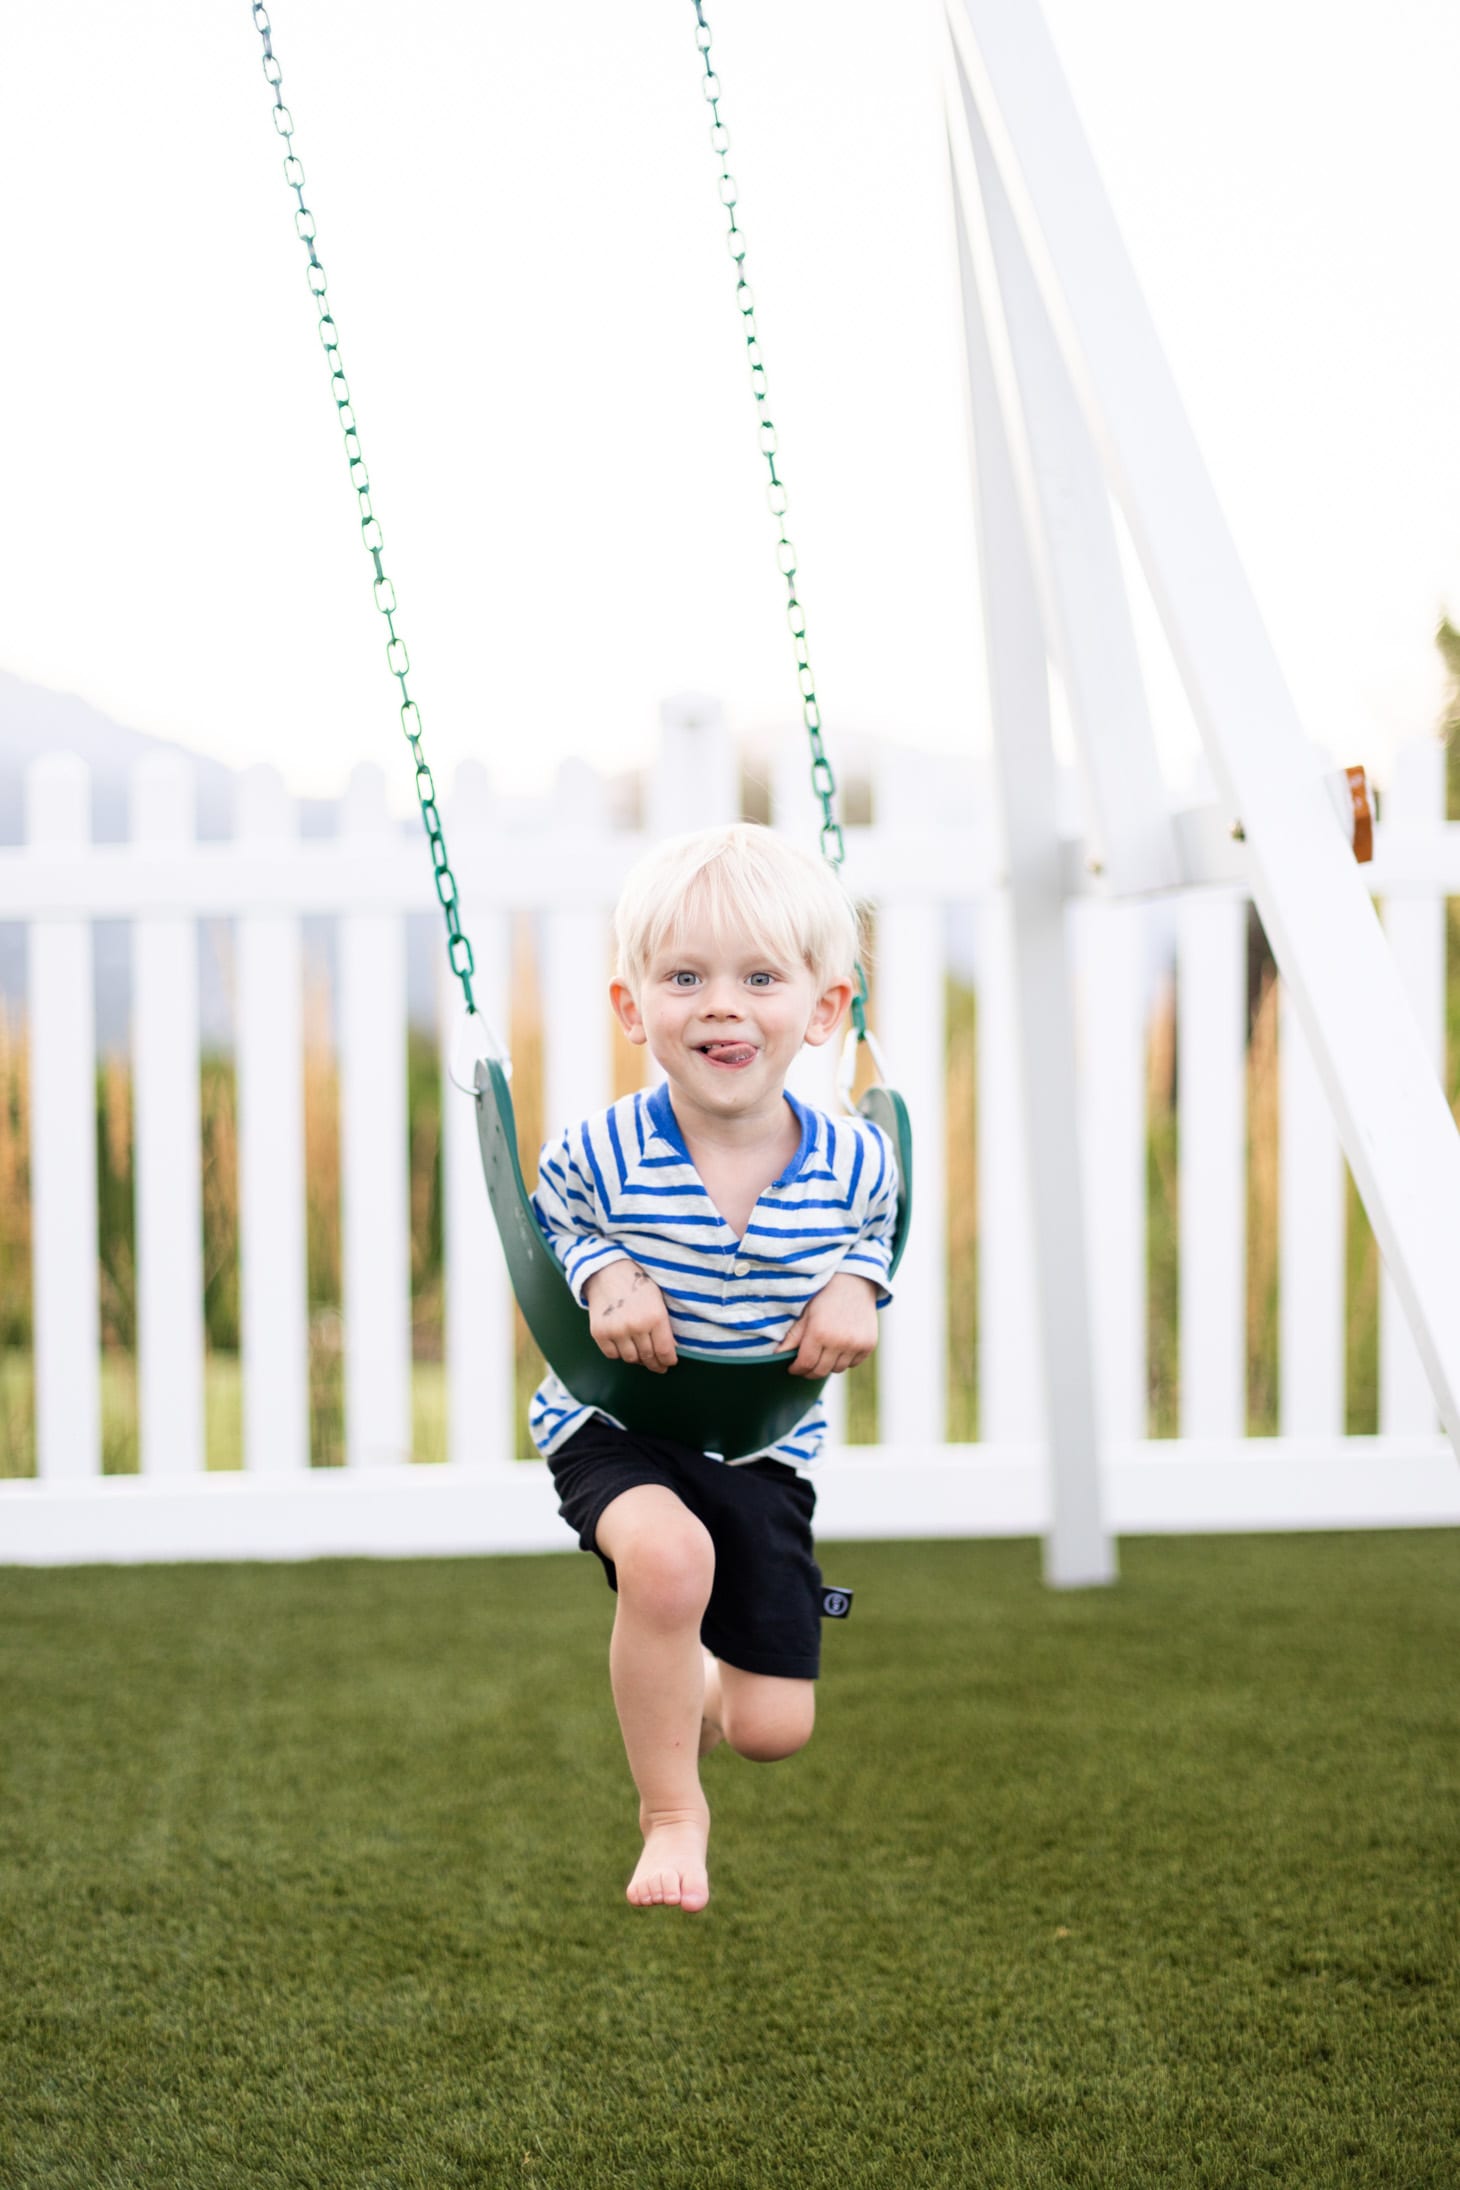
To finish off this space, I ordered a huge Connect 4 game from Wayfair and while the kids don’t understand how this game works JUST yet, they still have a ton of fun playing with it! All in all, I think this area turned out beautifully and better than I could have ever imagine. The 2-hole putting green has already seen a TON of use from both the kids and adults and the playhouse is a hit with all of the little ones! We can’t WAIT to watch Leo and Annie run around here together!!
xo
Jilly





what fun! Great ideas.
Hi, what type of paint did you use for the house? And for the plastic stuff? I have a playhouse in my garage, waiting for paint!!
What type of paint did you use for painting the playhouse?
Adorable! What kind of paint did you use for the picnic table? Color?
What color (& brand paint) did you use to paint the swing set?
OMG, it turned out beautifully! Lucky children!
Hi, what type of paint did you use for the house and for the plastic parts? What are the steps you did before you paint?
Thanks!