Morning everyone!! I’ve been meaning to share this blog post since we released our very FIRST Jilly Box! We even planned on shooting a quick tutorial video during one of our team shoots (prior to COVID), we had the box ready to go to show you how quick and easy it is to flip it inside and out and as we were packing up for the day we realized the flattened box was still sitting there on the coffee table where we left it and we completely forgot to shoot it! LOL! I guess we can’t win ’em all! LOL.
To be honest, flipping the Jilly Box inside out is pretty intuitive so I’m sure you could do it without any guidance from us but we thought it might be helpful to share some quick steps with you below in case you want to follow along!
Before we dig into the following steps, I’ll give you a little backstory on the actual box itself. When deciding on a physical box we went back and forth as a team multiple times between a corrugated box and a rigid box. Ultimately, we knew that we wanted something beautiful but we also wanted a box that could be repurposed AND recycled. Once we knew exactly what we wanted out of the box, it made our decision easier as to which direction to go and we decided to move forward with a corrugated box from Georgette Packaging. Not only are these boxes made from 100% recycled materials, but they are completely recyclable as well. And the cherry on top? You can flip them inside out and re-use them.
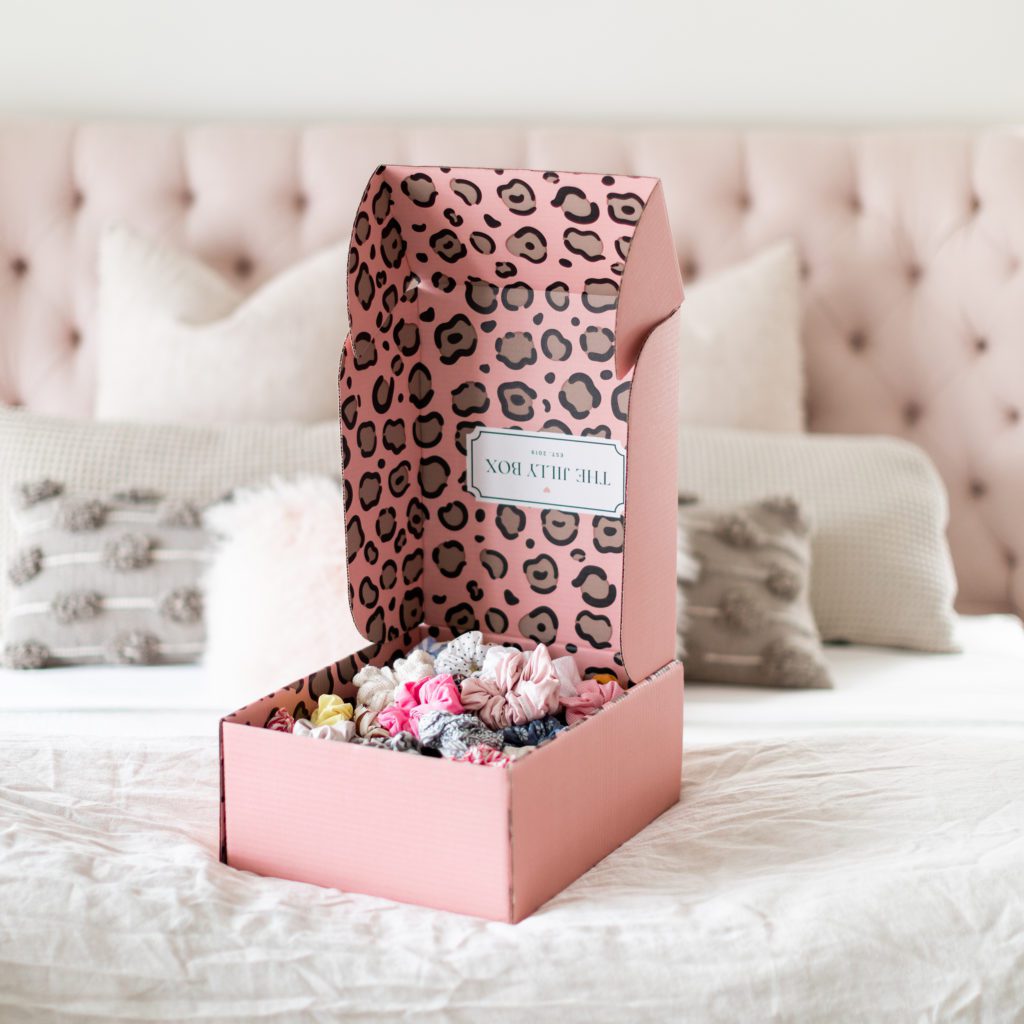
Since we would be shipping the box as is, we knew we wanted to have our fun seasonal print on the outside but since the Jilly Box gets a bit dirty from the shipping process we decided to also incorporate a solid colour on the inside of the box which matches one of the pantones on the outside of the box. We did this purposely so that if you wanted to repurpose your box and use it for storage that you could flip it inside out and you’d be left with a beautiful fresh box that you would be proud to display in and around your home. We decided to go with a solid colour because chances are one solid colour would match more decor than one of our fun prints would.
You can store a number of items in your repurposed Jilly Box such as nail polish, photos, scrunchies, sunglasses, recipe cards, anything your little heart desires! If keeping a box around your home for storage isn’t really your thing, that’s okay too because the Jilly Box is completely compostable as well!
Alright, let’s check out the steps below!
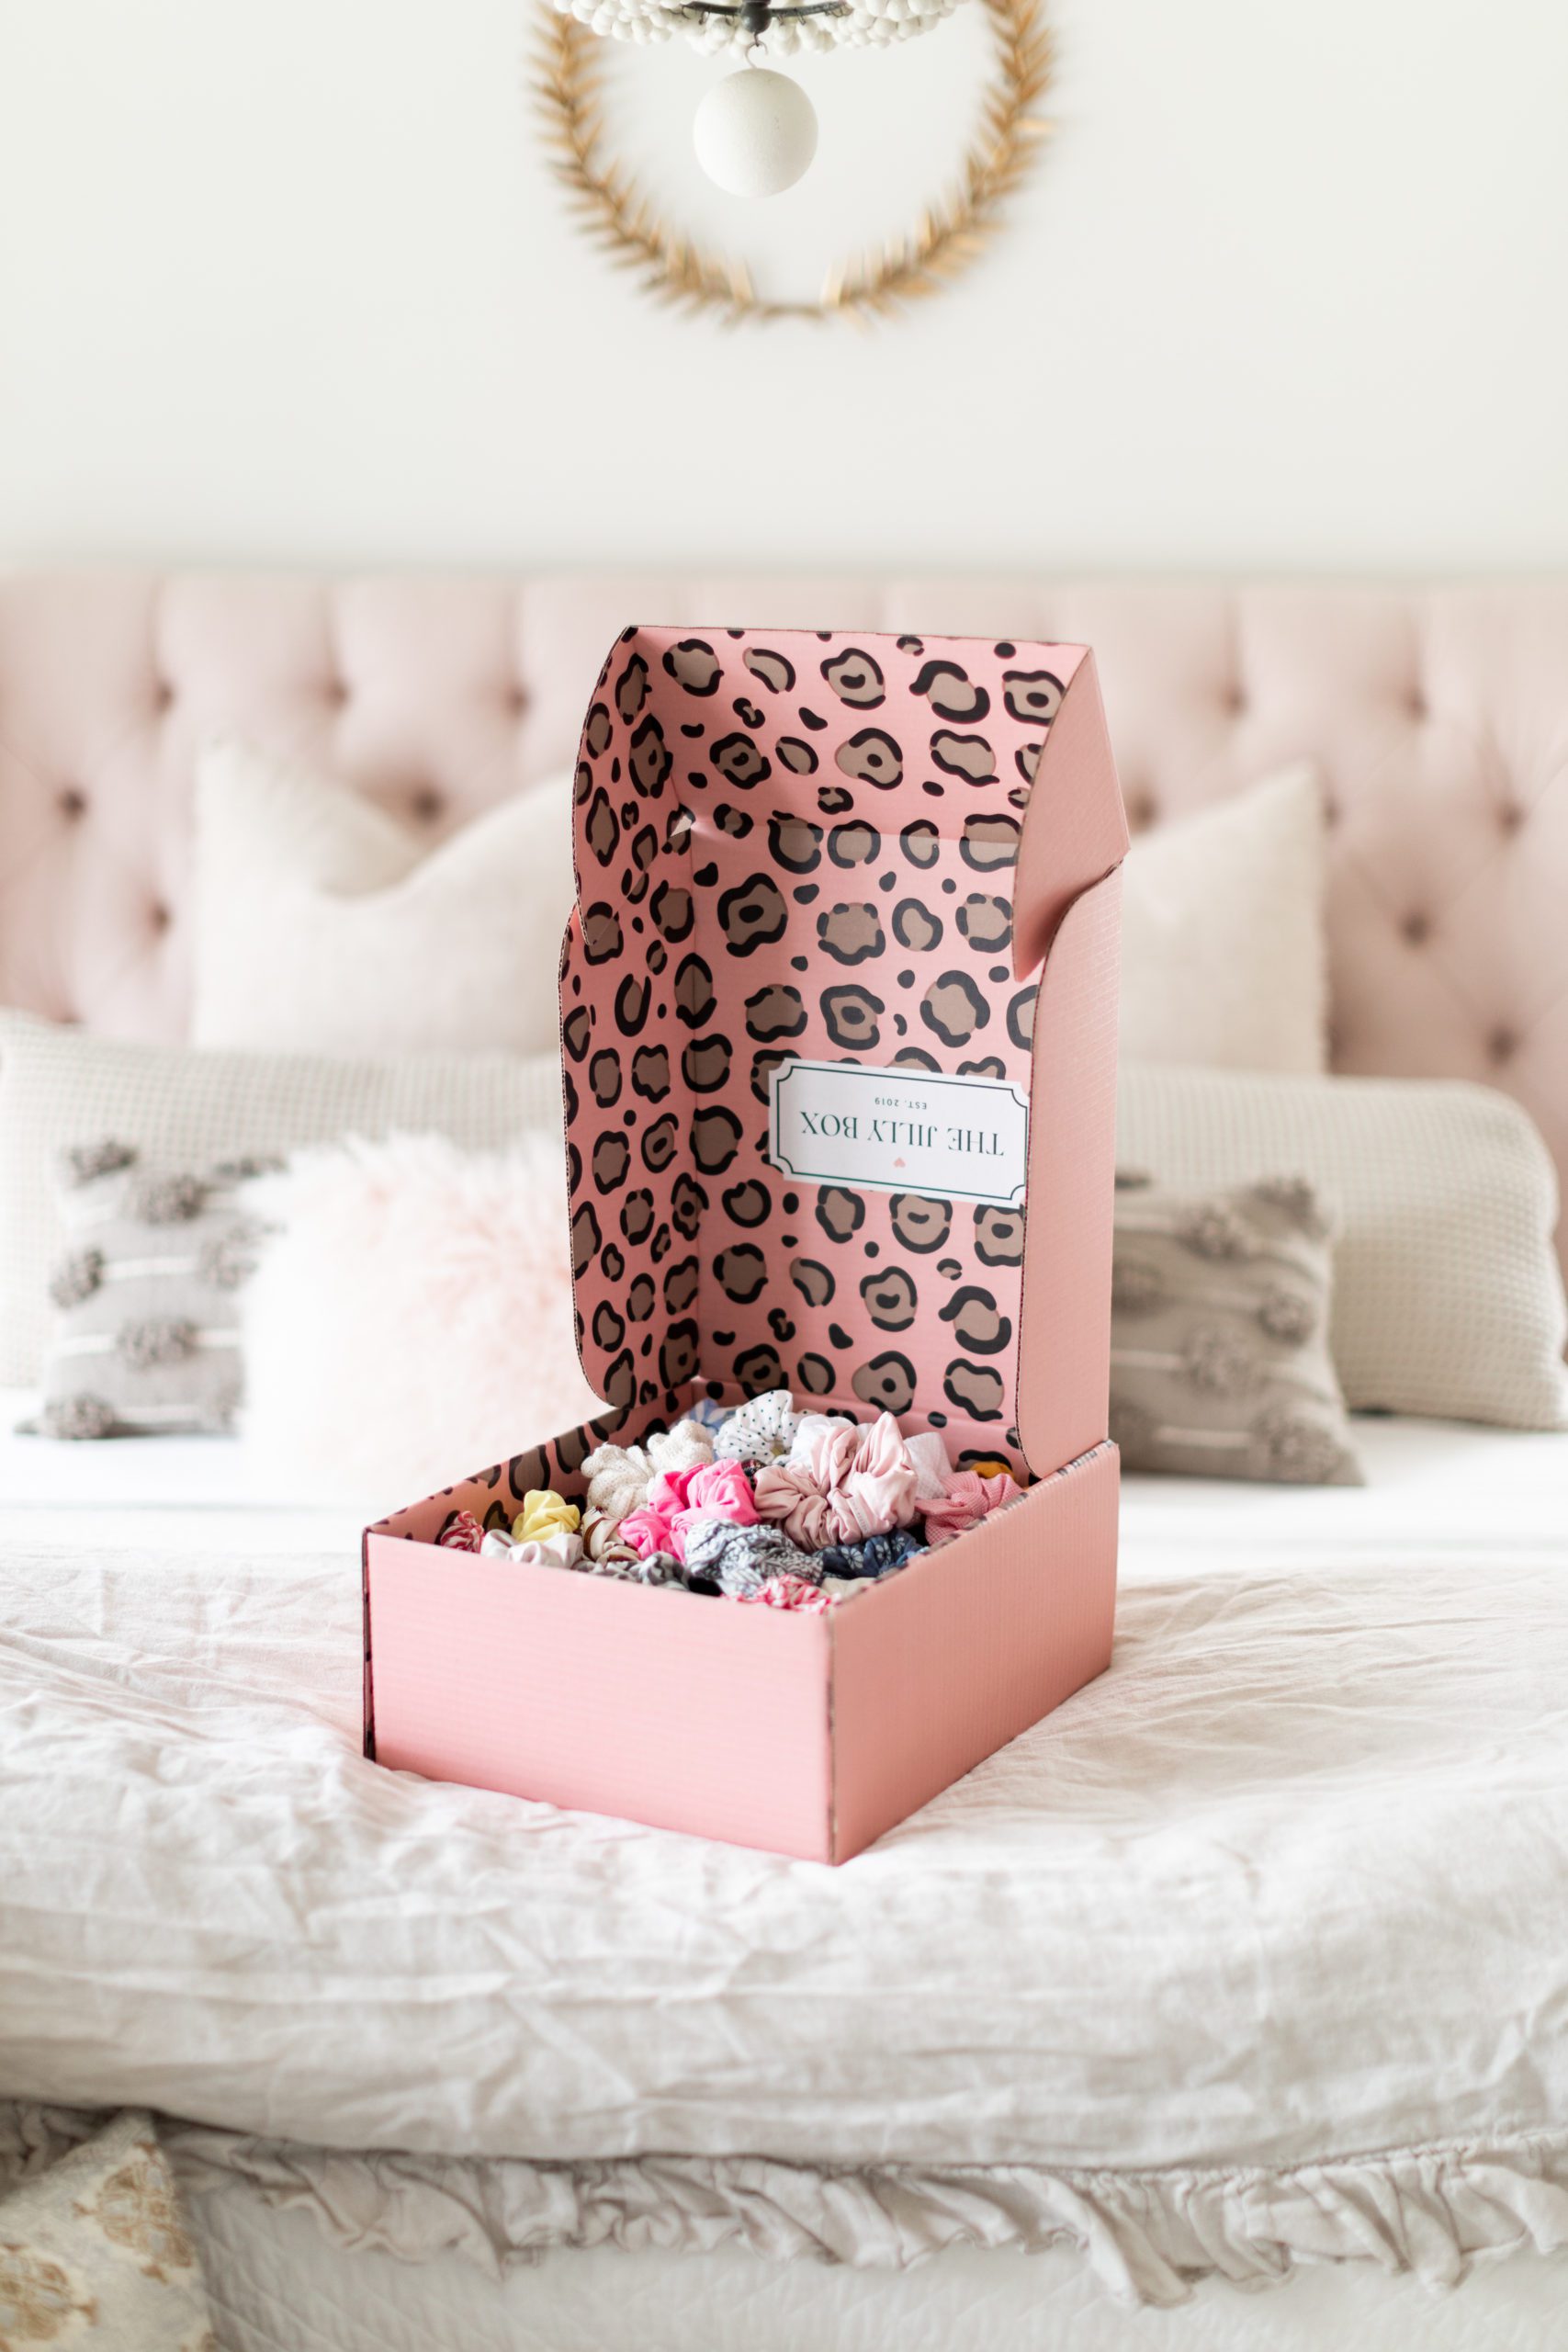
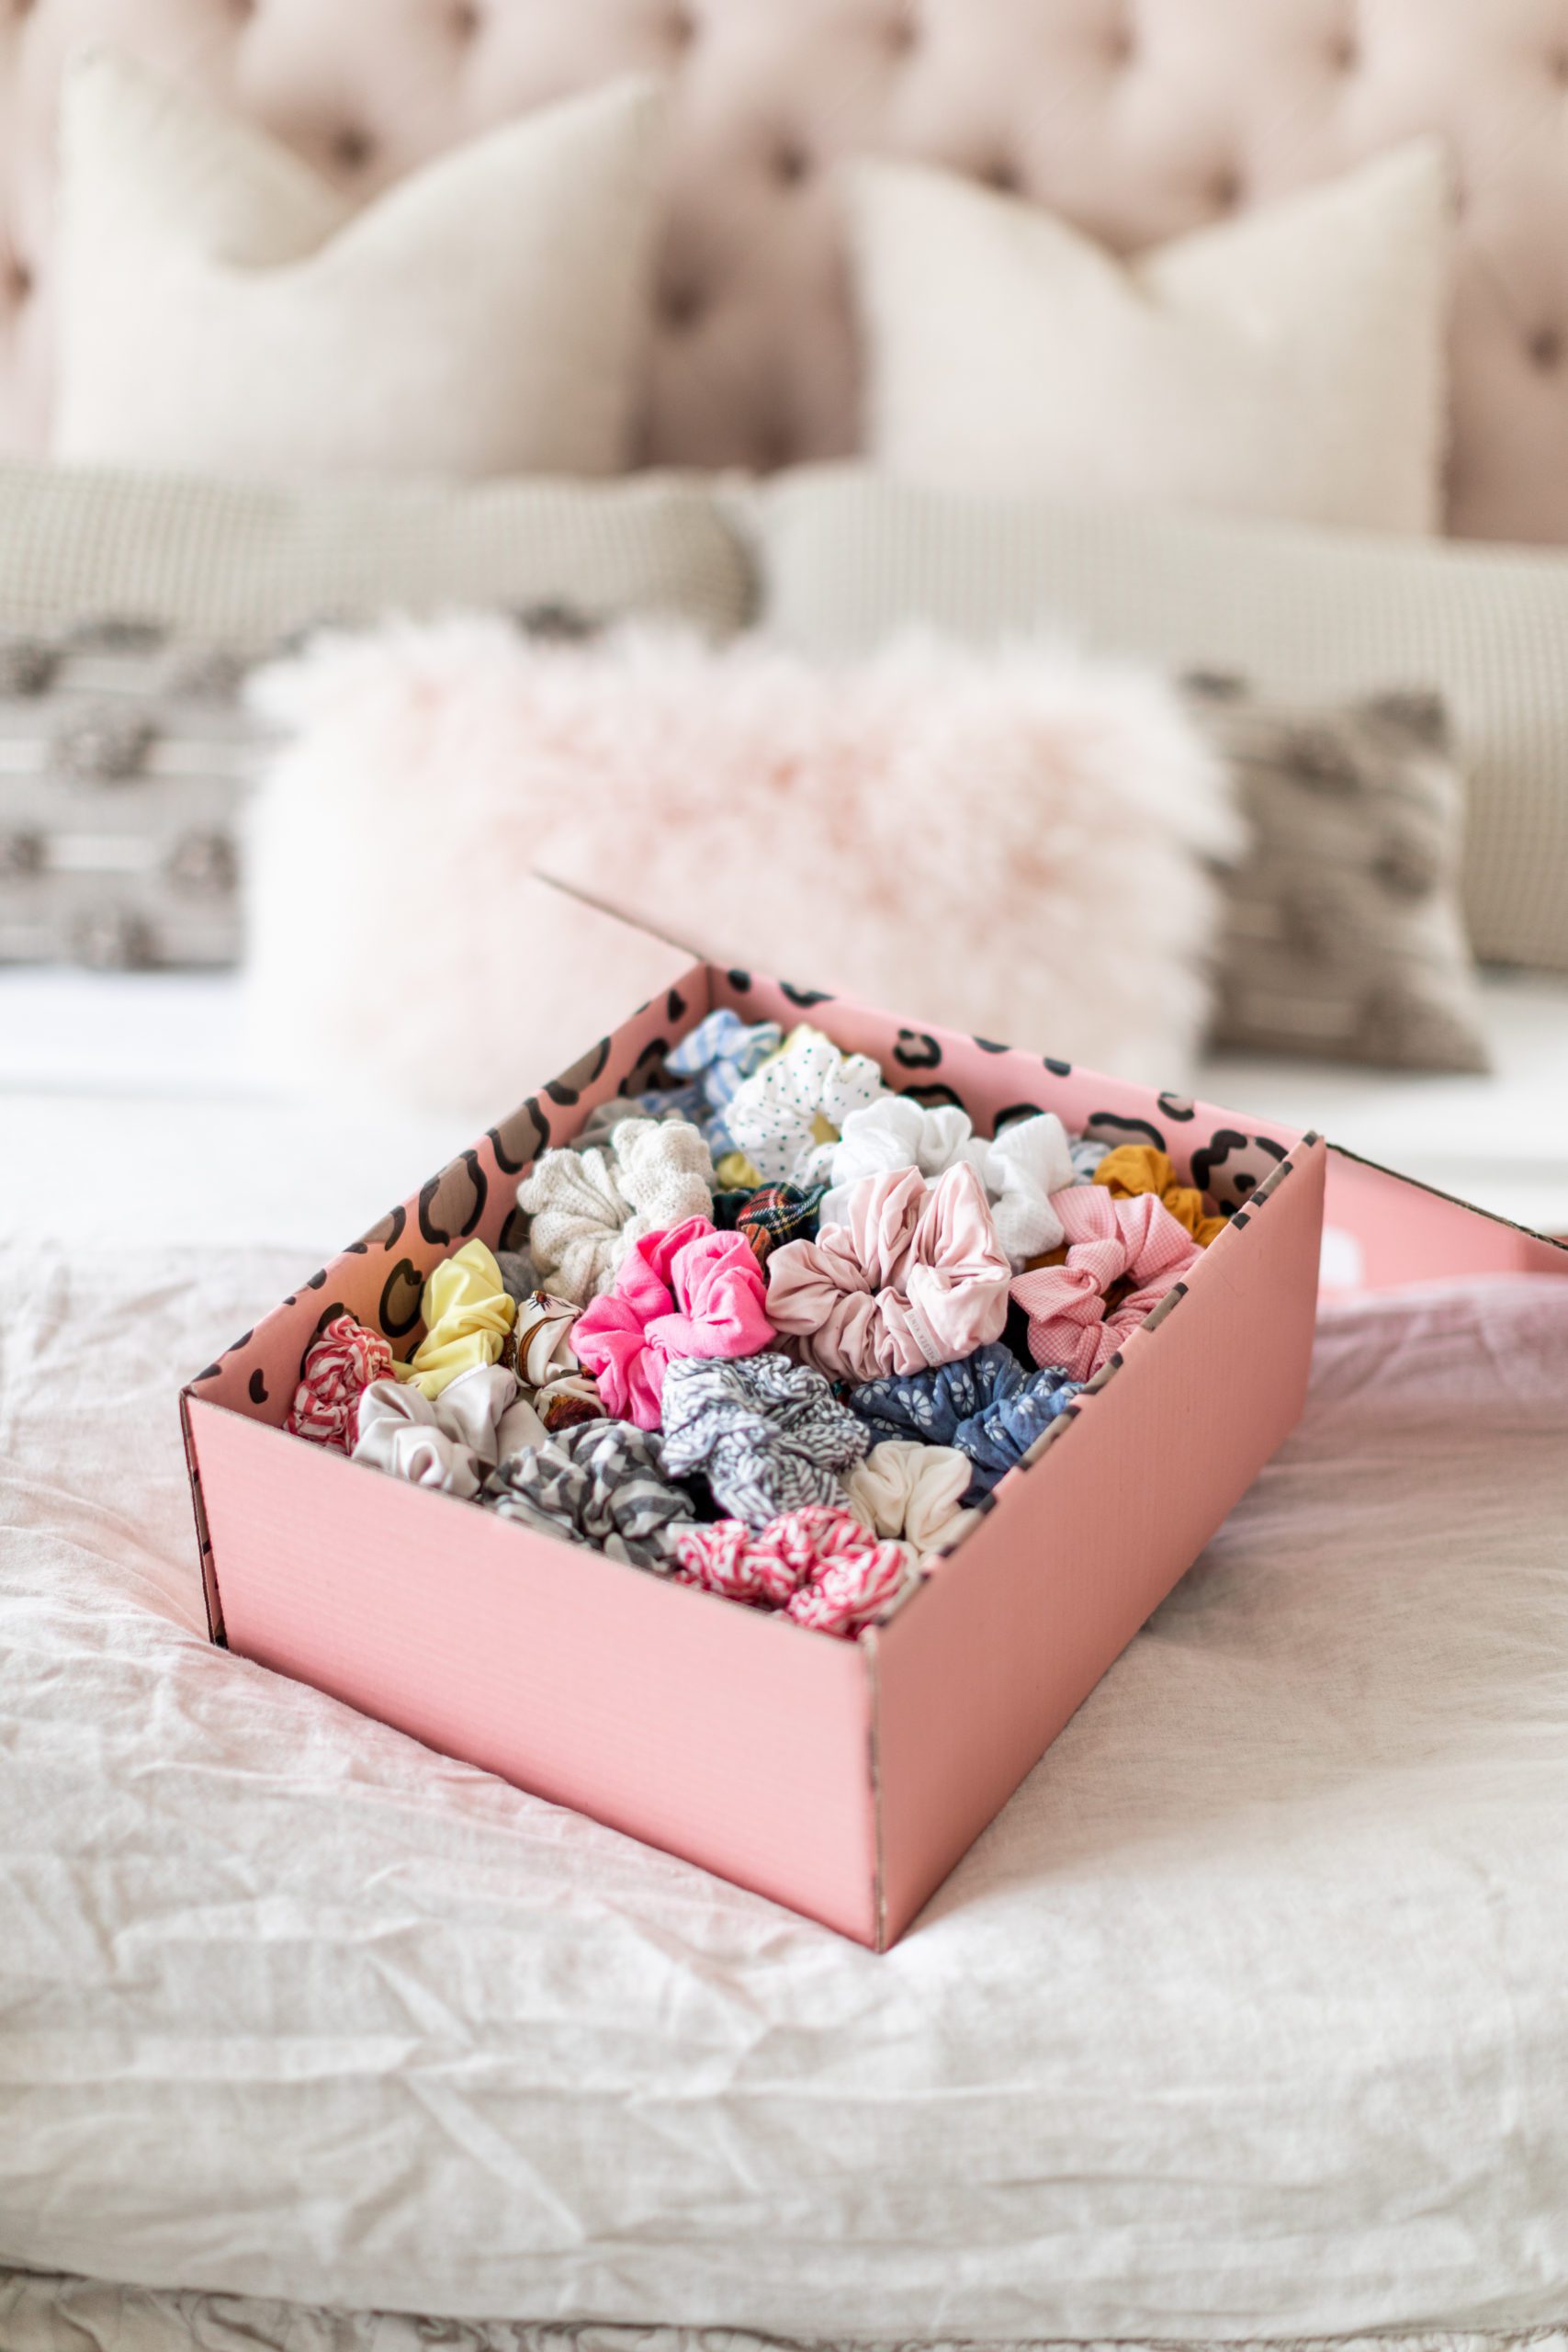
Follow these simple steps to turn your Jilly Box inside out!
Step 1
Open the box.
Step 2
Apply pressure to the bottom of the box and gently lift and unhook both sides!
Step 3
Flatten out the box! At this point, the box should be completely disassembled and flat.
Step 4
Flip the box so the pattern side is facing up.
Step 5
Bring white squares into the center of the box and insert the sides into the cut-outs on the bottom of the box.
Step 6
While holding the sides in place, fold the outer sides over and also insert them into the cut-outs on the bottom of the box.
Step 7
Close the lid!
Step 8
Label your box!
Step 9
Fill with whatever your heart desires!
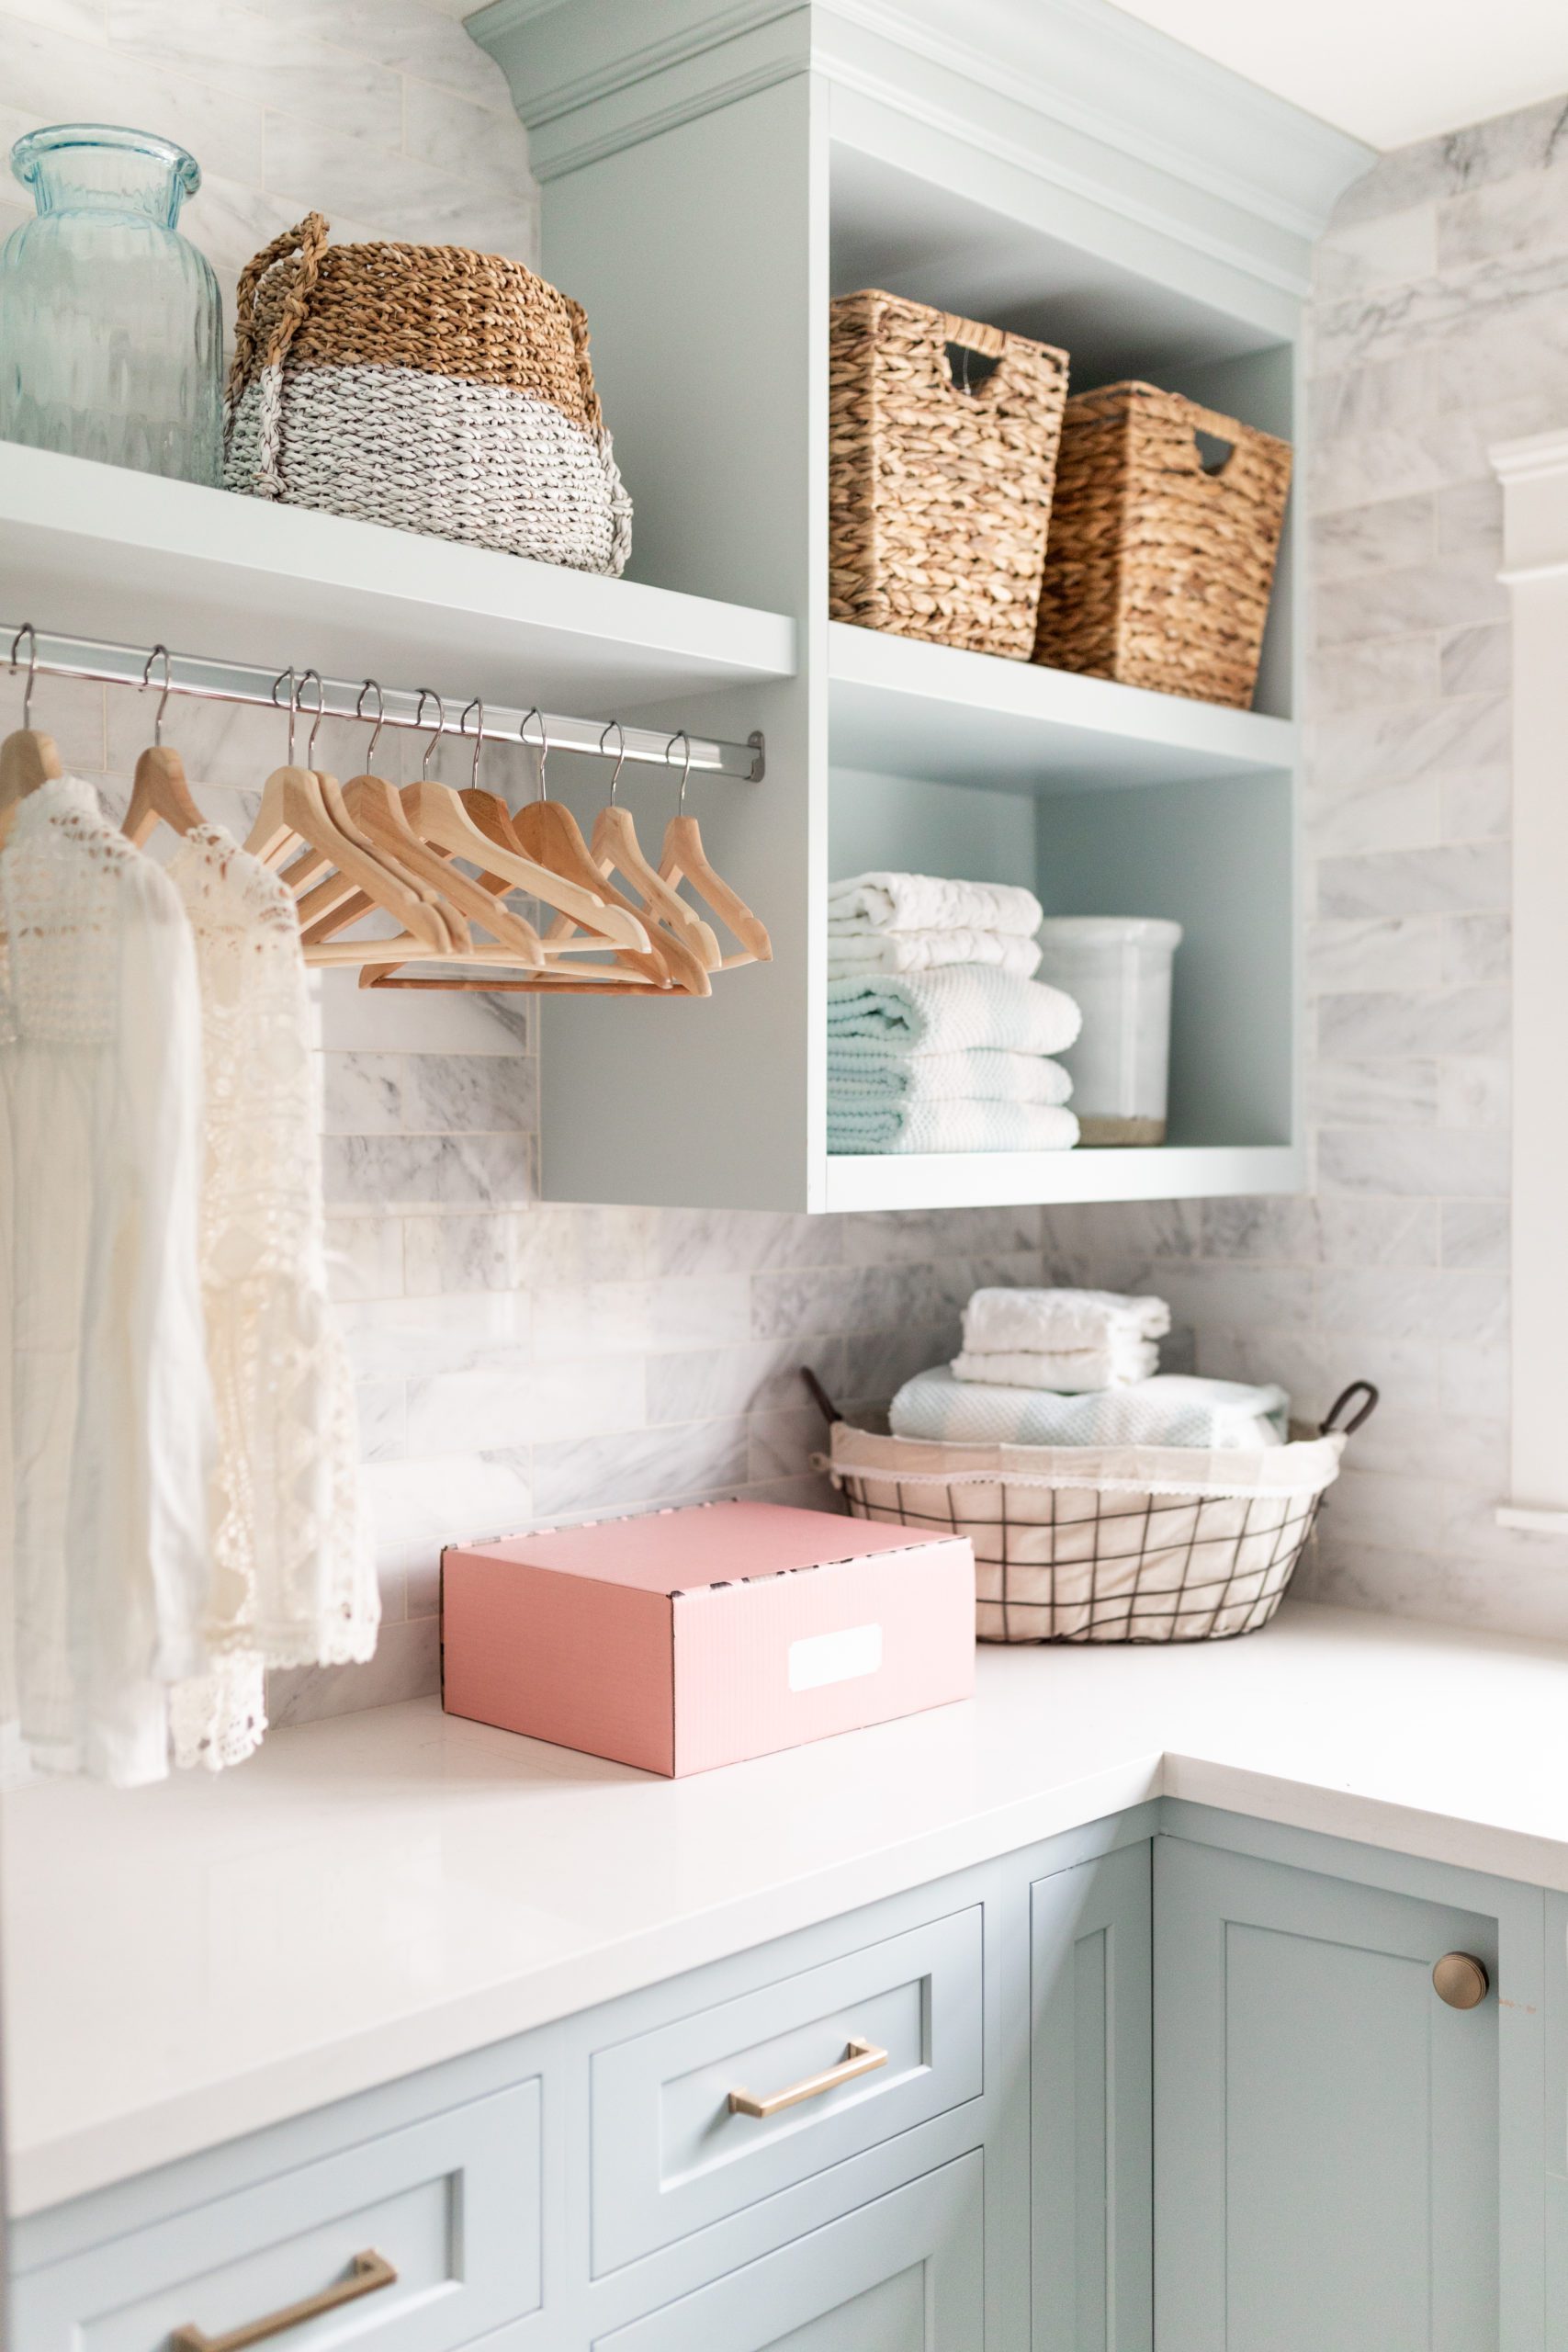
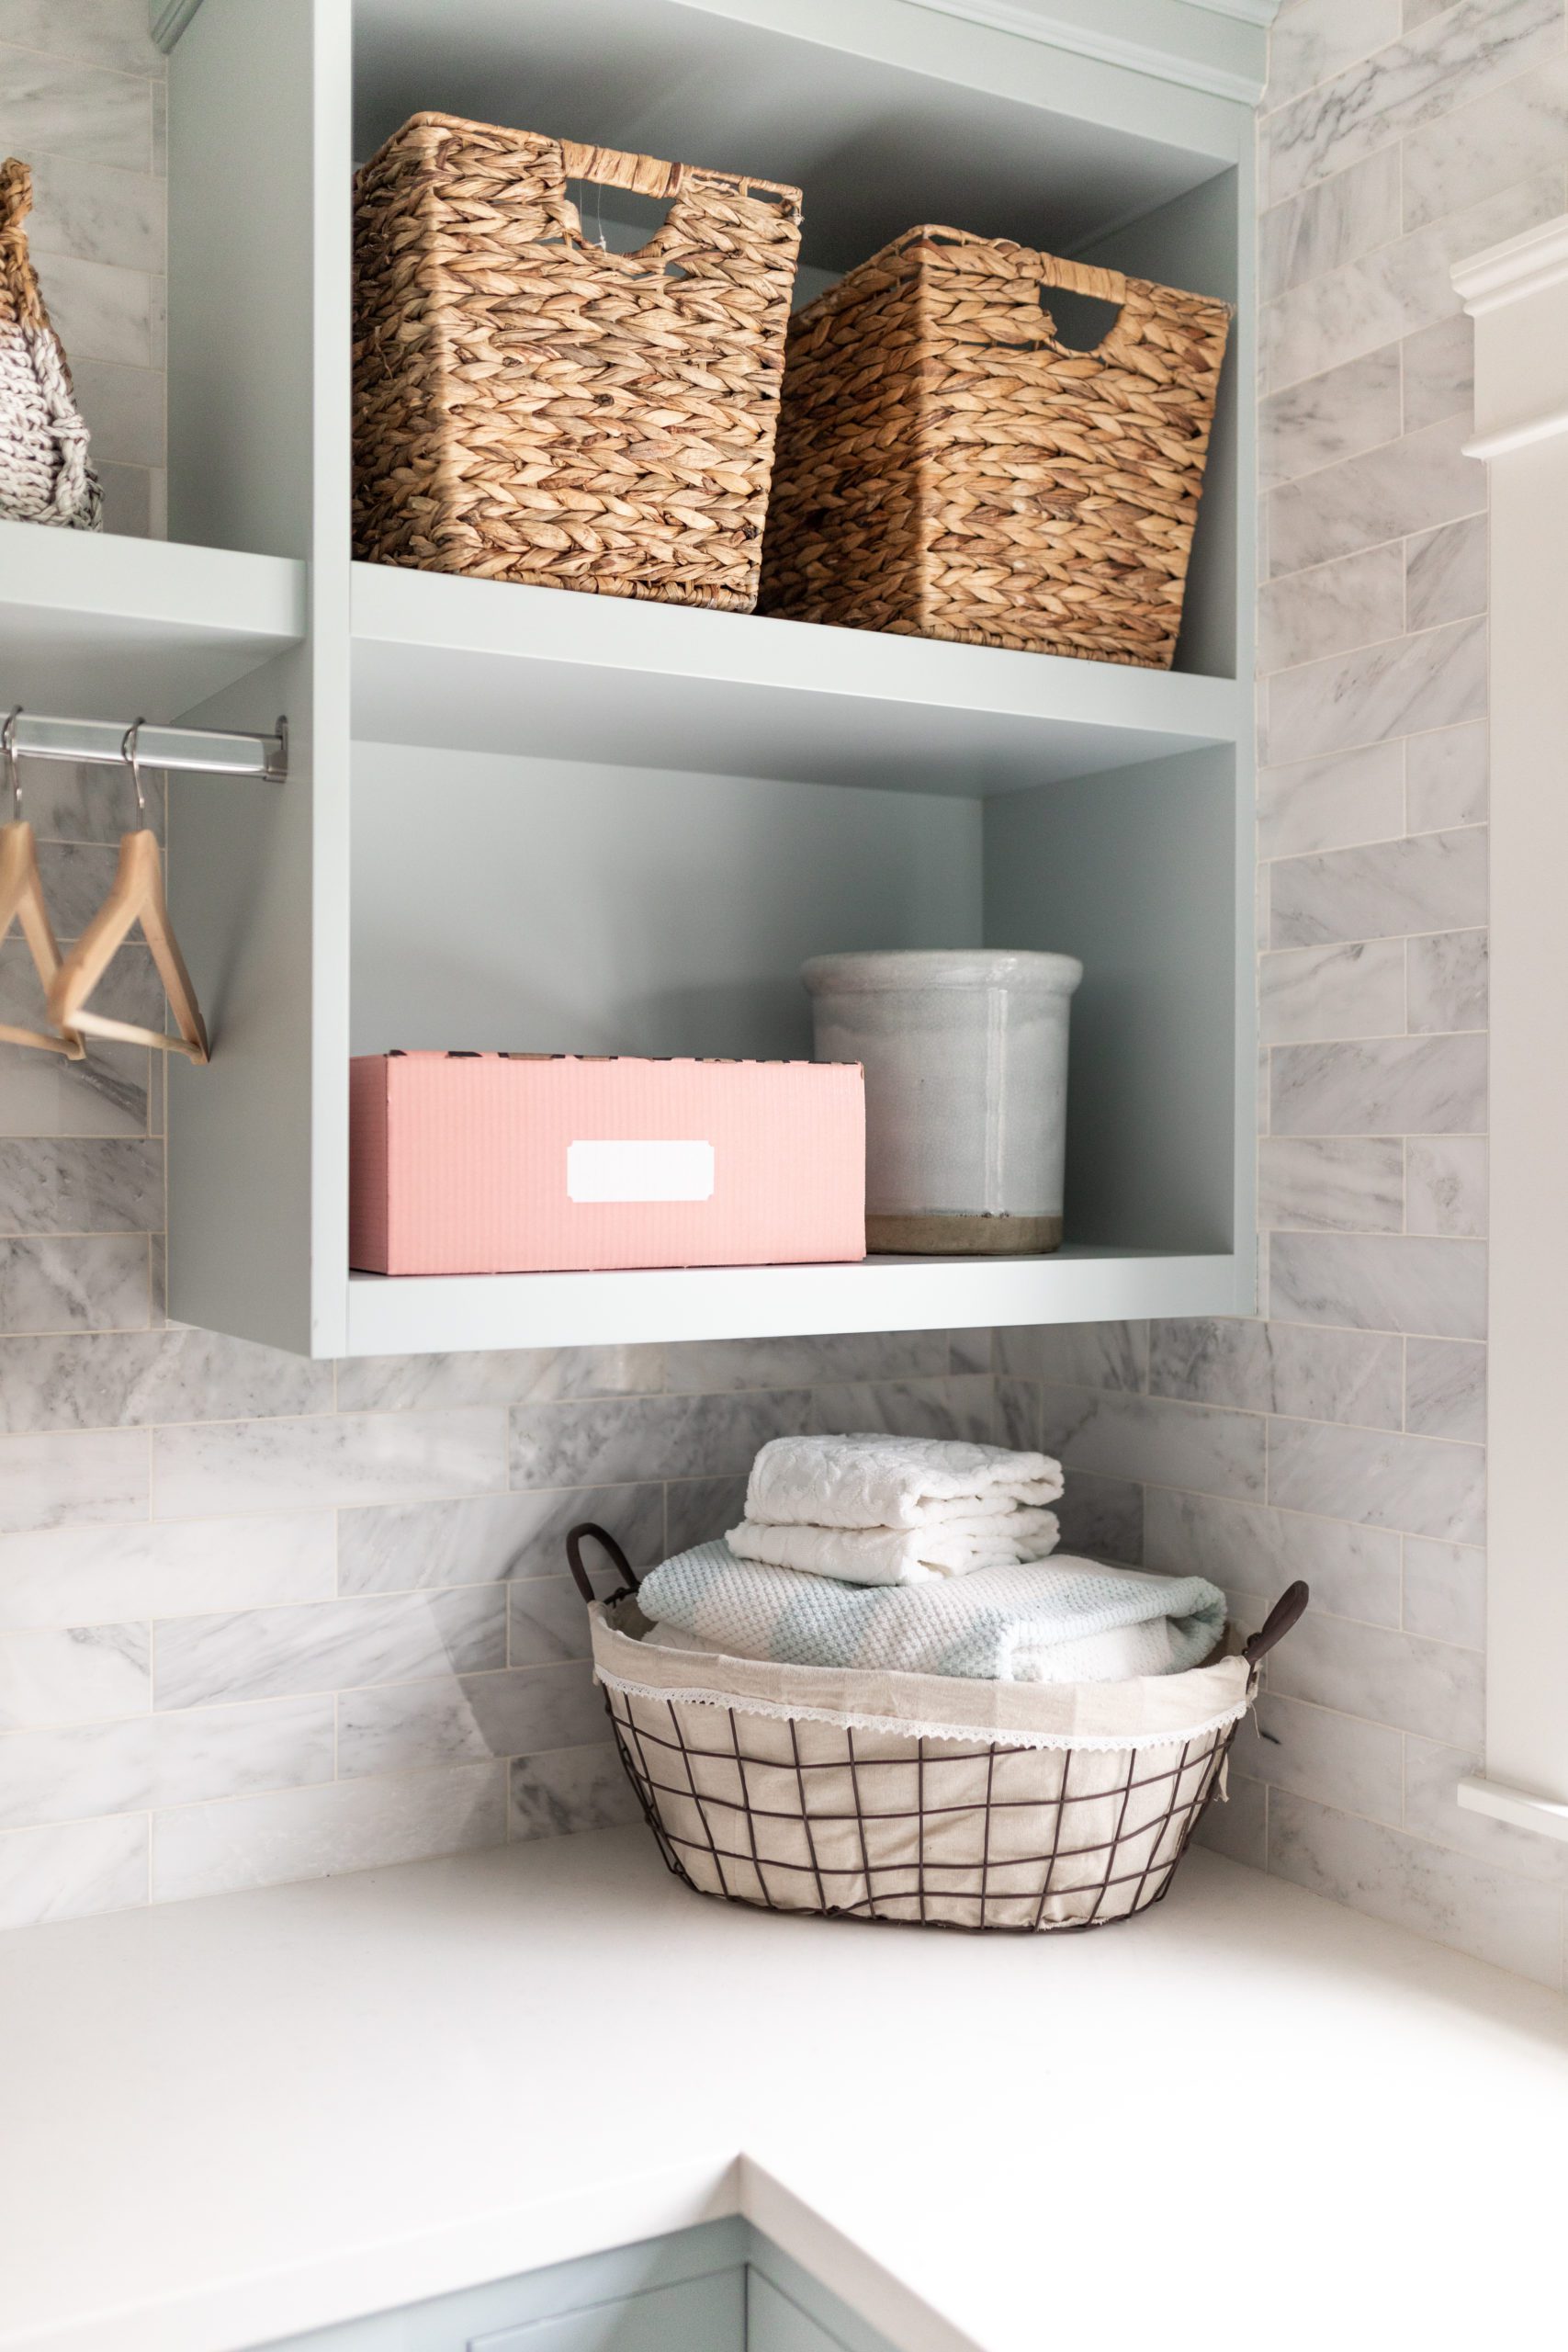
Well, there you have it! Super simple and easy steps to customizing your Jilly Box and putting it to good use after it arrives. I’d LOVE to know in the comments below what you are storing in your Jilly Box!!
xo
Jilly


Great idea Jill. I can see using this box for so many things like for my socks that always run away!!! But I must say, I really love the outside print!!