
Okay, so you may have heard about making your own tufted headboard before but let’s be honest: it sounds daunting. Well, I am happy to be the bearer of good news: it’s actually pretty easy! I recently finished the happy, yellow headboard above as part of a room makeover for my little cousin Sam who is living in my guest room while she goes to school.
In my case the process was extra easy because the condo I bought already came with upholstered (un-tufted) headboards. I wasn’t a fan of the color but am trying to stay on budget so I decided to reupholster and tuft them myself.
Traditionally, you need to measure out your markings, drill holes into your MDF (medium-density fiberboard), thread a thick upholstery thread through the MDF holes, foam, batting, fabric, and loop back through a button, pulling the button and thread so tight that you would create a tuft in the fabric. It sounds like a lot of work but it’s actually pretty simple.
But since I lucked out this time and already had two upholstered headboards (one in my guest room and one in my master), I wanted to work with what I had.
Here’s how I did it:
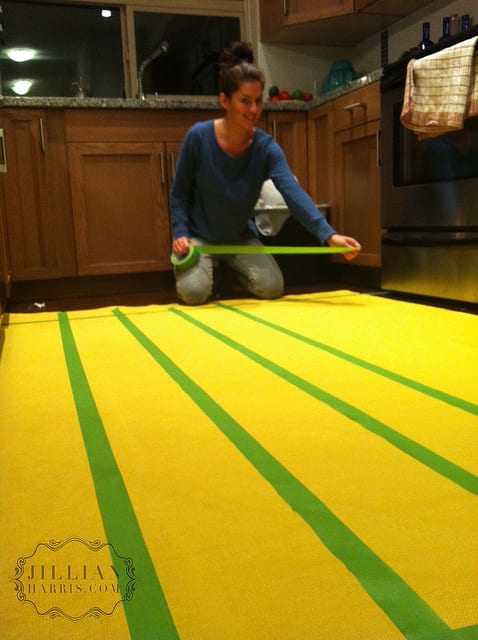
First, I spread out my fabric across the floor and marked my measurements with masking tap and a permanent marker.
Then, with headboard lying face up on the floor, I spread the fresh batting across the old headboard.
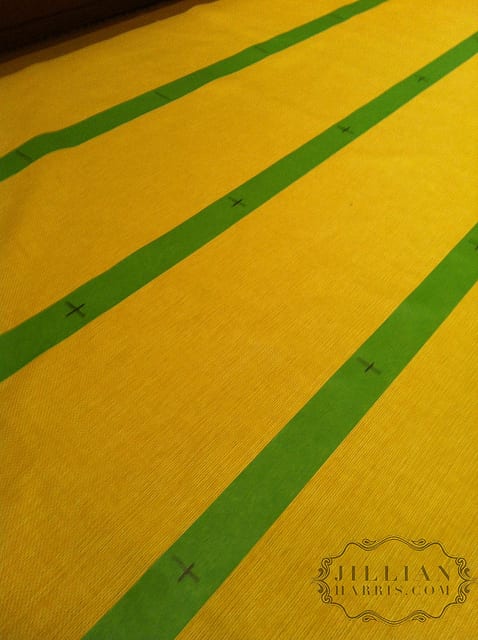
Next, I took my fabric and placed it over the layer of batting and, starting from the MIDDLE of the piece and working my way out, I used a BOSCHE staple gun to pop staples into all of my markings.
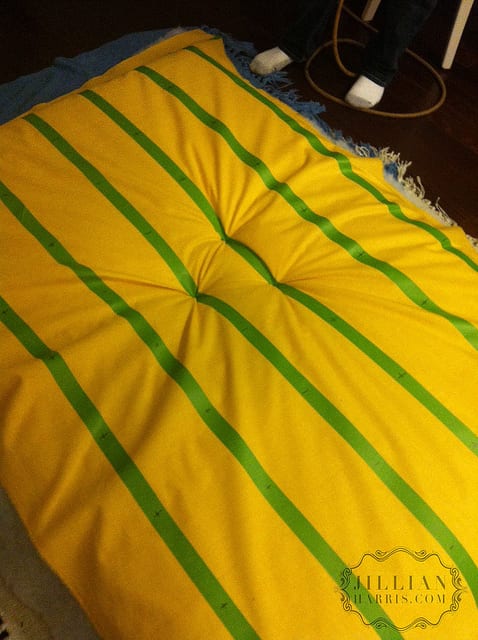

To my surprise – this actually WORKED and we had success!
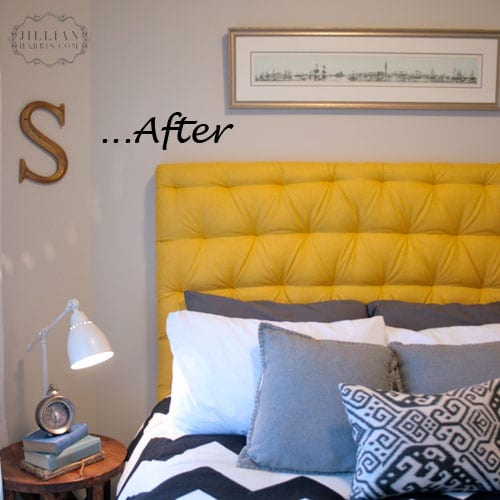
A note on Sam’s room- I bought the cool S above at a second hand store for $10!
Now – you likely don’t have an existing upholstered headboard so to start from scratch, but still do it the easy way like I did, you will need:
A piece of MDF cut to the desired size. While the width of your bed will vary depending on what size bed you have, a good rule of thumb regarding height is to stay under 50 inches – fabrics are typically 54 inches and you need a few inches for wrapping. Forty-eight inches is an ideal height to make things easy for you.
A piece of 2-inch foam cut to the exact same size as the MDF. You can get this at any fabric or upholstery store or save money by using camping mats from Canadian Tire or Target.
A piece of batting cut to same size.
Fabric cut to same size. Now, in order to do this the “easy” way like I did, there is one MAJOR restriction: your fabric must be STRONG. For the first headboard, I inadvertently picked out an outdoor fabric, which is polyester/acrylic and has a tight weave and it turned out GREAT. But for my master bedroom (which I will reveal soon!), I had picked out a beautiful velour and the staple tore RIGHT through, so I had to go back to the store and pick out an alternate fabric.
Masking tape to map out your markings on top of the fabric.
Staple Gun – it is best to use a compressor powered staple gun. You can probably borrow one from a boyfriend, hubby, uncle, dad, brother or grandpa. If not, Home Depot rents them out 🙂
A few things I learned: really take your time in marking out your tuft marks. Leave enough space on the top (see how mine run a little too tight up the top and are a bit crooked?) and really make sure that your top row is EVEN when you are making those final staple gunshots… Learn from my mistakes!
So, are you ready to get crafty in the bedroom?
P.S. I will show you my bedroom pictures in a little bit when it all comes together- stay tuned!



This is great! Thank you for sharing the tips and how-to’s. I’m going to attempt to make this head-board today.
One question though – did you have to gather the fabric as you staple to get the nice pleats?