Hi Everyone! It’s Rachelle (Team Jilly’s Photographer) here, and I’m SO excited to share with you a super easy DIY to make for your loved ones for Valentine’s Day. First things first, I was browsing Pinterest because what else is there to do during quarantine (P.s Don’t forget to follow Jill on Pinterest, she shares some amazing finds!)? and I came across the most adorable picture of a hot air balloon and sent it to Shay right away. I’ll fill you in on a little secret, Shay and I have a MAJOR obsession with hot air balloons. I can’t wait for the day when we can travel to Cappadocia, Turkey, to watch their hot air balloon festival, and if you haven’t seen photos of it, I strongly encourage you to check it out. Now that I’ve filled you in on our obsession, the theme of today’s DIY will make sense! 😉😂
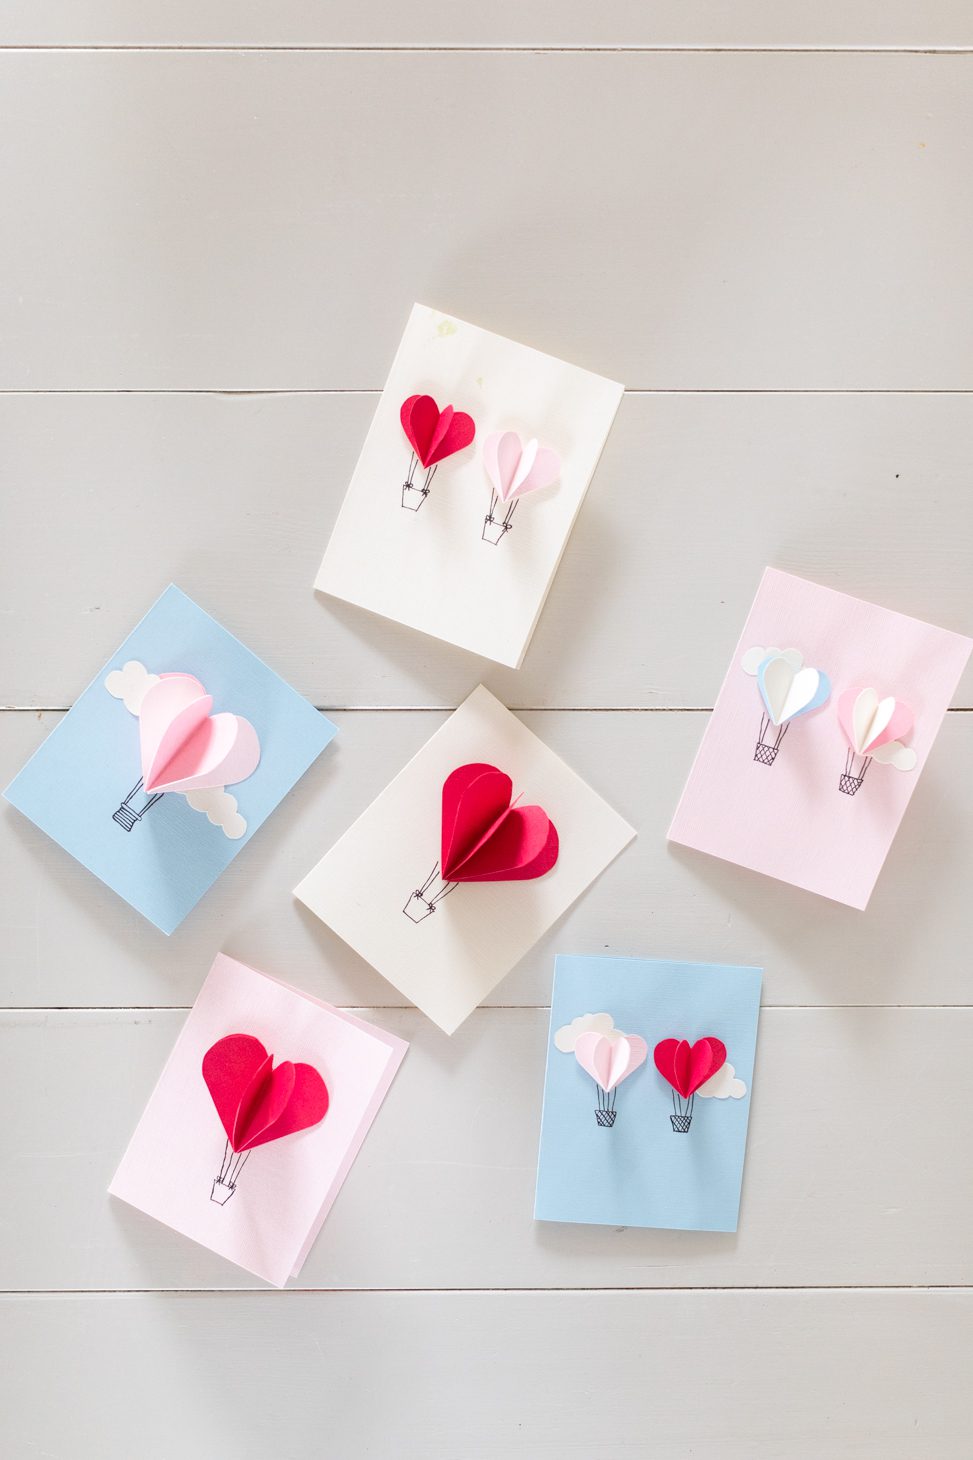
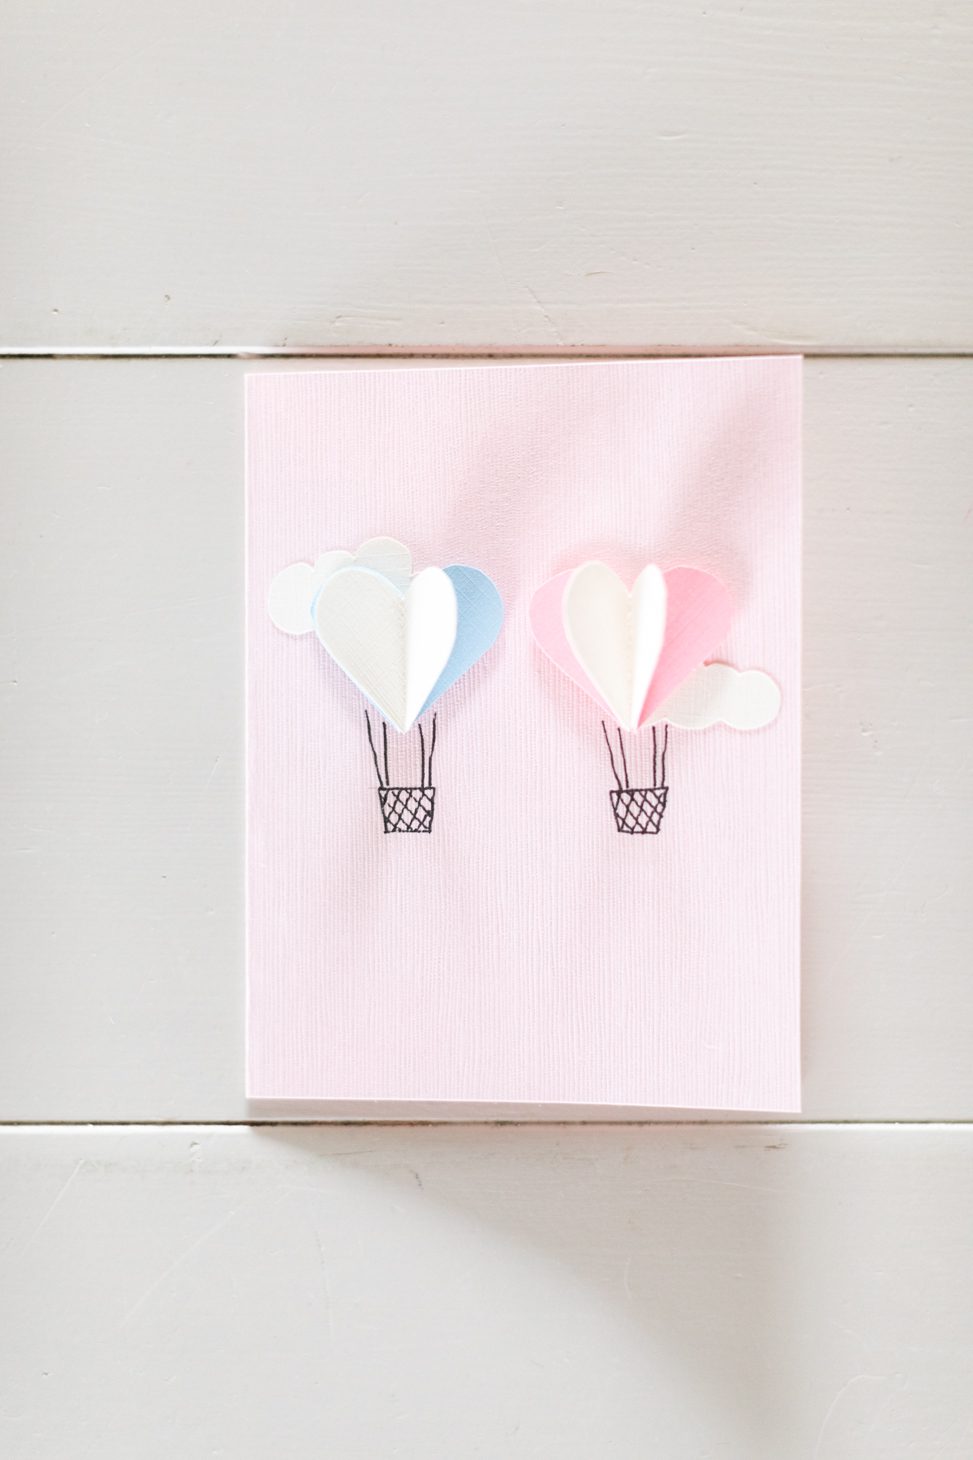
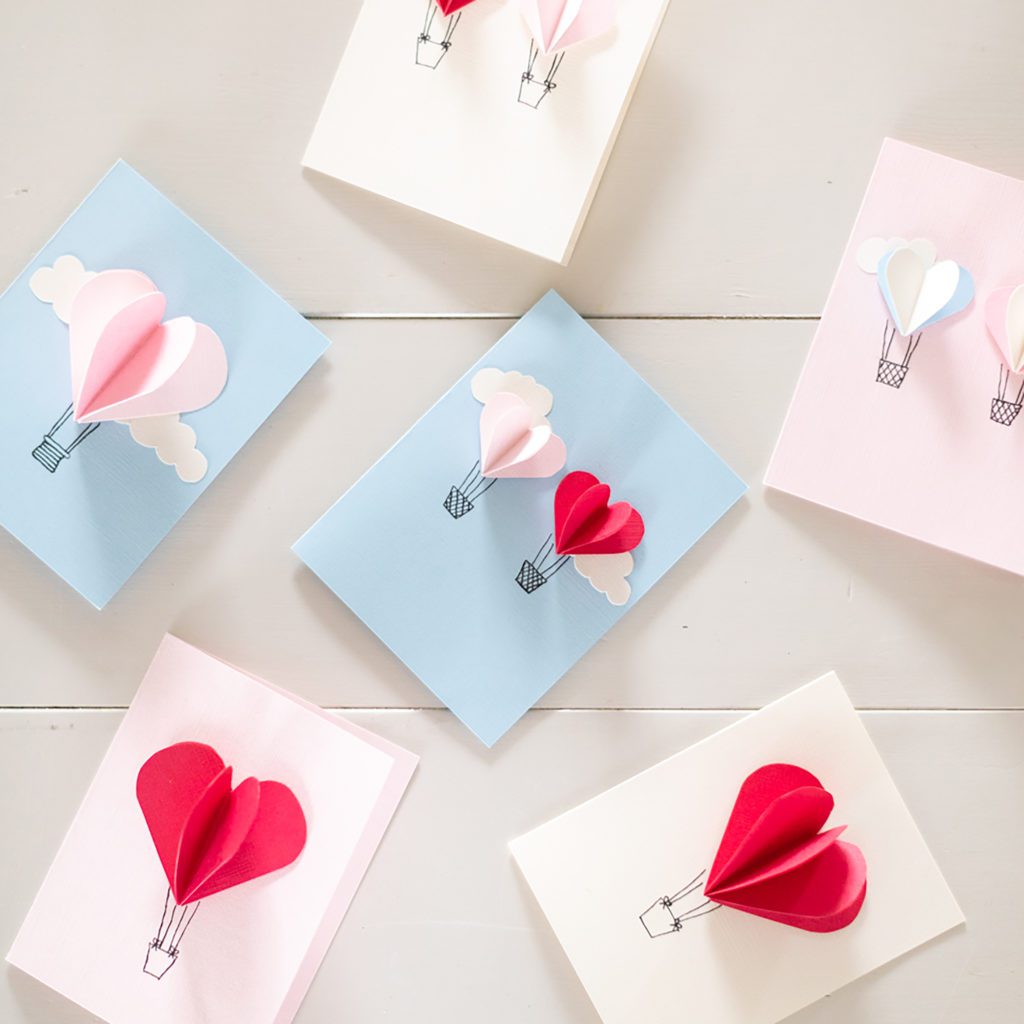
Anyways, on Pinterest, I saw a picture of a hot air balloon which got me thinking of creating a DIY Valentine’s Day 3-D hot air balloon inspired cards. They were super easy to make and I am so excited to share this fun and easy DIY with you today!
Let’s get right to it!
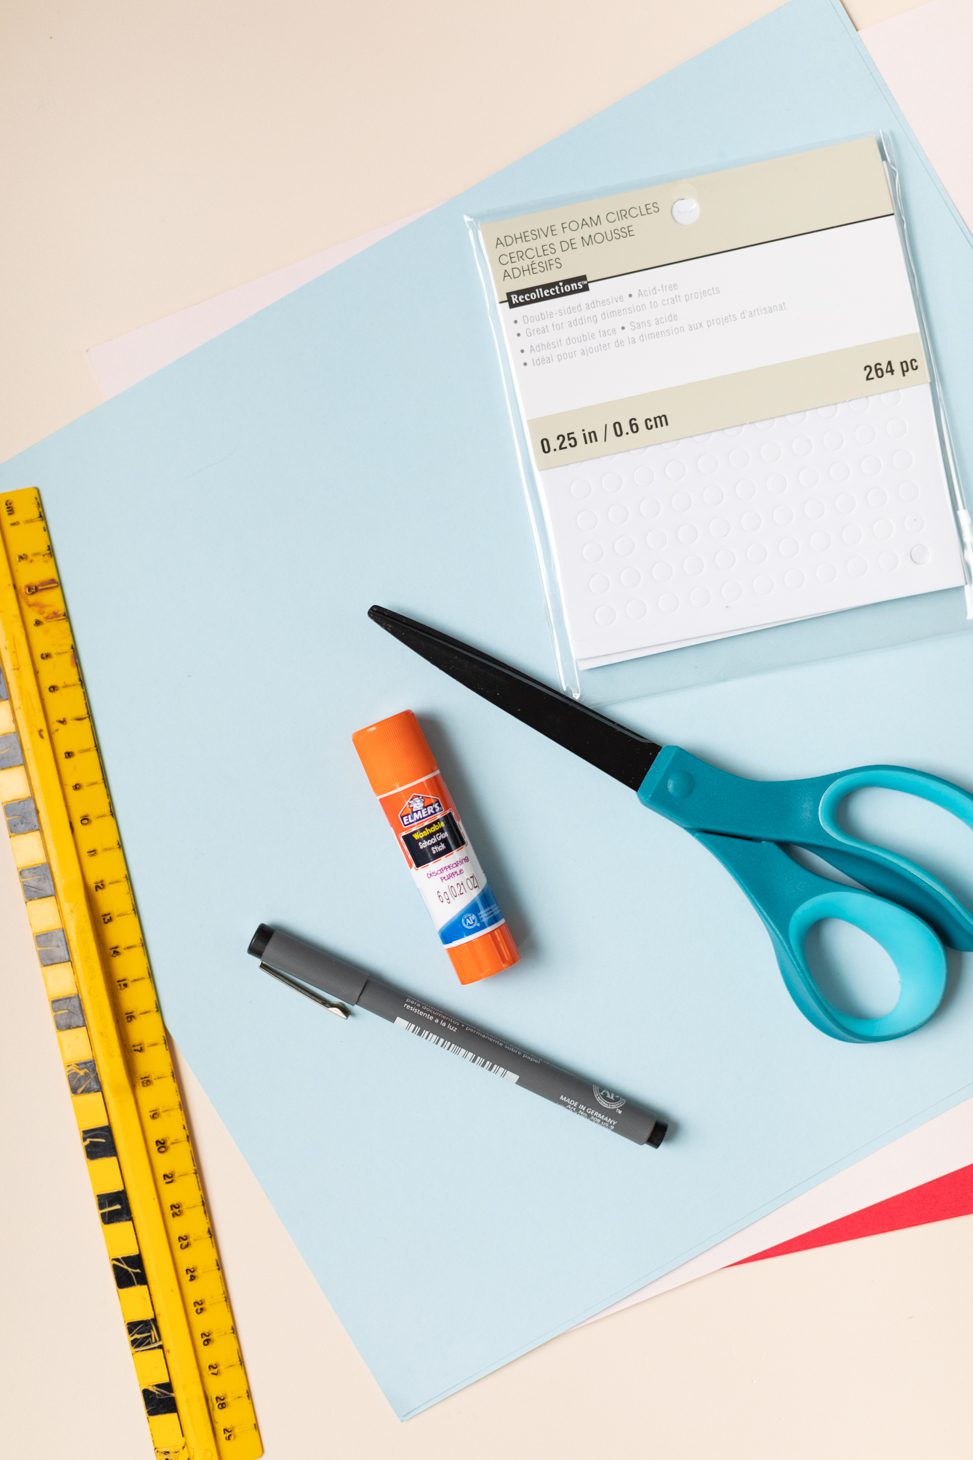
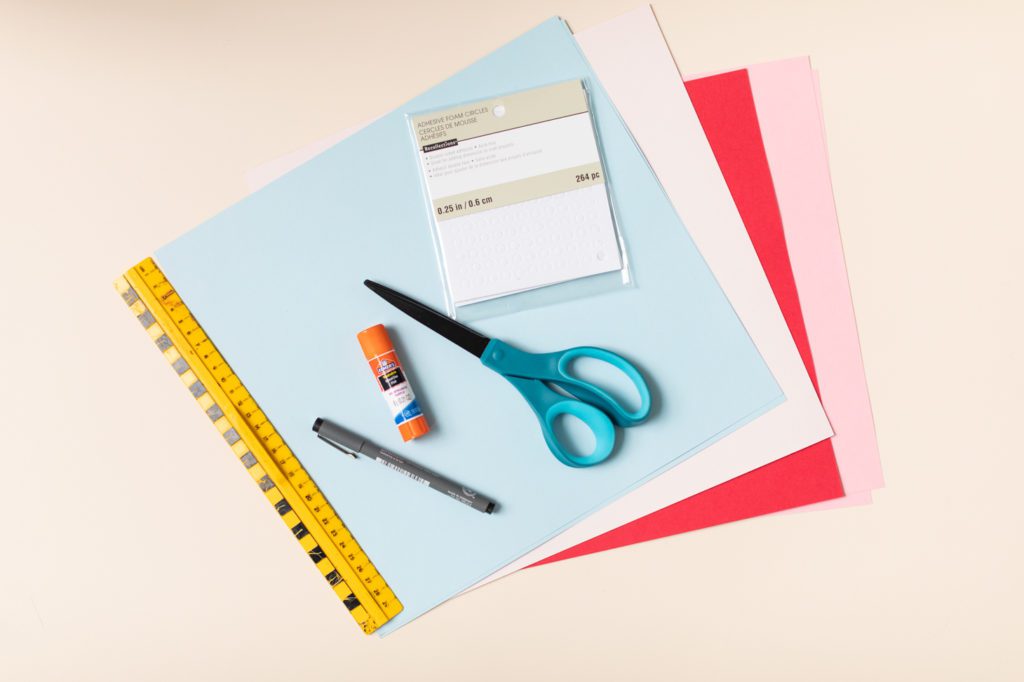
Supplies:
With that, I jumped in the car and headed to Michaels to grab all of the supplies that I needed. Here is a list of the supplies I picked up that you will need to recreate this DIY!
Supplies
Cardstock Paper (for card)
Cardstock Paper (for hot air balloon)
Cardstock Paper (for clouds optional)
Scissors
Pencil
Fine Tip Black Marker
Glue
Double Side Foam Adhesive
Straight edge ruler
Step 1:
The first thing that you will need to do after you have gathered all of your supplies is cut the card to your desired size. I cut my cards to be 20 cm wide and 13 cm in length. Once you have cut out the card you will then want to fold it in half. This will make your card 10cm wide by 13cm high.
Step 2:
On some of the cards I added in a few clouds just for some more variety. If you want to add clouds to your card you can draw clouds with a pencil onto the white cardstock paper and cut them out. Once you have cut them out you will want to glue the clouds onto the card leaving some space in the middle for the hot air balloon.
Step 3:
For the balloon, you will need to draw a small heart onto cardstock paper, cut it out and use this as a template to trace. Once you have that complete you will need to trace this heart out three or four times per balloon. I decided to make a few cards with two balloons and a few cards with one larger balloon.
Step 4:
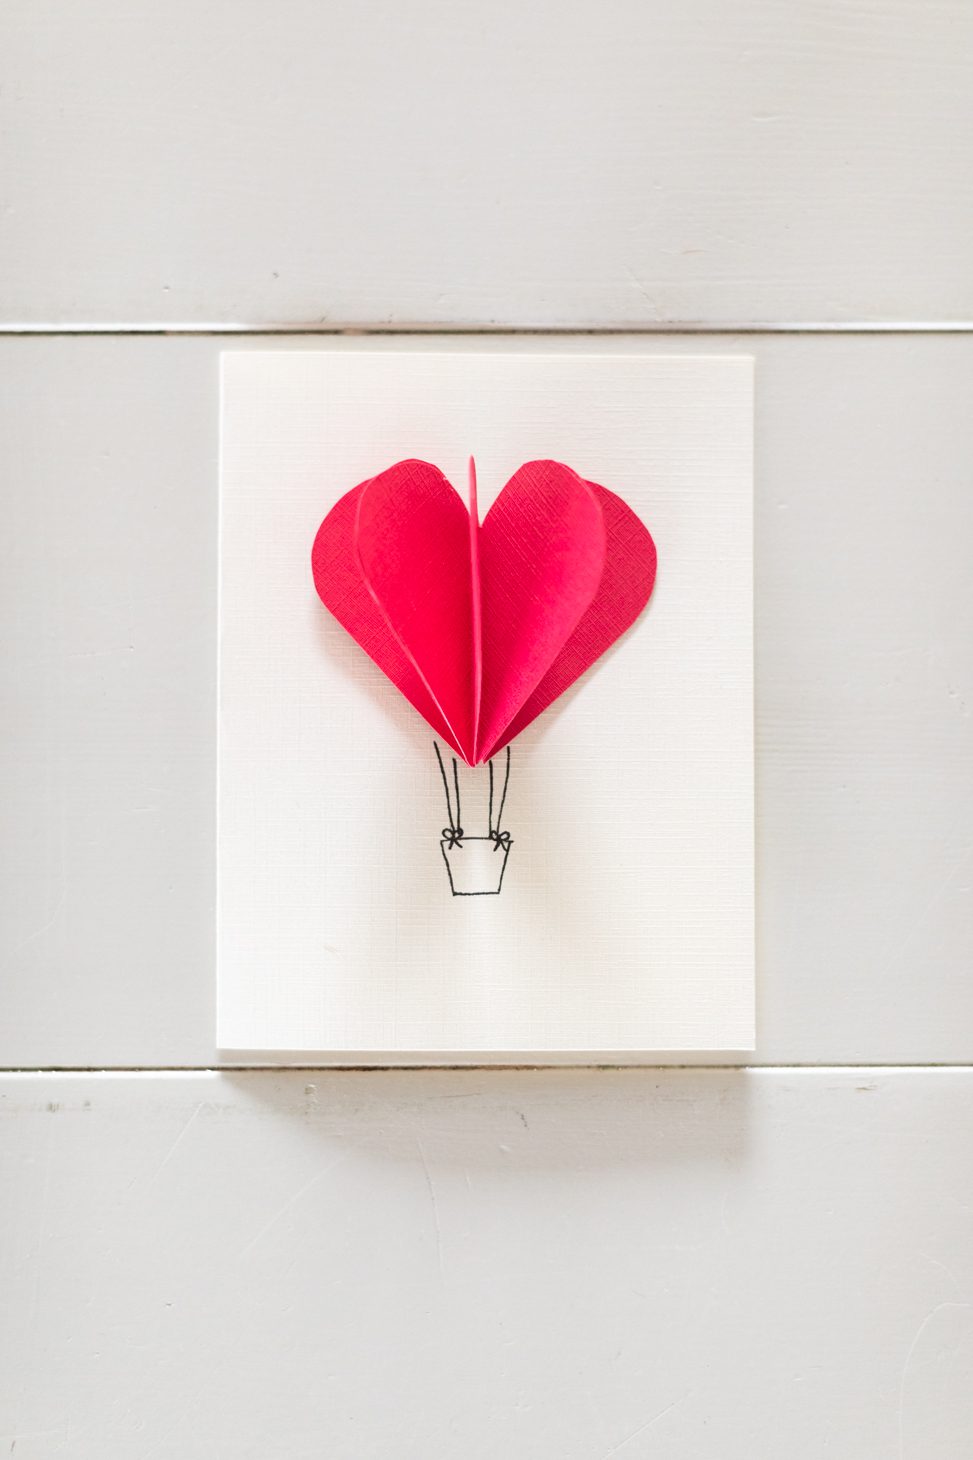
Fold all of the hearts in half and use your glue stick to glue one of the folded heart halves and secure another heart half onto it. Continue adding glue and adding a paper heart until all three (or four) have been glued together. At this point, it should resemble a heart-shaped accordion.
Step 5:
Add double-sided foam adhesive to one of the outside halves of the 3D heart and secure it onto the card. Then add double-sided foam adhesive on the opposite end and secure it to the card.
Step 6:
Now, all that’s left to do is draw your little hot air balloon basket, feel free to free-style this portion or take some inspiration from my doodles. To finish it off, add a little note to that special someone on the inside!
And don’t forget to have fun and get creative!!
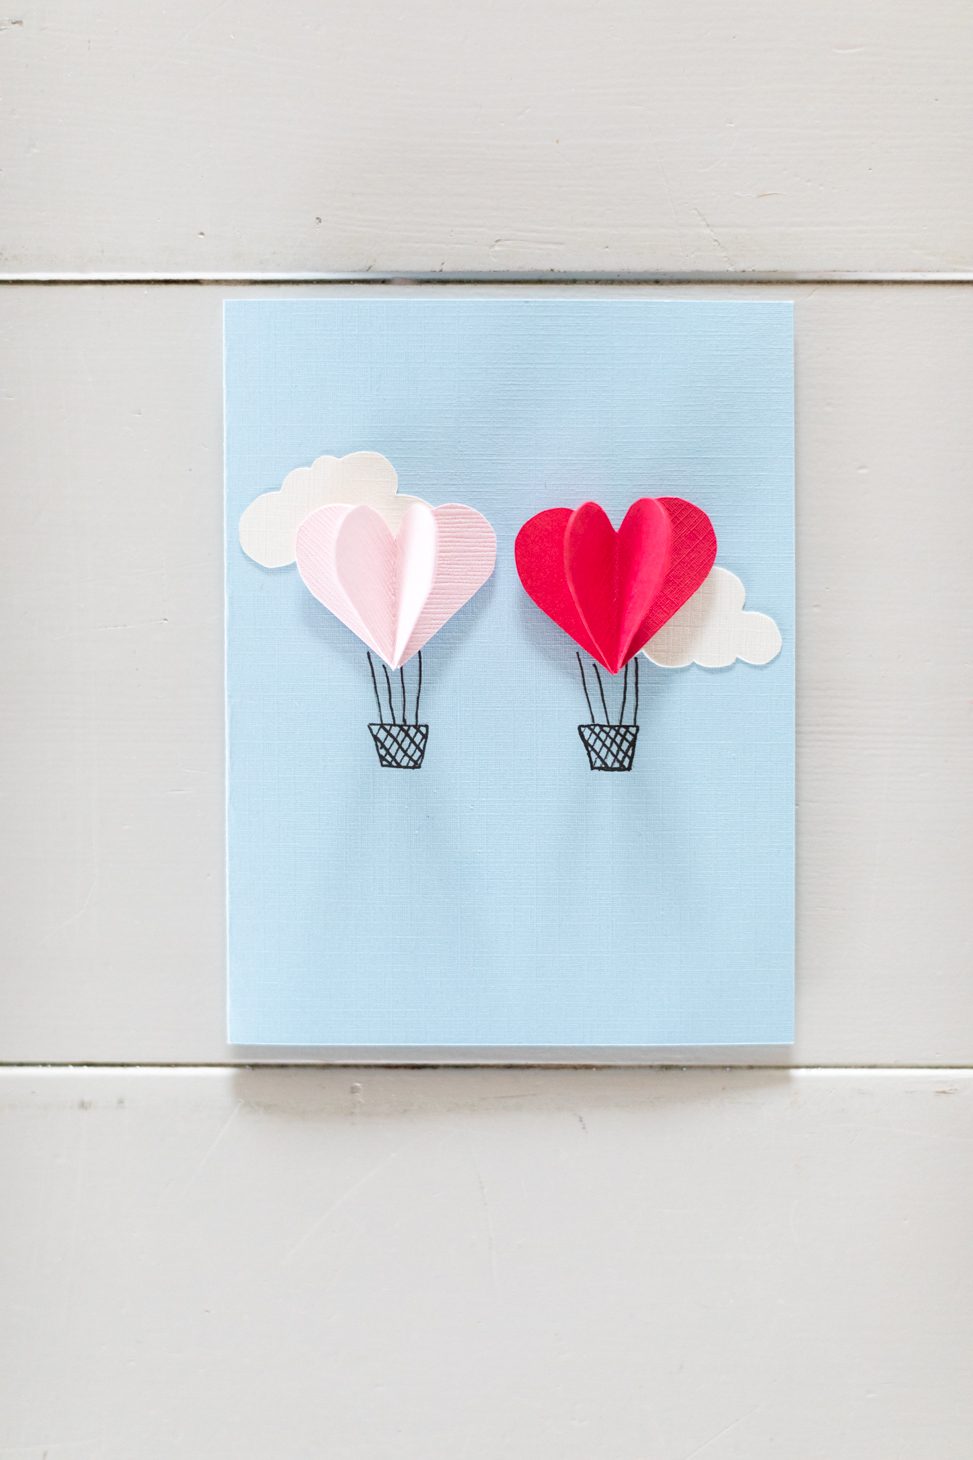
Well, there you have it! I hope you enjoyed this fun DIY project as much as I enjoyed making it for you!
Until next time!
xo
Rachelle





These are so cute!!! I was looking for a new idea for Valentines day. Since we are all at home, I am sending my kindergarteners their cards in the mail. I can make these with construction paper, personalize them and mail them out. Thank you for the inspiration..
Oh, and congratulations on the new look for your website. It seems to be more user friendly.
Have a great day Jilly team!